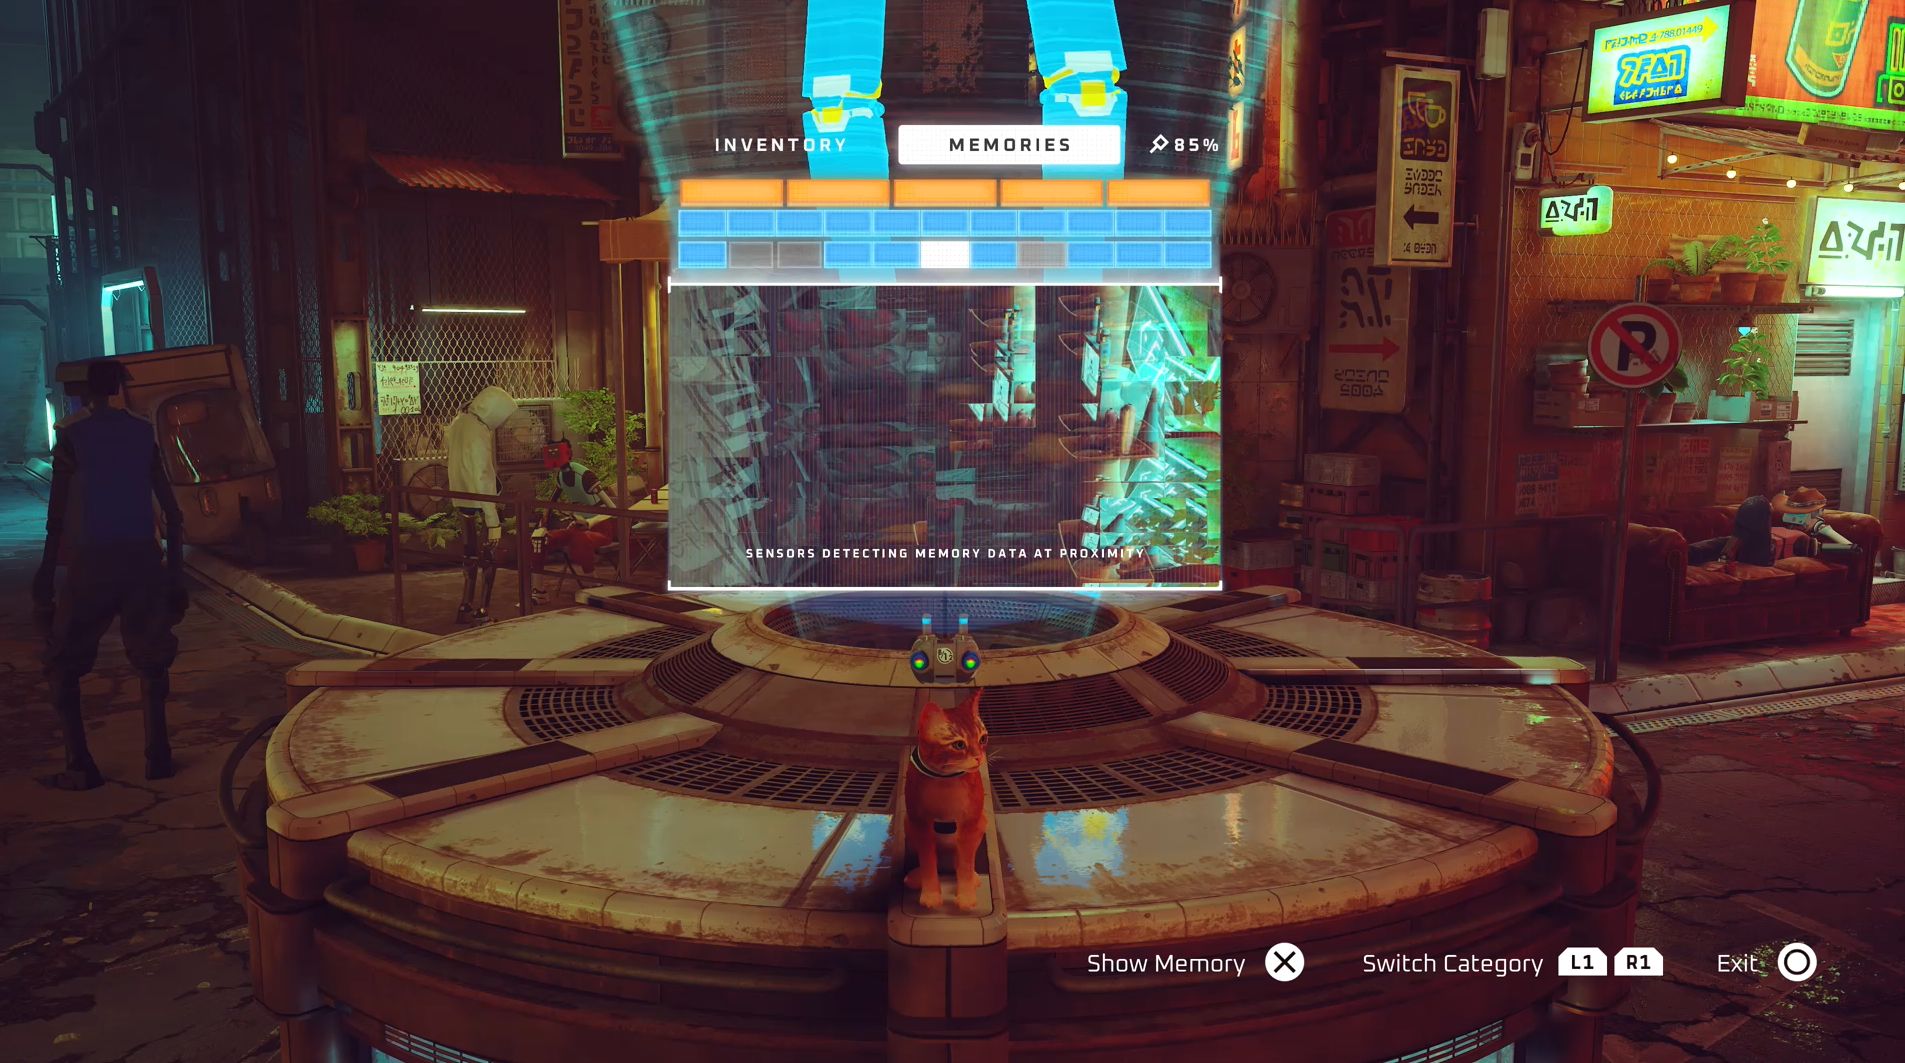
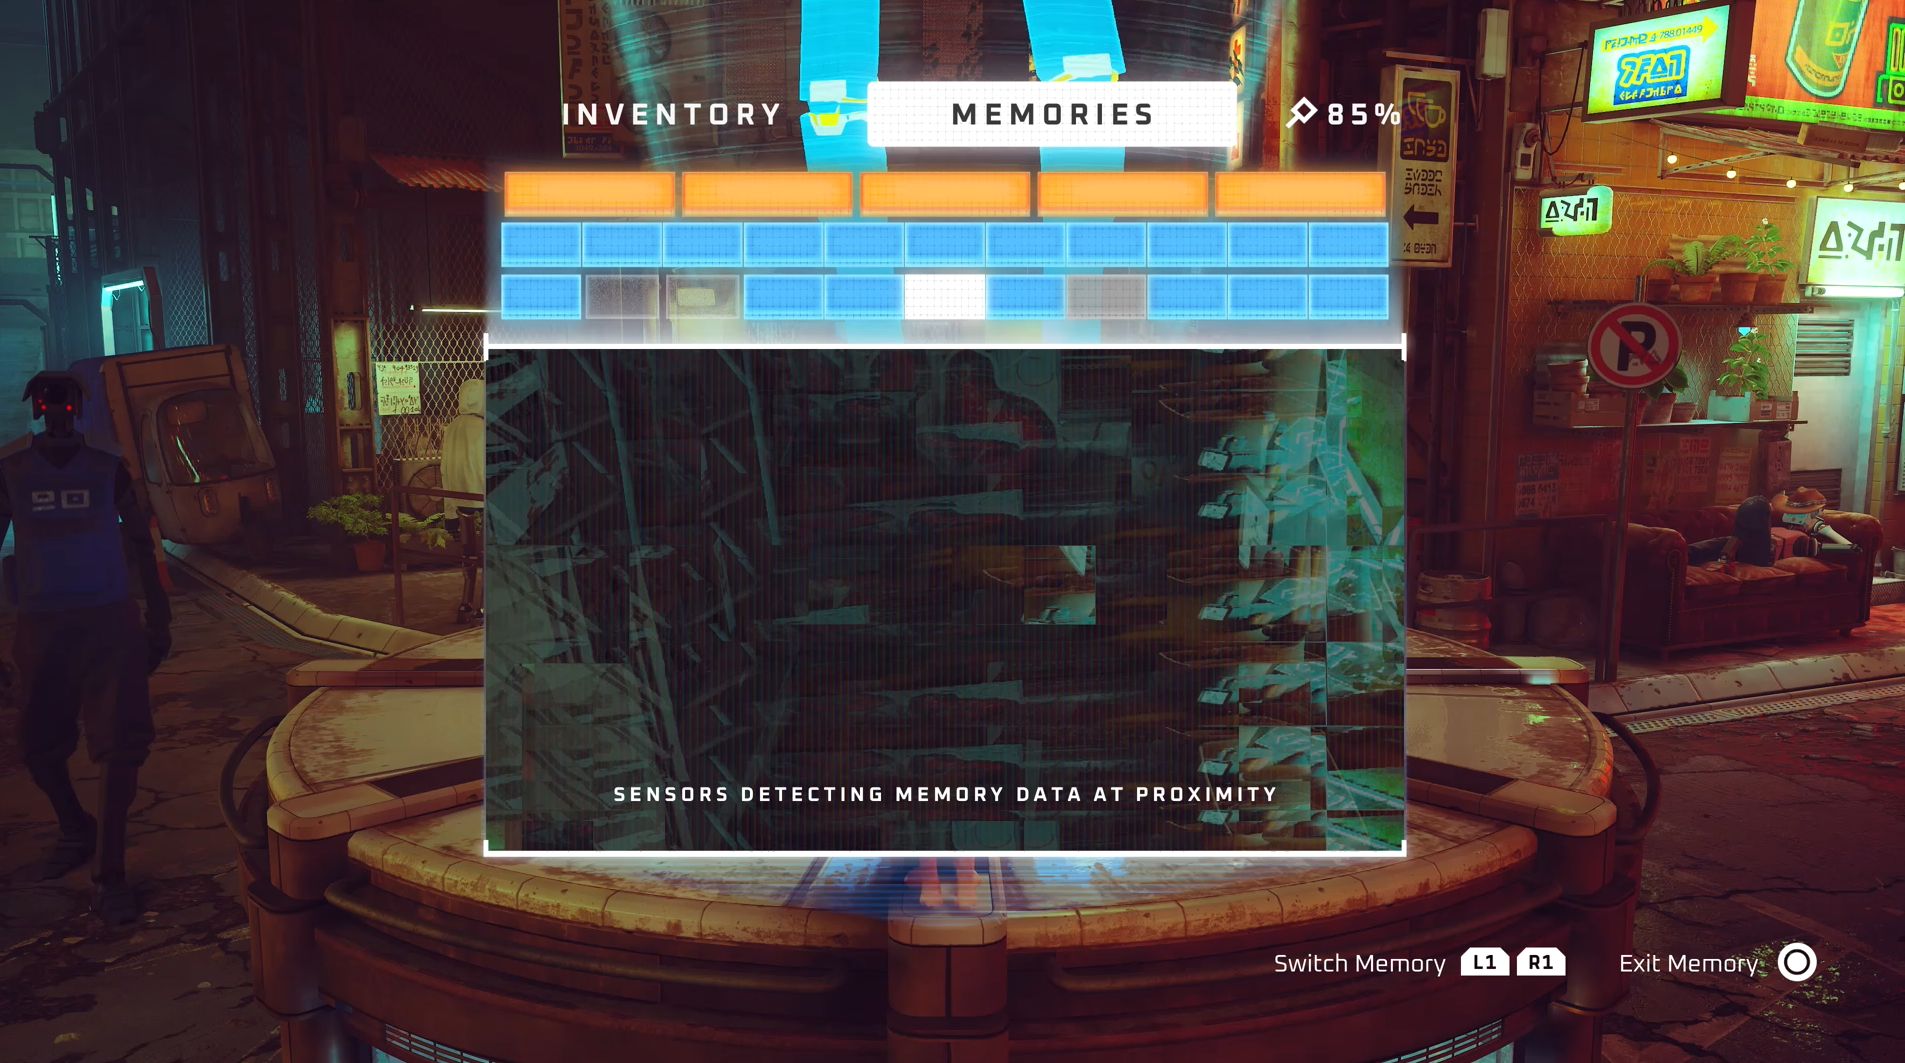
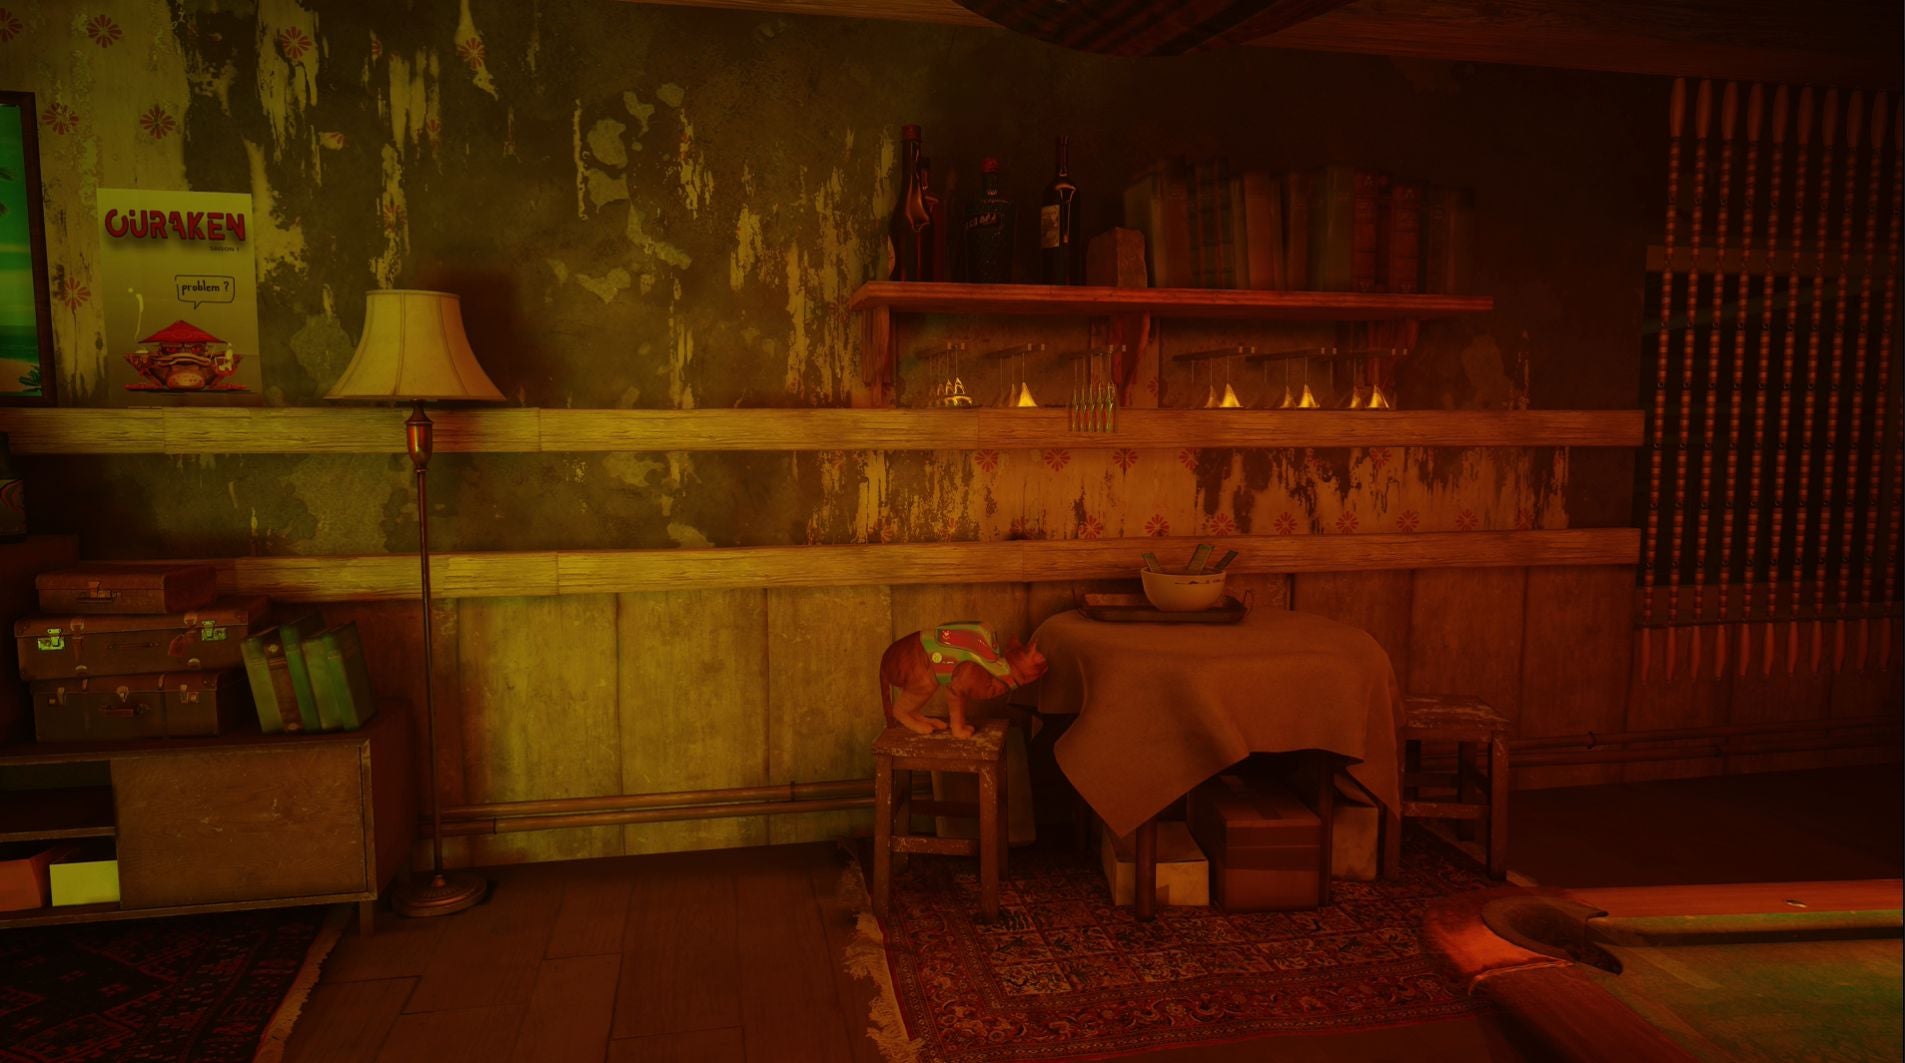
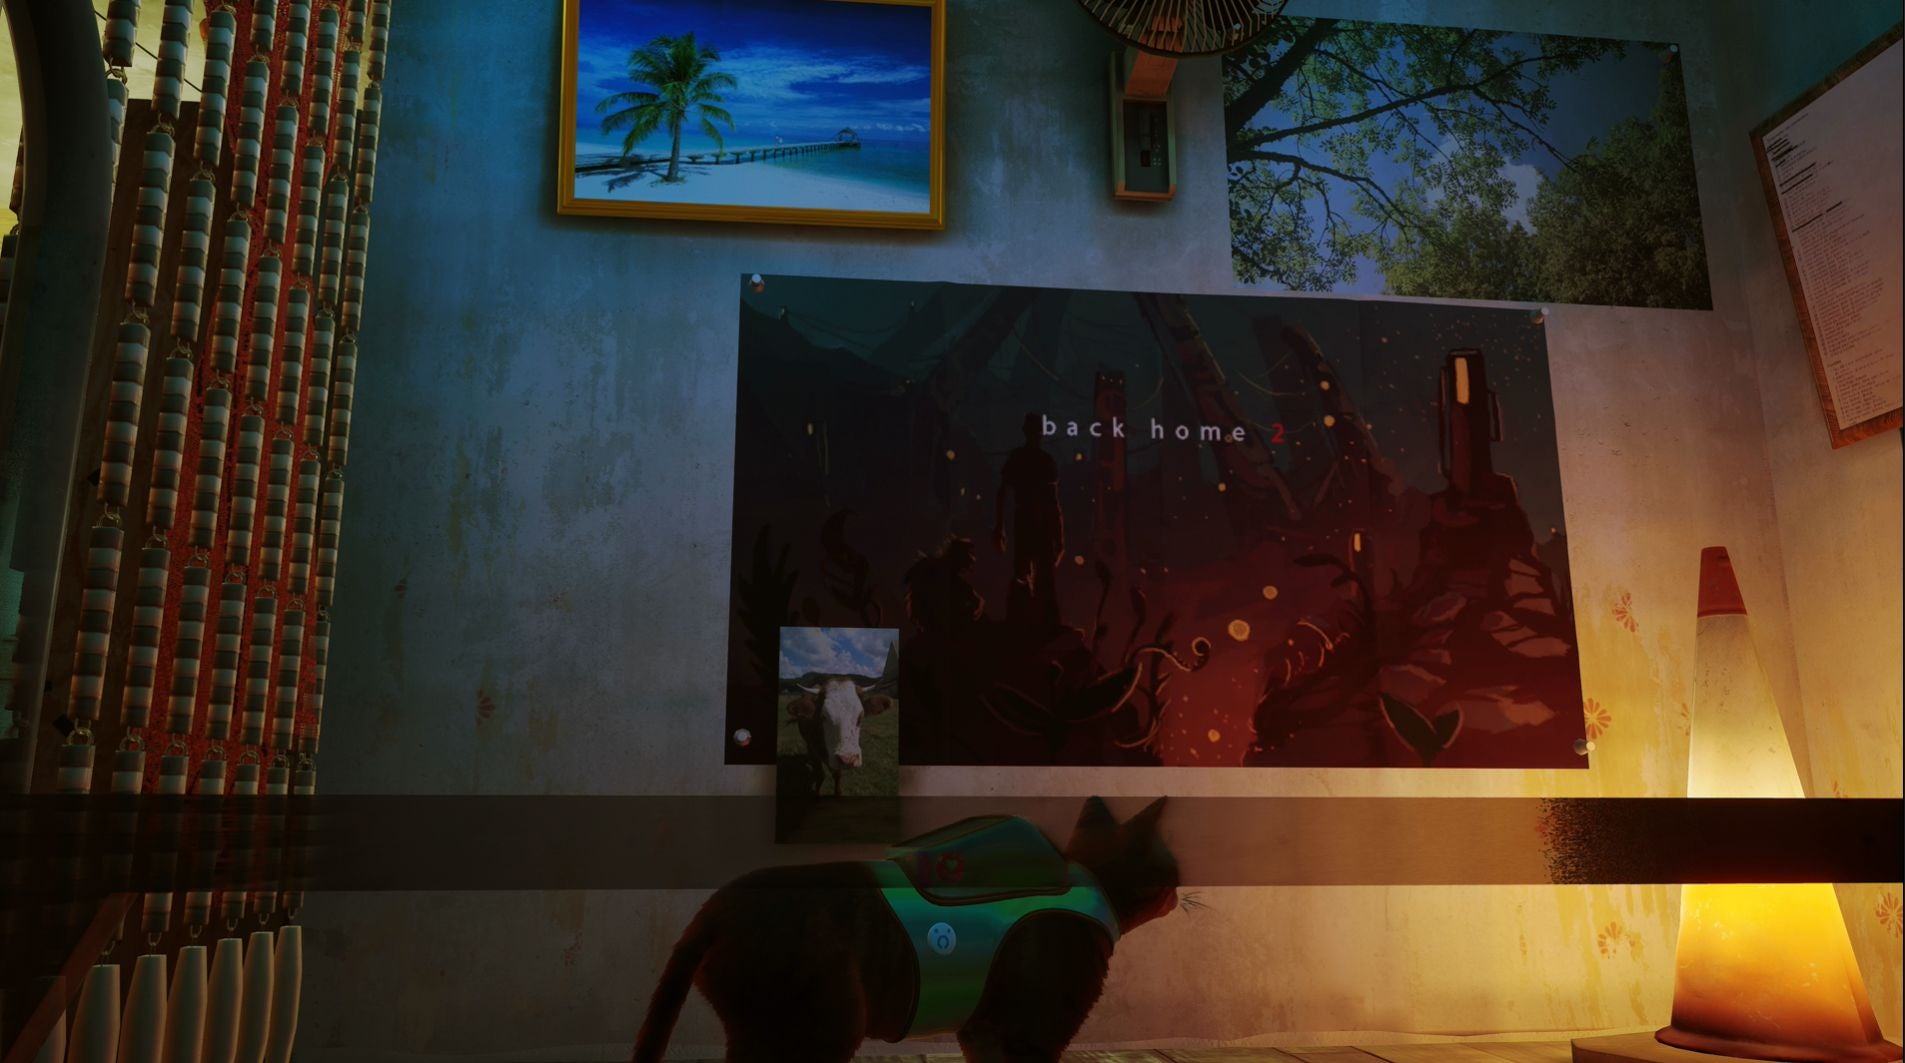
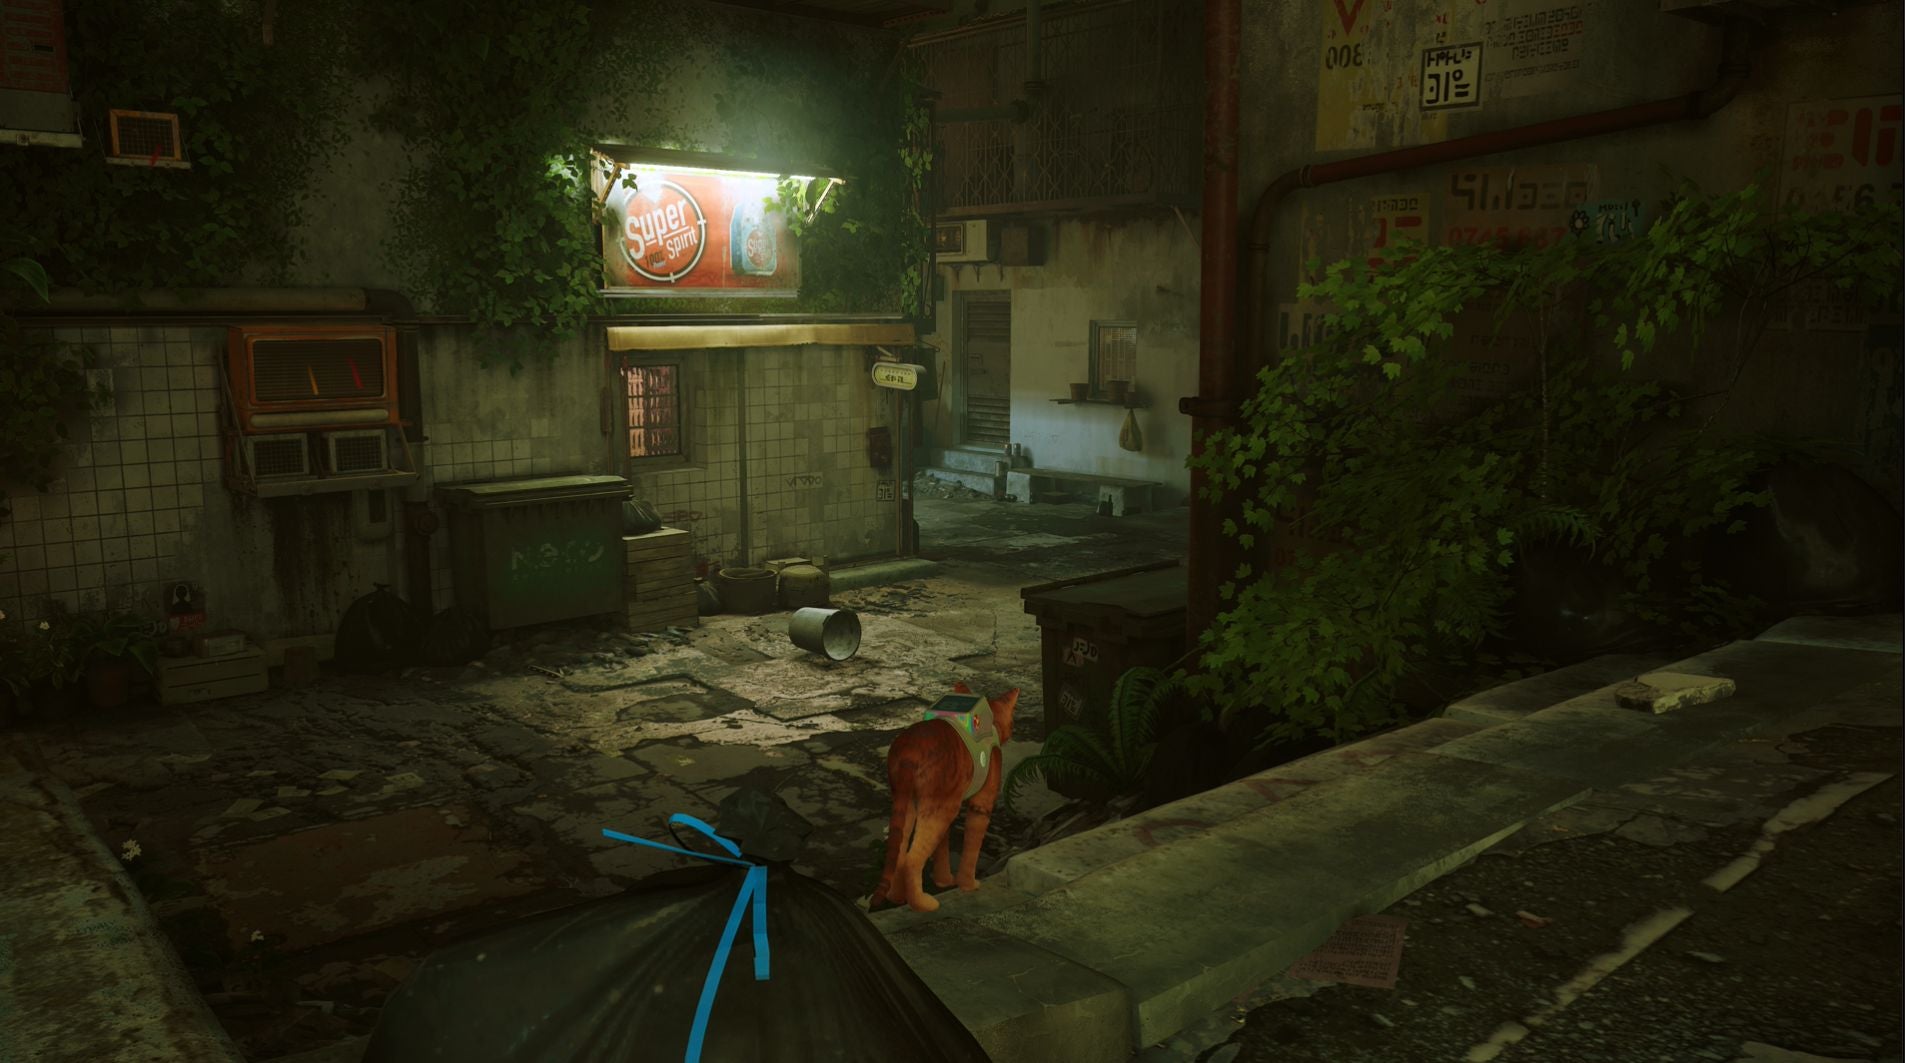
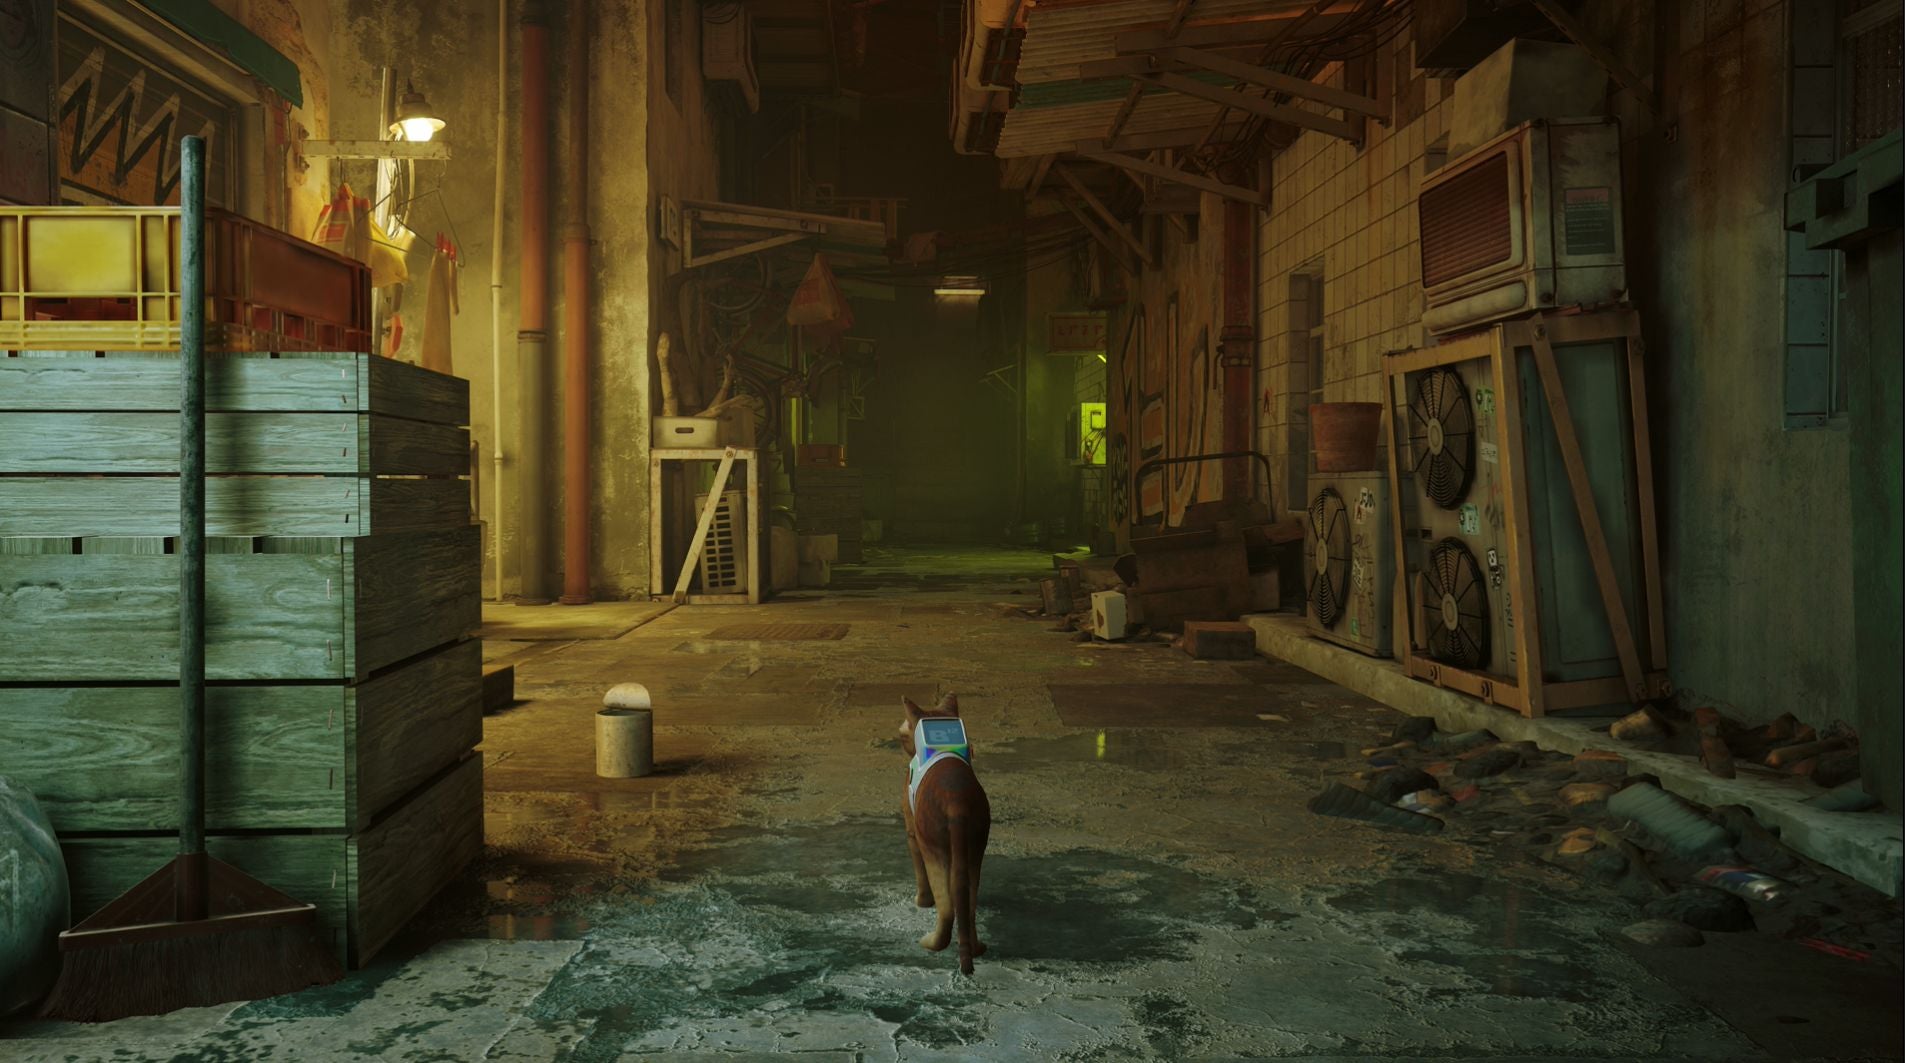
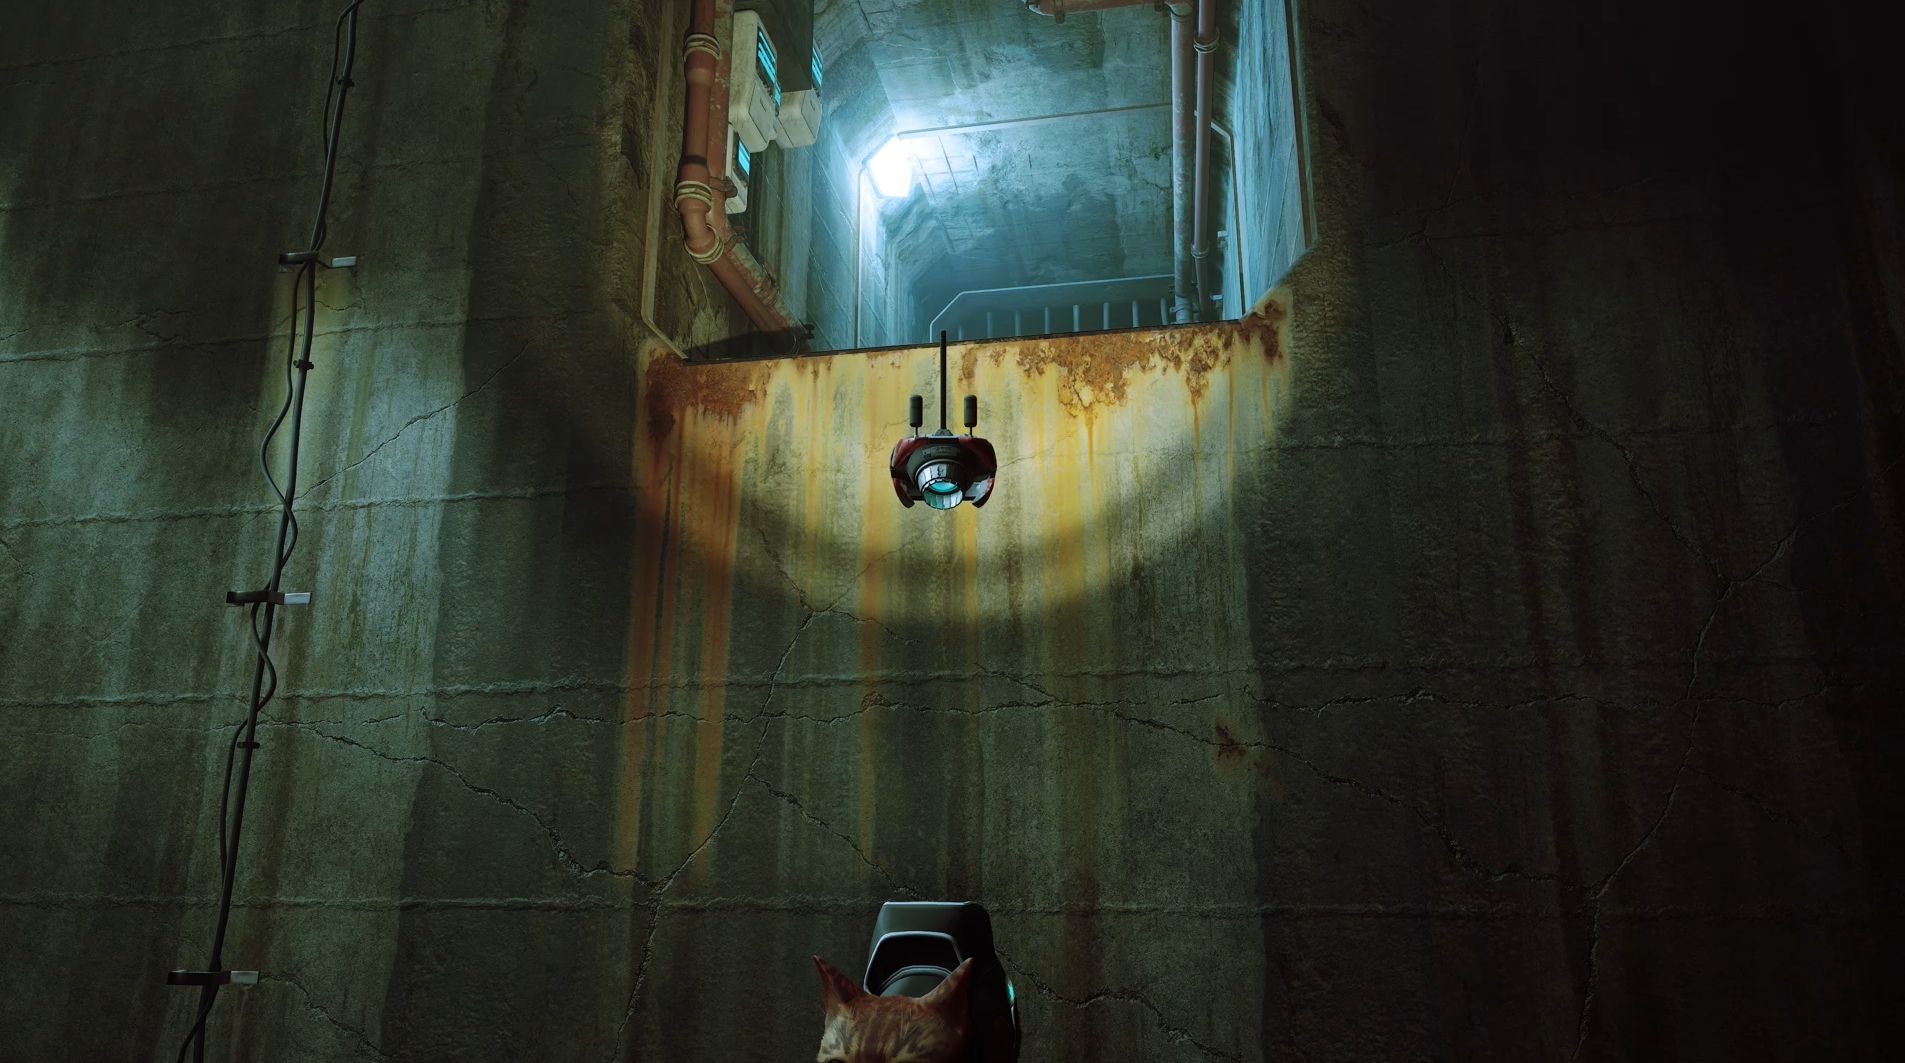
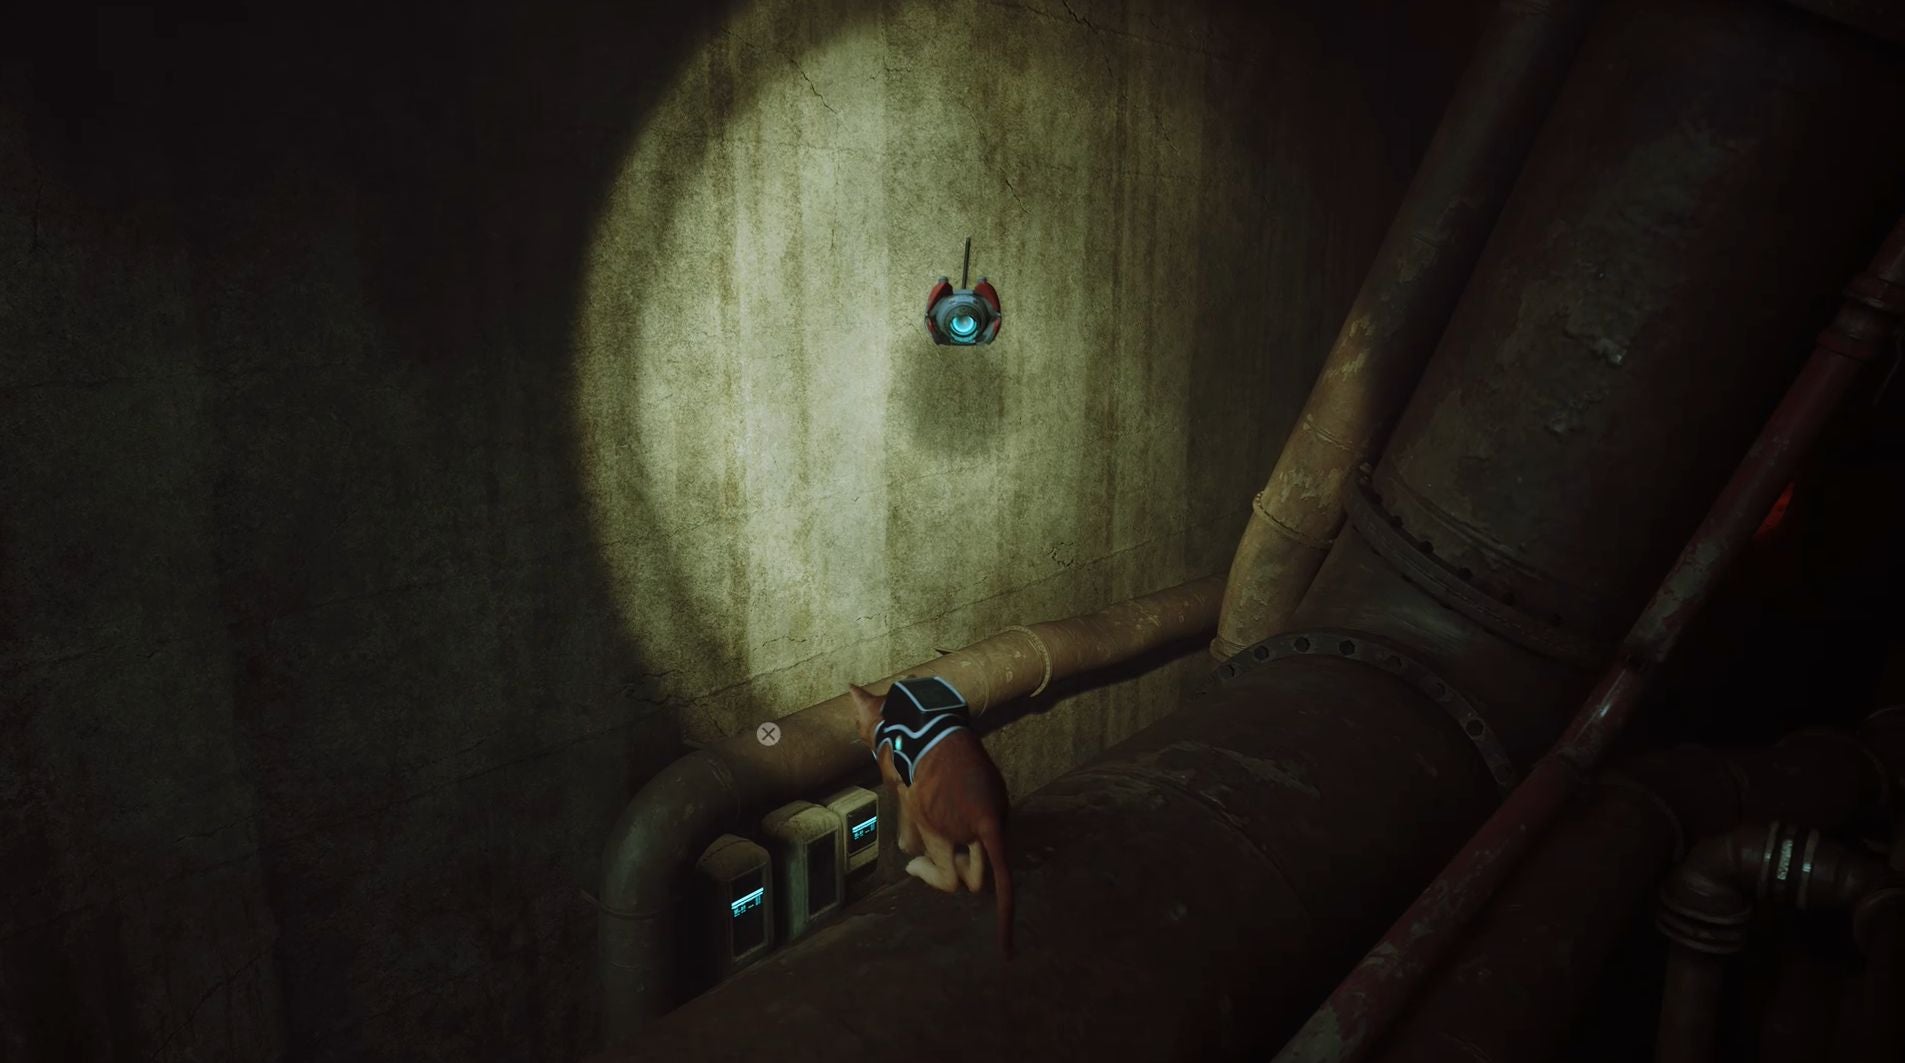
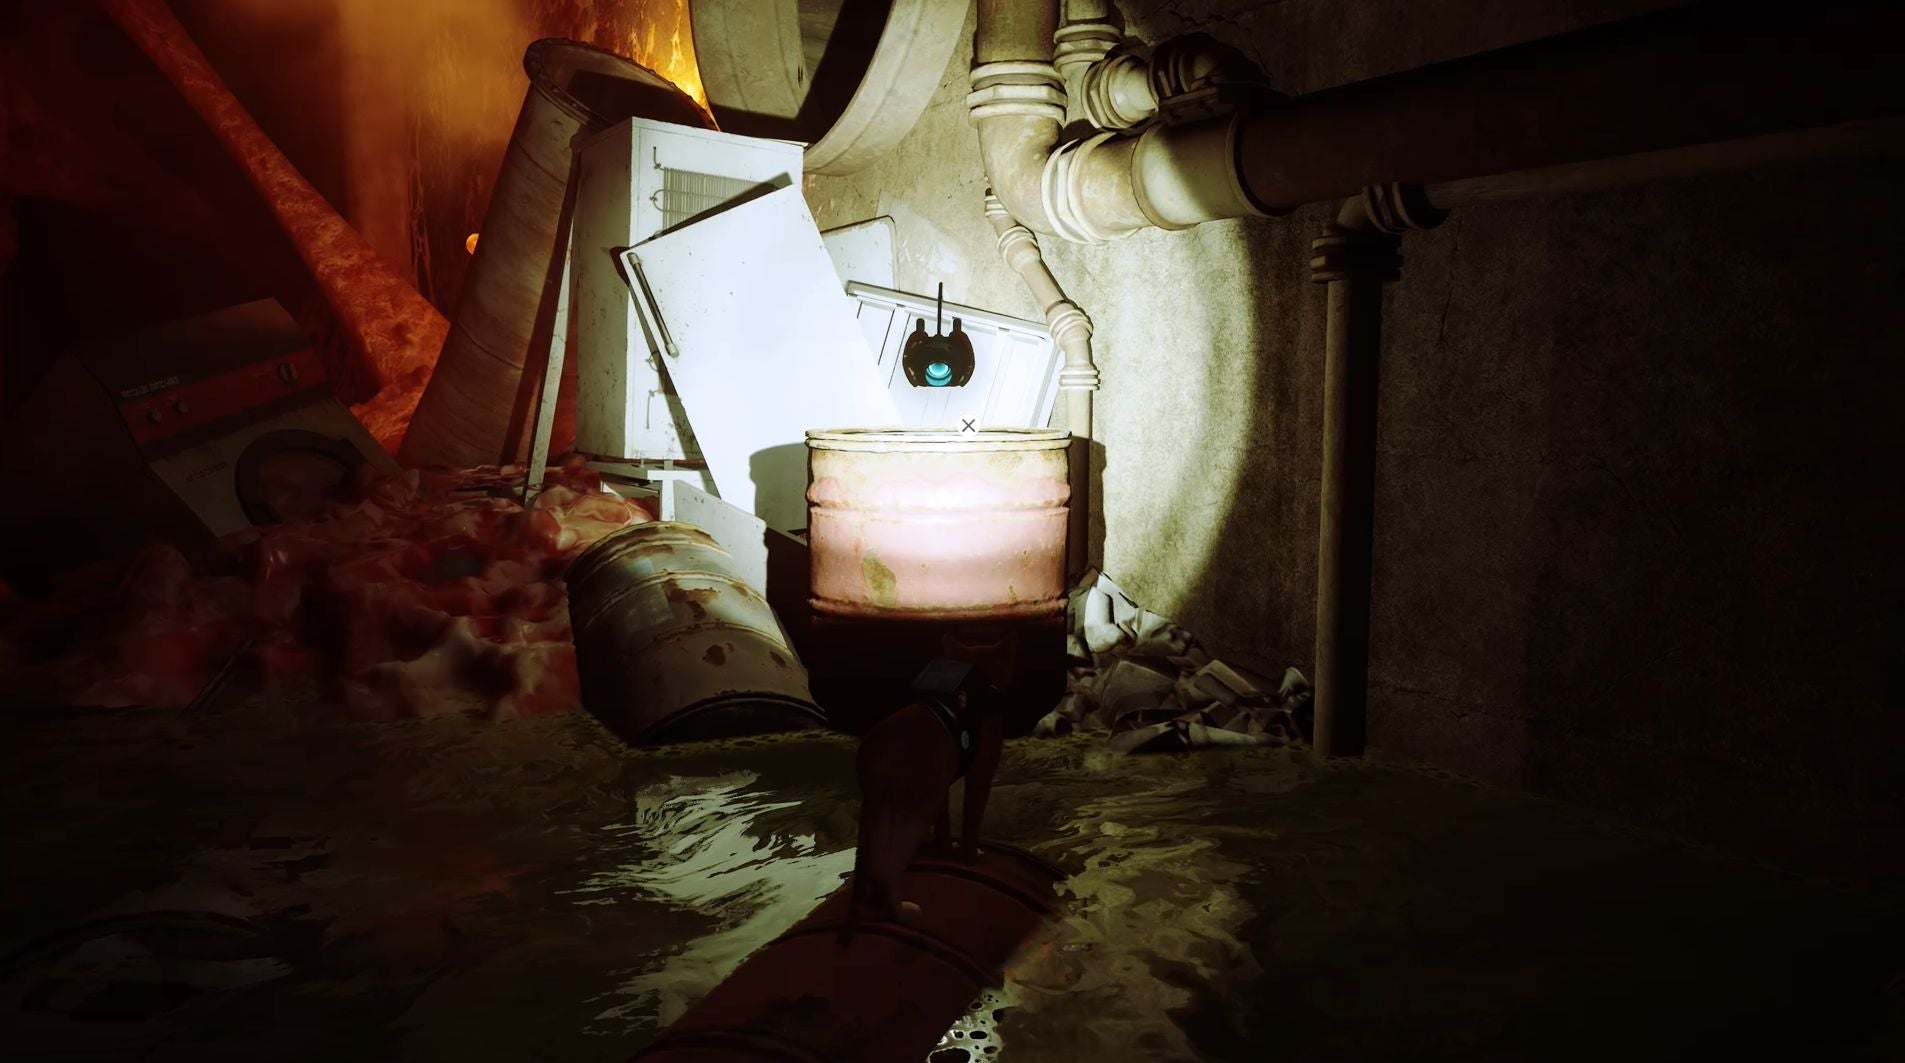
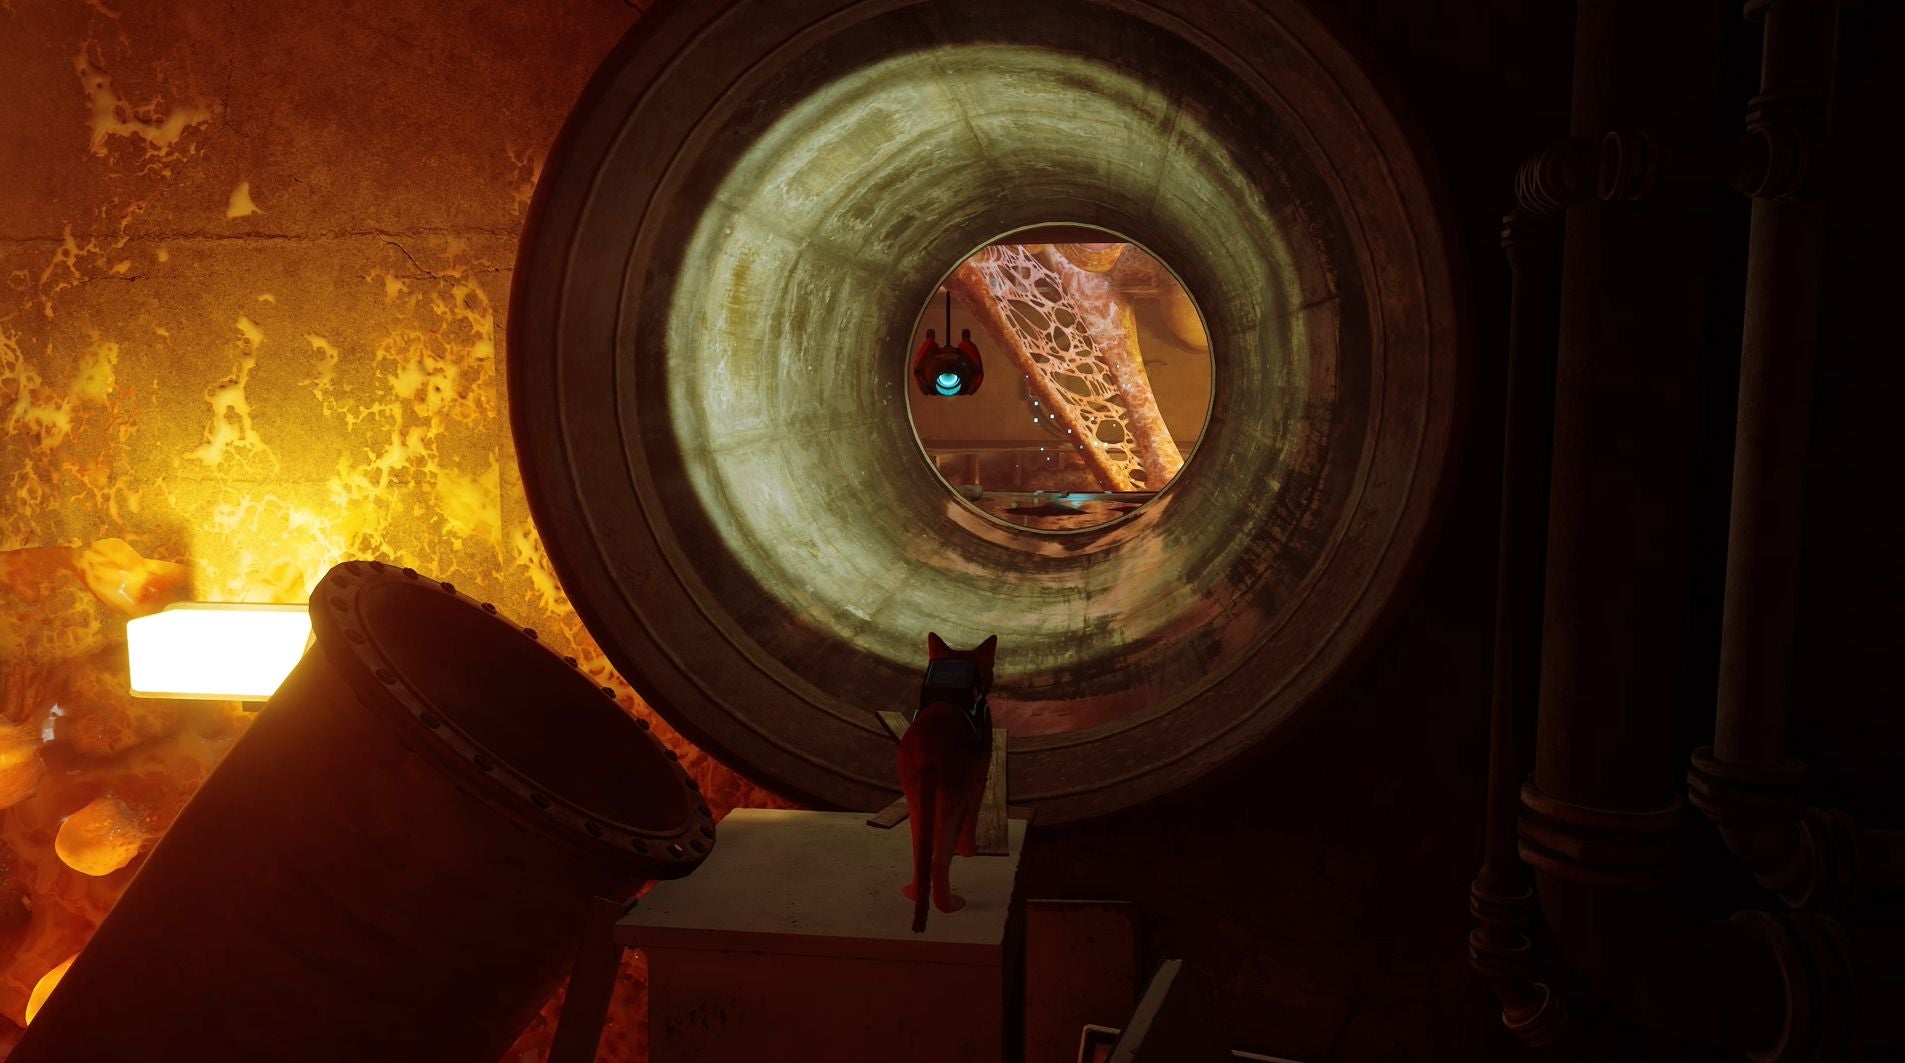
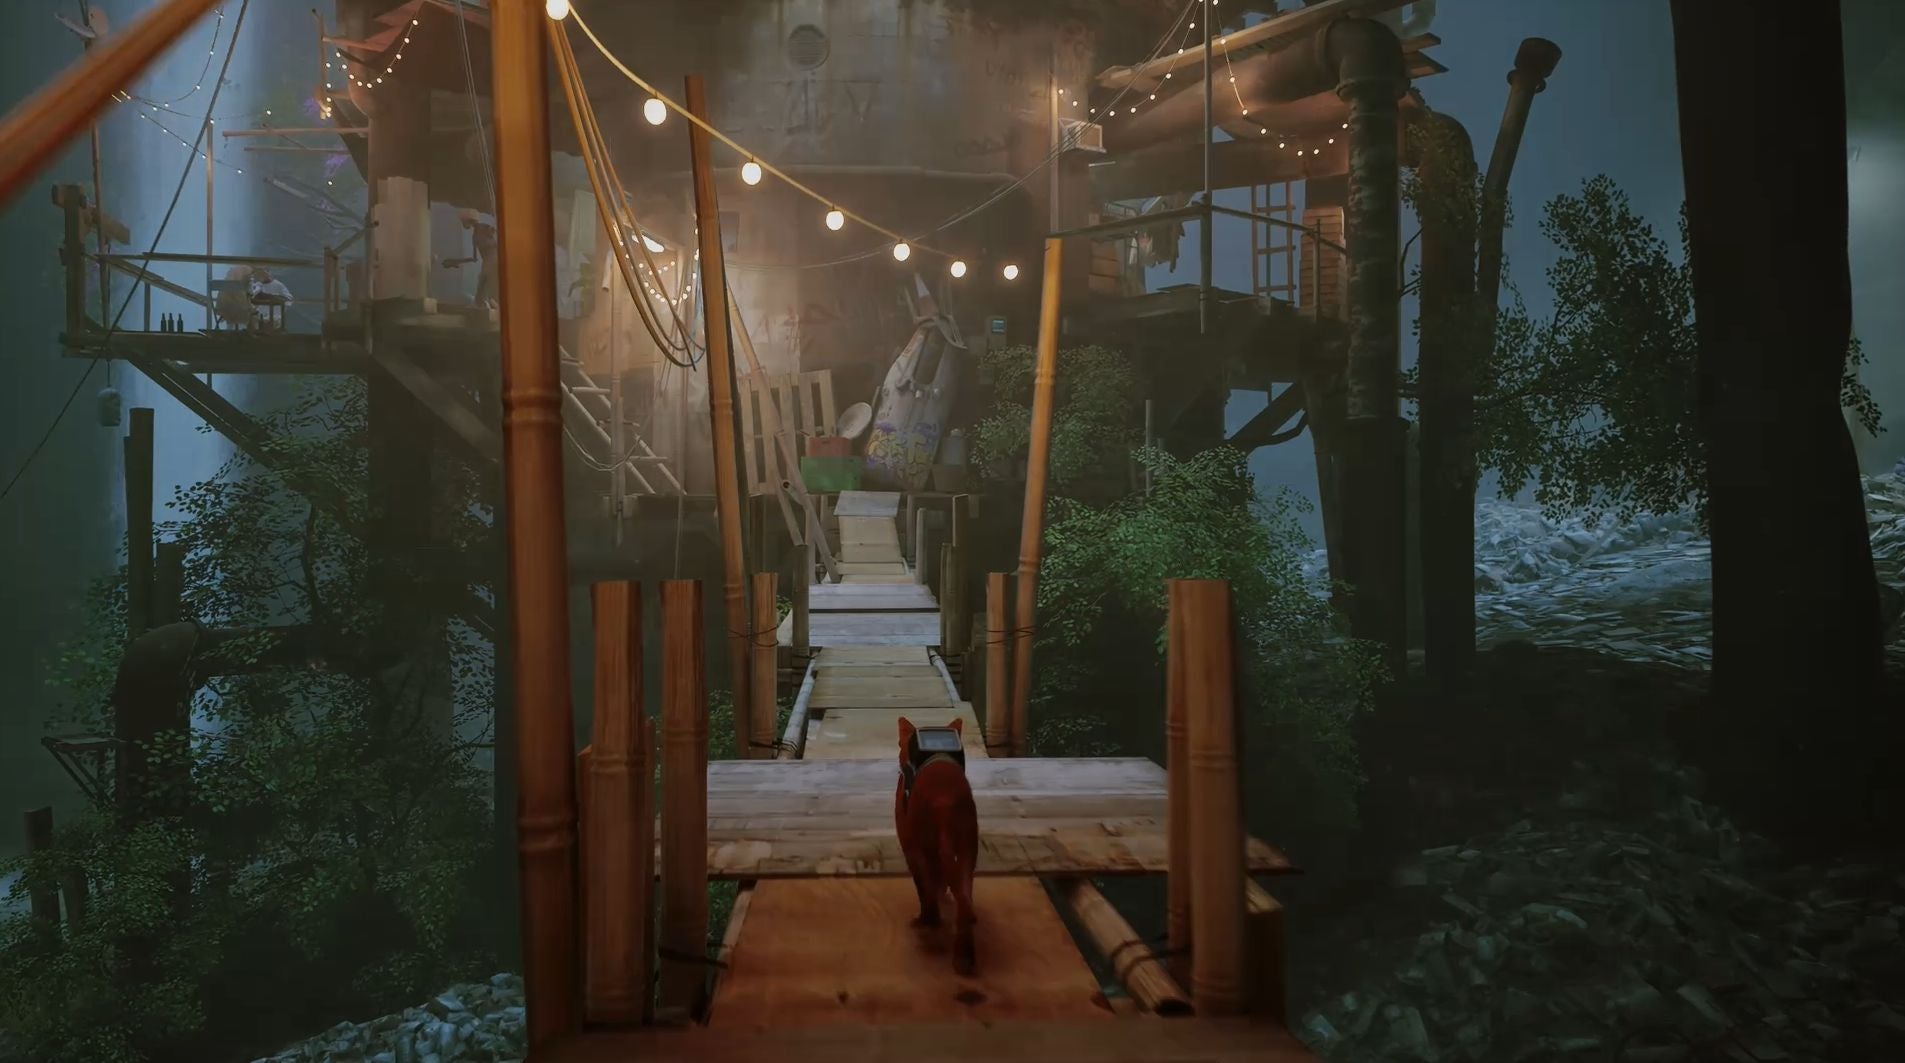
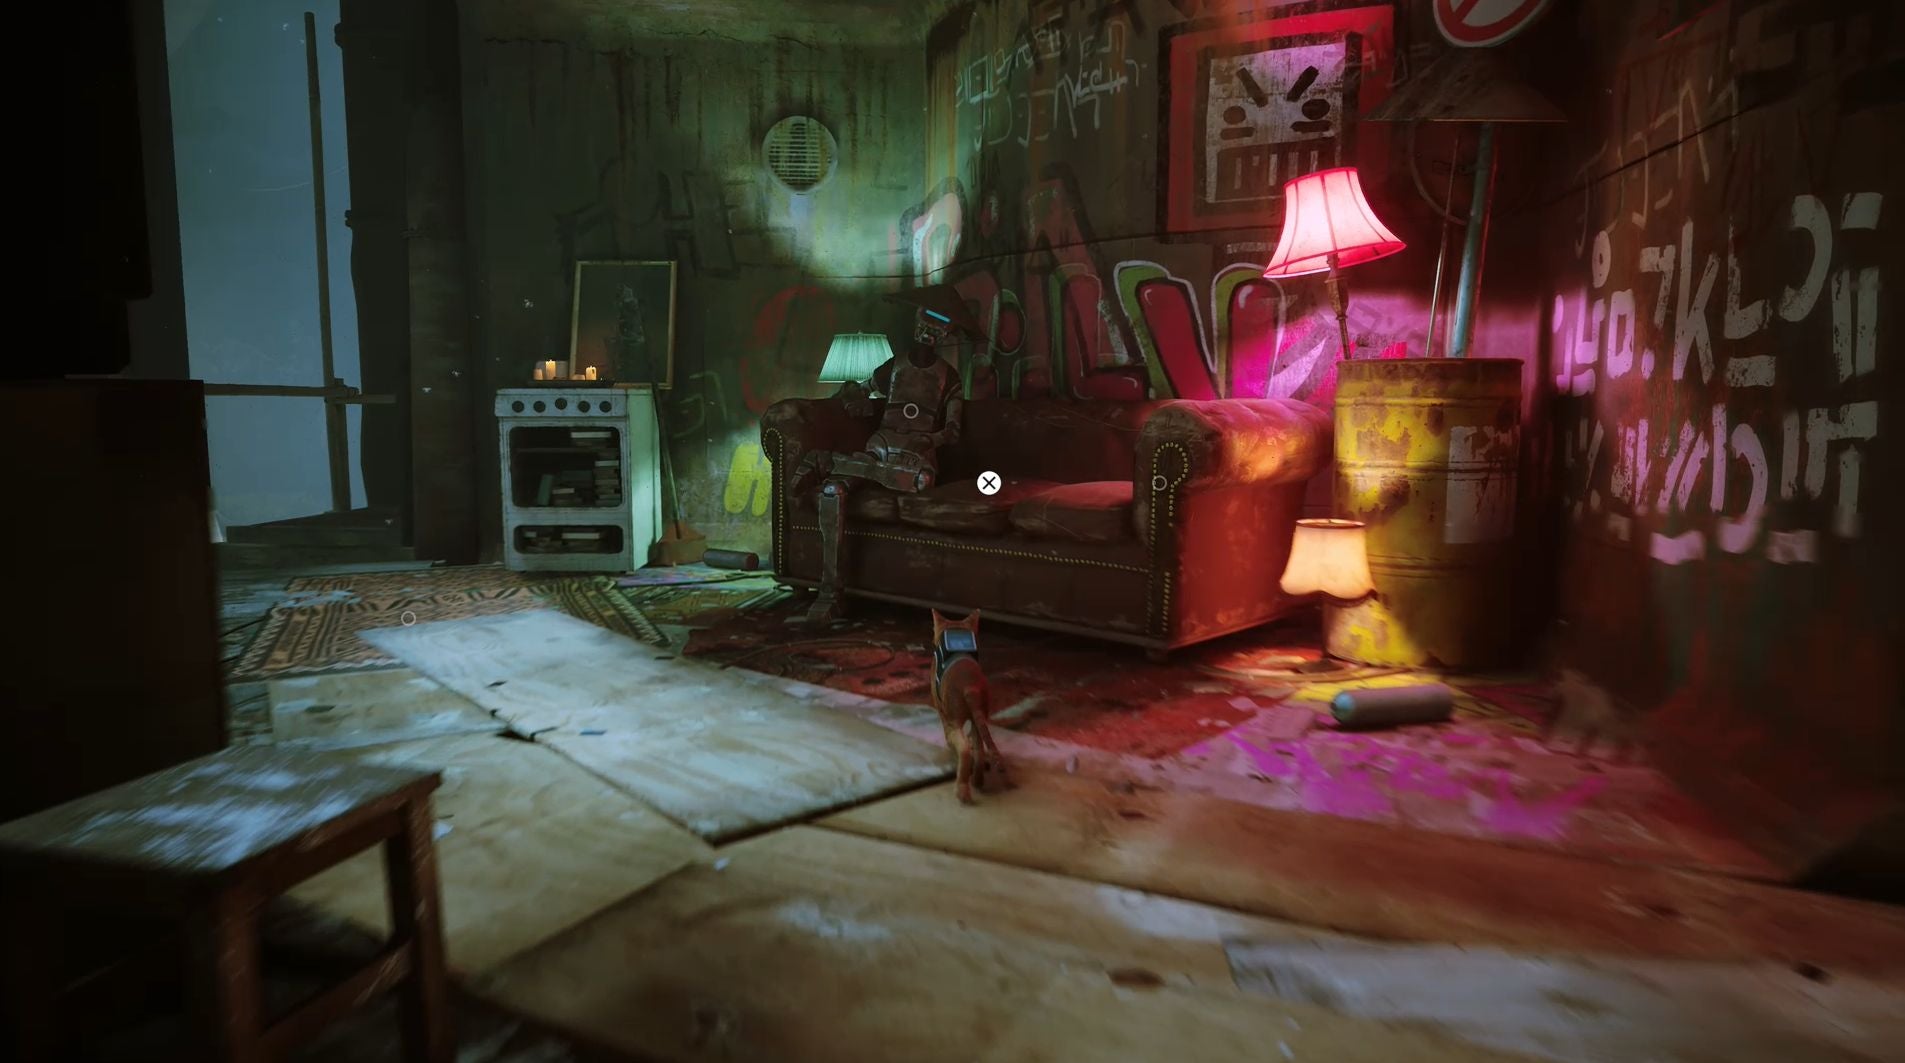
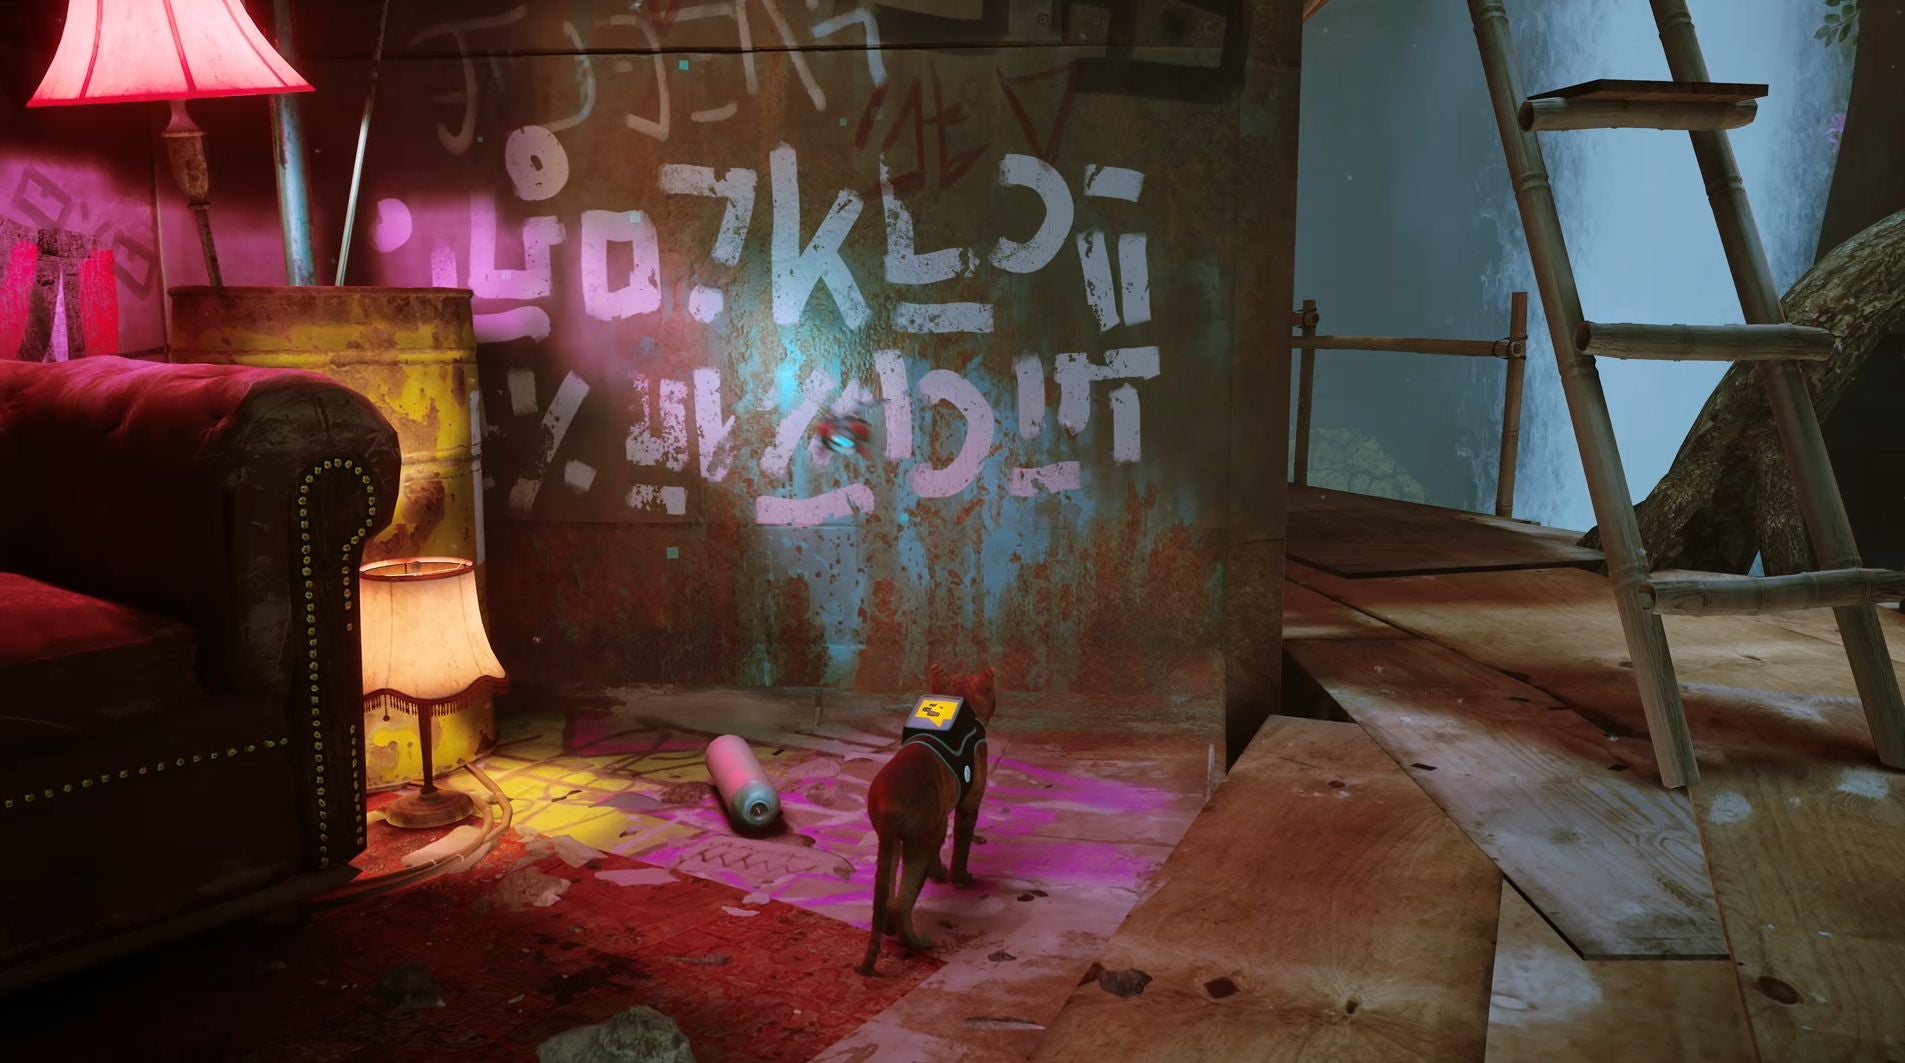
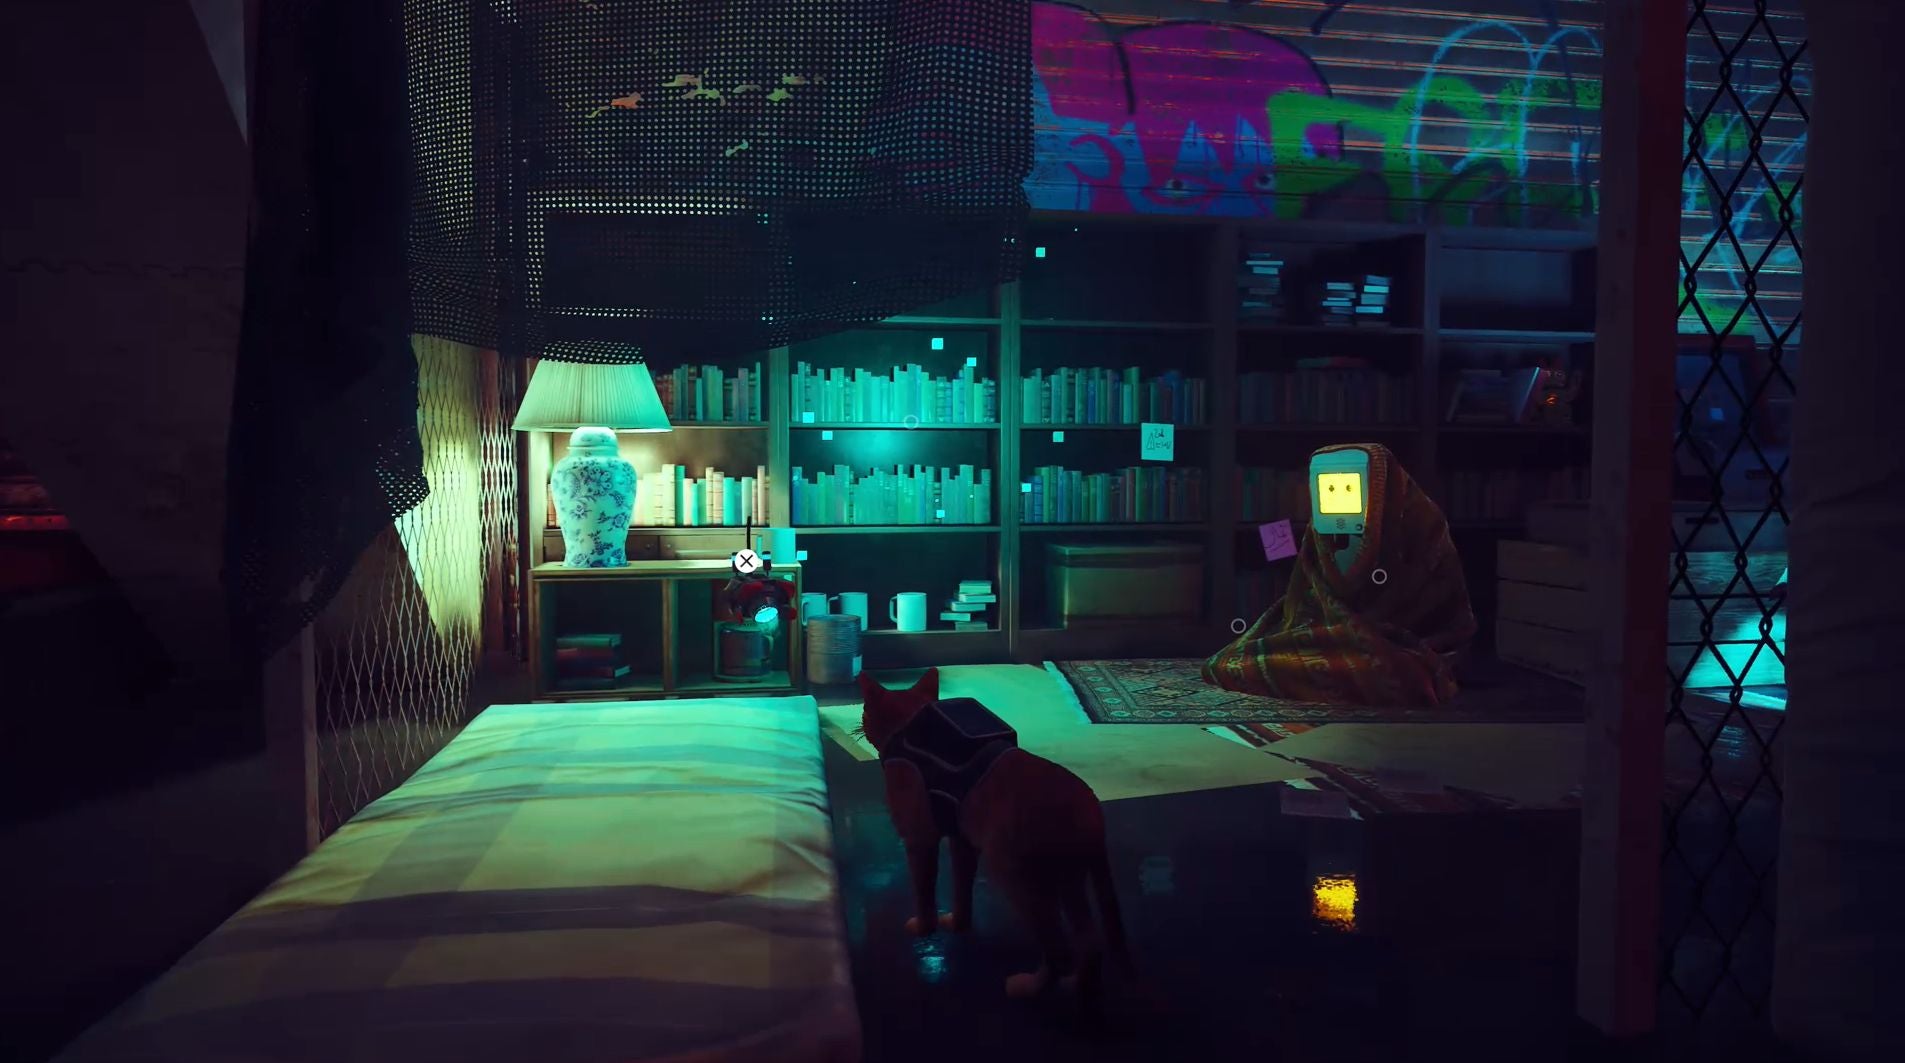
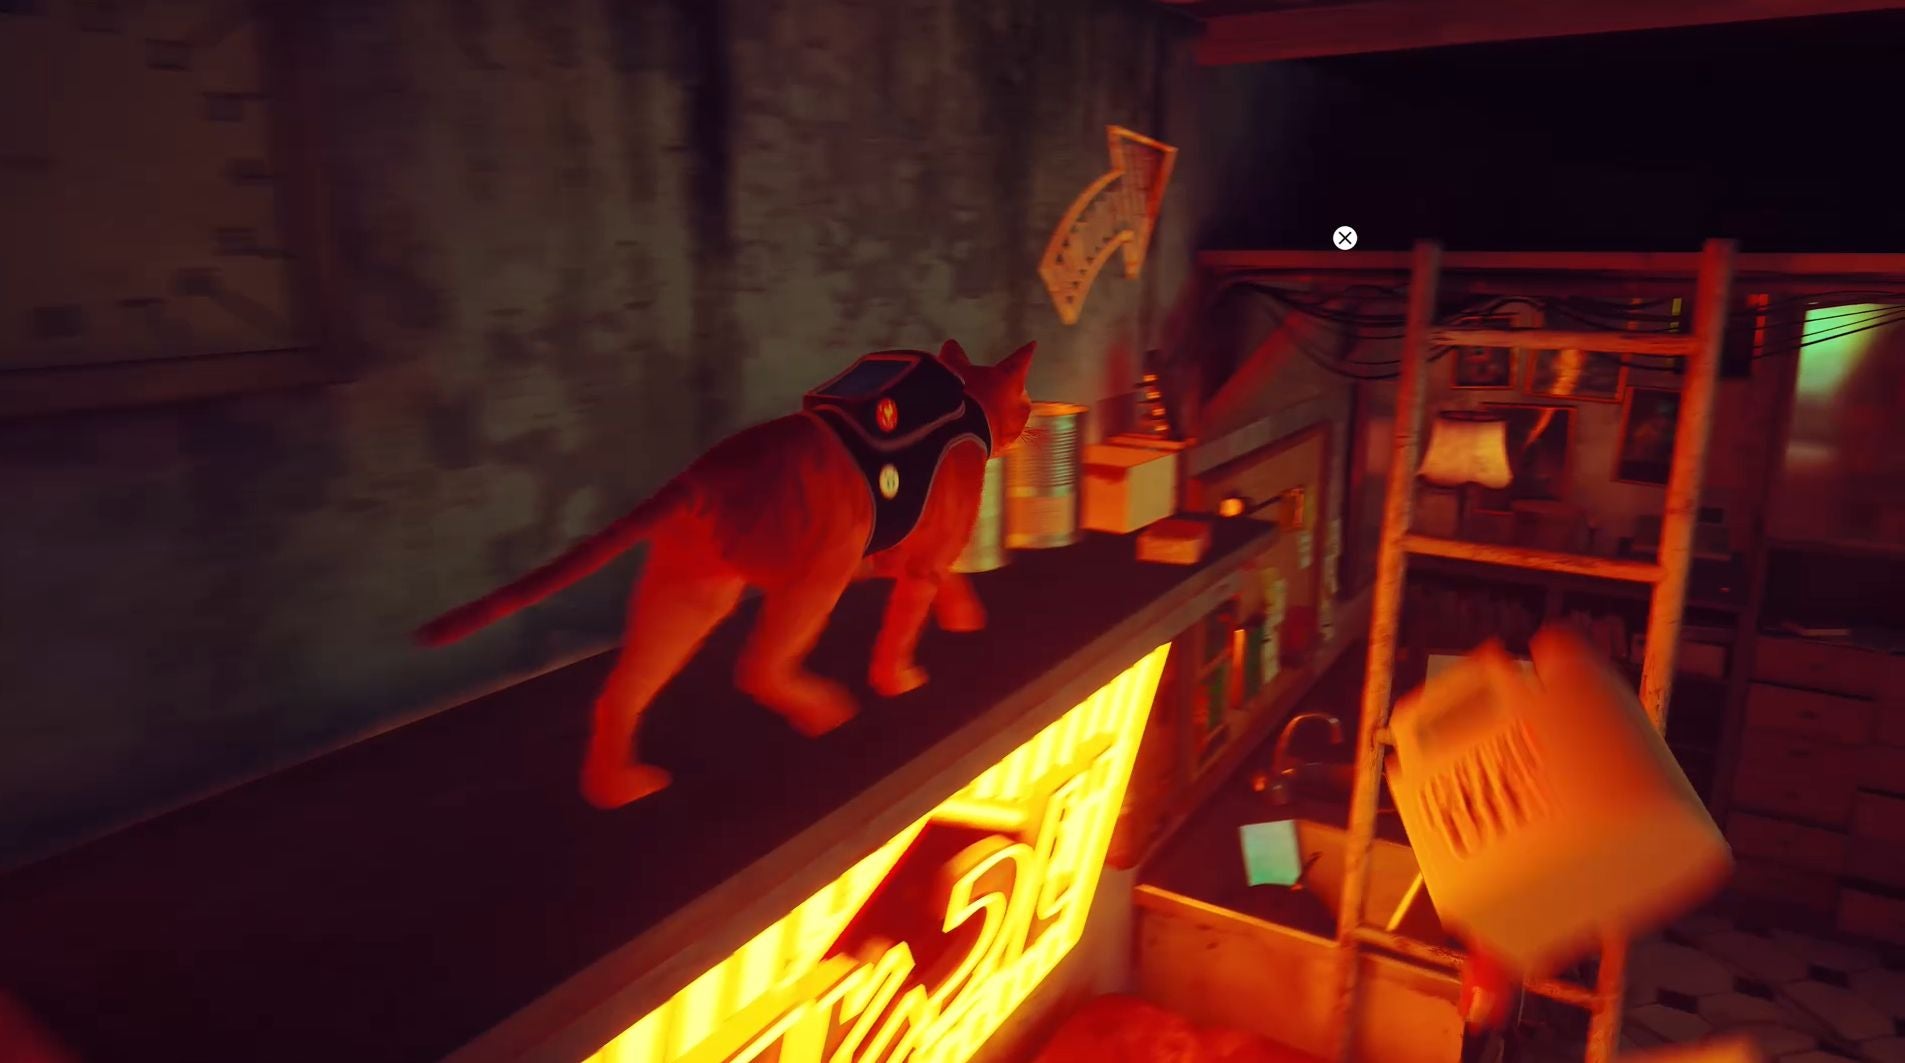
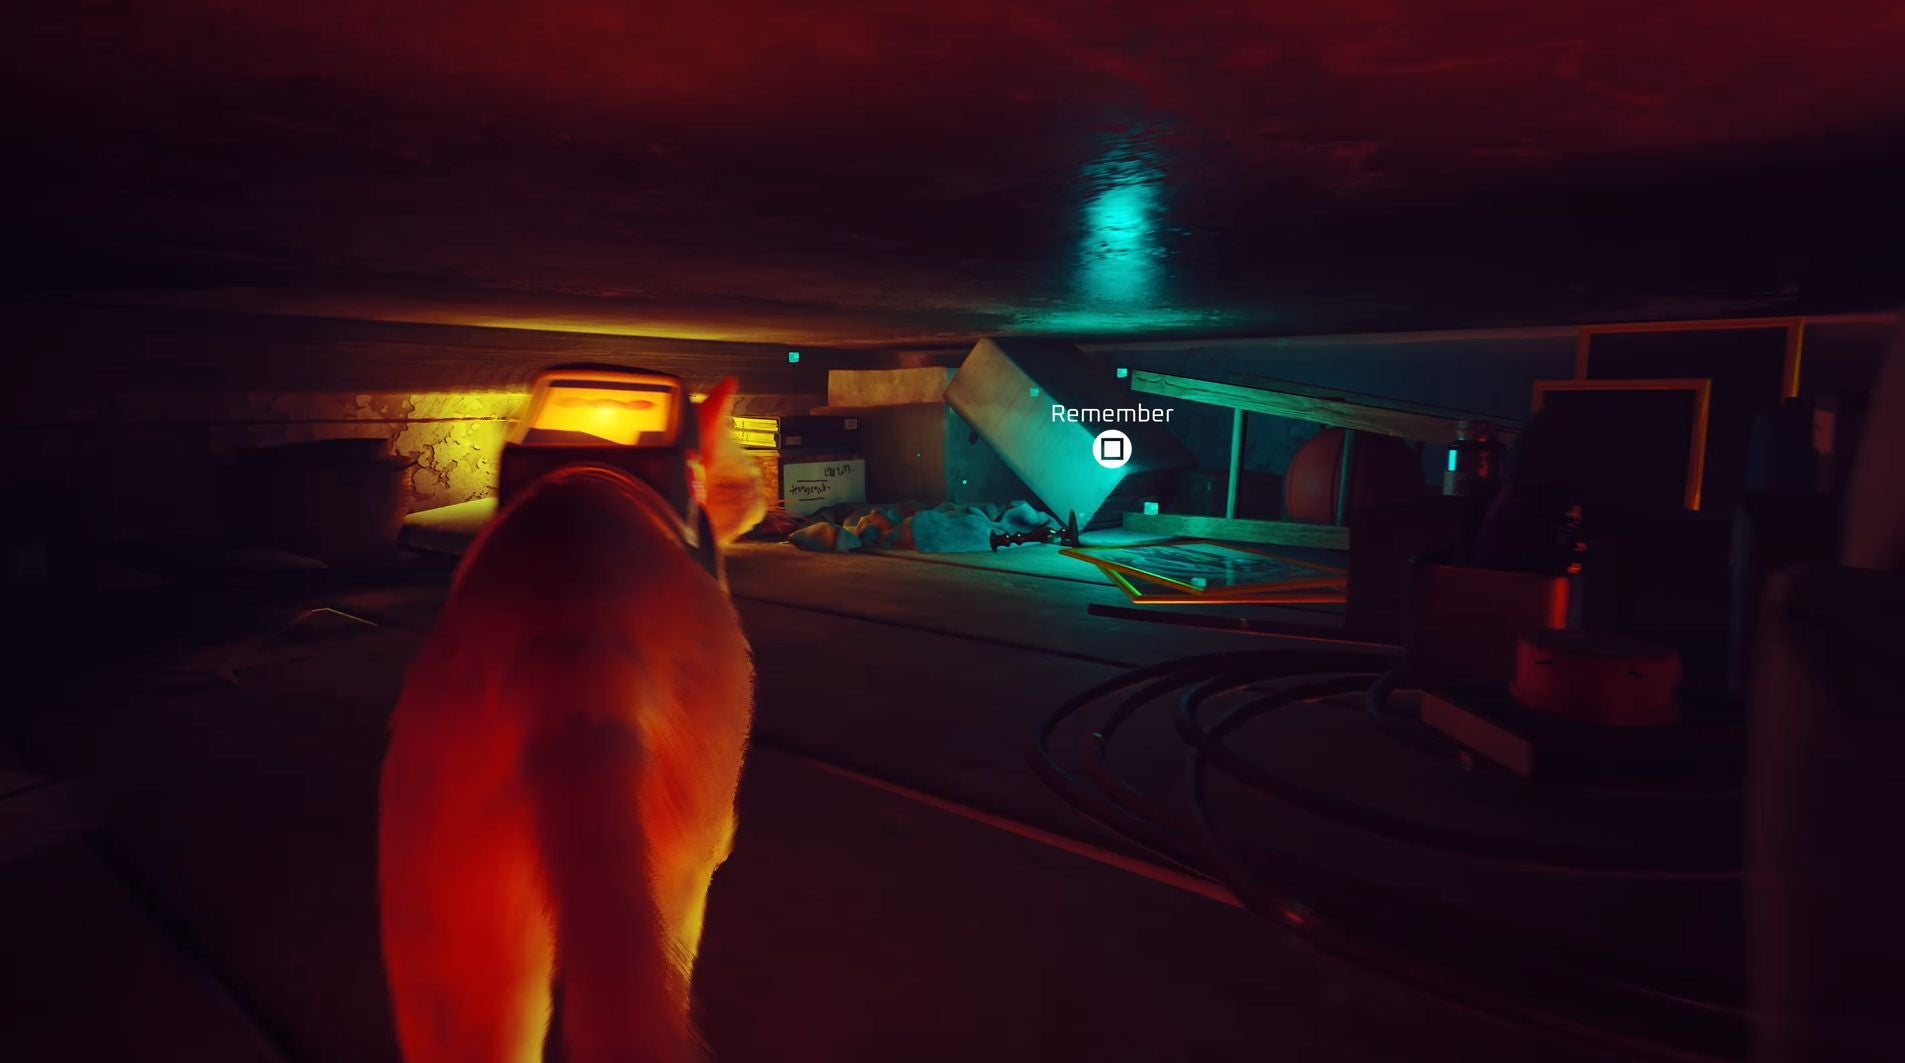
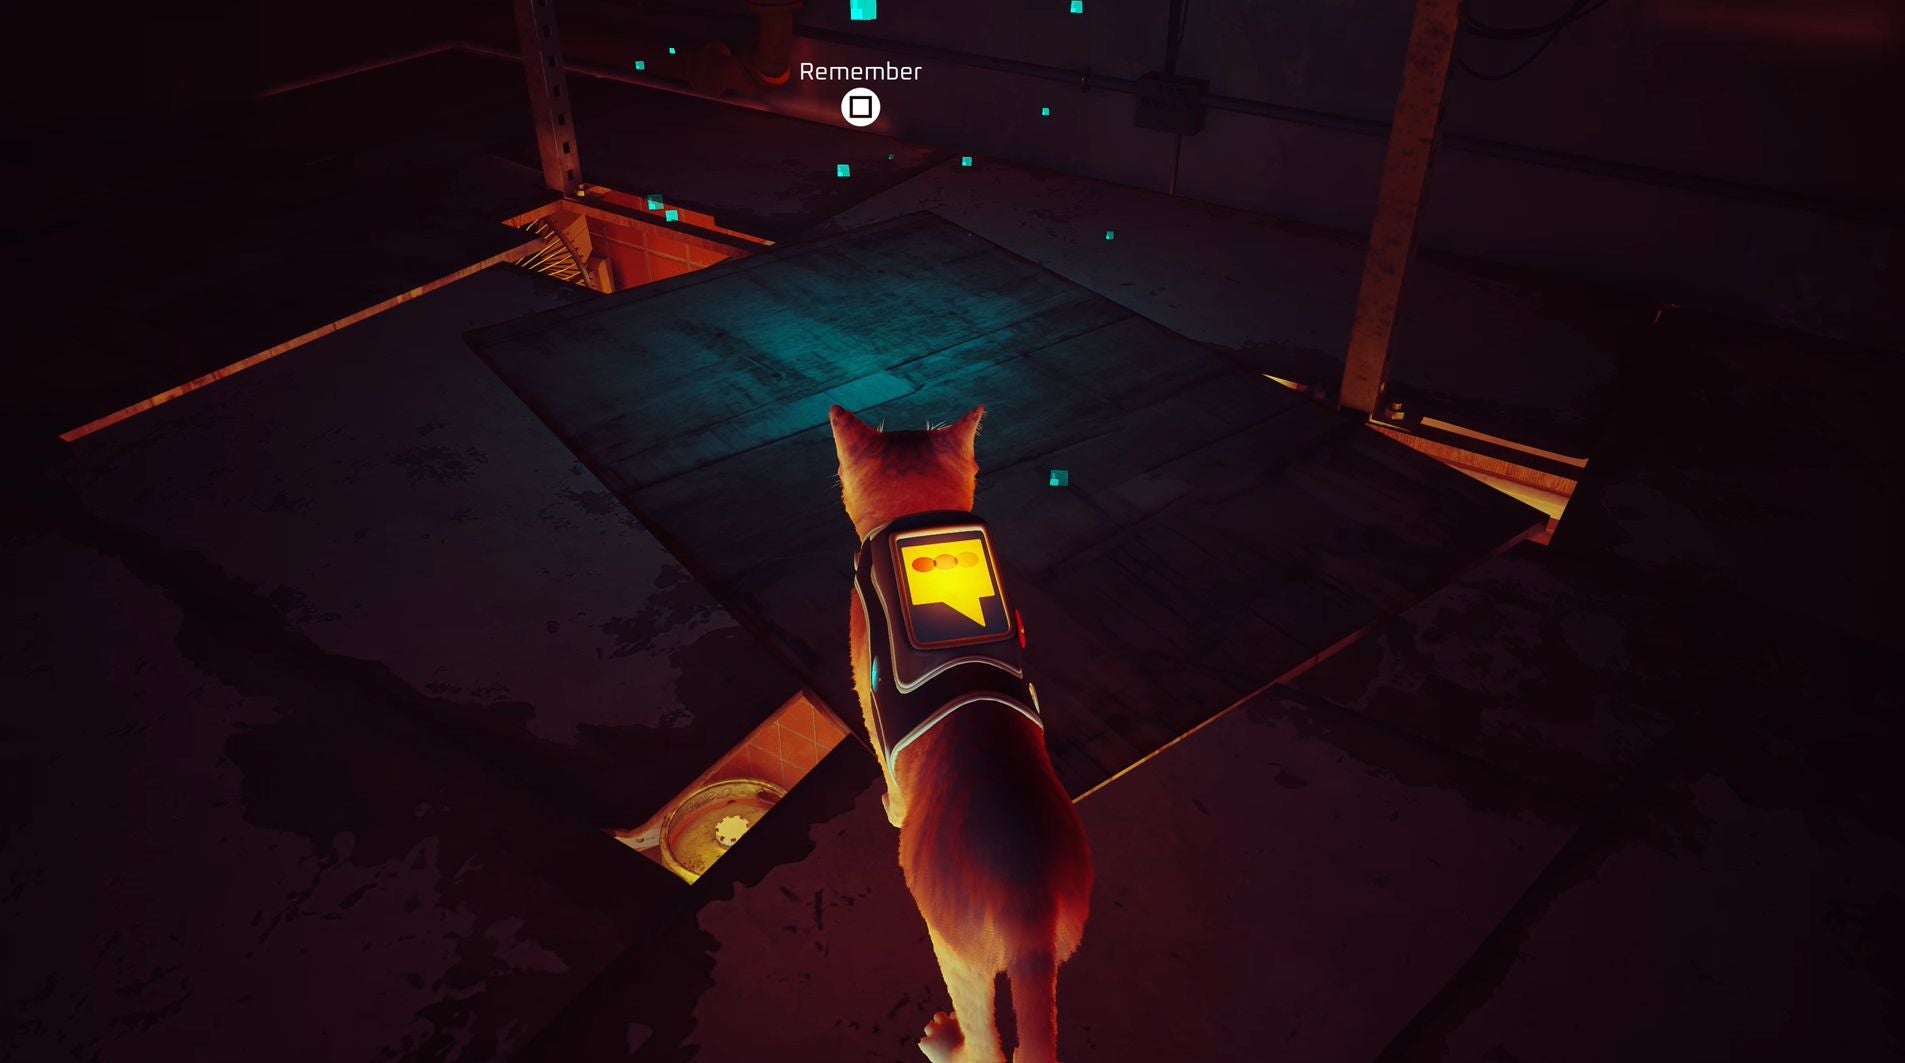
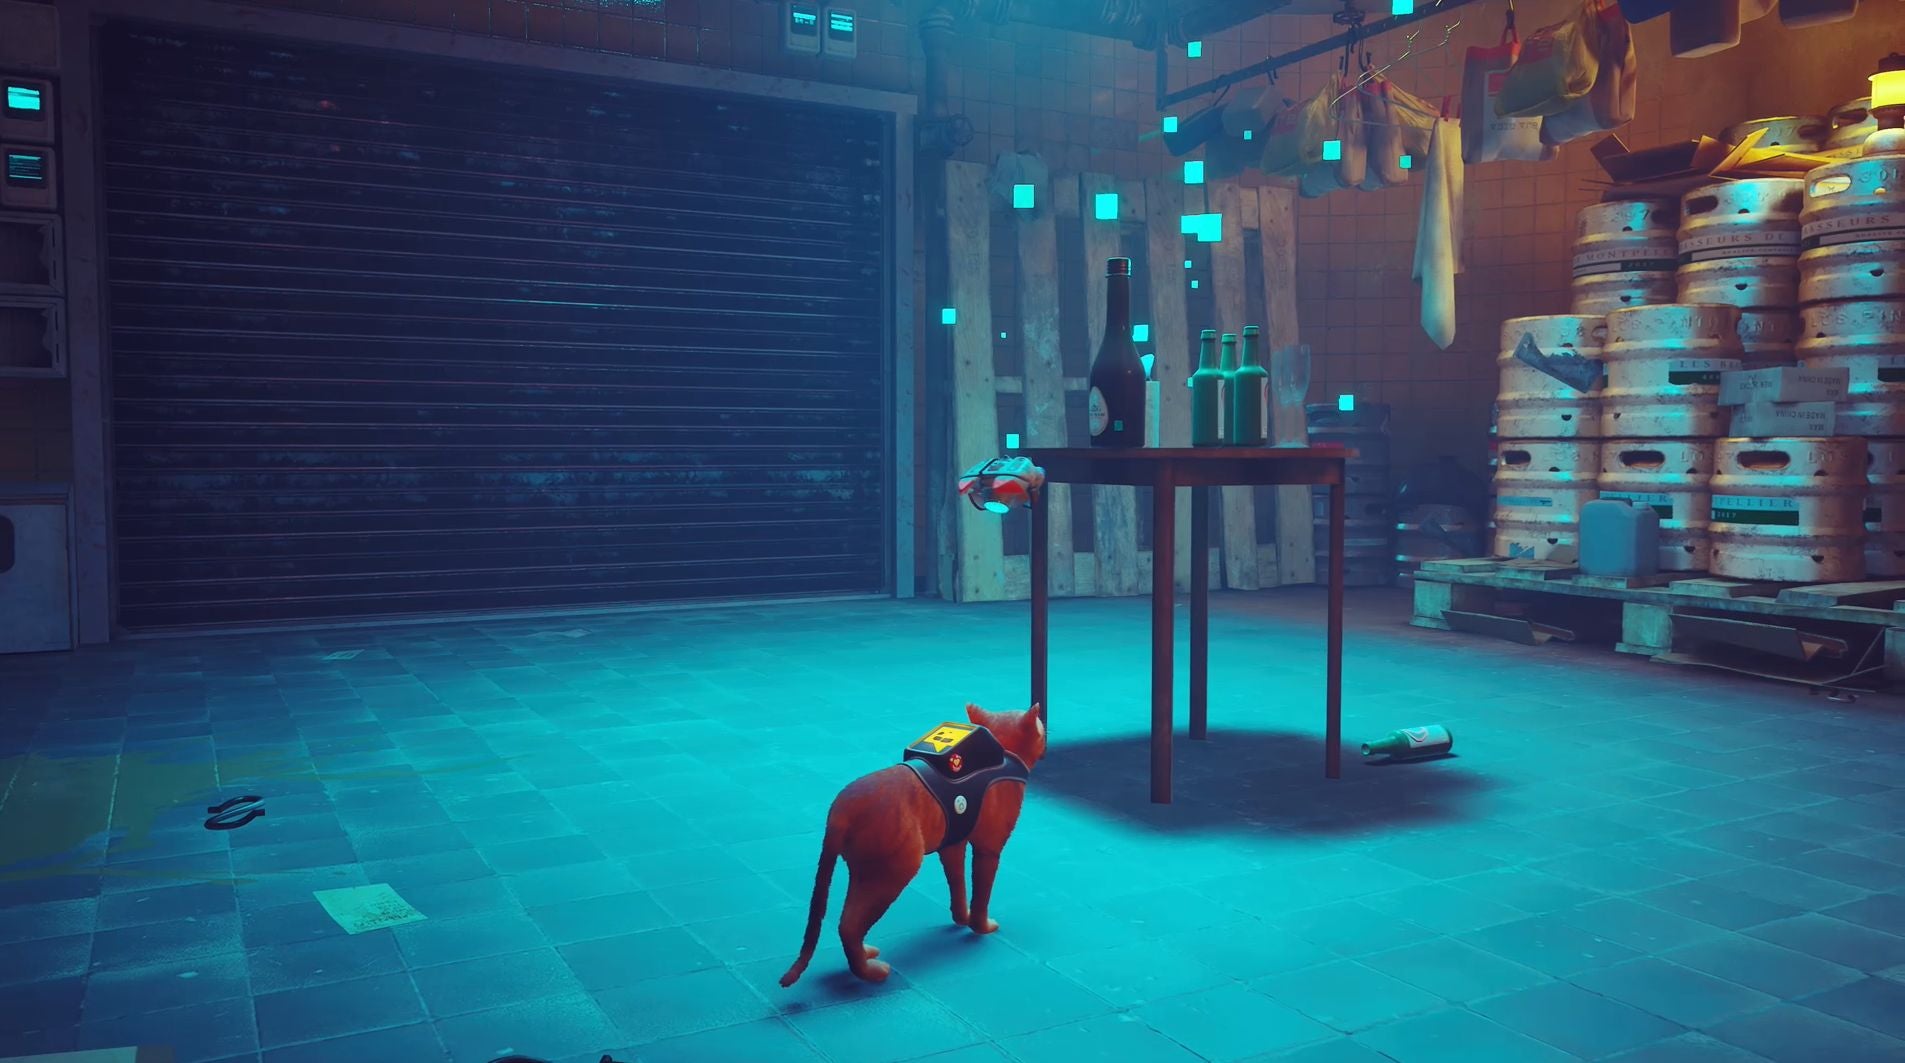
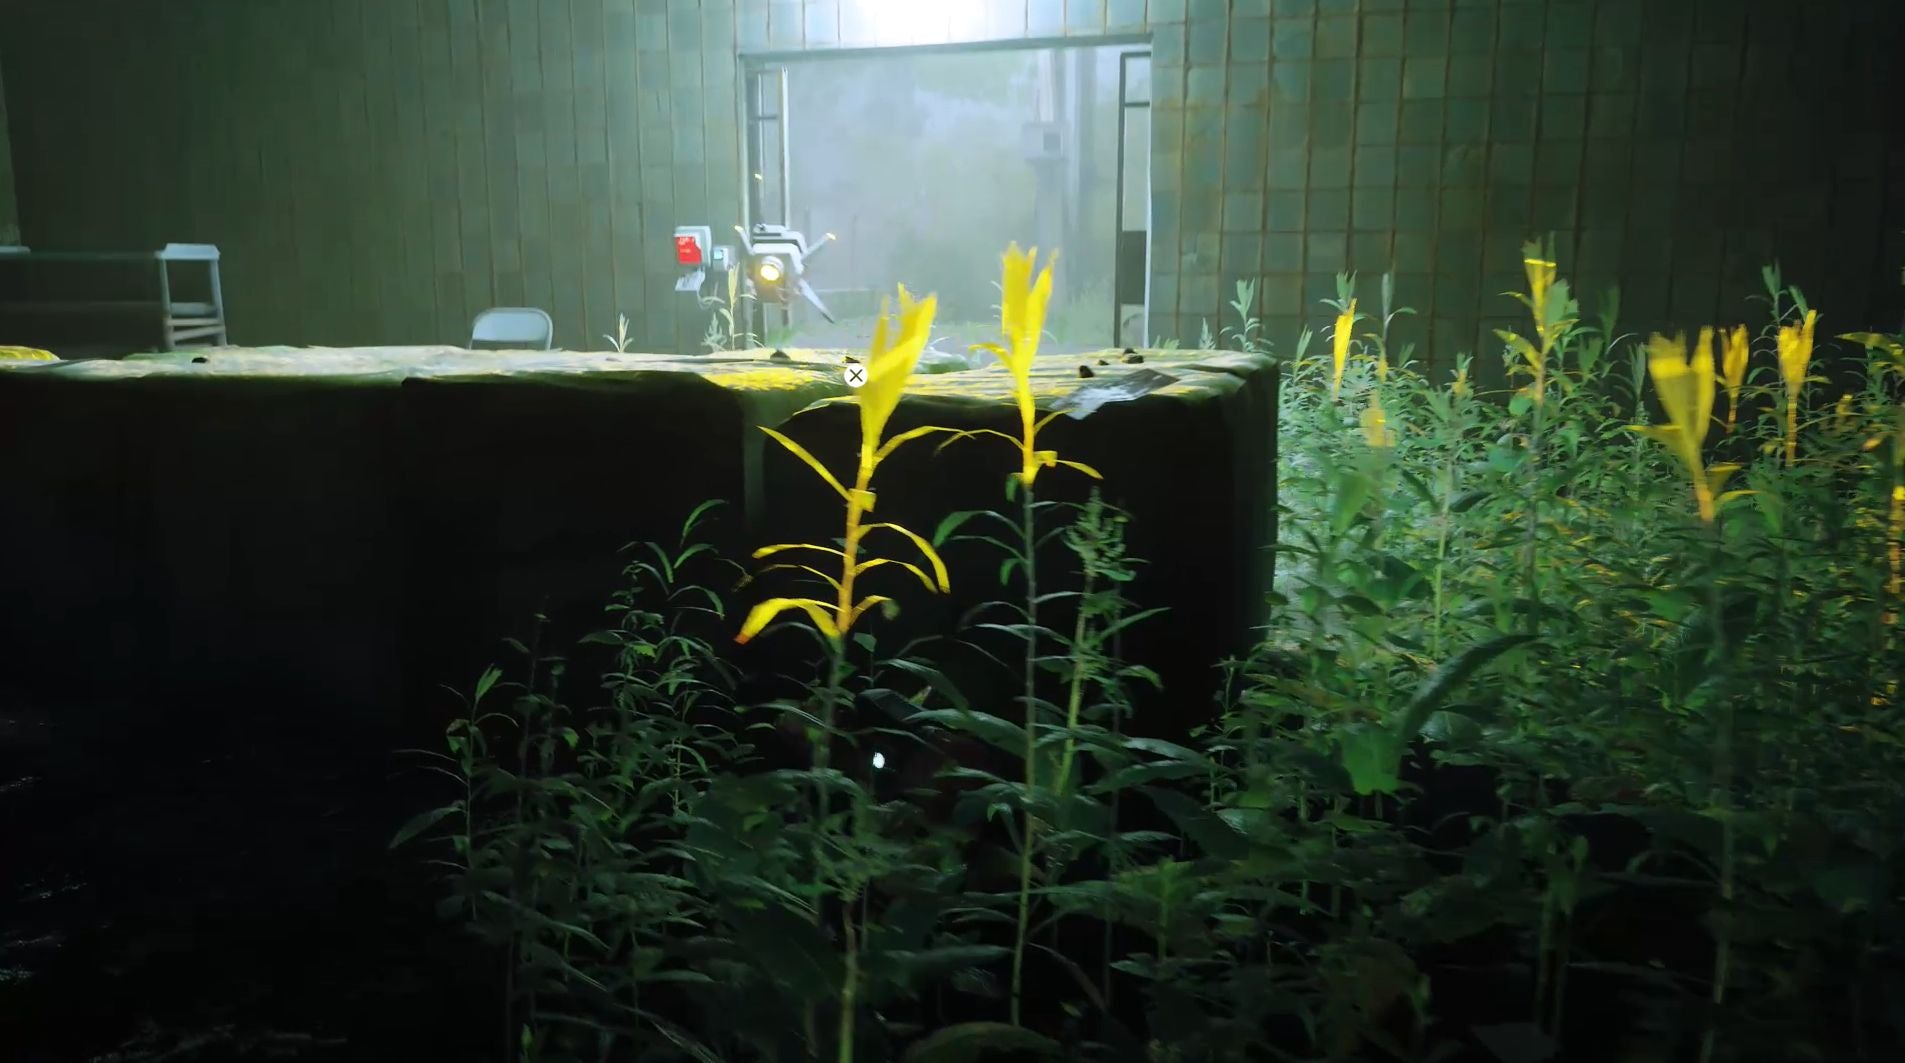
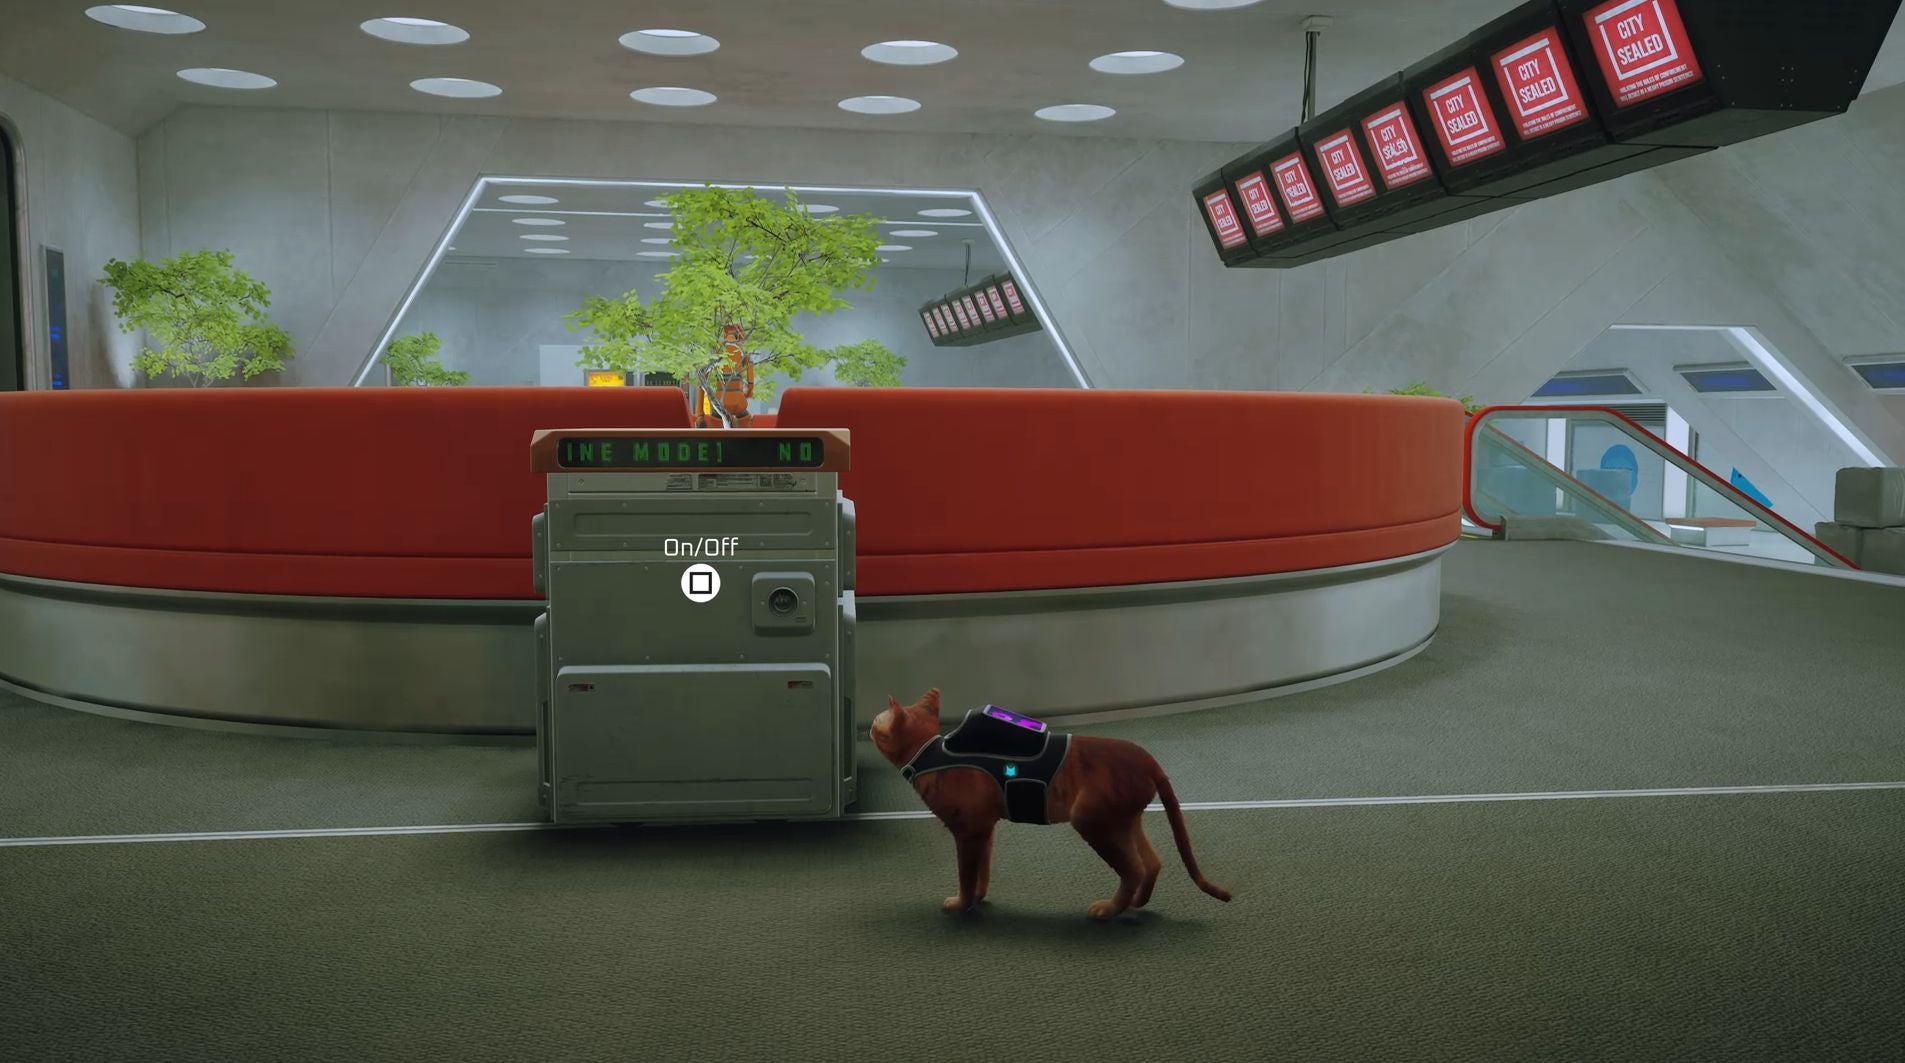
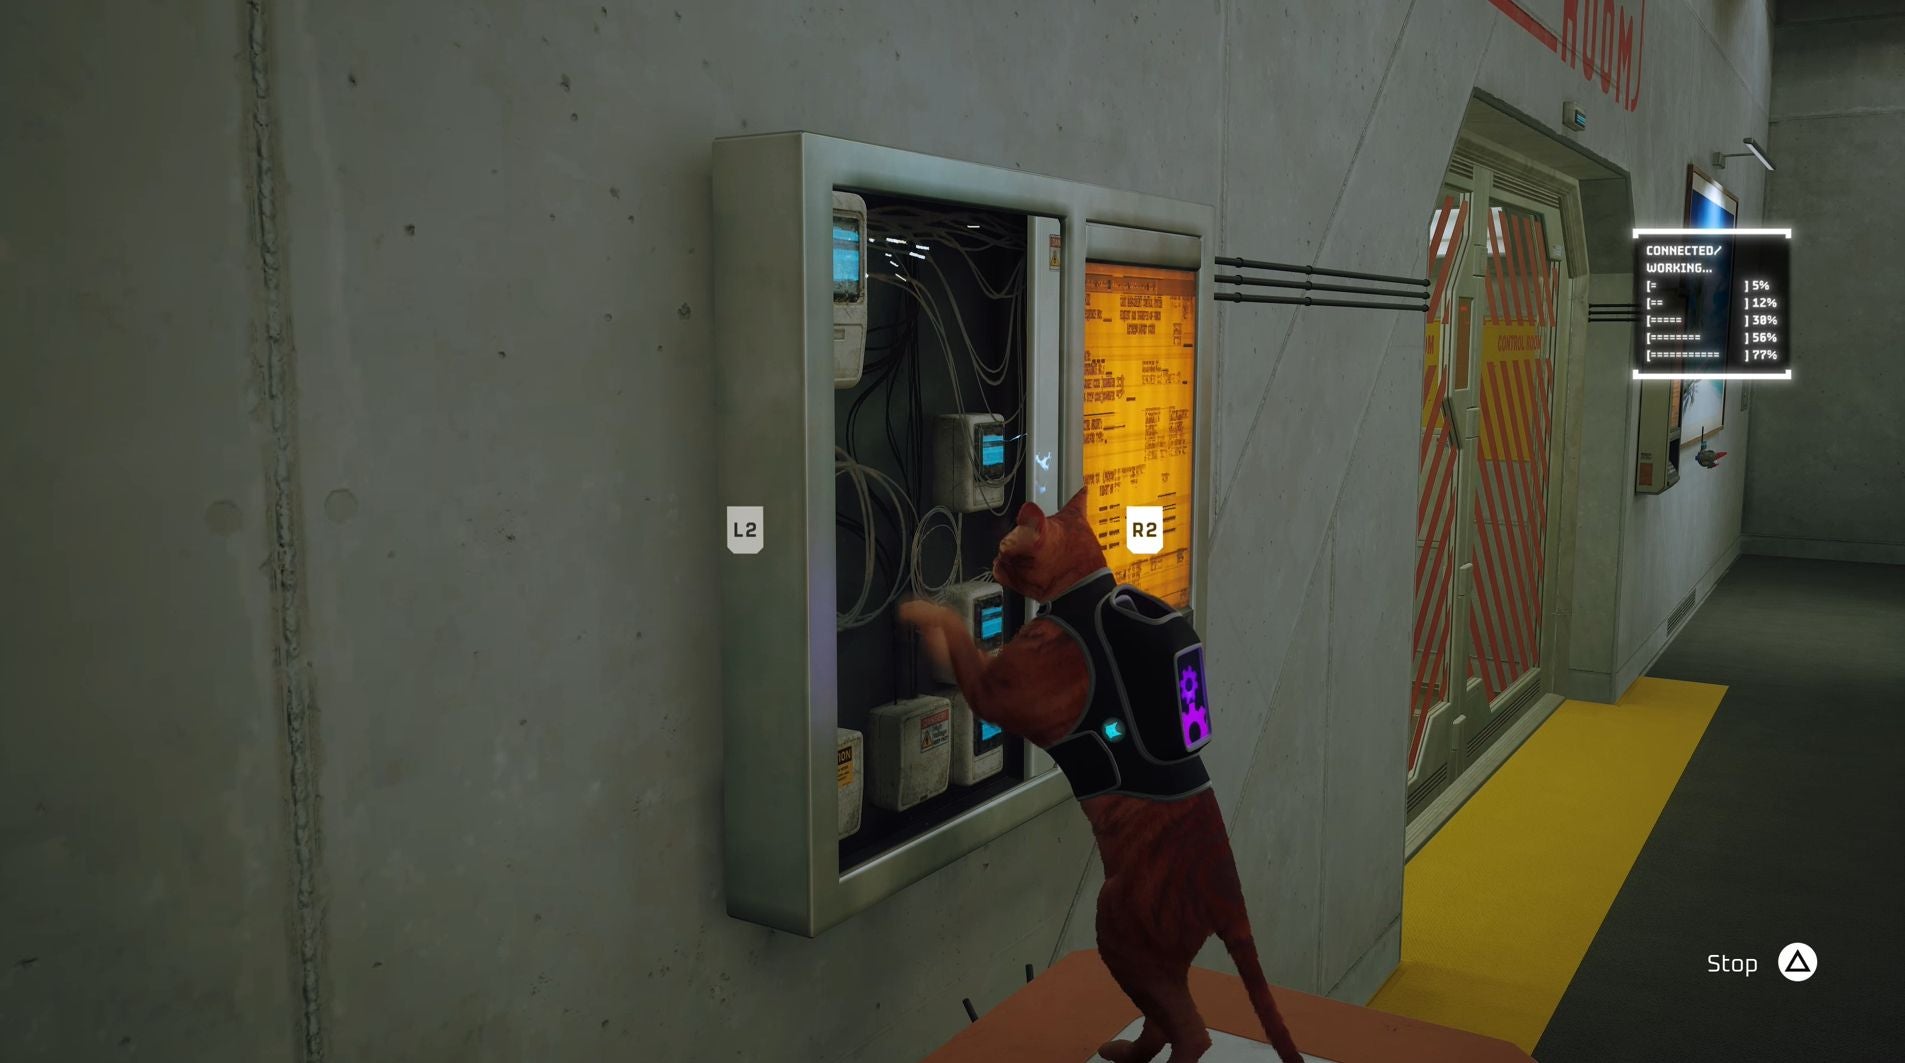
Scattered across the city of Stray are objects and locations which will help restore one of B-12’s corrupted memories; each memory will either reveal part of the little drone’s past or a fact about the city’s history. Below you’ll find all of the memory locations in Stray, so you can collect them and earn a Stray trophy. On this page: Explainers: Memory Locations: If you’d like to learn more about Stray, then check out our guides on the energy drink locations, music sheet locations and Stray trophies. There are 27 memories in total - with five being collected automatically as part of Stray’s storyline and 22 you need to find through exploration. B-12’s memory bank is located in your inventory and here you can view any memories you’ve already collected, along with the ones you haven’t. Memories you’ve restored are coloured blue, while the ones you receive are yellow. Grey memories, meanwhile, are the ones you’re yet to find in this current level, while the ones with no colour can not be found in your current location. Whenever you start a new chapter in Stray, it’s a good idea to see if there are any memories hidden in this new location. If there are, you’ll see a number of grey squares in B-12’s memories which will correctly correspond with the amount of memories you can find in this chapter. By selecting a memory, you’ll be shown a glitchy picture of its location that you can enlarge. Finding all of the memories will unlock a small present for you to enjoy - it’s not much, but we won’t spoil the surprise. Don’t worry if you miss a memory - Stray allows you to restart any chapter you’ve already completed whenever you like. The only catch is that you have to start that chapter from the very beginning. While these memories can be collected in any order, we’ve arranged them in the order in which they appear in B-12’s memory bank.
First Slums Memory
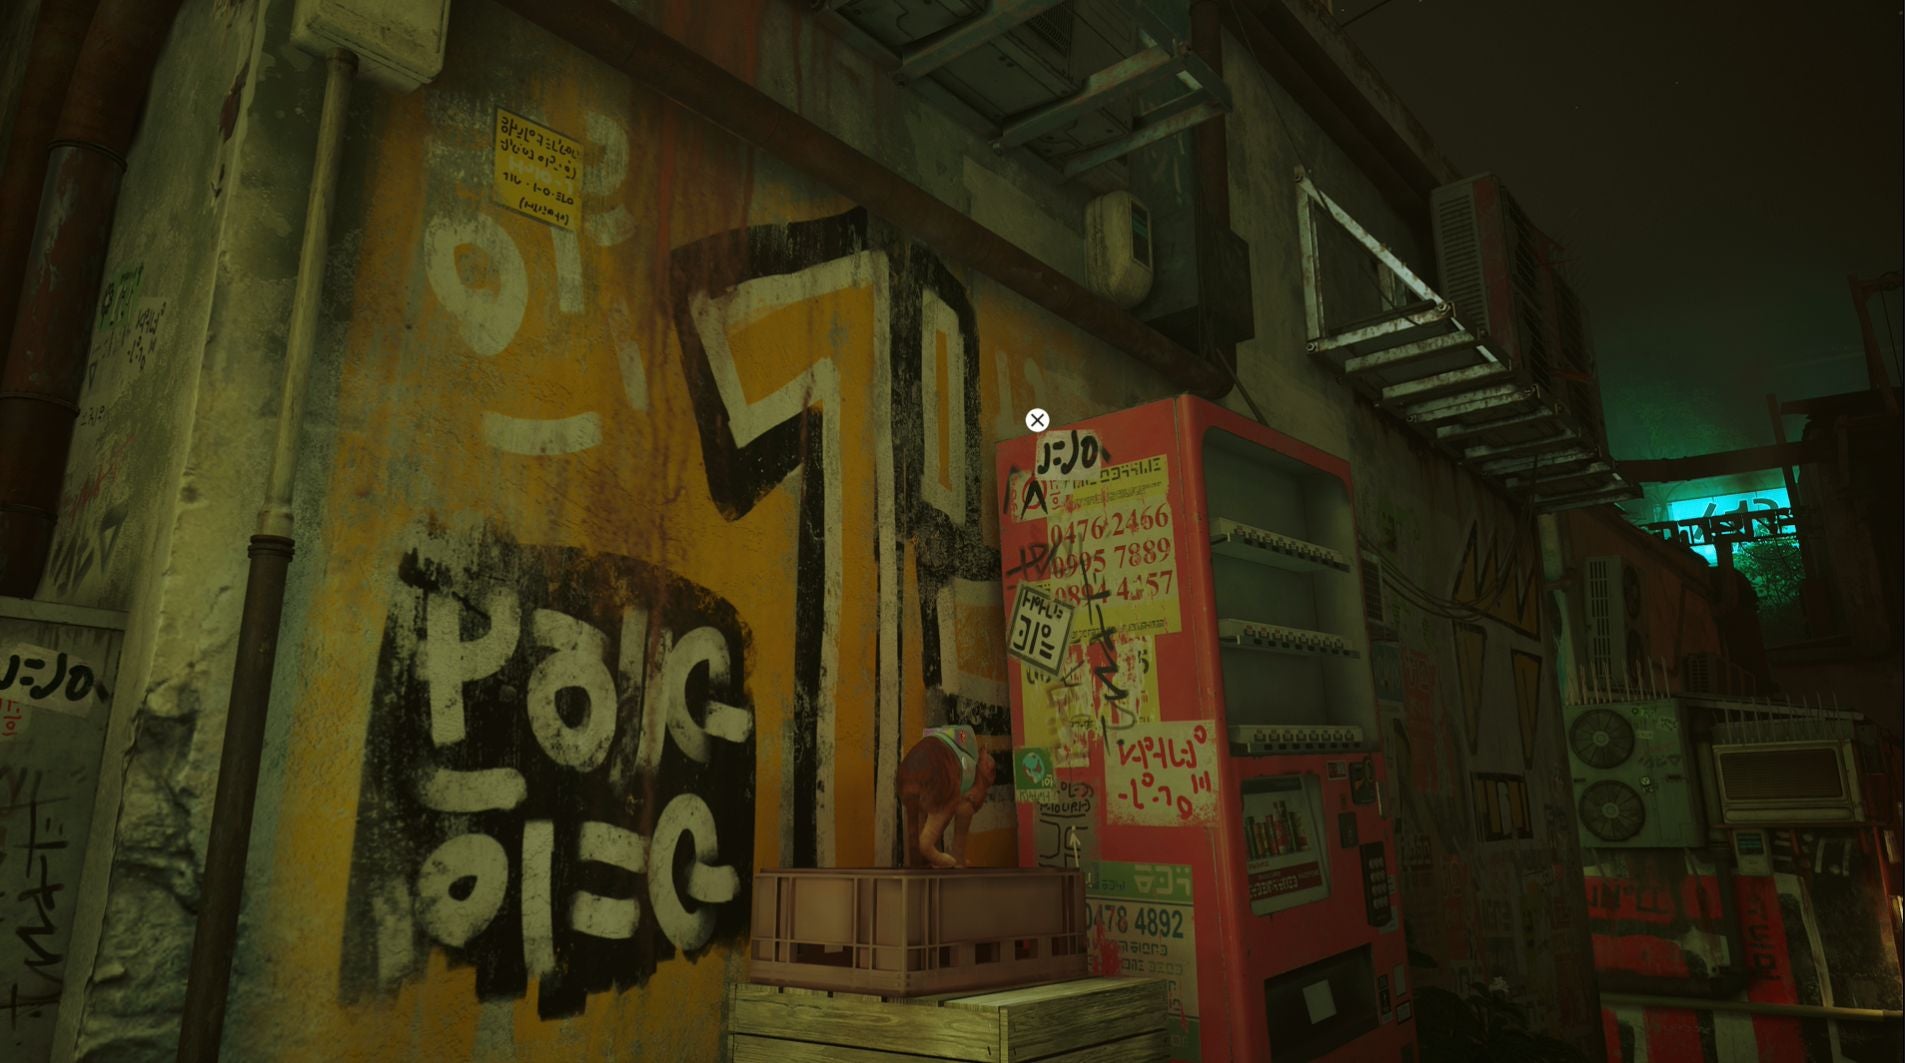
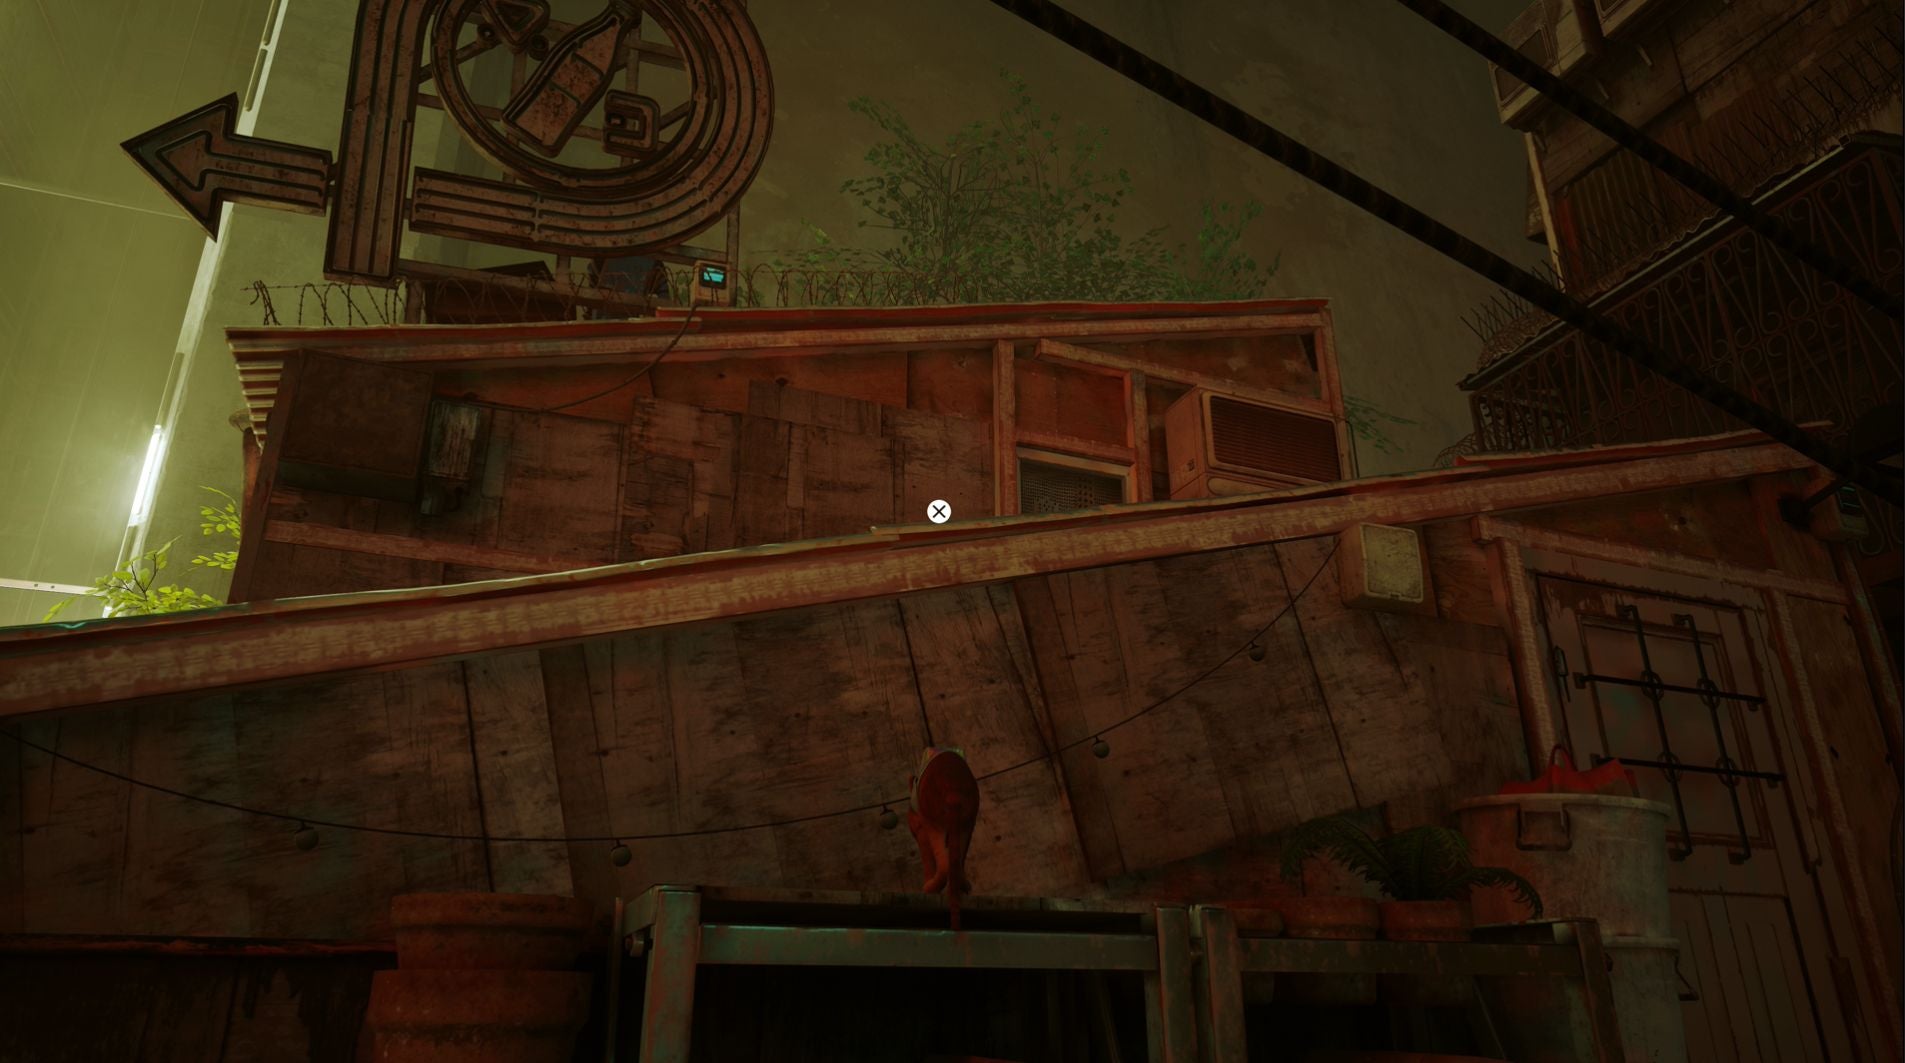
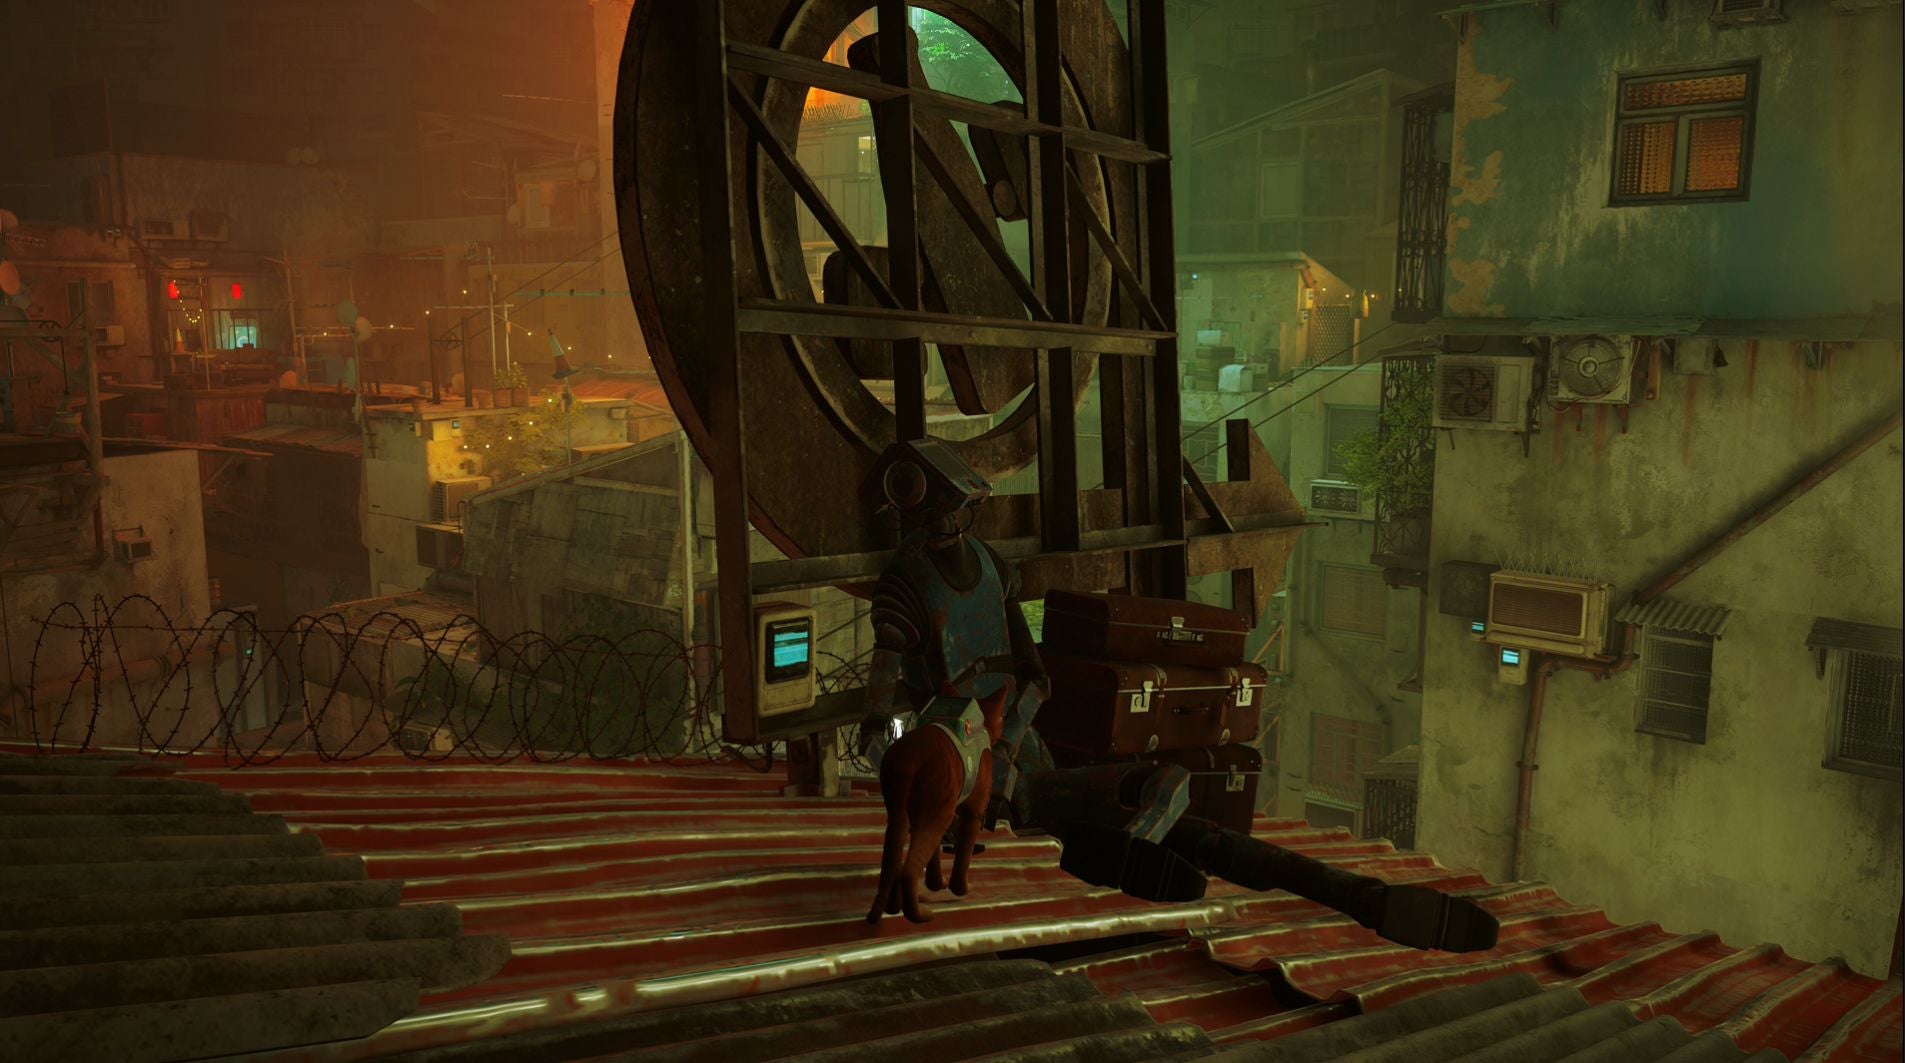
The first memory in The Slums is found by interacting with a dead robot lying atop the house directly opposite The Guardian. The easiest way to reach this roof is to climb onto the crate next to the red vending machine near The Guardian. Doing so will let you use the air vents and railing to reach the roof above. From here, use the shelf to the next roof and then, there, the air vent to climb atop the final roof. You’ll now find the dead robot lying against the sign.
Second Slums Memory
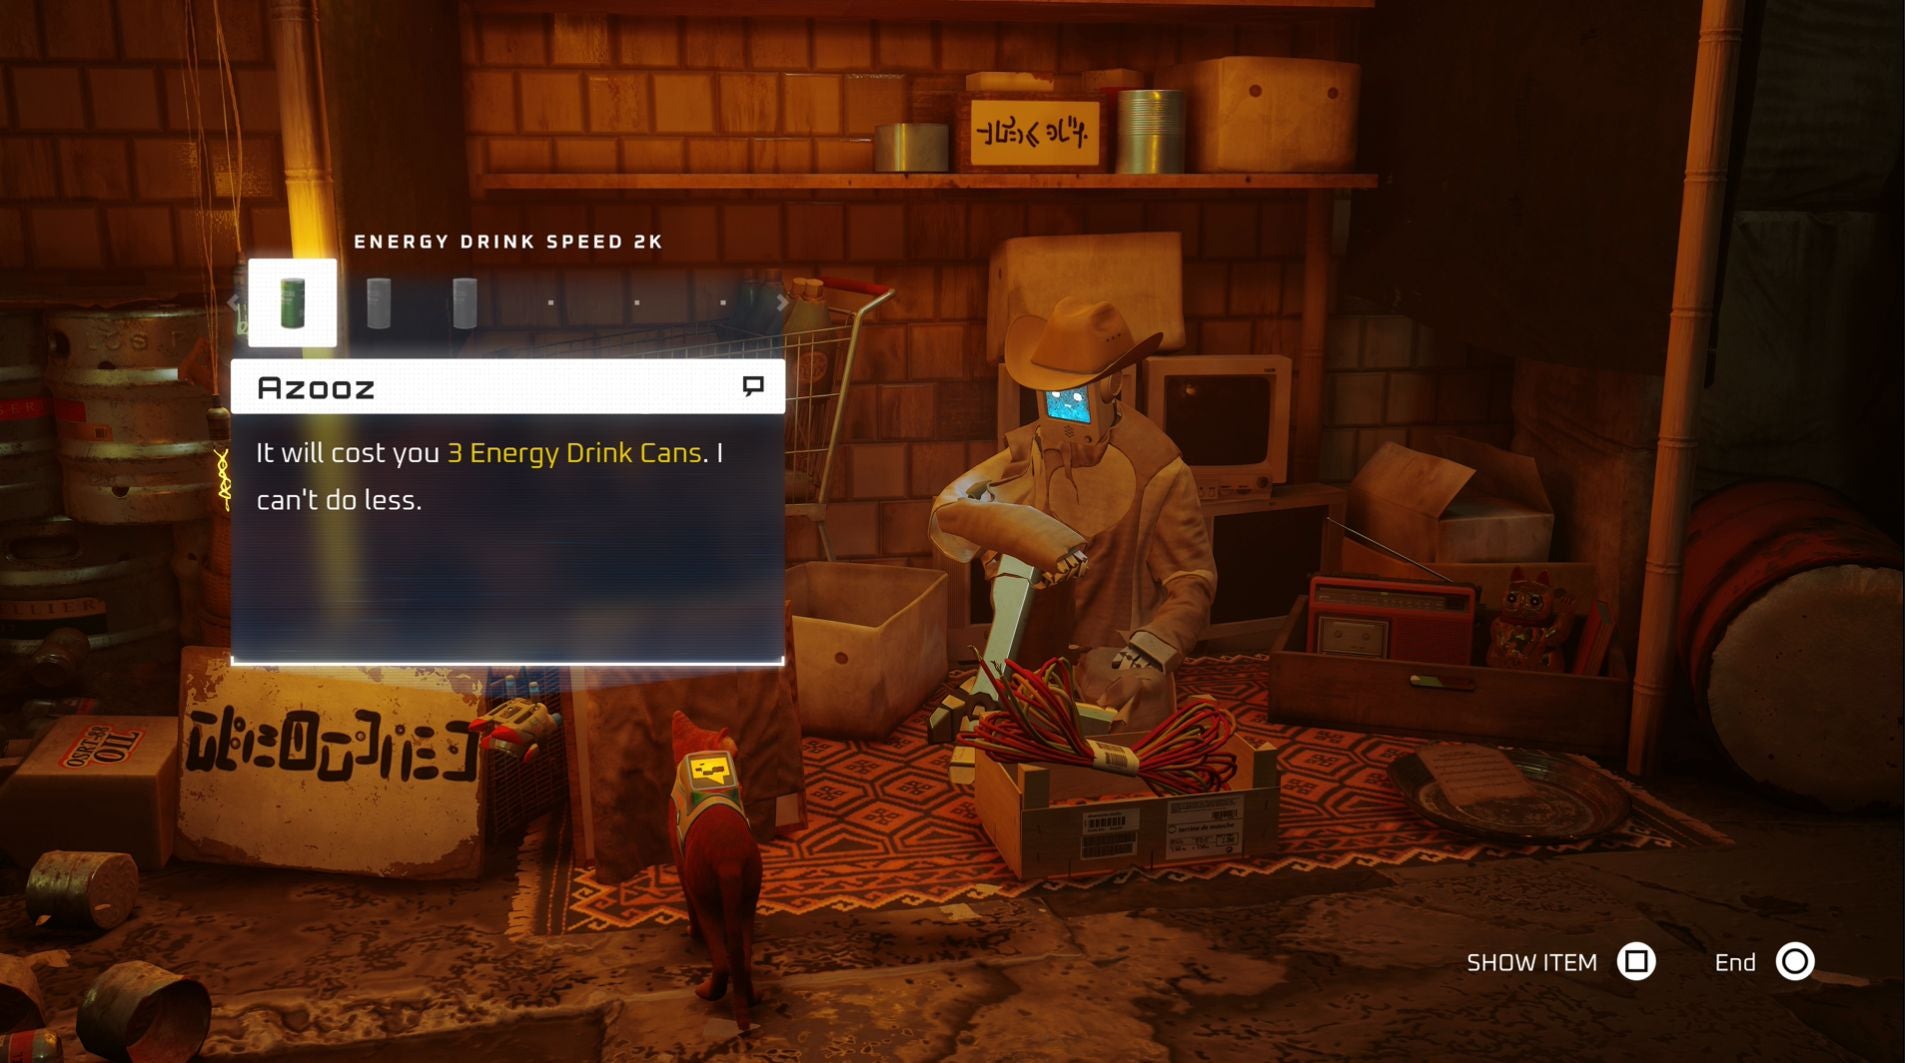
To obtain the second memory in The Slums, you need to purchase the ‘ancient relic’ from Azooz at the Marketplace west of The Guardian. To do so, you will need three energy drinks, which can be found by interacting with vending machines located within The Slums. After giving Azooz the cans, he’ll pull the sheet off the relic and you’ll be able to restore B-12’s memory. (No idea why he couldn’t do this for free, but I guess business is business.)
Third Slums Memory
For the third memory in The Slums, you need to head to the second floor of the bar. Here you’ll find the memory by interacting with the bowel on the table located near the top of the stairs and pool table. (At least I think it’s a pool table - the balls definitely look like they belong to pool.)
Fourth Slums Memory
For the fourth The Slums memory, you need to visit Momo’s flat. Once inside, head into this small bedroom and, on the opposite wall to the bed, you’ll find a poster, which will unlock this memory.
Fifth Slums Memory
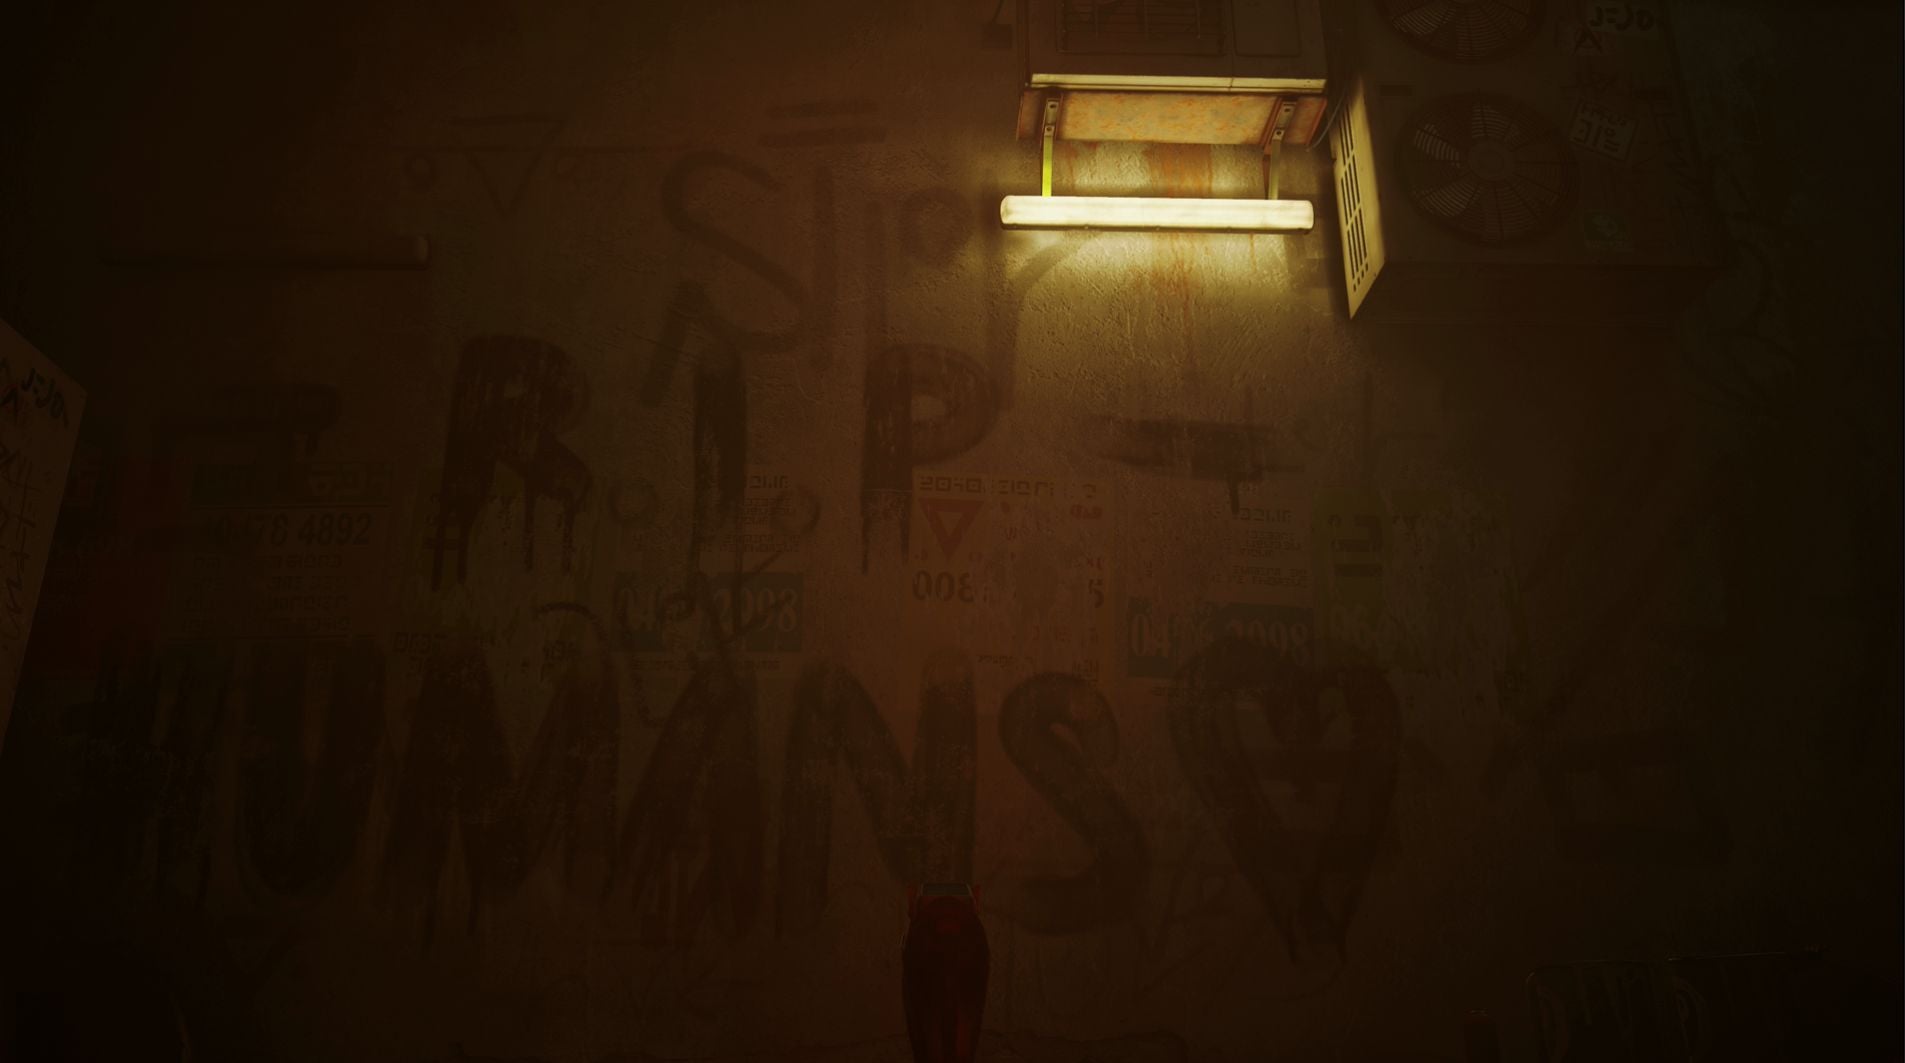
The fifth memory within The Slums is a piece of graffiti which reads, ‘RIP Humans.’ Using The Guardian as a starting point, you can find the memory by going down the stairs in front of this robot. Next, take the street to your right that leads to the laundrette. Once you’ve passed the laundrette, continue walking forward until you reach the memory.
Sixth Slums Memory
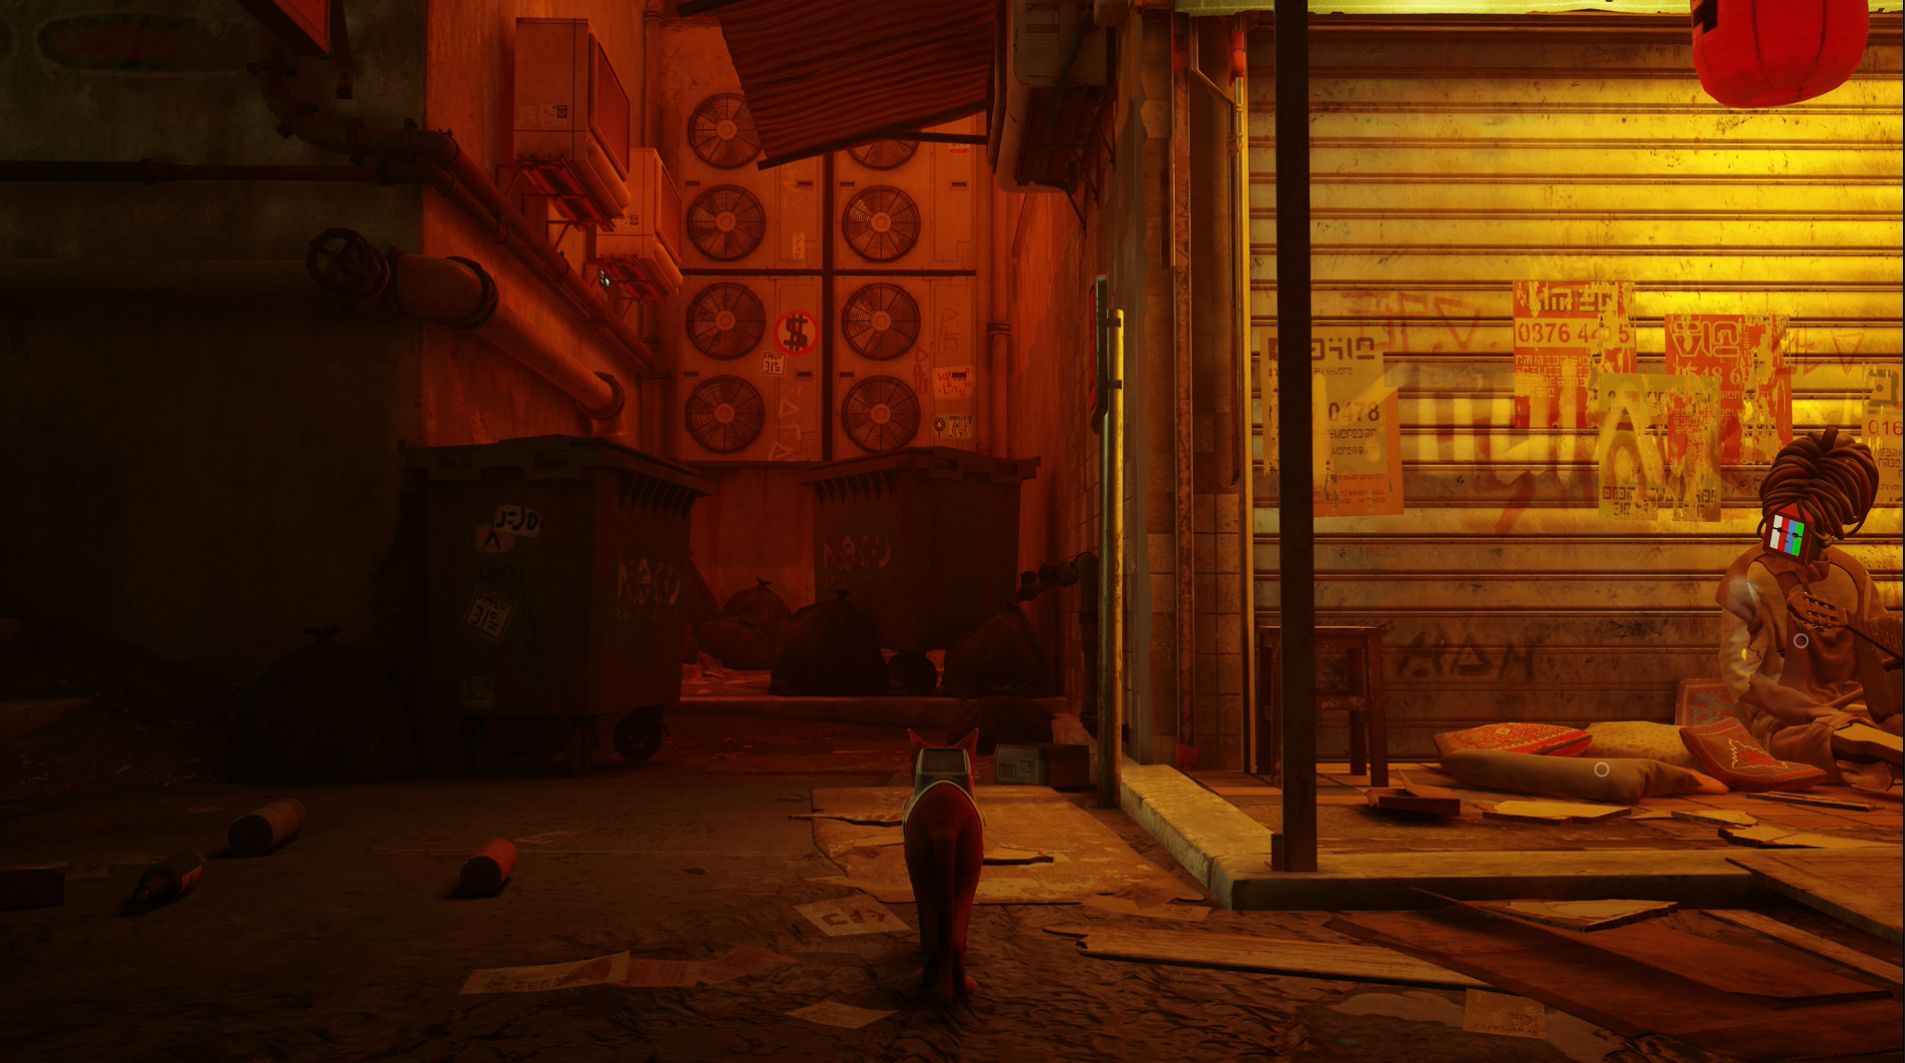
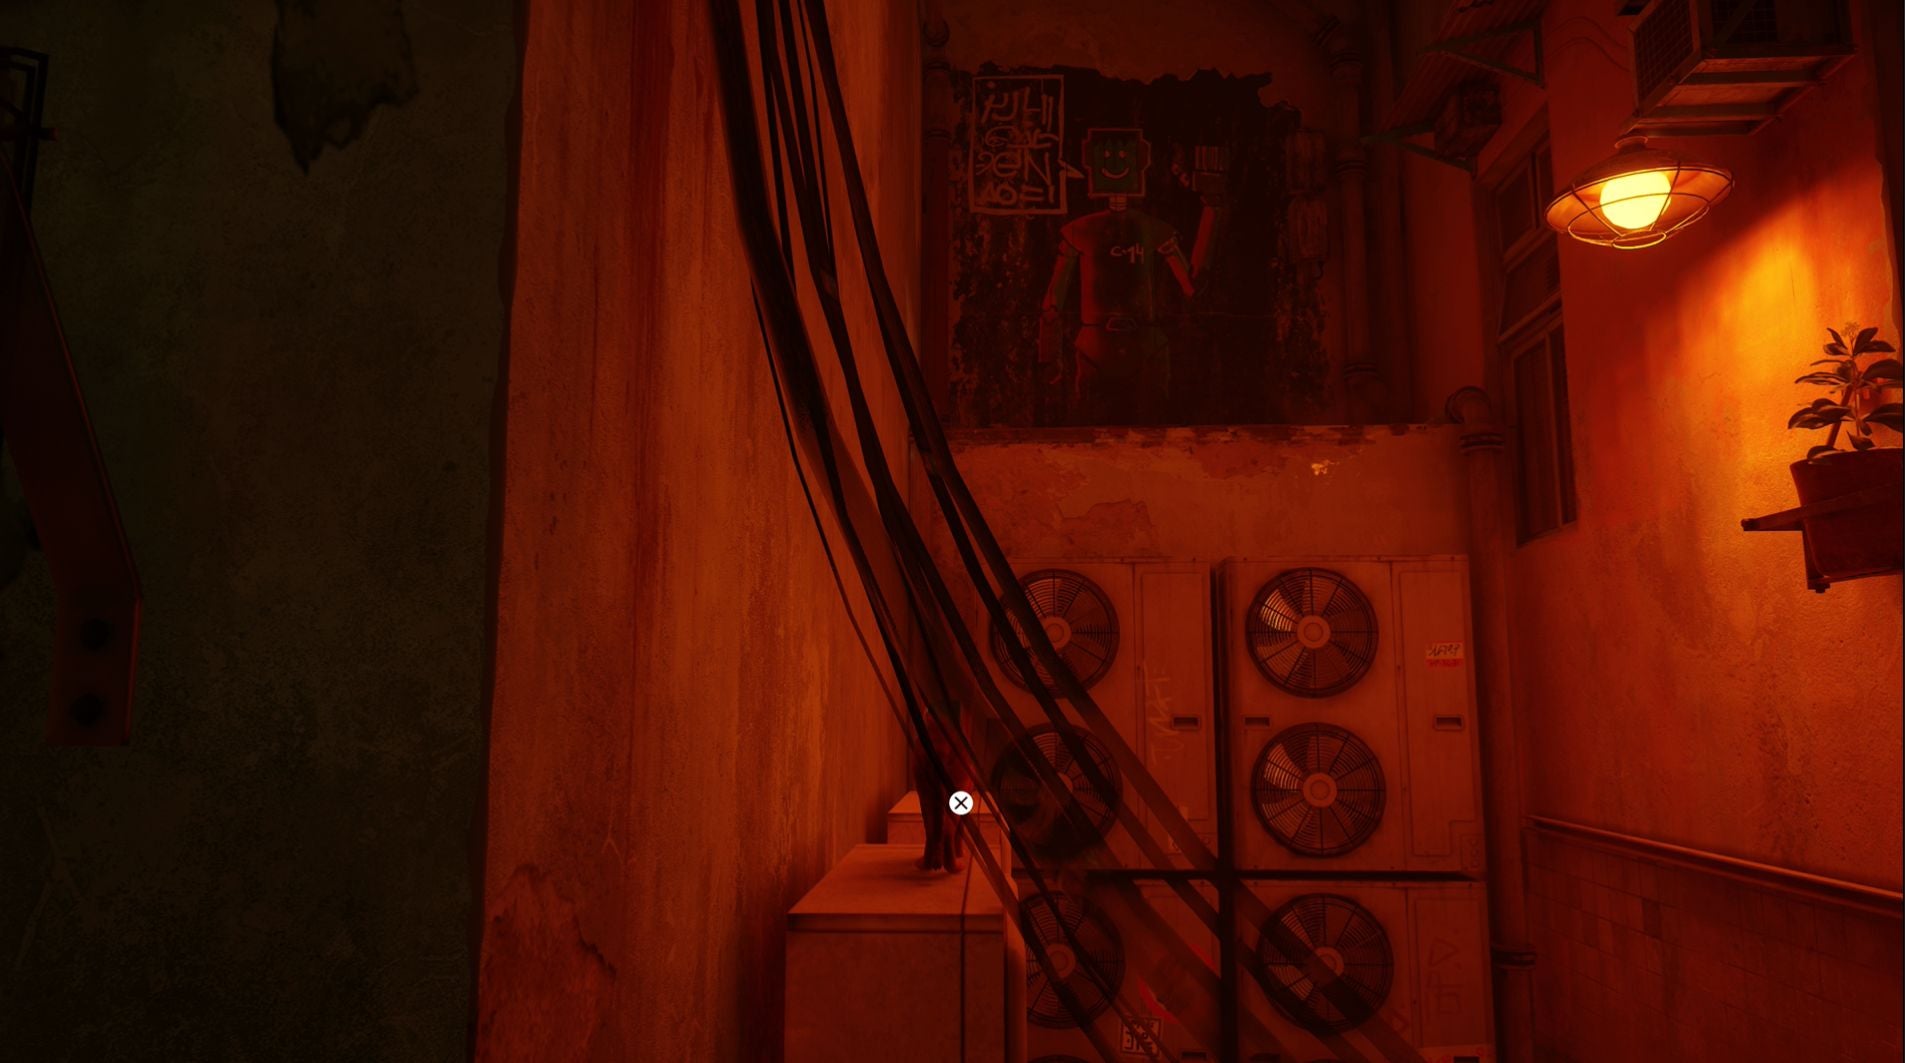
The sixth Slums memory is another piece of graffiti, which can be found in the alley to the left of where Morusque, who you can give music sheets to you, sits. To reach this memory you need to jump on one of the bins, so you reach the small tin roof. From here, you can use the air vents to reach the painting of a robot.
Seventh Slums Memory
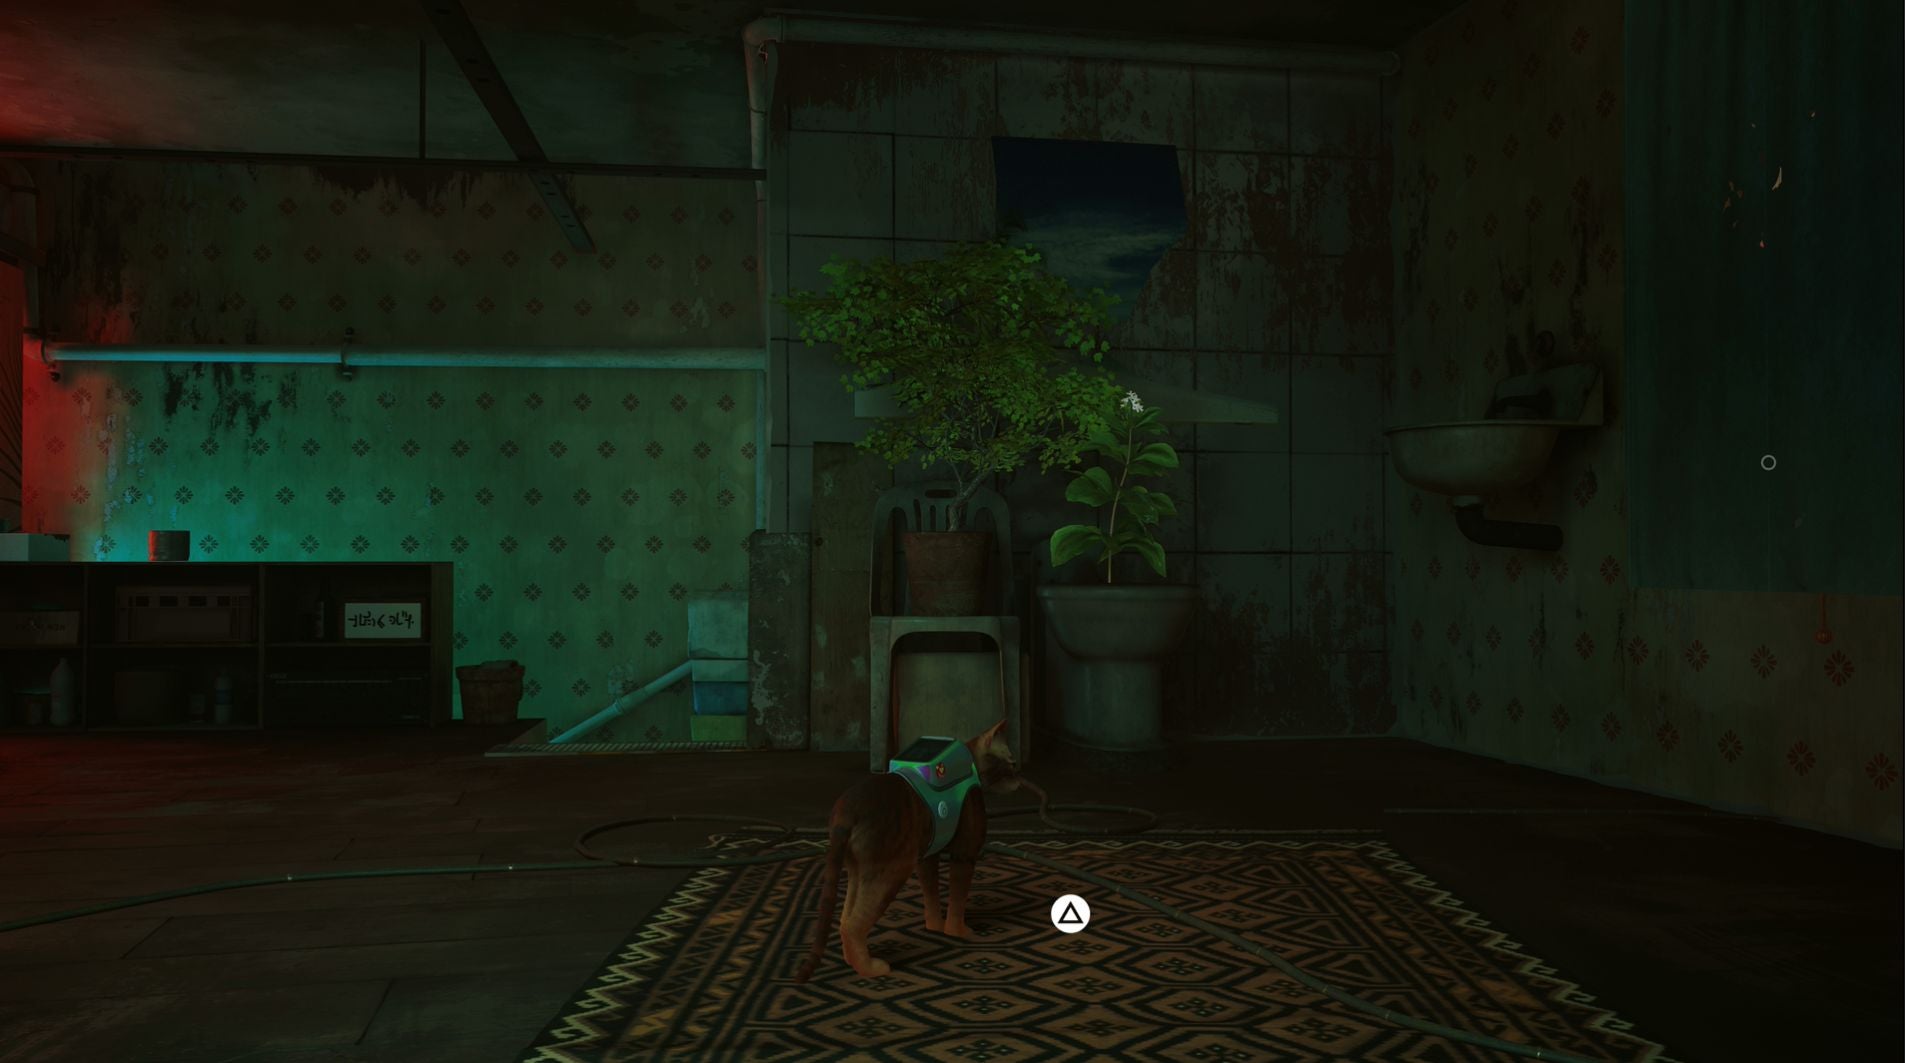
The seventh memory hidden within The Slums is located on the first floor (or second depending on your opinion on floors) of Elliot’s house. Scratch at the door for his house to be let in and then head up the stairs. Once you’re at the top of the stairs, head into the left corner to find the memory by interacting with a plant being grown out of a toilet. Here are the Rooftop memories in the order they appear in B-12’s memory bank:
First Rooftops Memory
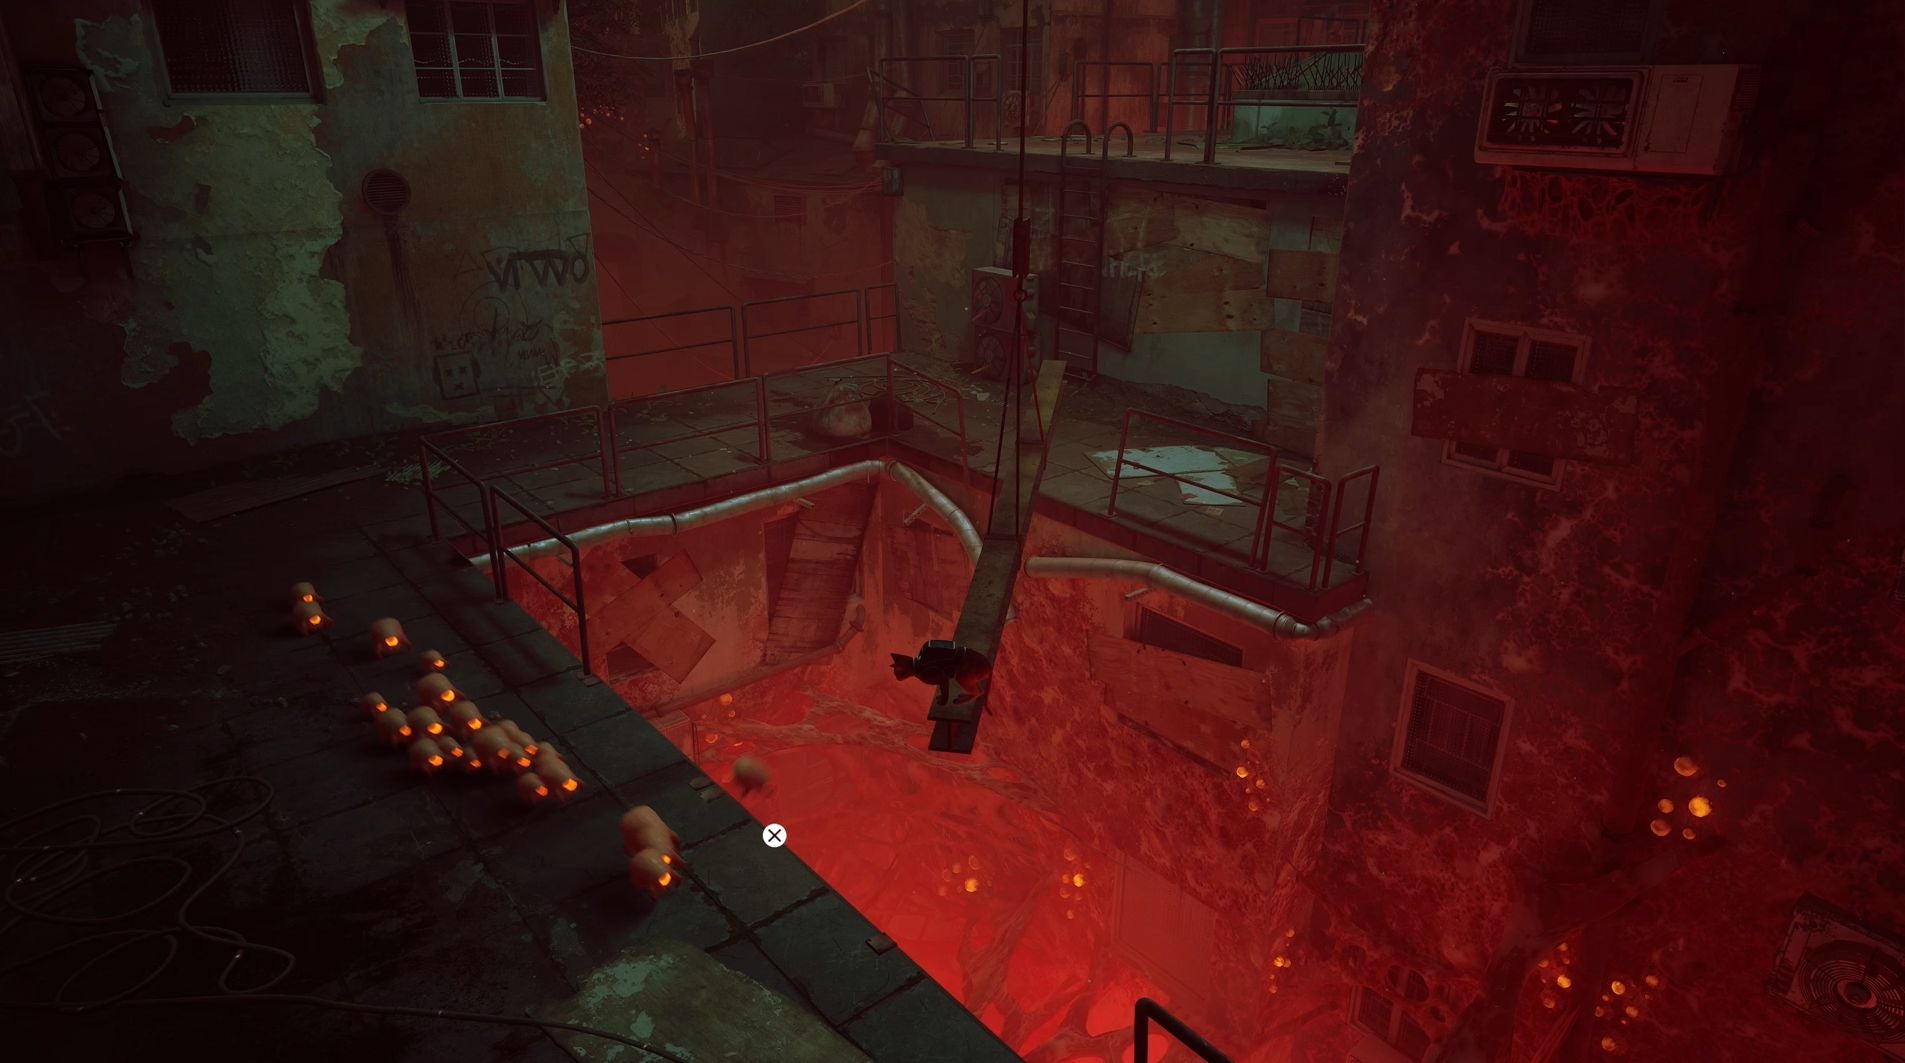
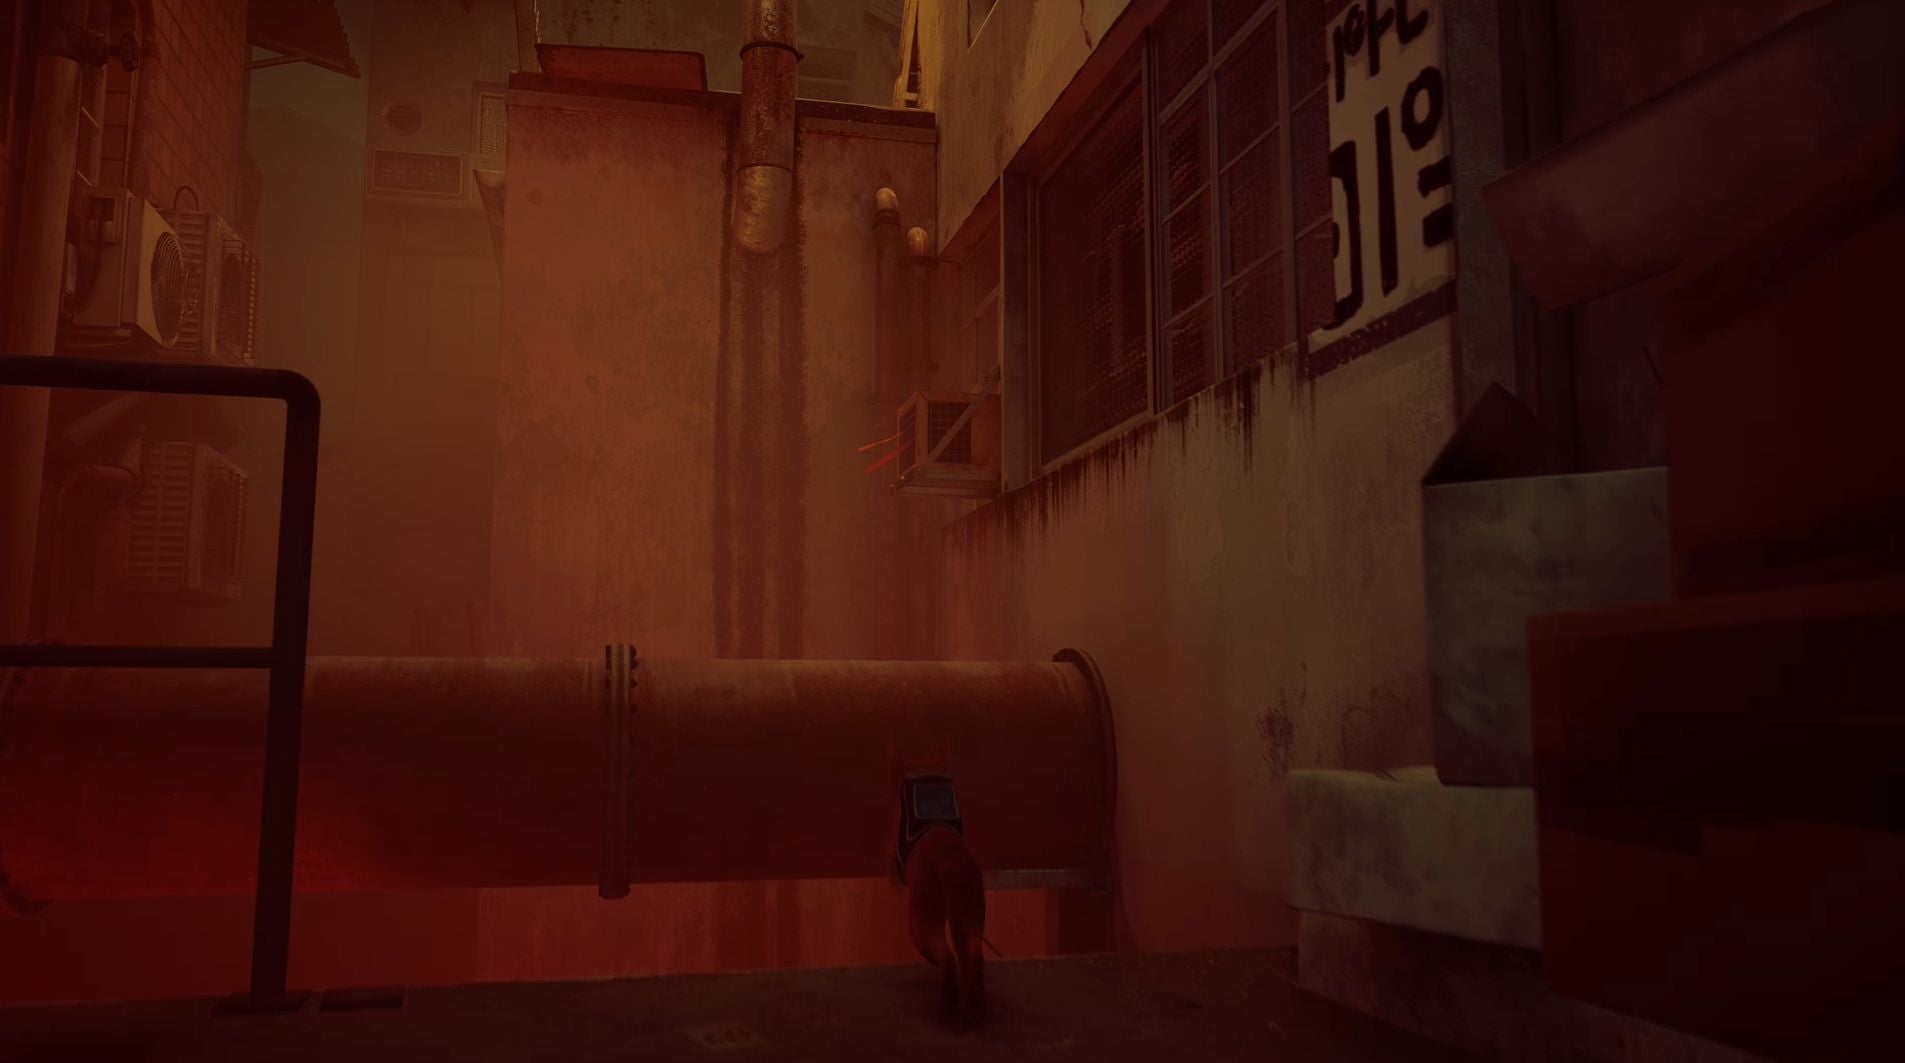
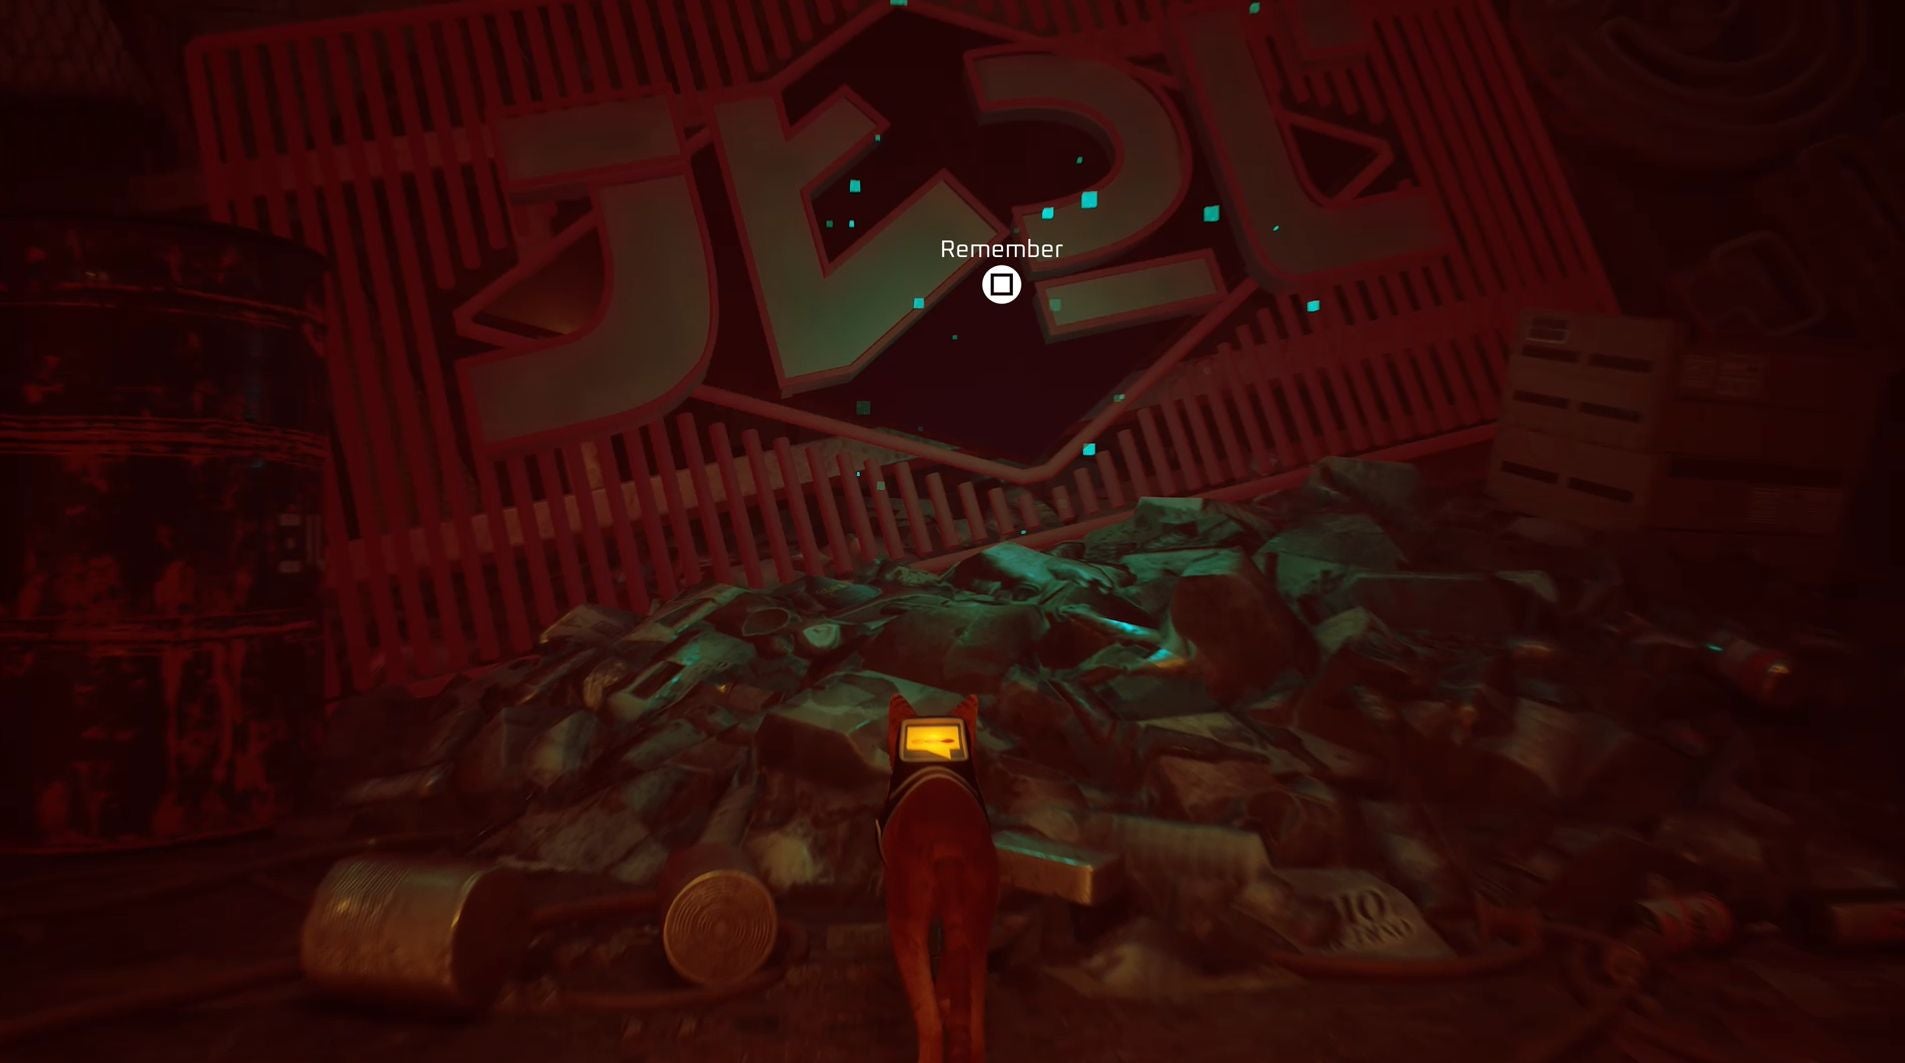
The first Rooftops memory can be found after you’ve tricked a group of Zurks to fall to their deaths by jumping on and off a metal bar. Once you’ve completed this bit of pest control, continue on your way until you reach a large pipe; jump on this pipe, then the nearby air vent to reach the area above you. Here you’ll find a large neon sign which, when interacted with, will restore one of B-12’s memories.
Second Rooftops Memory
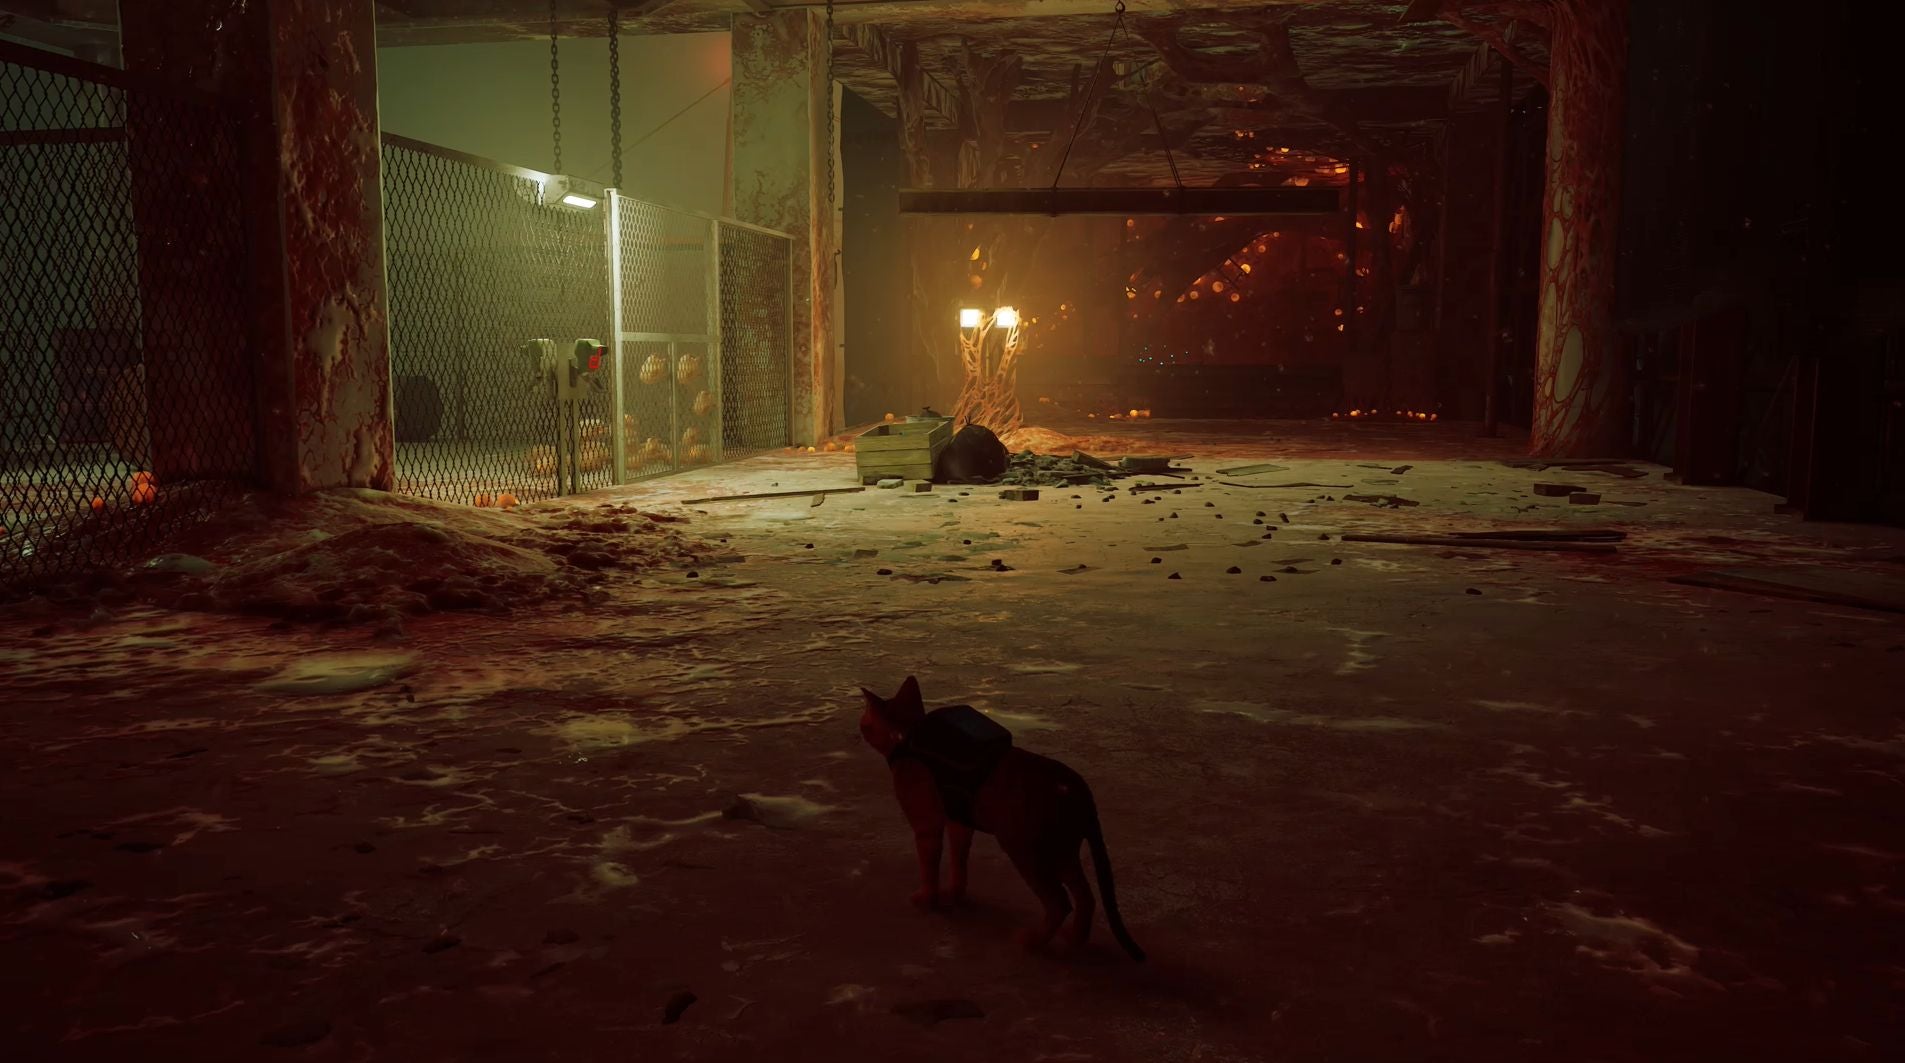
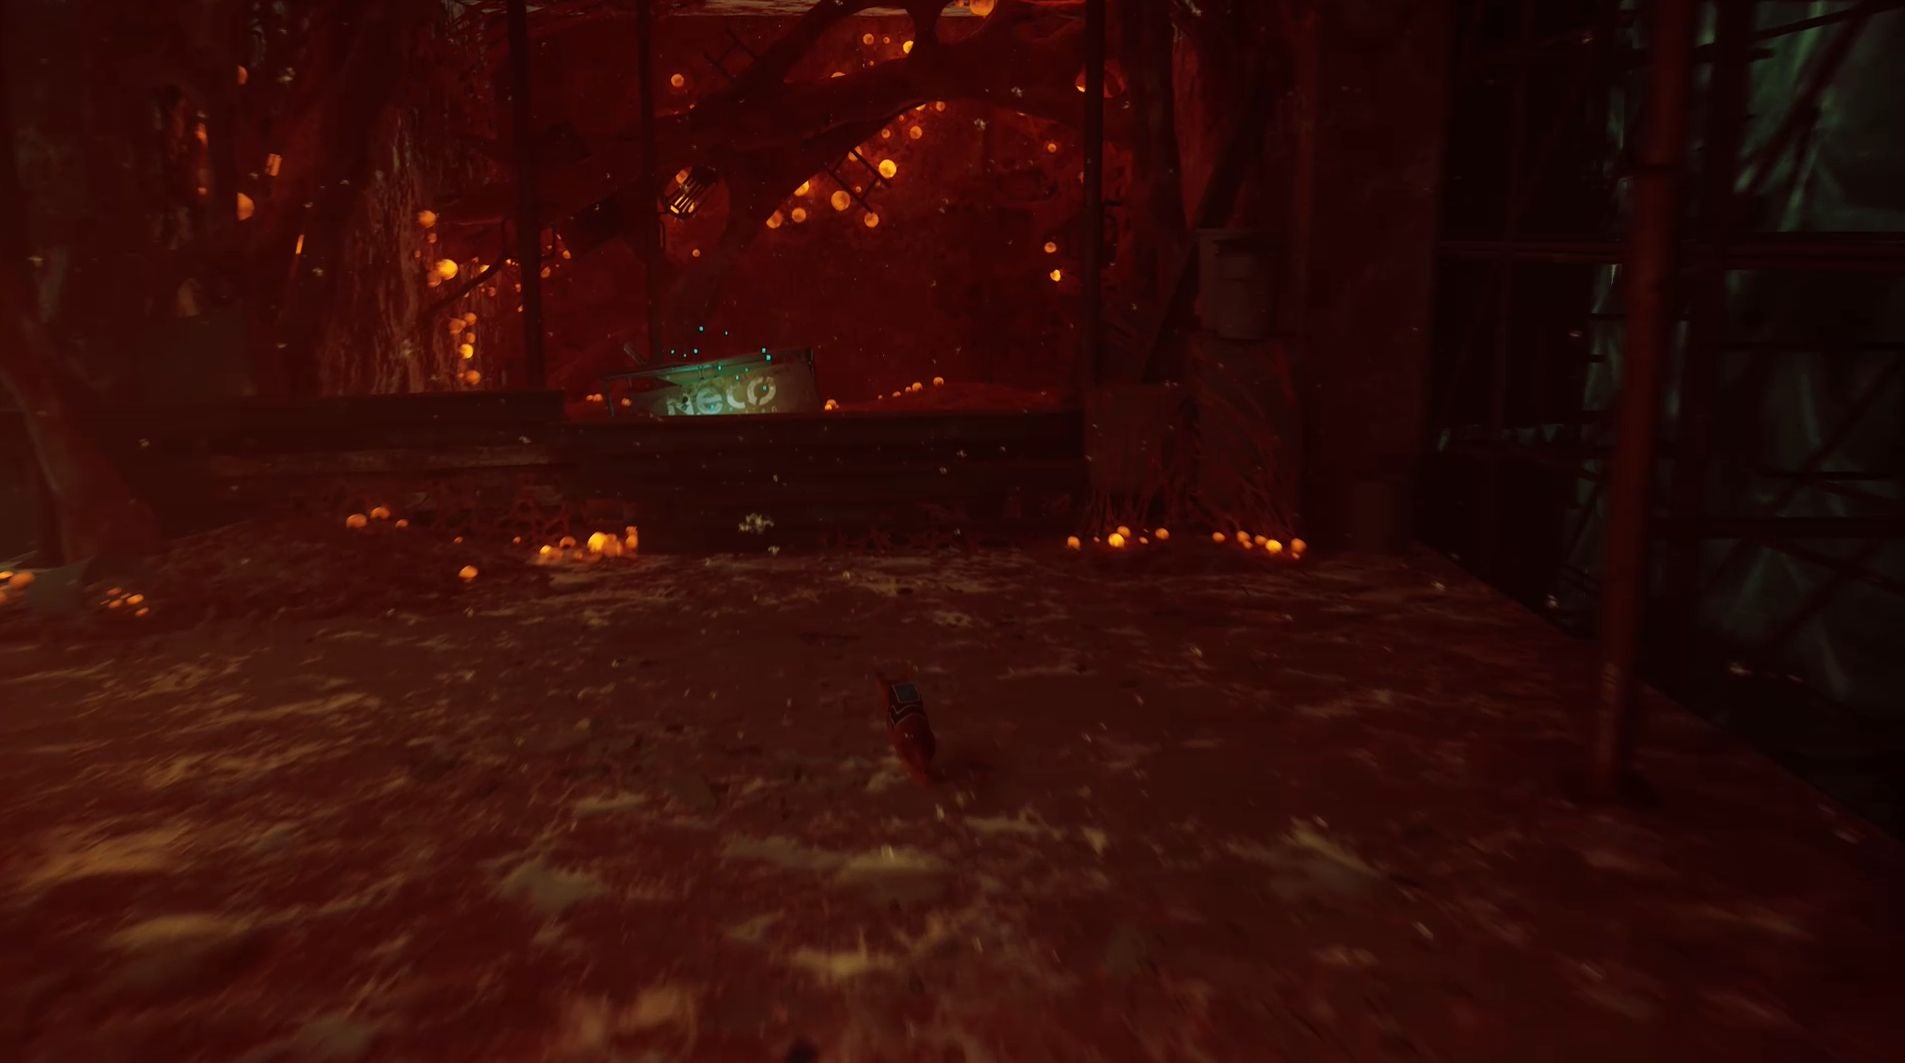
The second Rooftop memory is located on the second floor of the building you’ll need to navigate to reach the tower. You’ll know you’re on the right level when you see a group of Zurk’s trapped in a cage-like area. Head past these Zurk’s for now and climb over the wood pile near the far wall; the memory is the Neco Corporation sign which has nearly been submerged in the flesh mass the Zurks create.
Third Rooftops Memory
You’ll receive the final memory automatically towards the end of the Rooftops chapter after placing the transceiver on the antenna. Collectibles are hidden throughout Stray, such as B-12’s memories and the badges. You can also use your cat powers to find music sheets, enegry drinks and the plant locations. Don’t forget about the Stray trophies either, but, if the game is for you, make sure you know Stray’s length. Here are Dead End memories in the order they appear in B-12’s memory bank:
First Dead End Memory
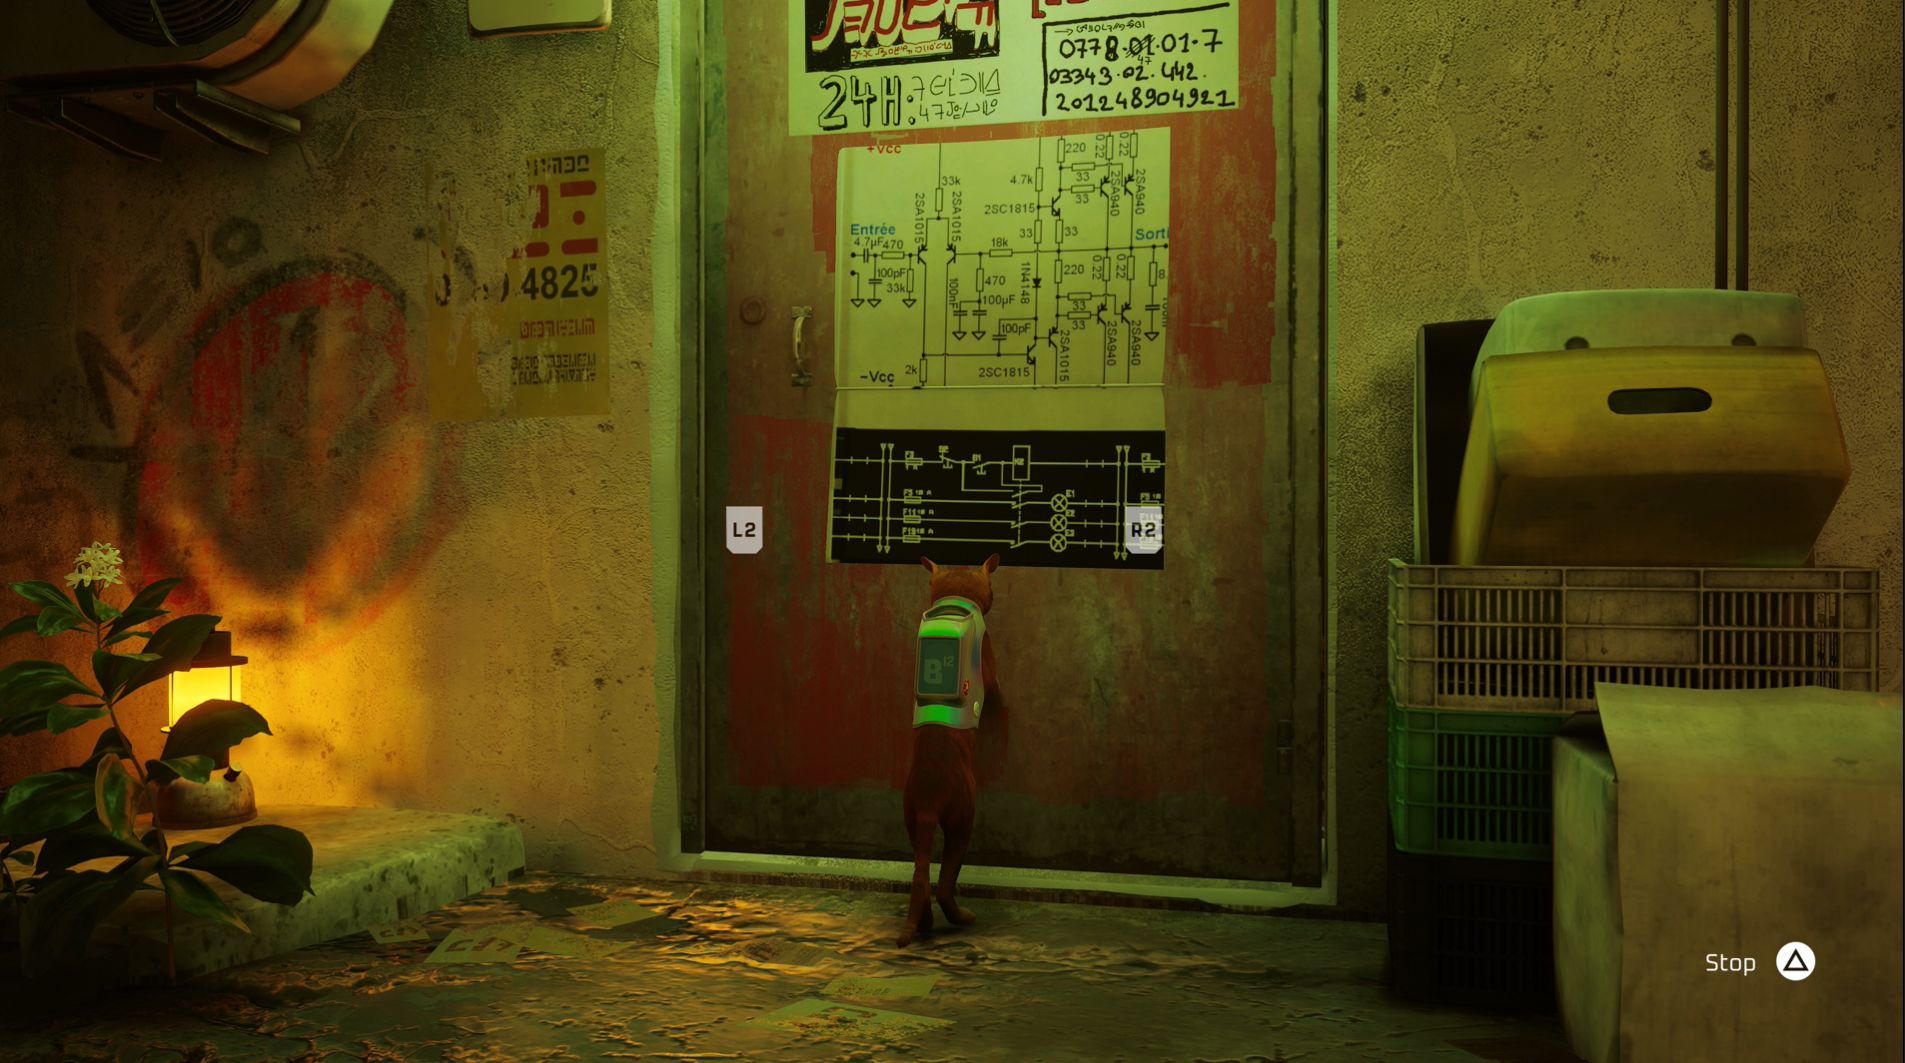
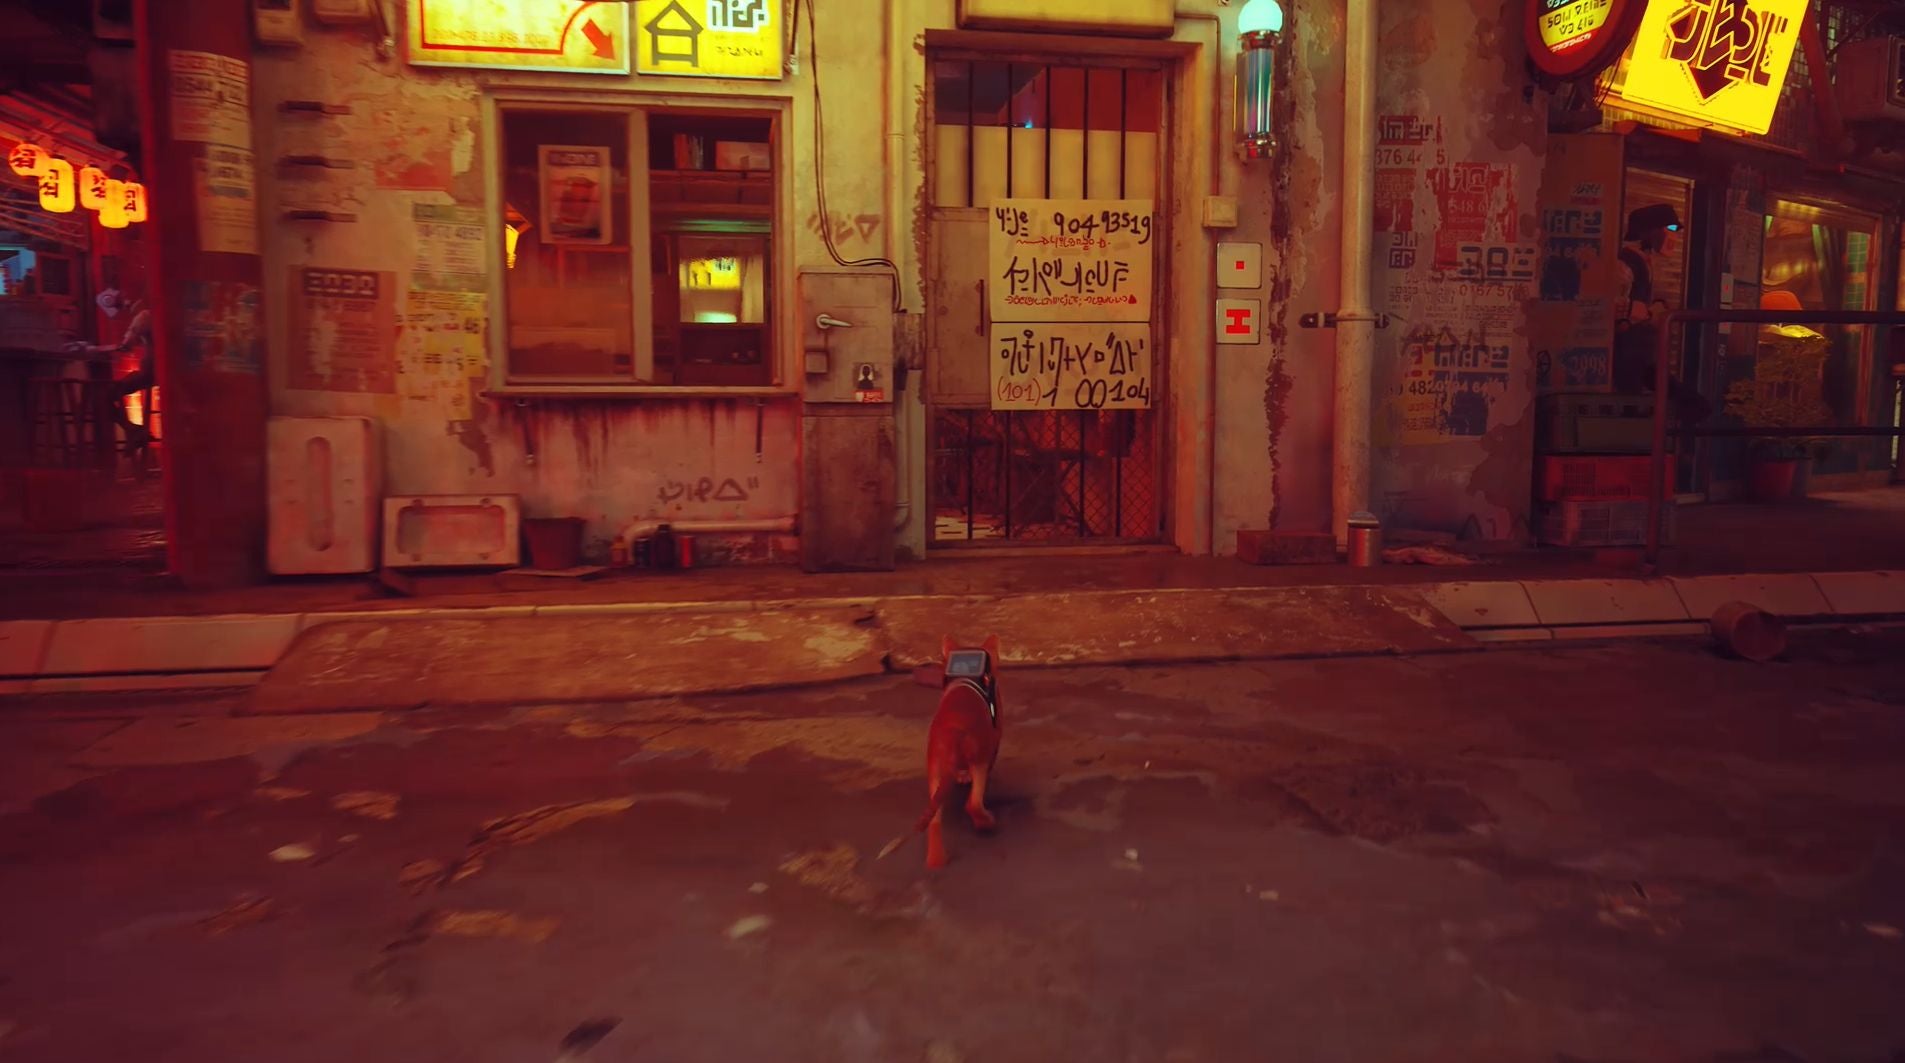
The first memory is located at the very start of the Dead End chapter shortly after you part ways with Seamus. Simply head to the left-hand side of the area he opens for you and interact with the metal doorway you find there. The memory itself is located beneath the yellow poster on this door. If you’ve missed this memory, then restart the chapter and explore the location which exists after Seamus leaves you, but before you’re attacked by Zurks.
Second Dead End Memory
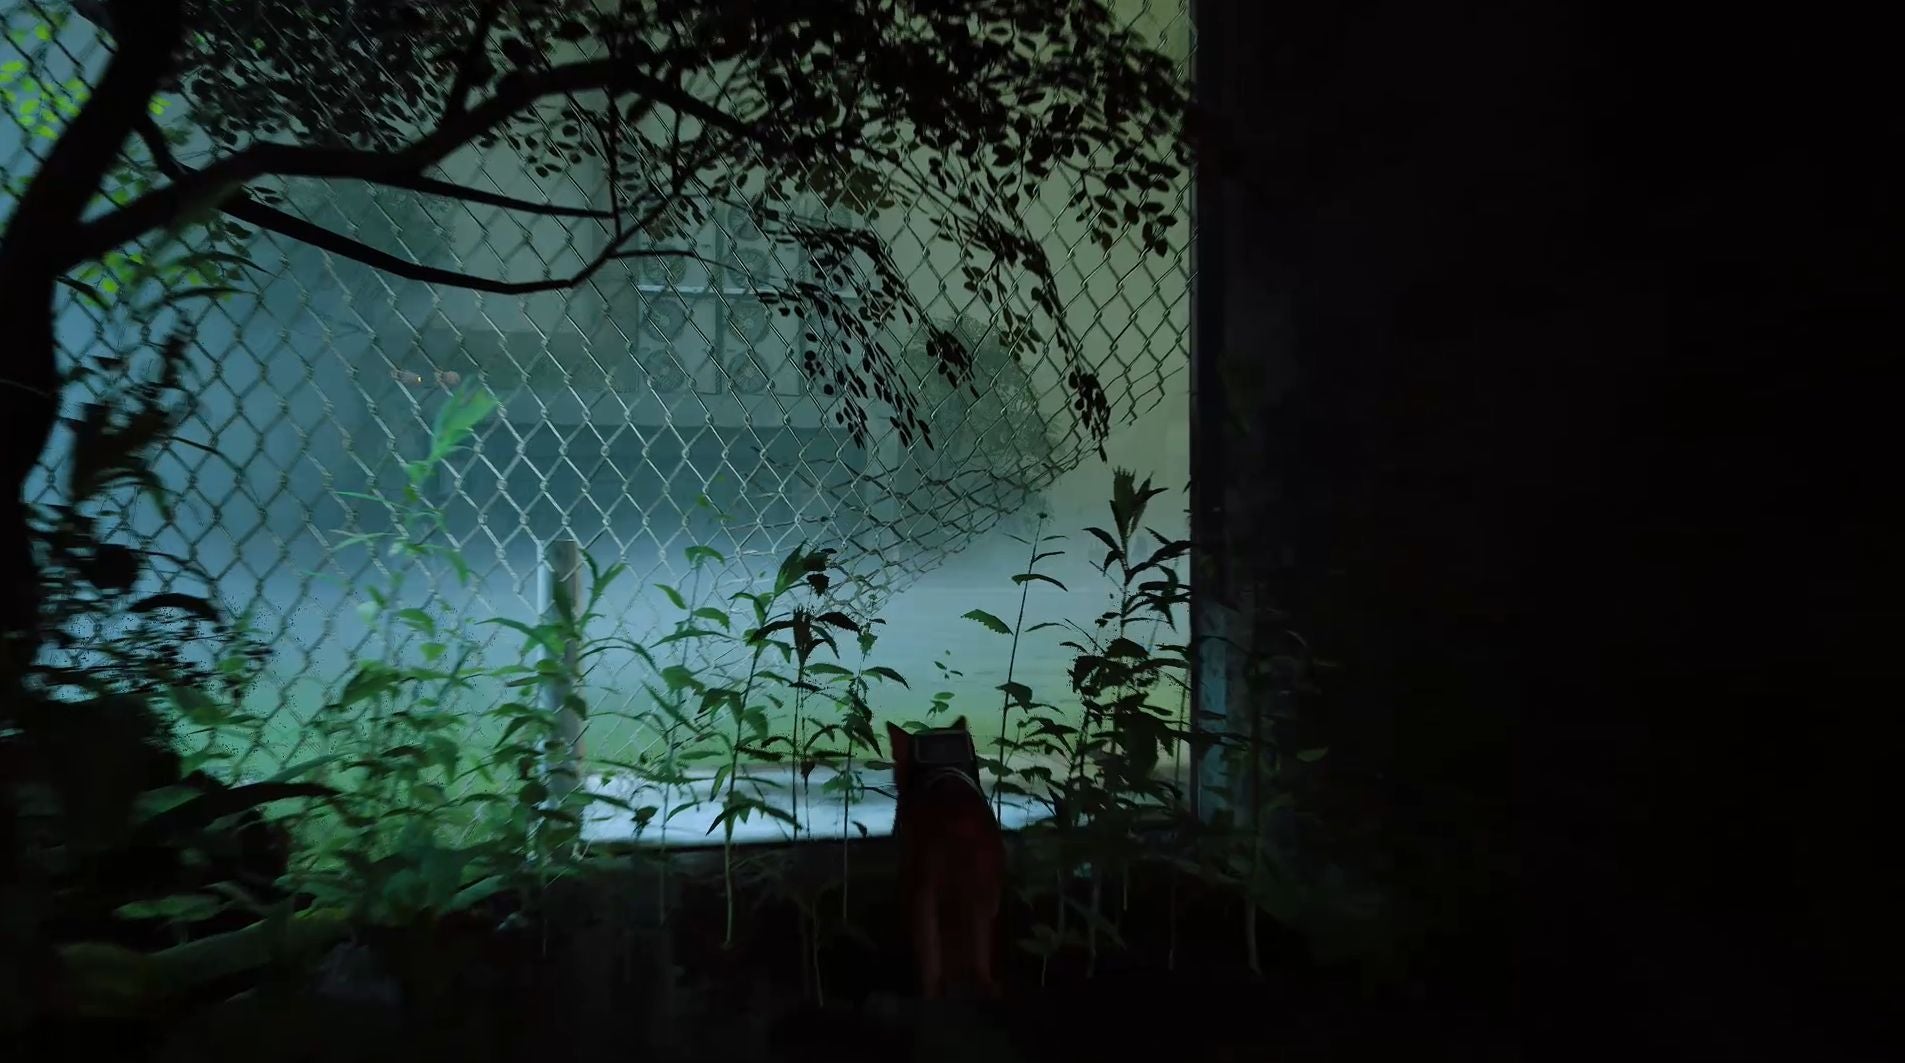
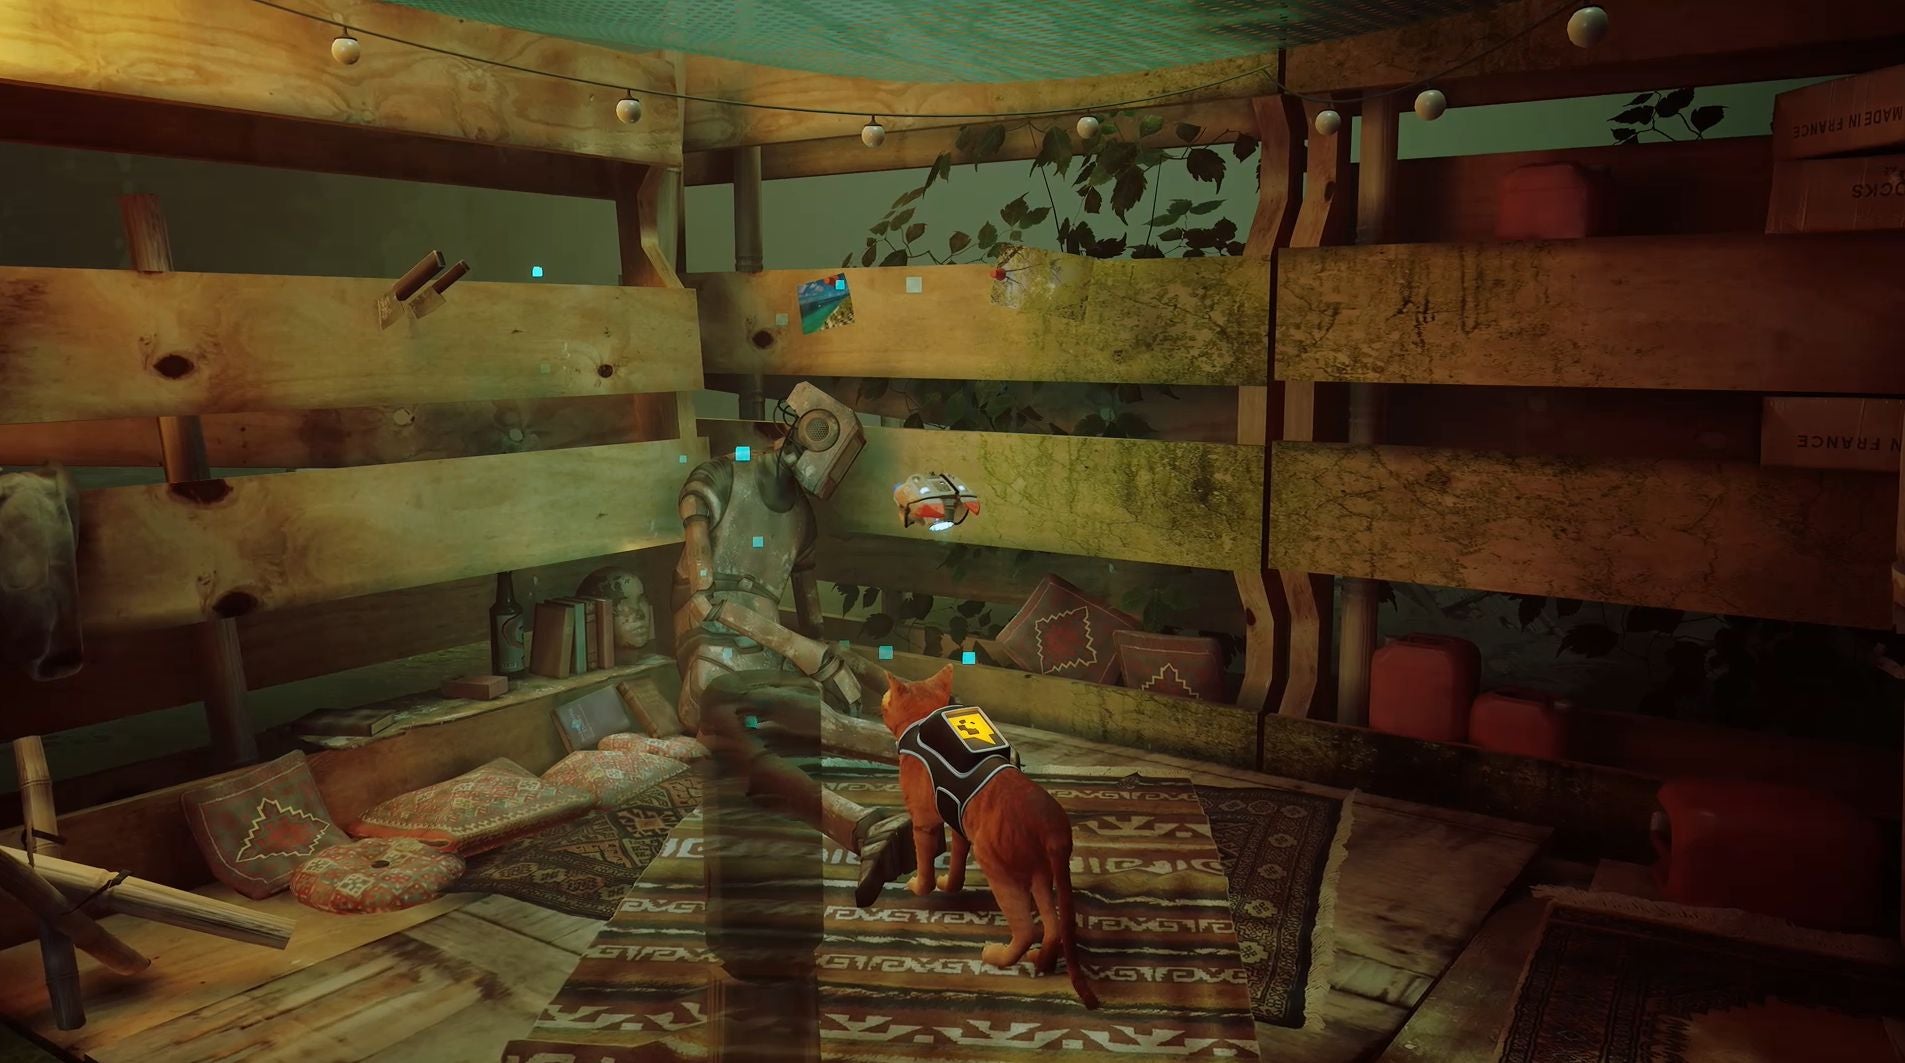
The second Dead End memory is located in the small area you reach after escaping Zurks and climbing a series of pipes, but before entering an open area by climbing in a fence. In the far corner of this location, you’ll notice a wire fence and, after going up to it, you’ll notice a hole in the bottom right-hand corner of the fence. Go through this hole and follow the wooden platform until you reach a small shack containing a dead robot, which, when interacted with, will restore the memory.
Third Dead End Memory
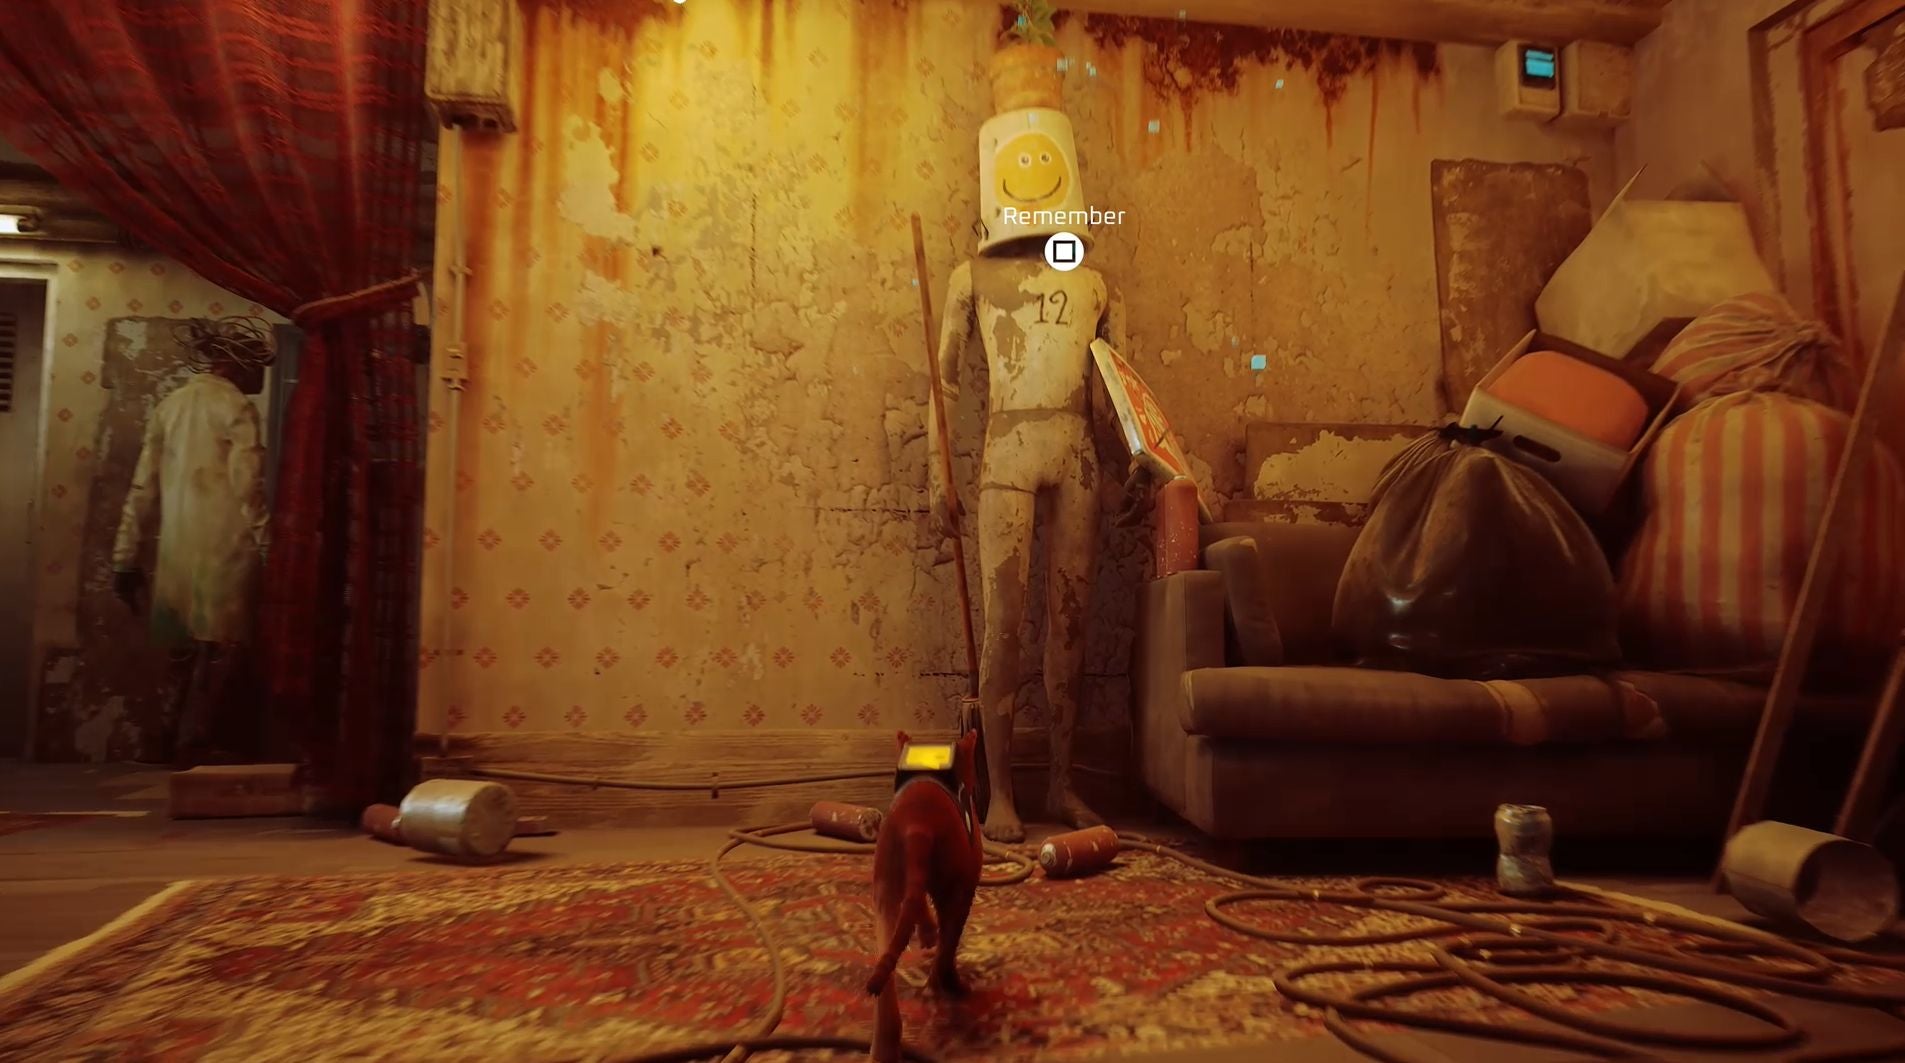
The third and final memory in the Dead End chapter of Stray is located within Doc’s house. Simply head downstairs and interact with the mannequin wearing a bucket on its head. Here are The Sewers memories in the order they appear in B-12’s memory bank:
First Sewers Memory
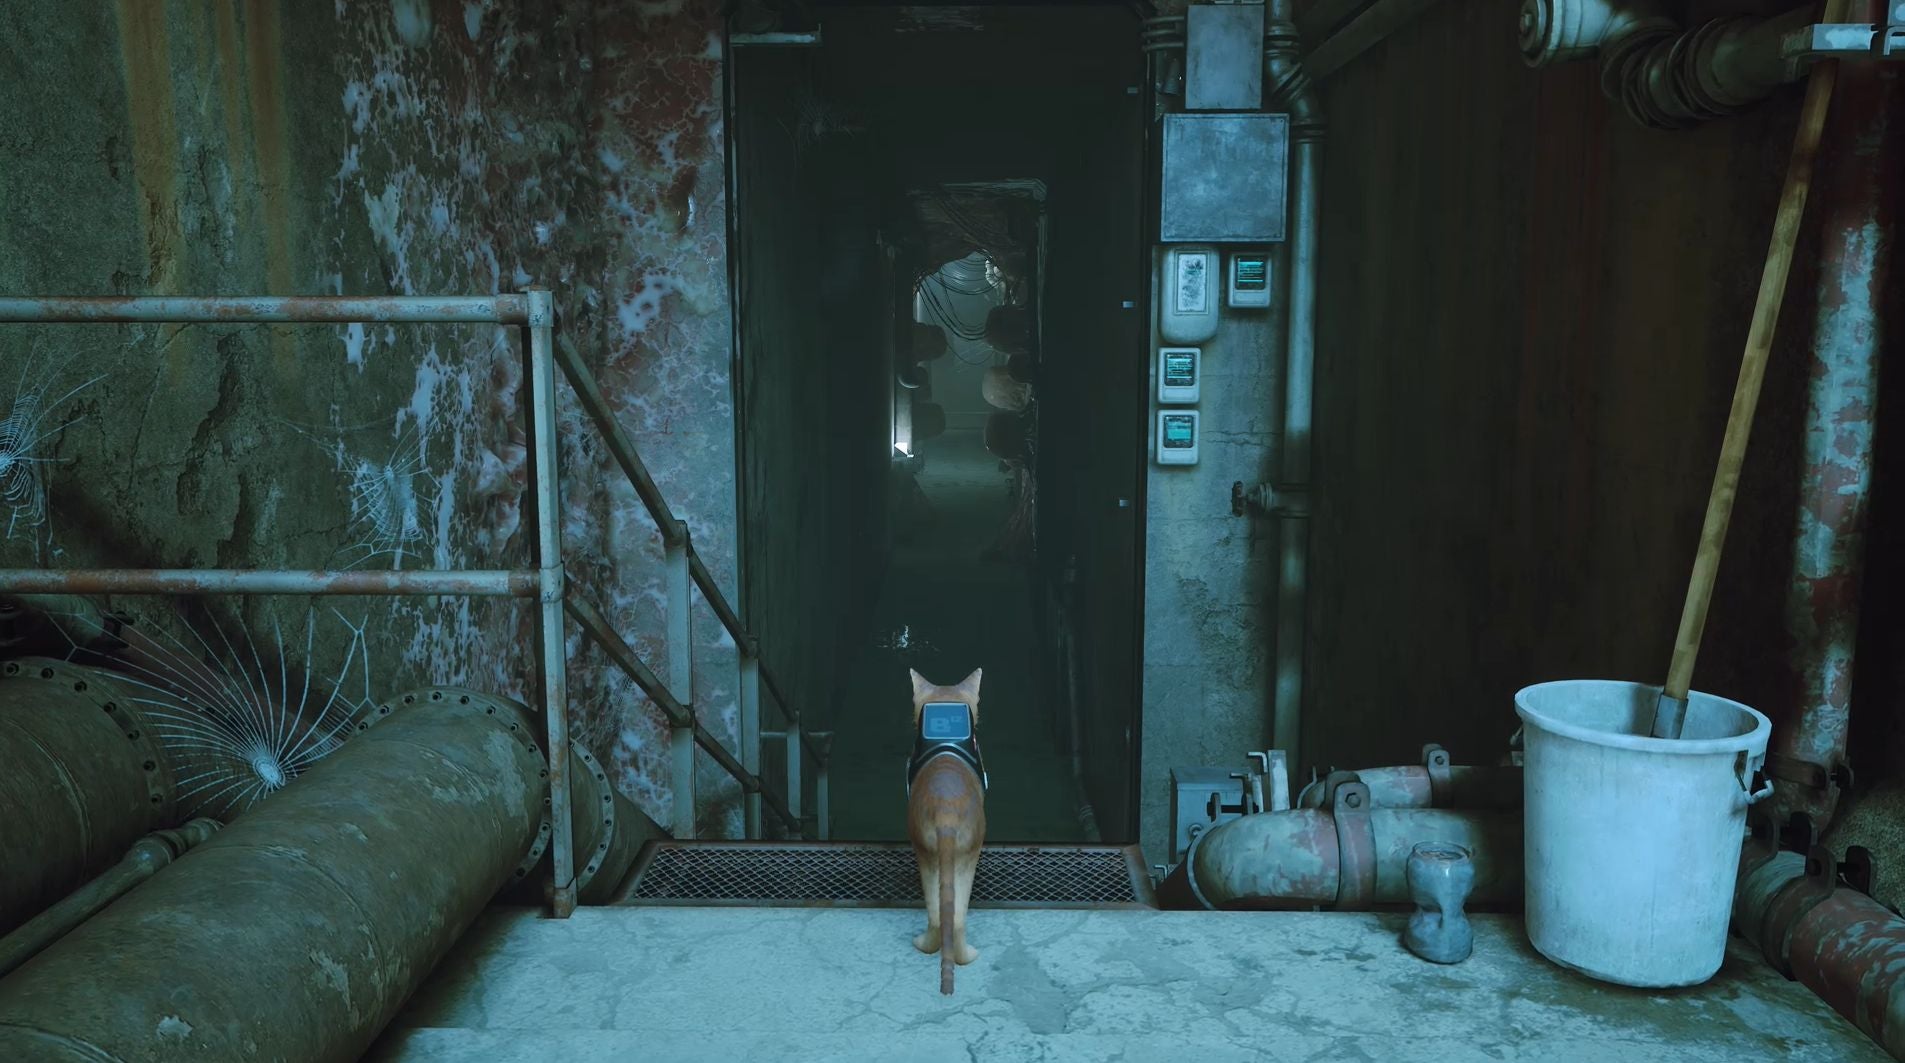
The first Sewers memory can be found shortly after you part ways with Momo when you find yourself in a corridor with Zurk egg sacks growing on the walls.
On the left-hand roughly halfway down this corridor, you’ll find another which you need to enter - be careful though, because there are also Zurk egg sacks waiting for you in here. We recommend taking your time and killing the Zurks to ensure you have safe passage.
Enter this corridor and, just past the Zurk egg sacks, jump into the vent on the left-hand wall.
Now all you have to do is follow the pipe until you reach the memory.
Second Sewers Memory
The first time you’ve been chased by a large amount of Zurk’s in The Sewers, you’ll find yourself safely standing on a pipe. Rather than continuing forward, you need to walk to the far-end of this pipe to find the memory. By doing so, you’ll be able to jump to a small pipe and, at the end of that, a number of barrels. This will allow you to reach a pipe and, at the end of that, lies the memory. Below you’ll find the Antvillage memories in the order they appear in B-12’s memory bank:
First Antvillage Memory
You’ll receive the first Antvillage memory automatically when you cross the bridge leading to the village.
Second Antvillage Memory
To collect the second Antvillage memory, you’ll have to wait for B-12 to decide they are ready to talk again. Once they are, head to the second floor of Antvillage - the one where the robots are playing mahjong. To find the memory, head past the mahjong players until you find a robot sitting on a sofa. The memory is a piece of white text on the wall opposite the right-hand side of the sofa.
First Midtown Memory
You’ll receive the first Midtown memory automatically when you reach the Subway at the beginning of the chapter.
Second Midtown Memory
The second Midtown memory can be found in the small home a robot has made at the top of the stairs leading to all the subway. All you have to do to collect it is interact with the bookcase.
Third Midtown Memory
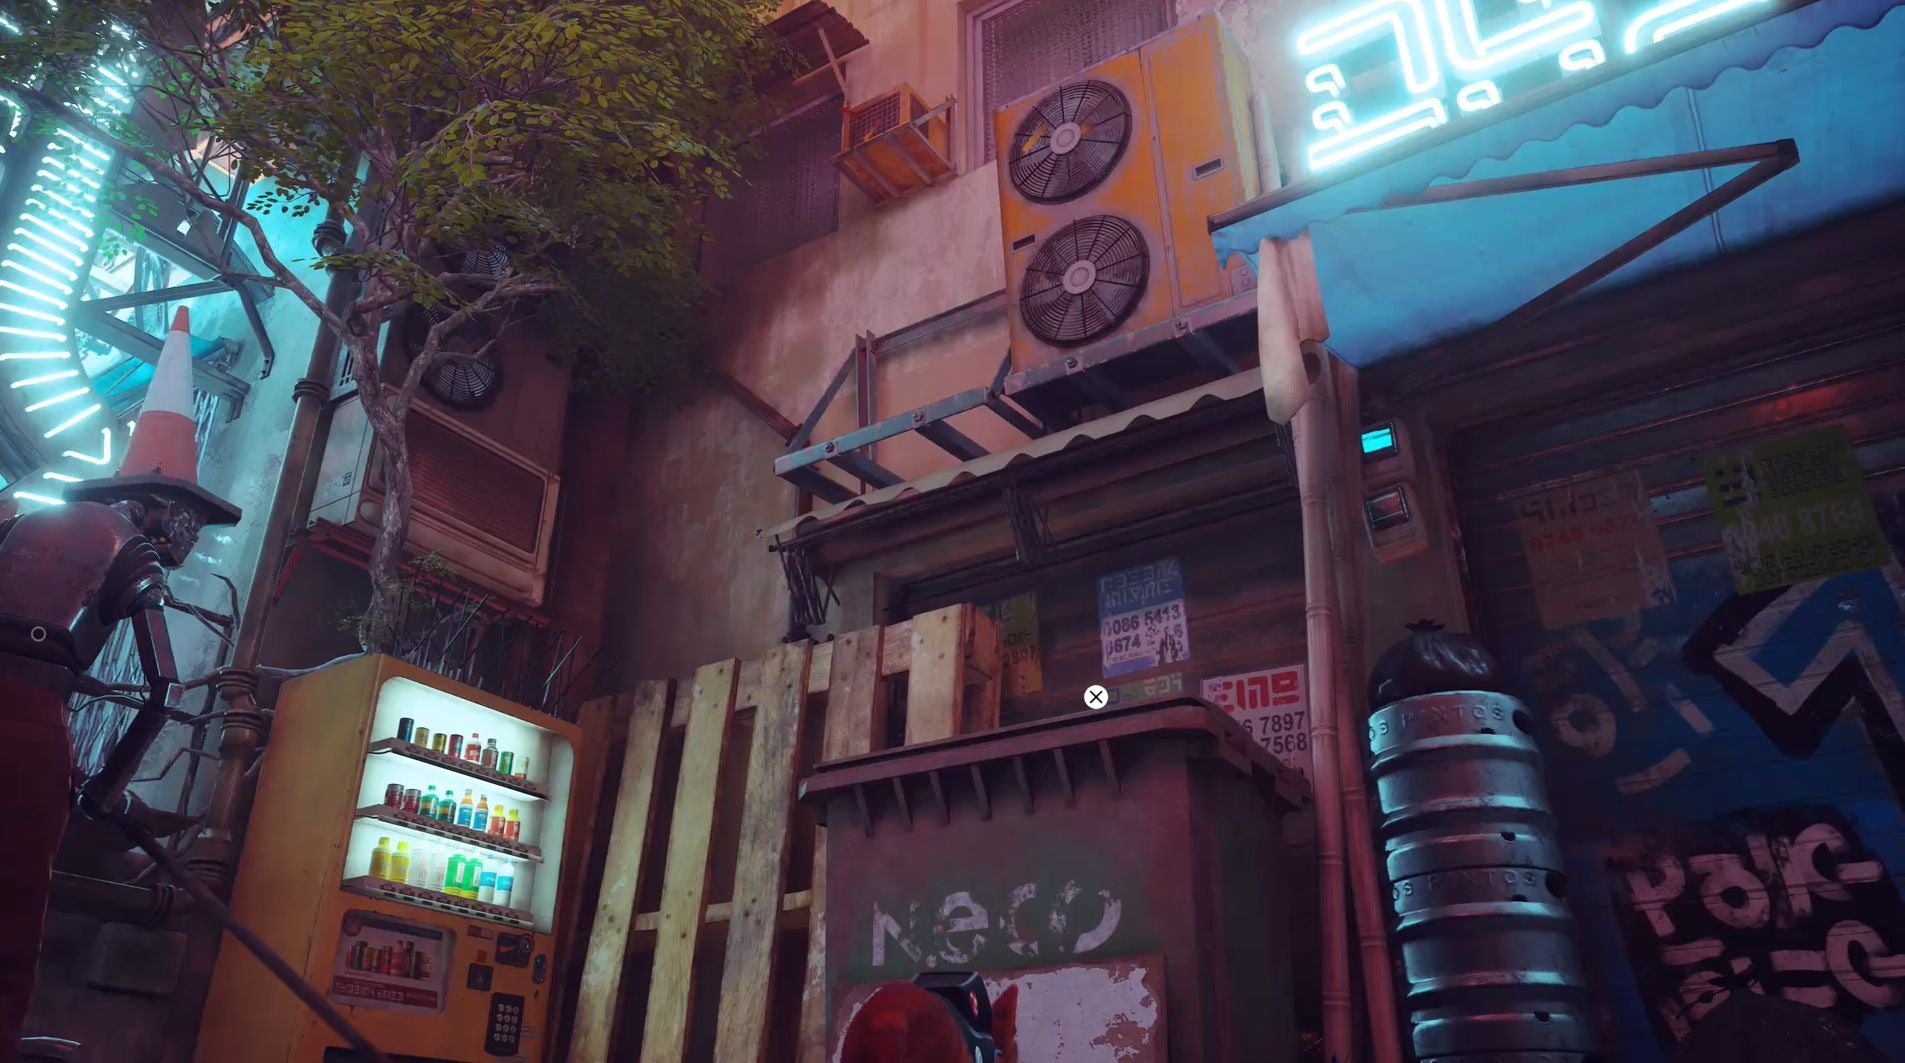
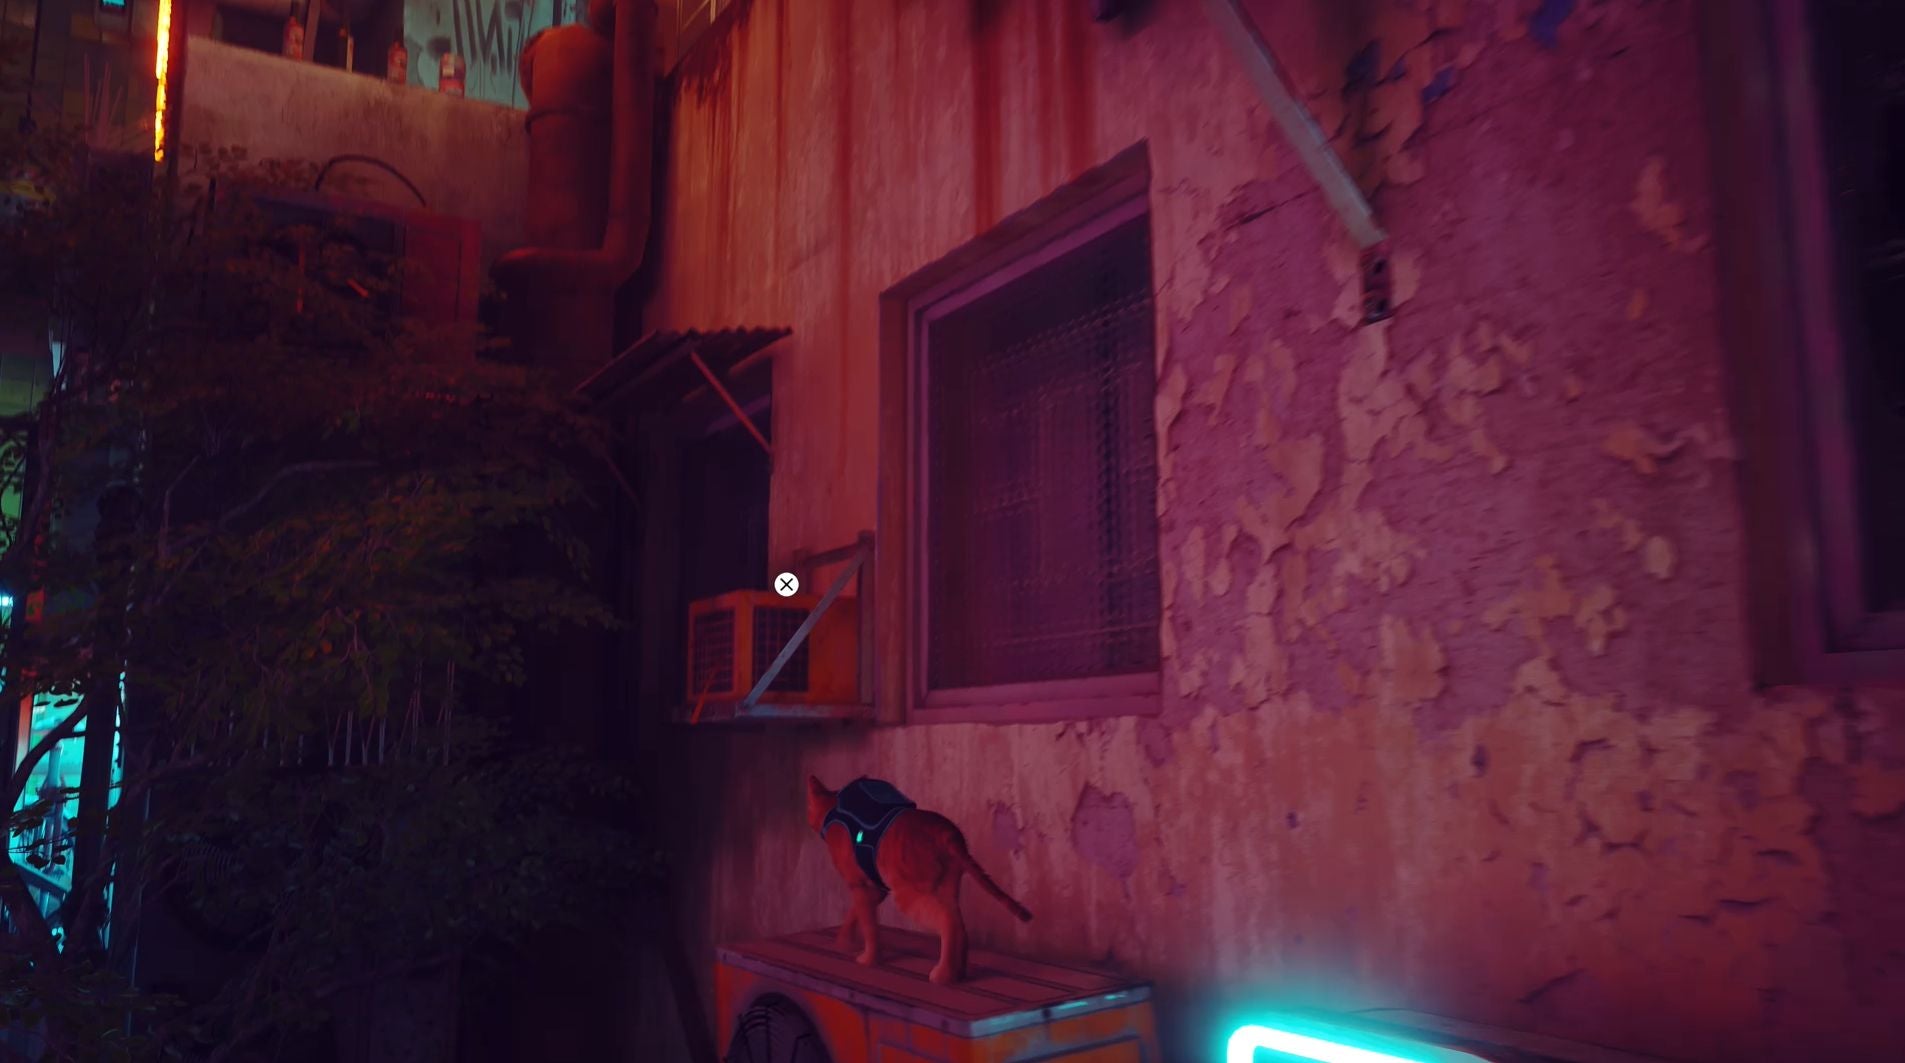
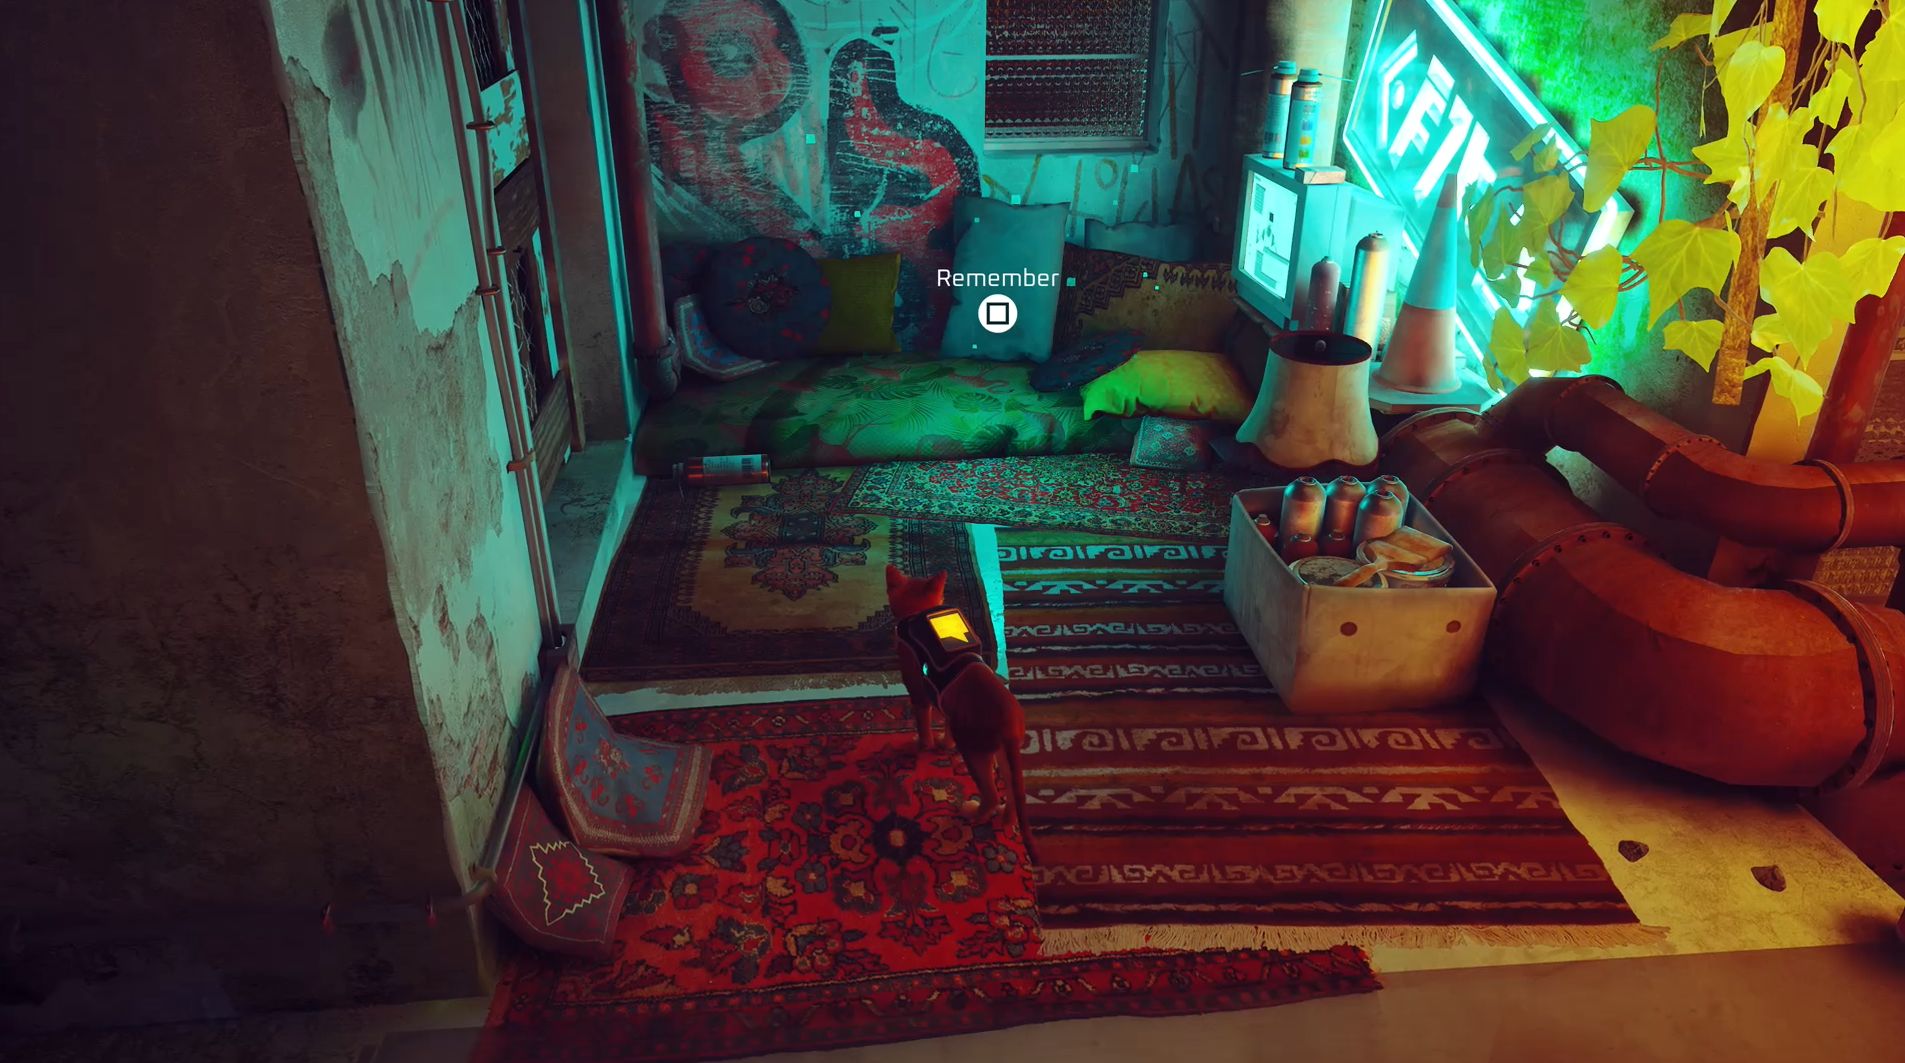
To find this memory, you need to visit the alleyway behind the club and, once there, jump onto the bin near the yellow vending machine. Doing so will allow you to jump onto the nearby roof, which you can then use to reach a set of yellow air vents. Keep jumping and you’ll find the memory waiting for you at a small hangout spot.
Fourth Midtown Memory
For this memory, you need to visit the barbershop off close to the main square of Midtown. To obtain this memory, you first need to climb atop the shelf above the sofa by either jumping off the sink or the table at the other end of the sofa. From this sofa, you can reach the very small loft in the barbershop, where, in one corner, you’ll find the memory waiting for you.
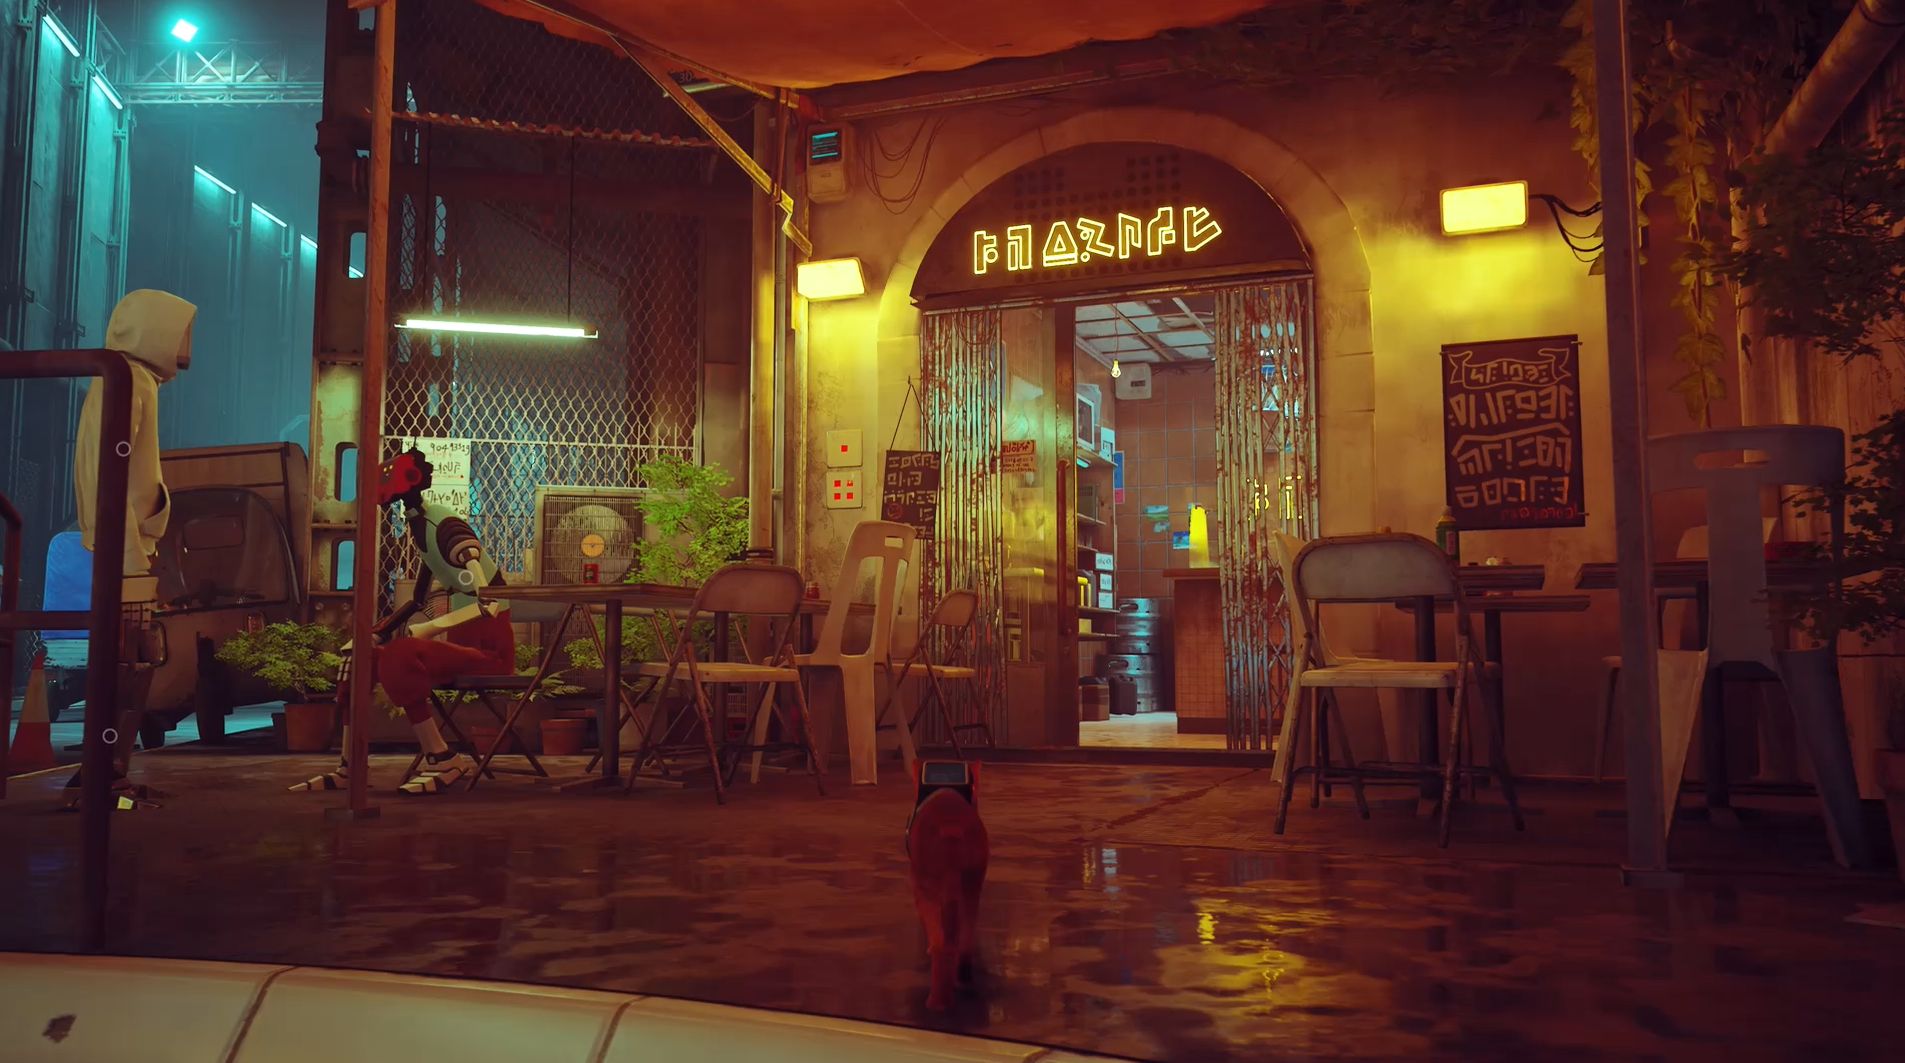
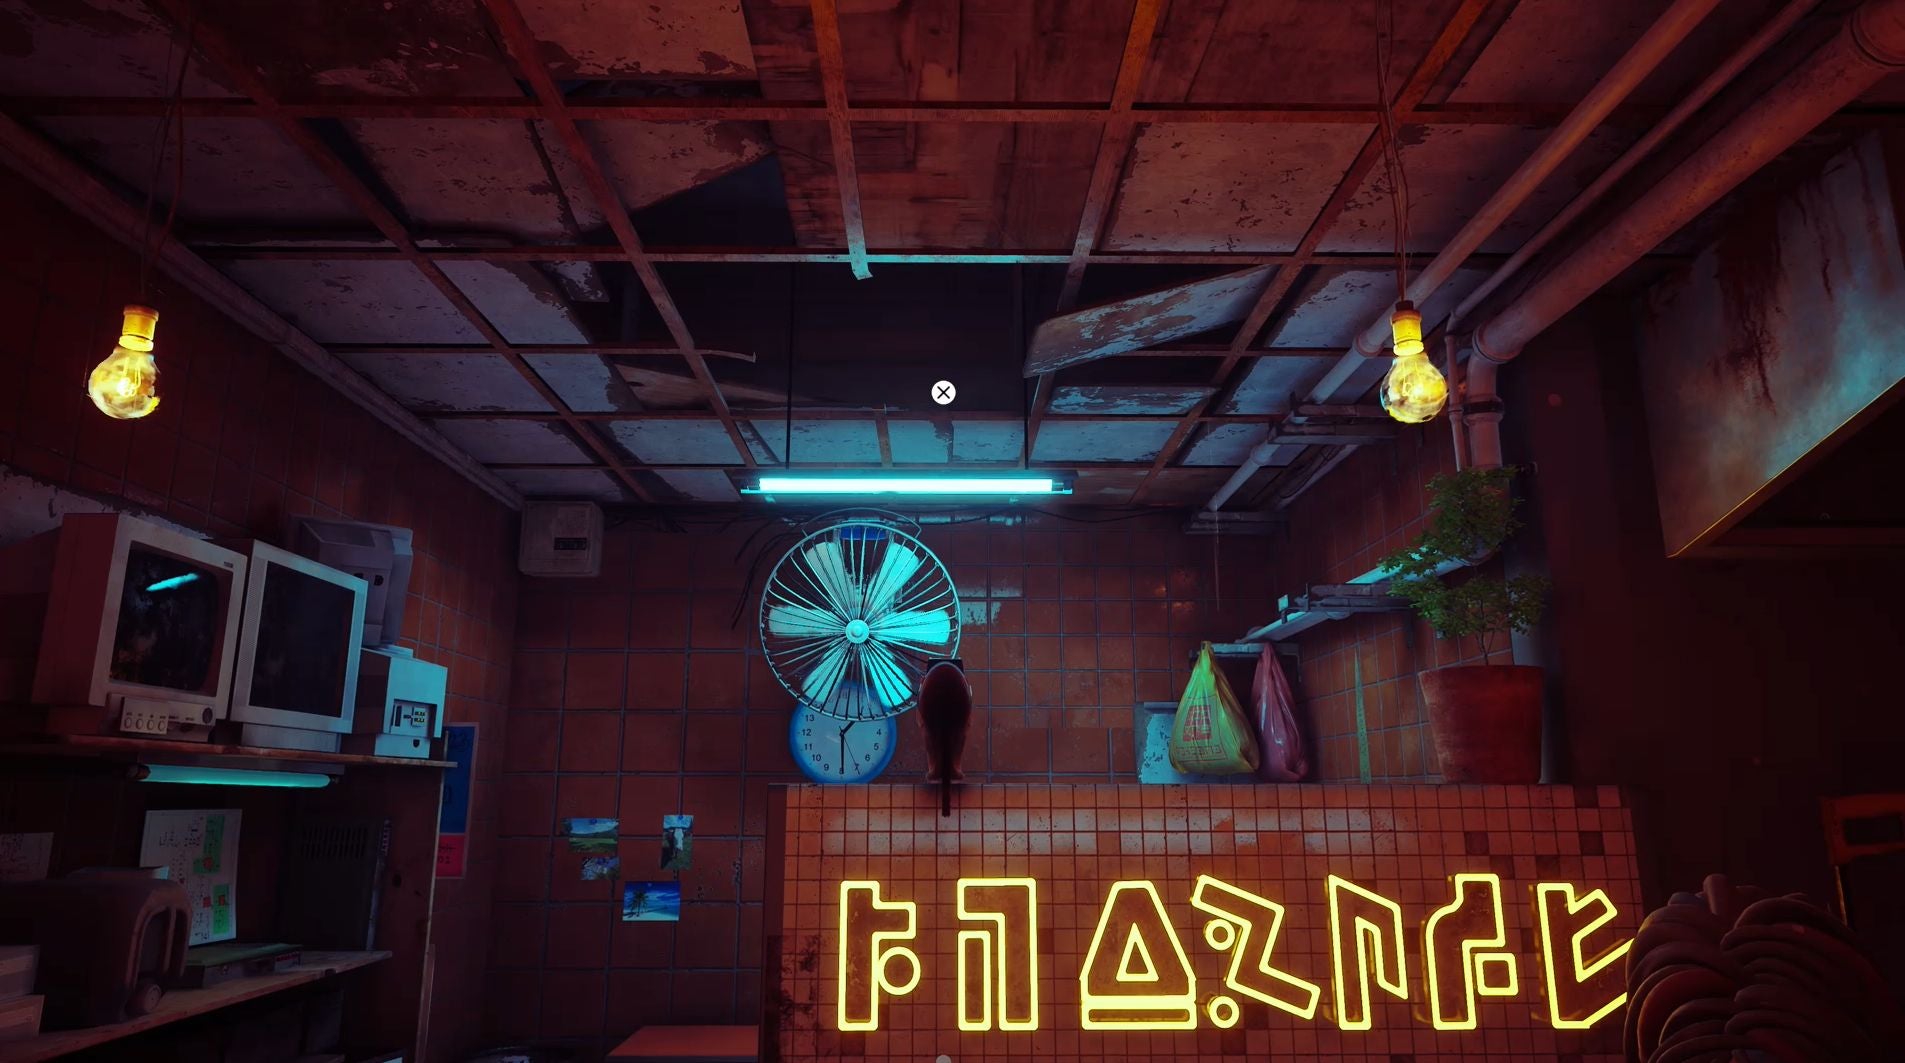
Fifth Midtown Memory
To find this memory, you need to visit the restaurant near the main square of Midtown. Once inside, jump atop the counter so you can reach the wall lined with buckets. From there, you’ll be able to jump through a hole in the ceiling and here is where you’ll find the memory.
Sixth Midtown Memory
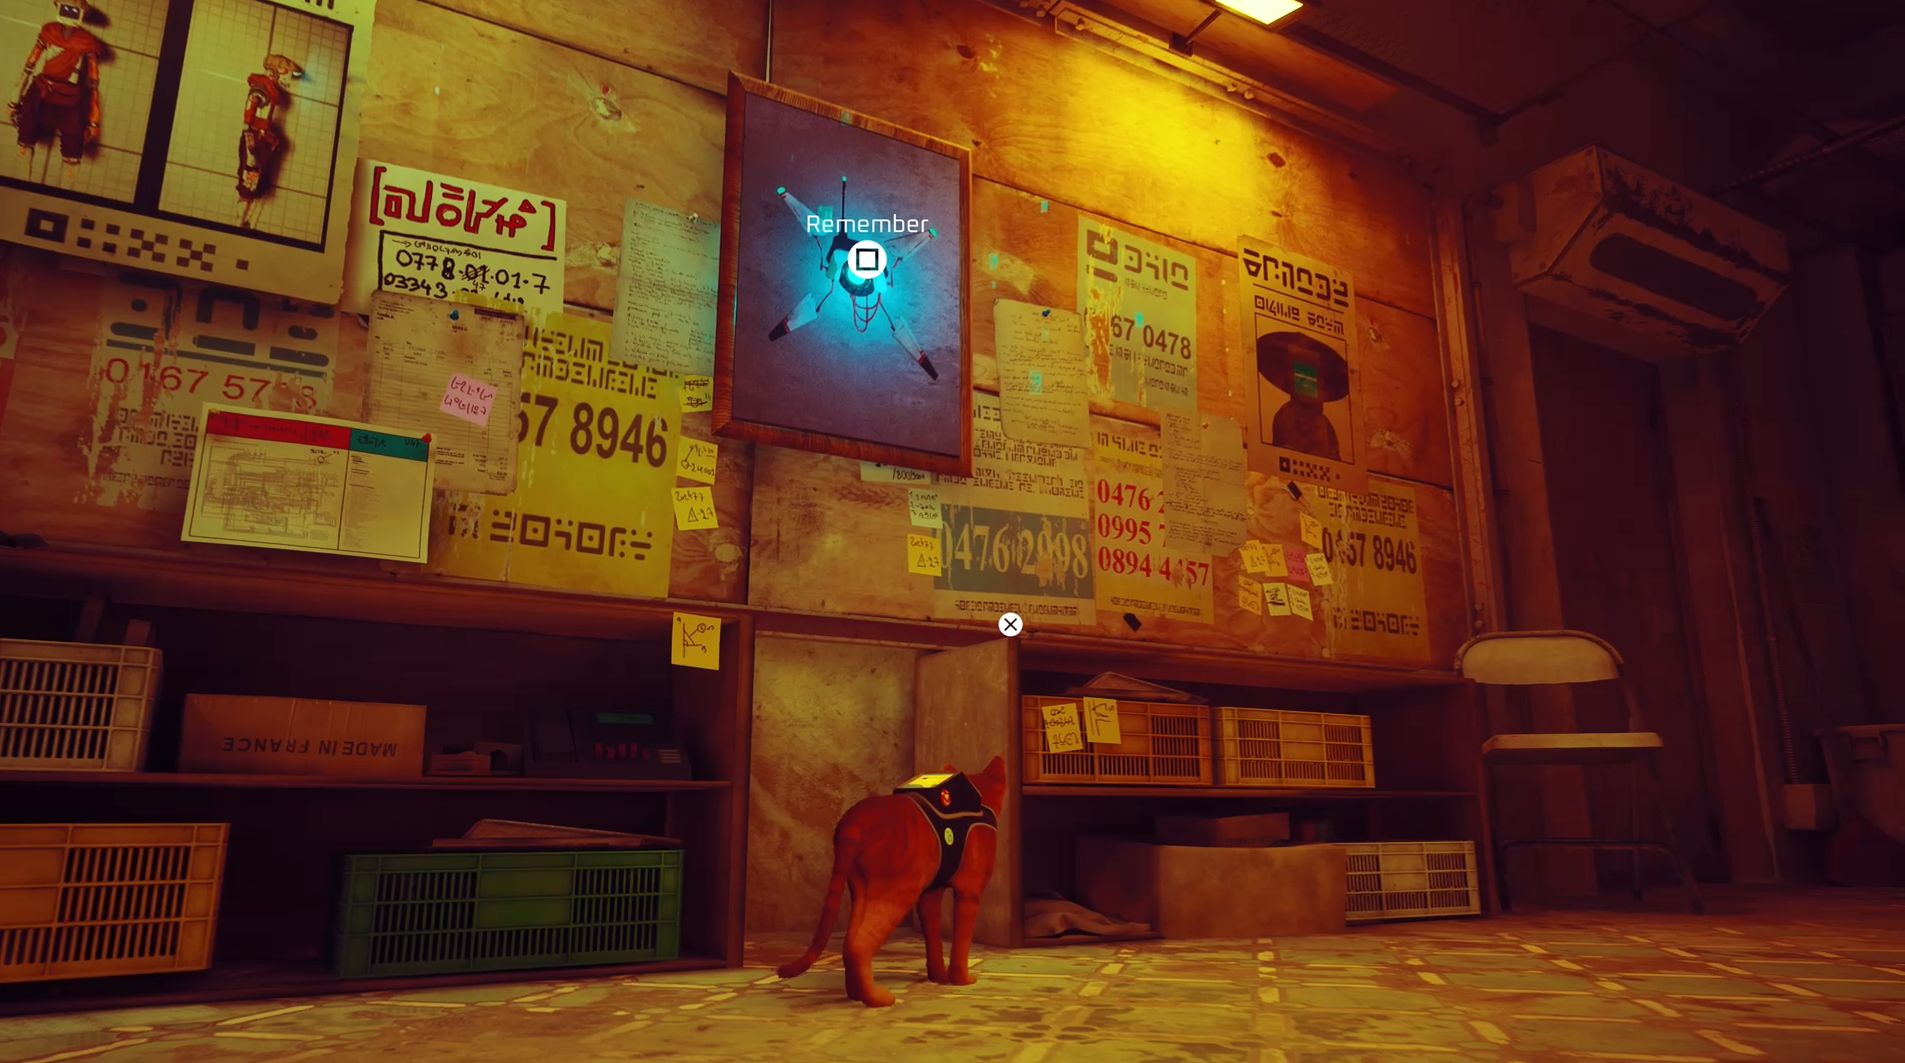
This memory can only be collected after you’ve stolen the battery from the factory. When you return to the main square of Midtown, you’ll see that the door to the Peacemaker office is now open, allowing you to head inside and collect the memory by looking at the drone picture on the wall.
Seventh Midtown Memory
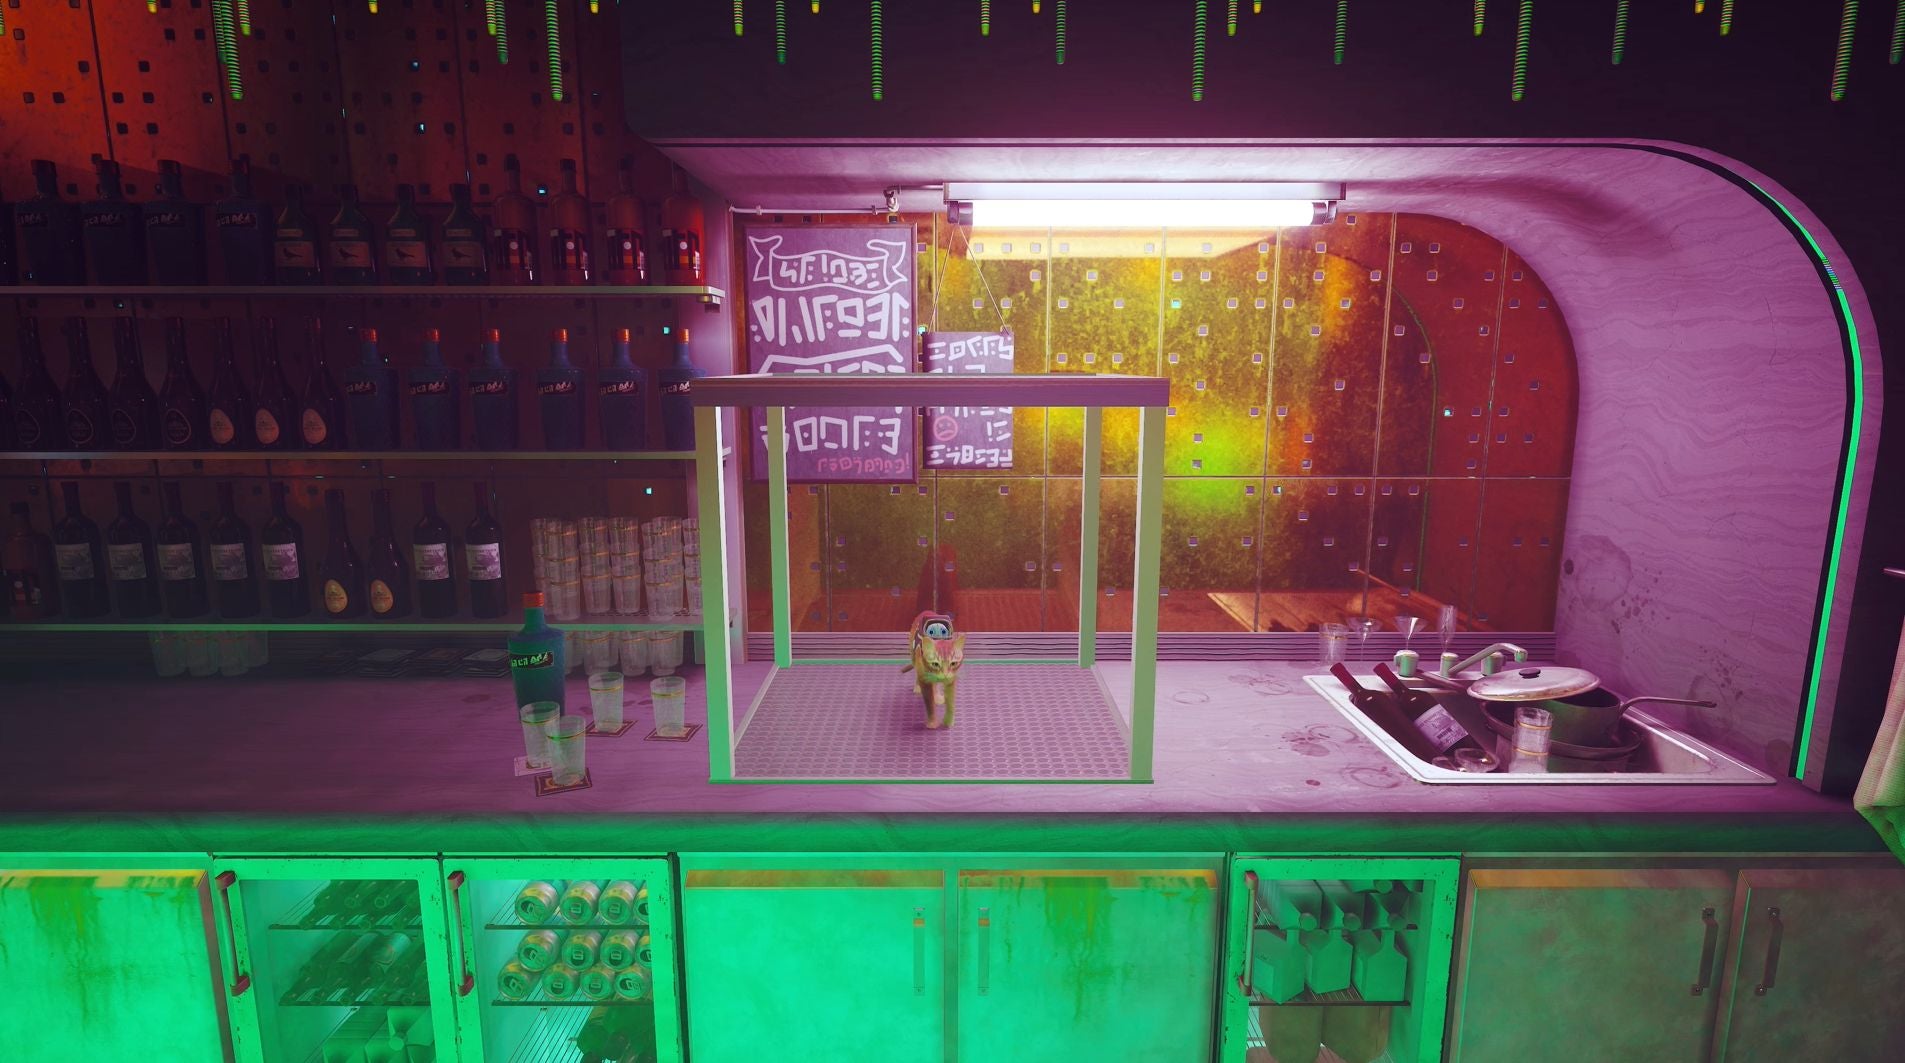
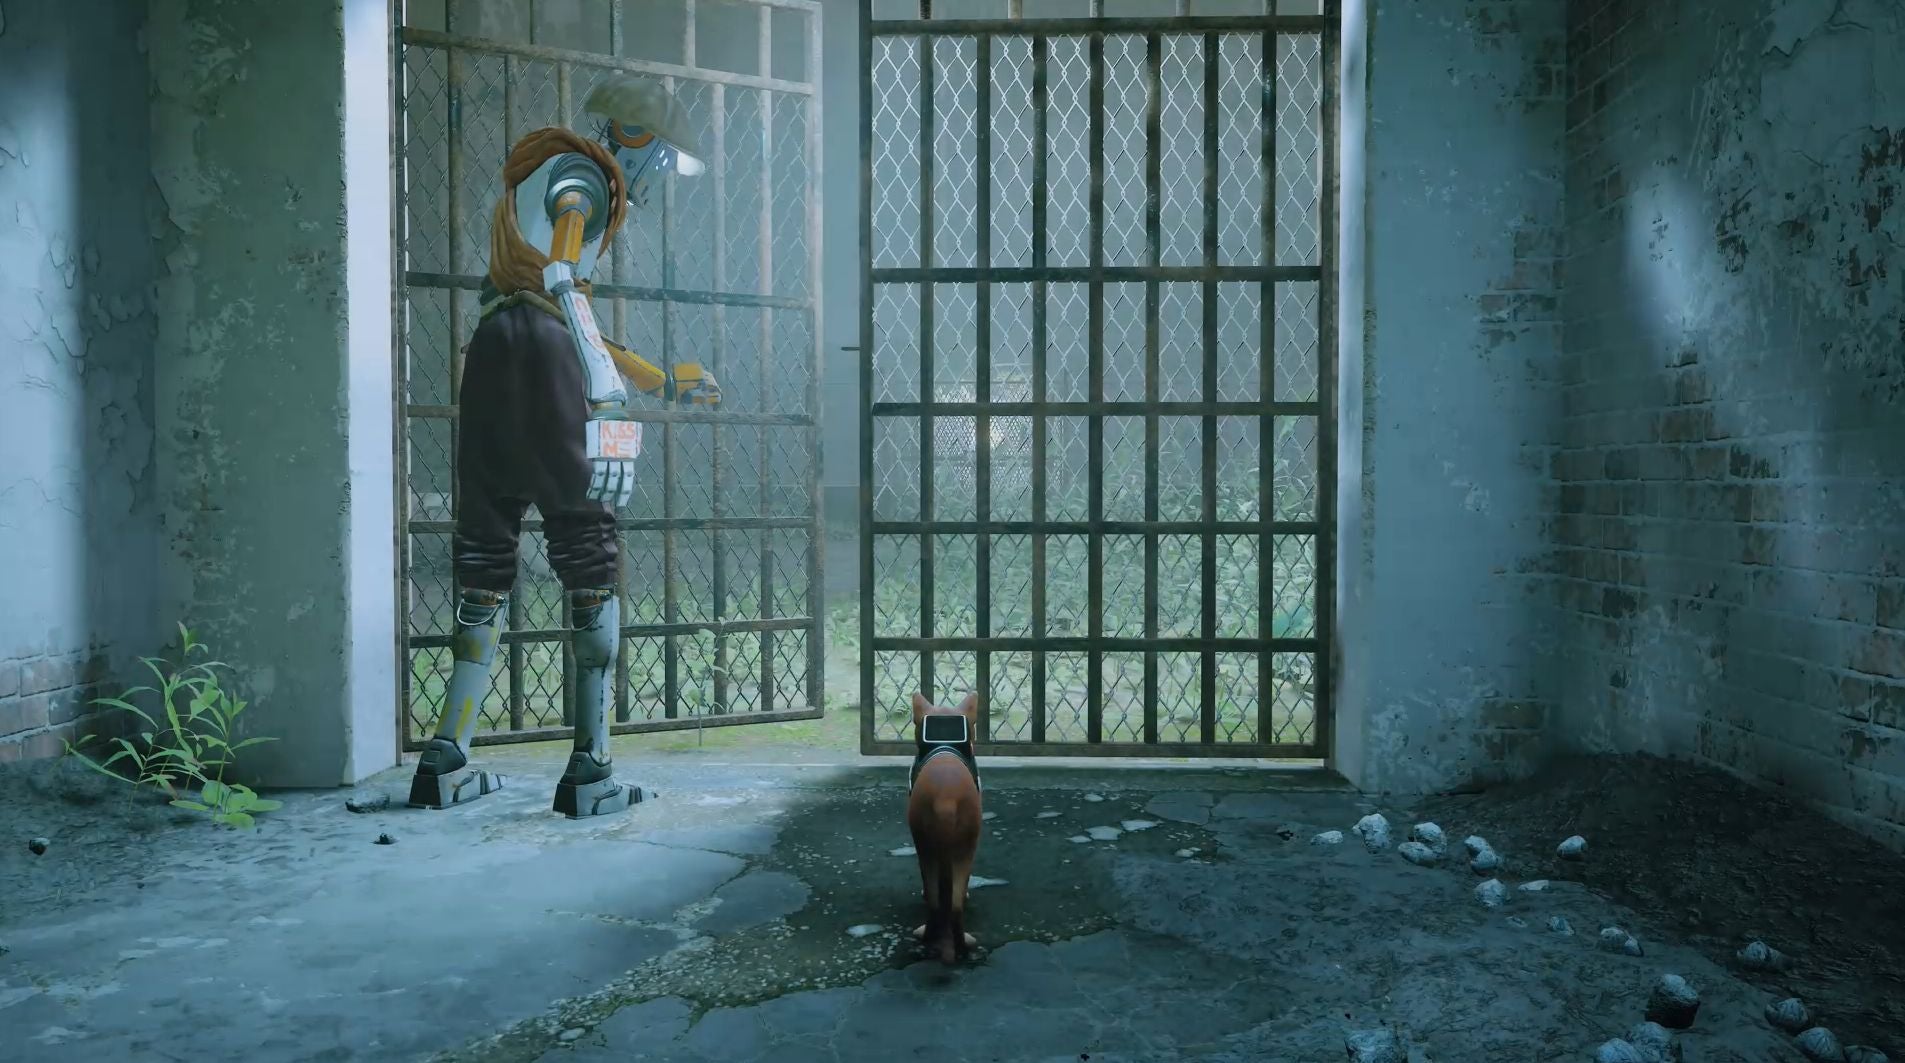
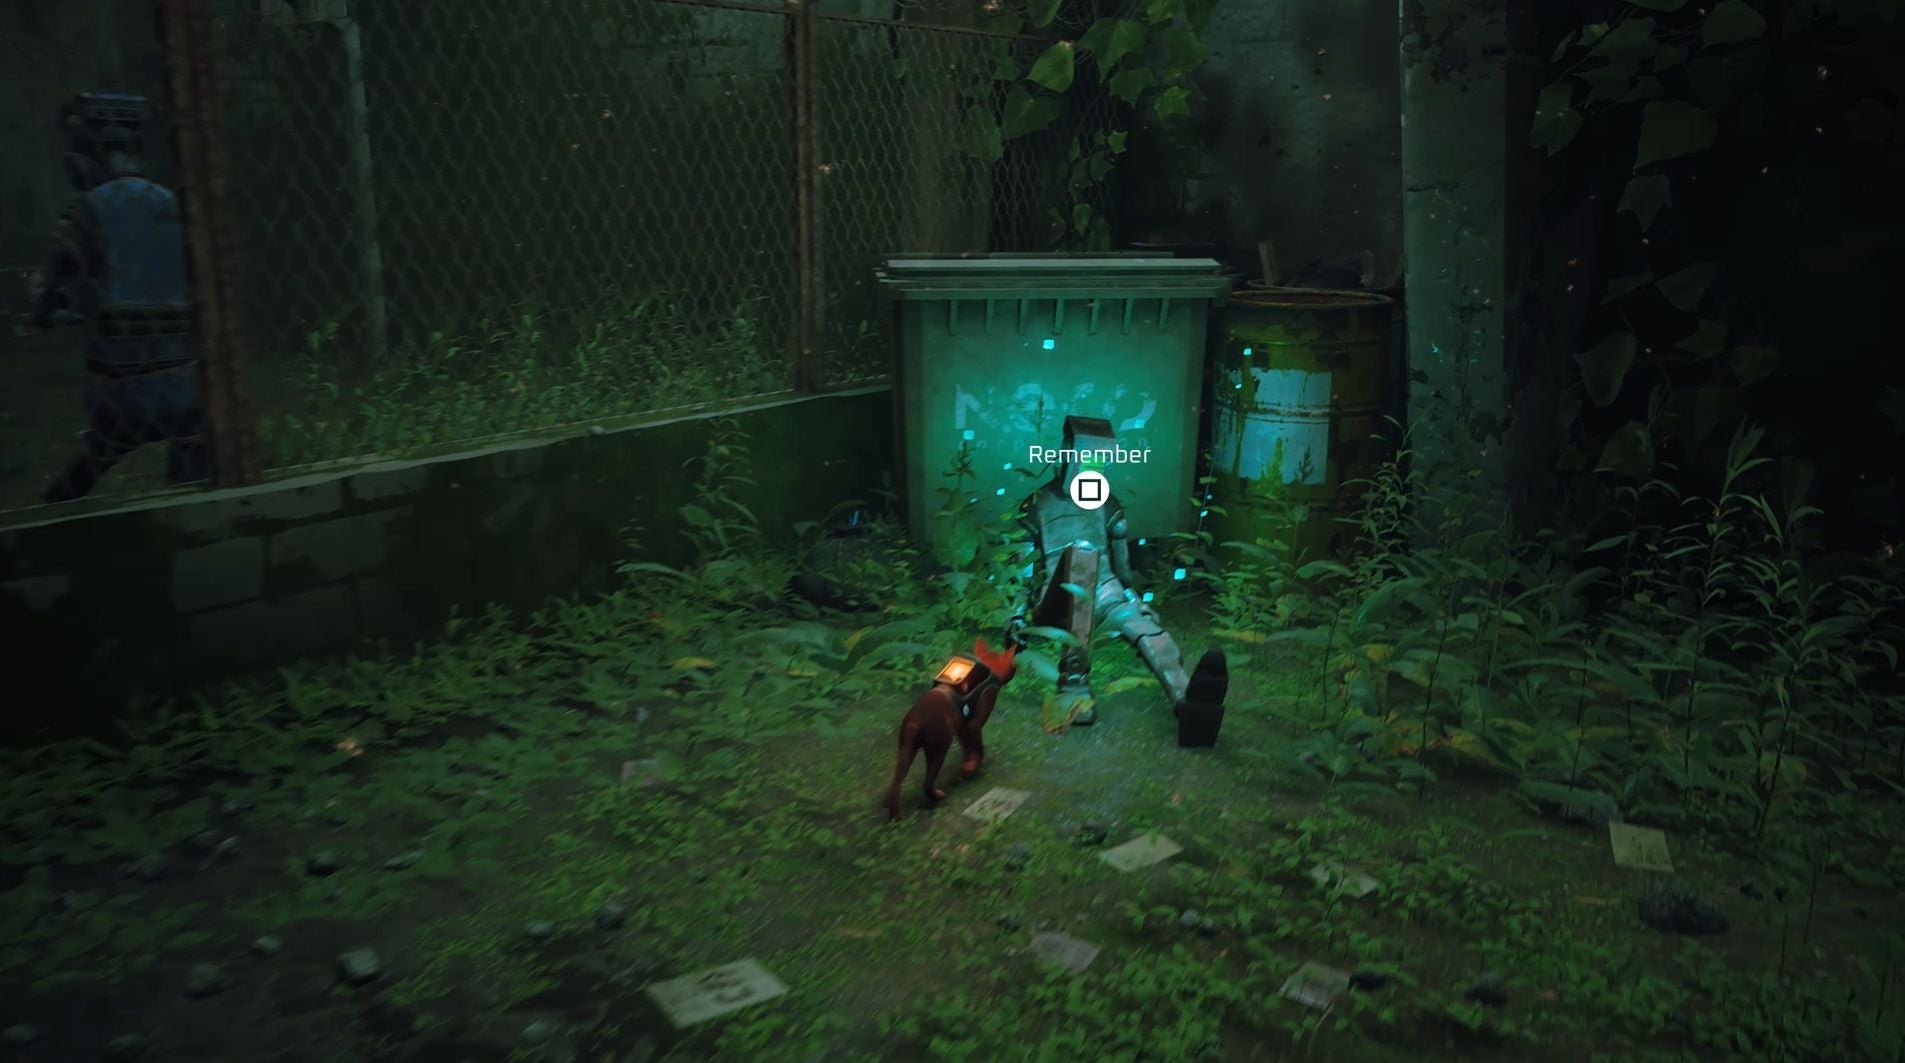
The final Midtown memory can only be collected in the club and, for this reason, we recommend getting it before you do anything else in this location. Finding it, thankfully, is quite easy - all you have to do is jump onto the dumbwaiter behind the bar to be taken to the club’s basement. Here you’ll find the memory in the middle of the basement by interacting with the table. Now all you have to do is take the dumbwaiter back to the club. To reach the memory, you must lead the first Sentinel you encounter into the jail by purposely attracting its attention. After doing so, lead it into the cell - using the boxes as cover to avoid being shut - and, once it’s inside, have B-12 close the door by hacking the nearby door panel. The easiest way to do this is to have B-12 close the door from inside the cell, then quickly run out either before it closes or by slipping through the rungs in the door. Clementine will be able to safely cross the yard and open the gate for you. Once she’s done so, head to your right where you’ll find the memory by interacting with the dead roboto leaning against a bin. If you’re having trouble doing this, lead the nearby moveable cabinet (I honestly can’t think of a good name for these things) to the square outline on the left-hand side of the door. Next, head to the control panel on the right-hand side of the door and prompt B-12 to start hacking. While they’re hacking away, run back over to the cabinet, jump on top and start scratching at the wires. B-12 can only hack the control panel for a short amount of time, so you may need to complete the above actions a couple of times before the door opens. After successfully doing so, however, you’ll be able to enter the Control Room and receive the memory. Now you can enjoy finishing Stray! If you’d like to learn more about Stray, then check out our guides on the energy drink locations, music sheet locations and Stray trophies.
