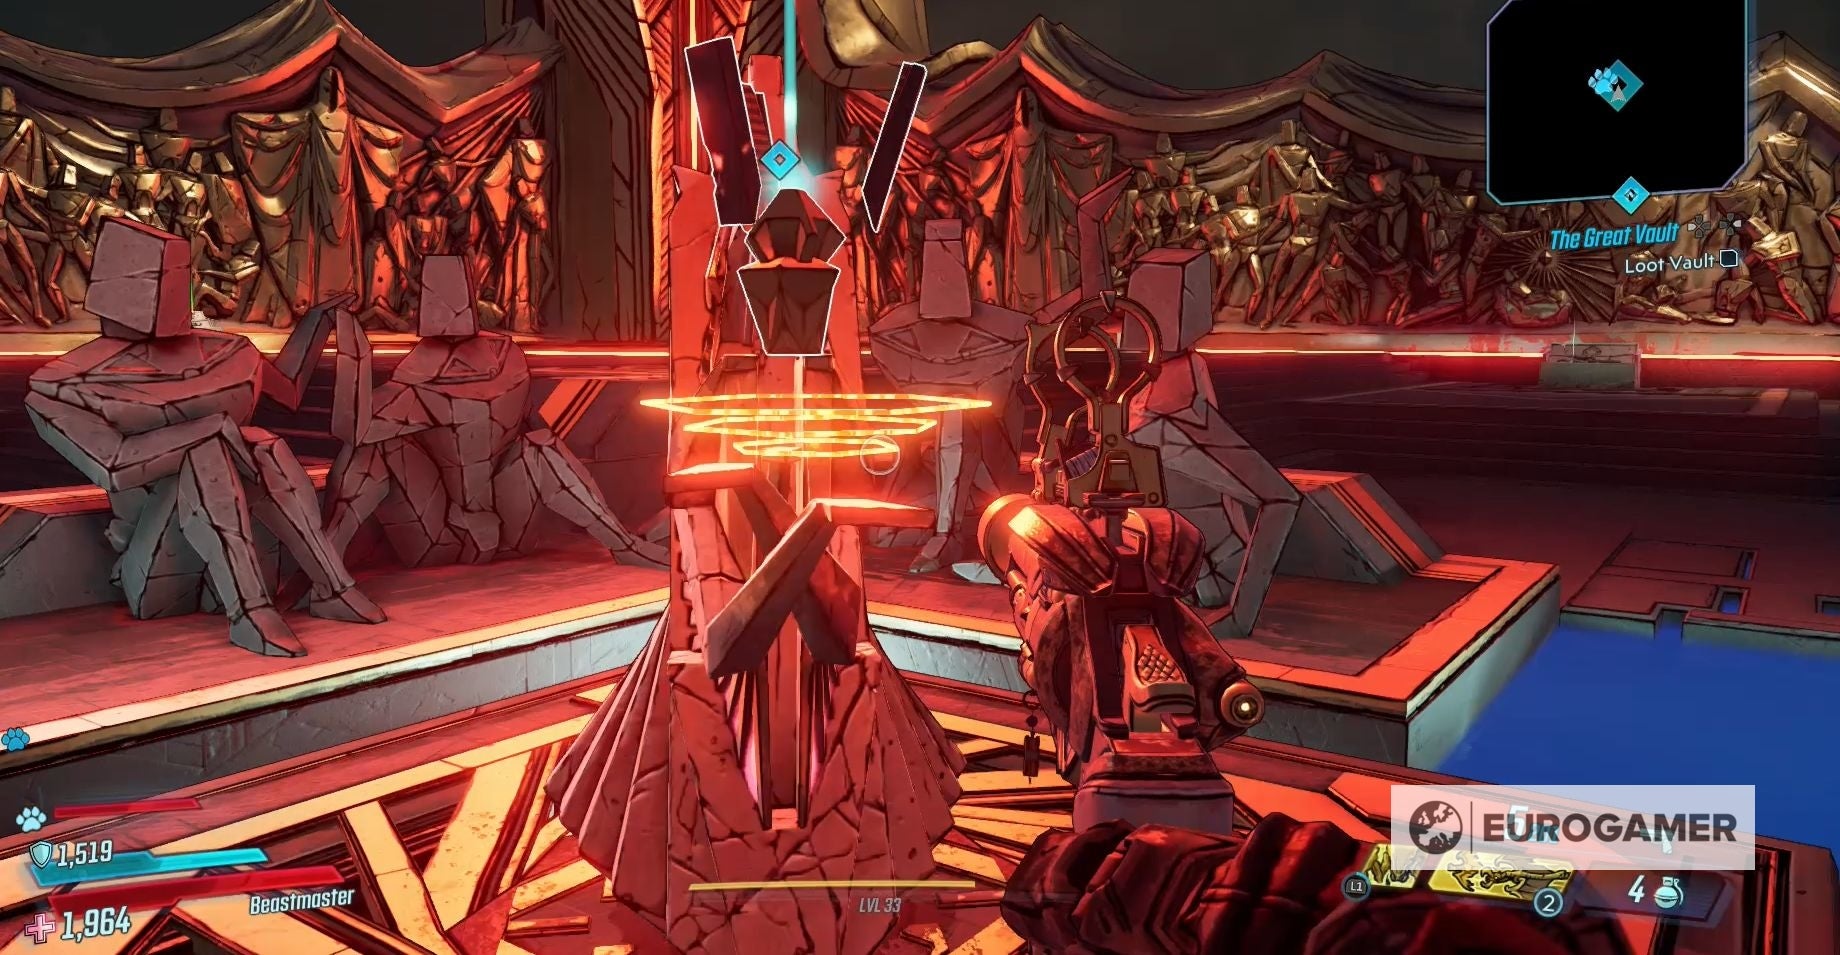
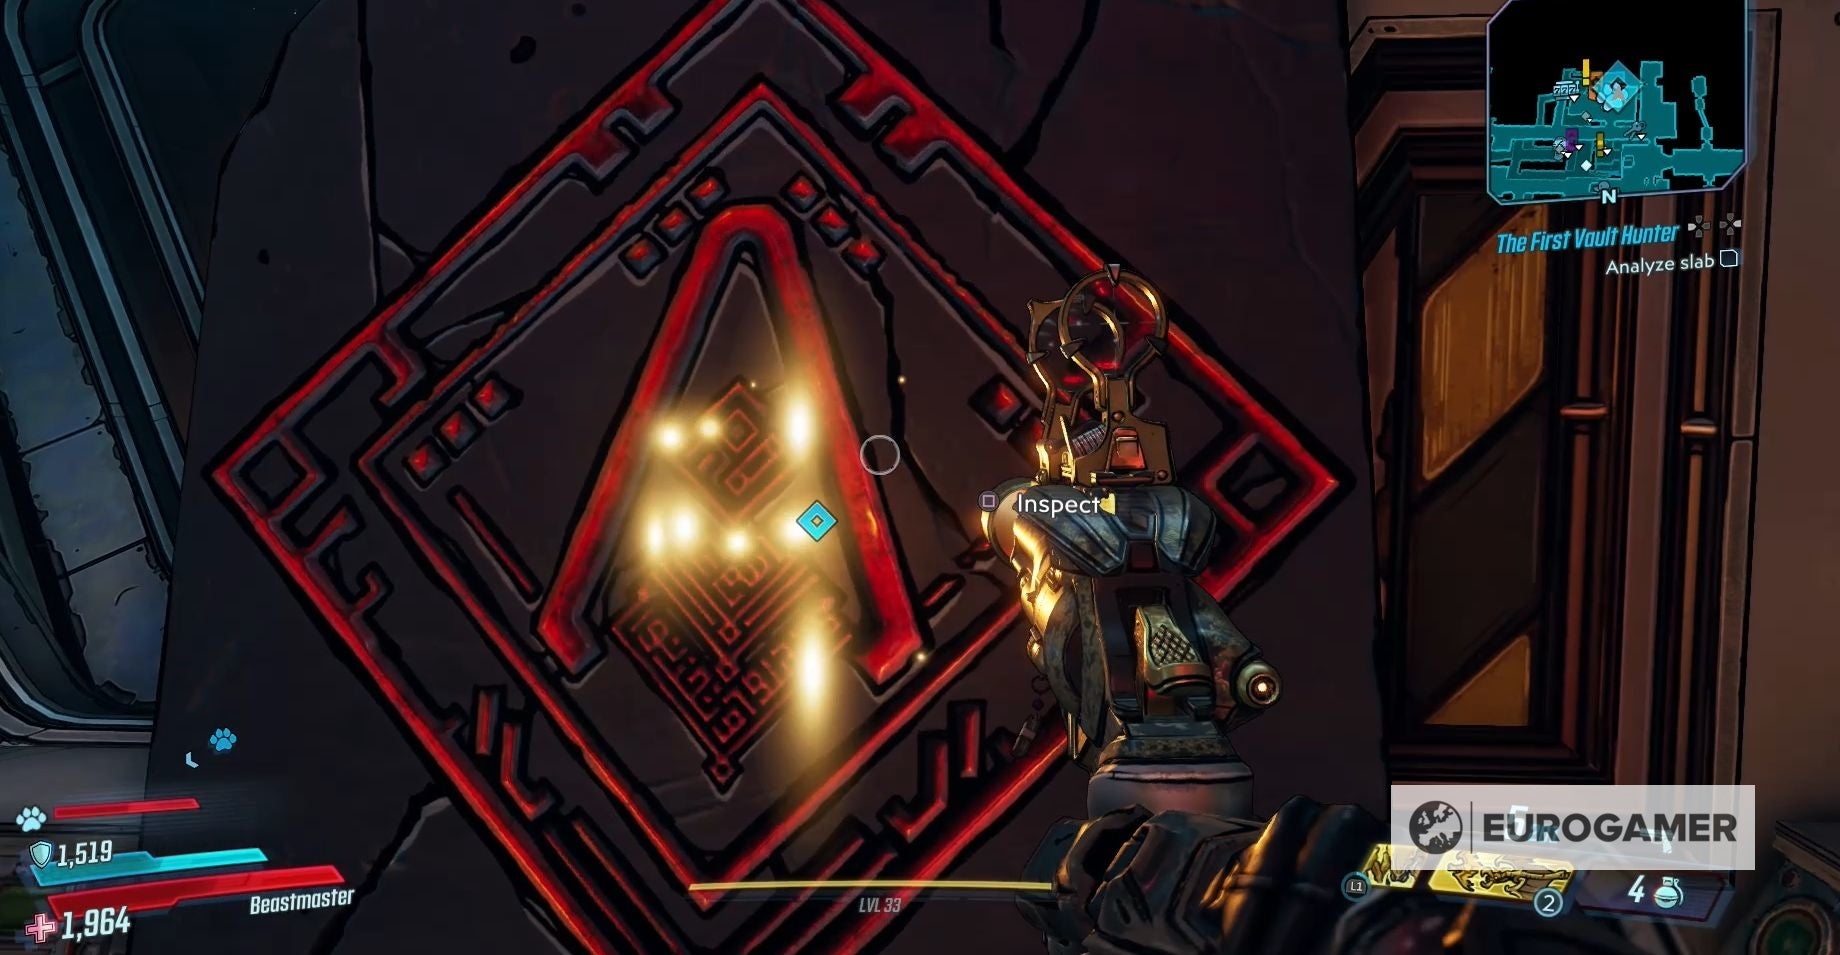
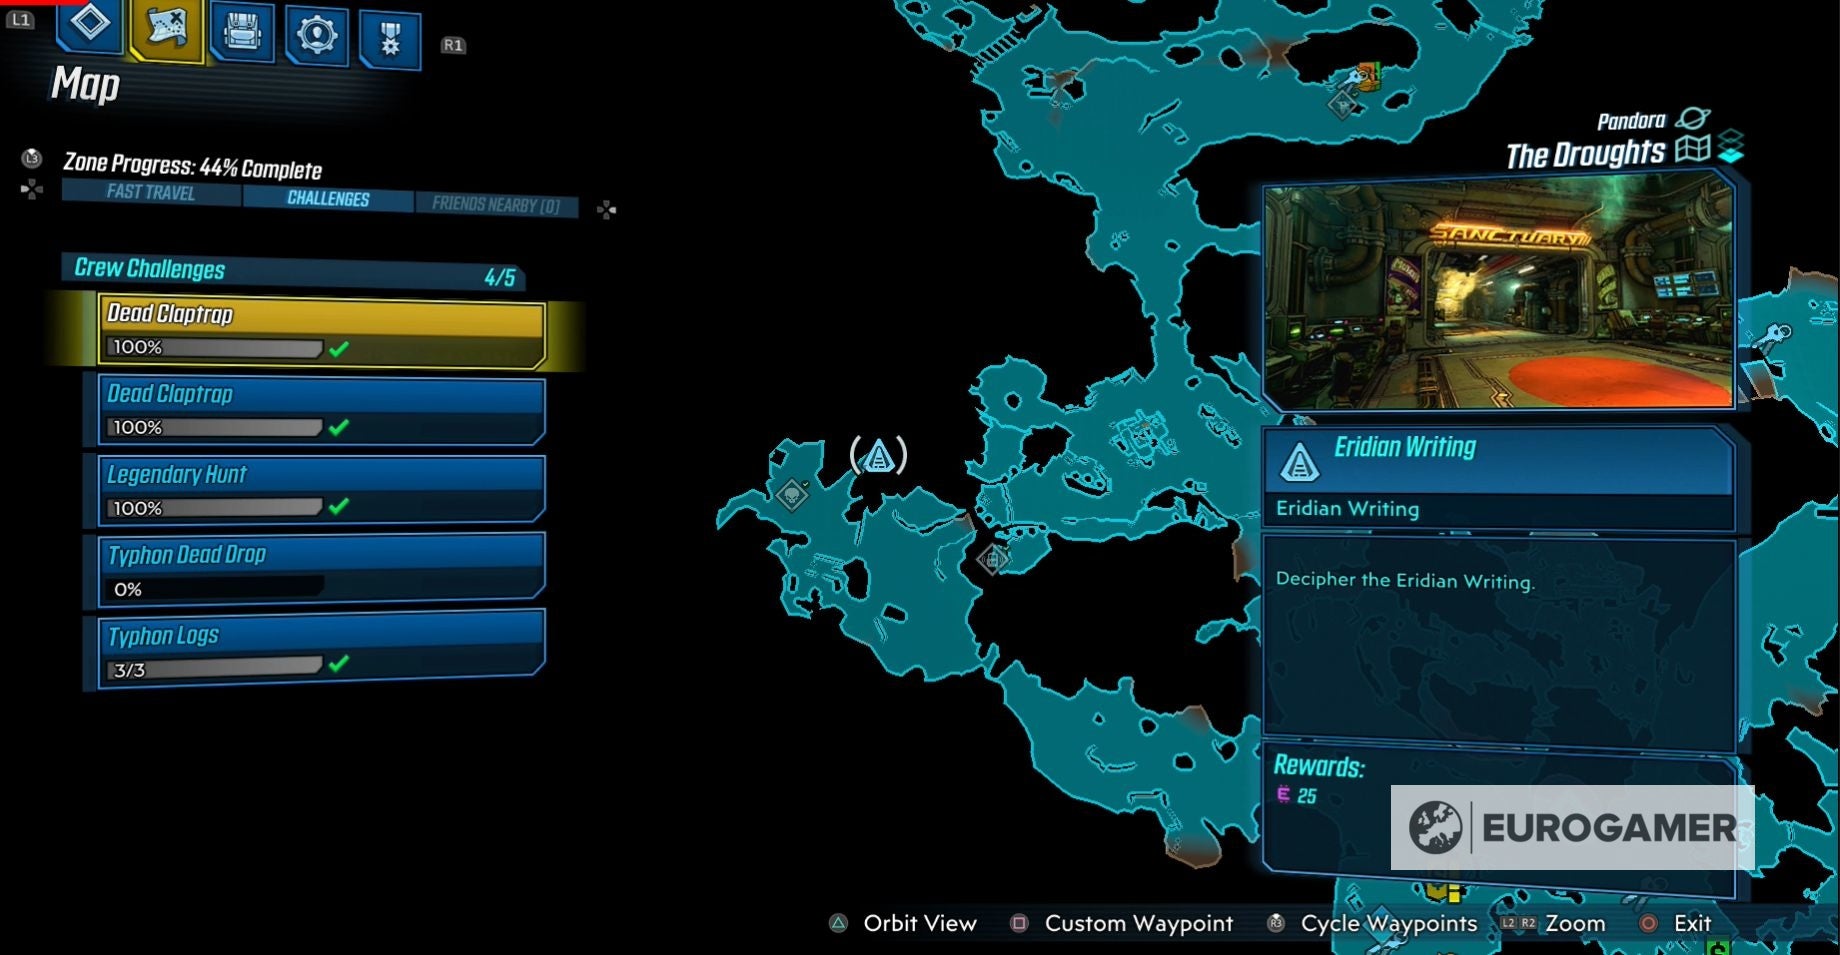
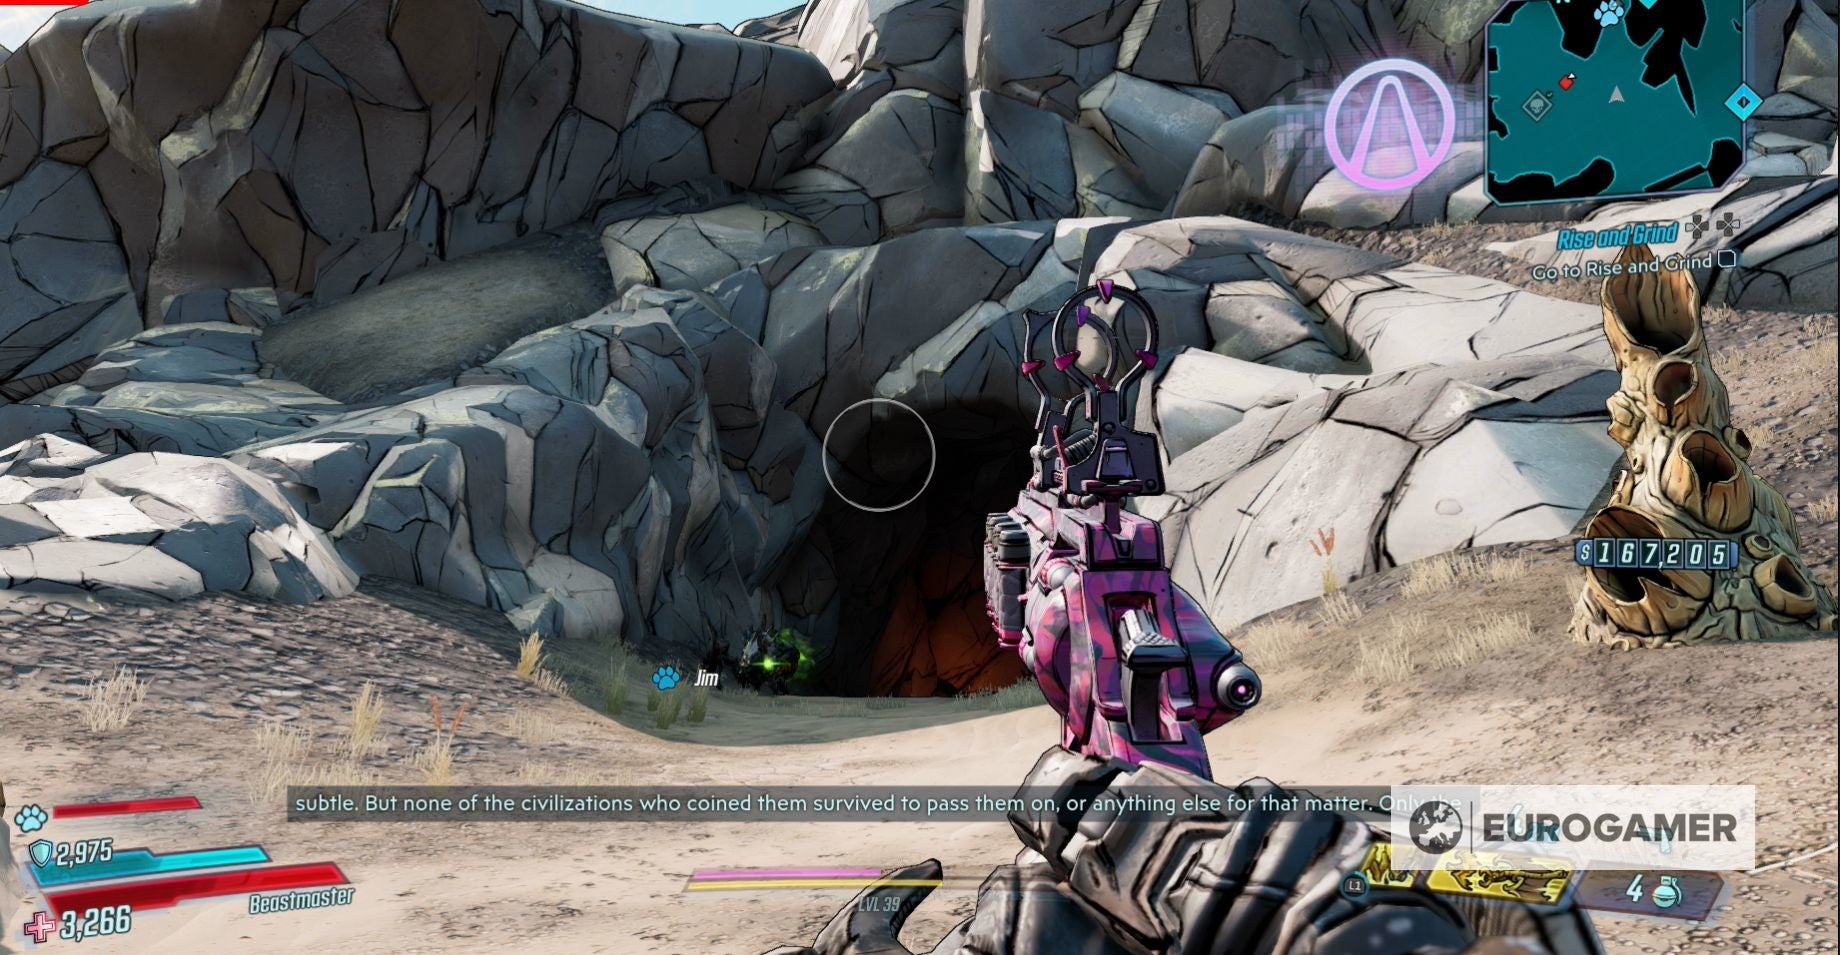
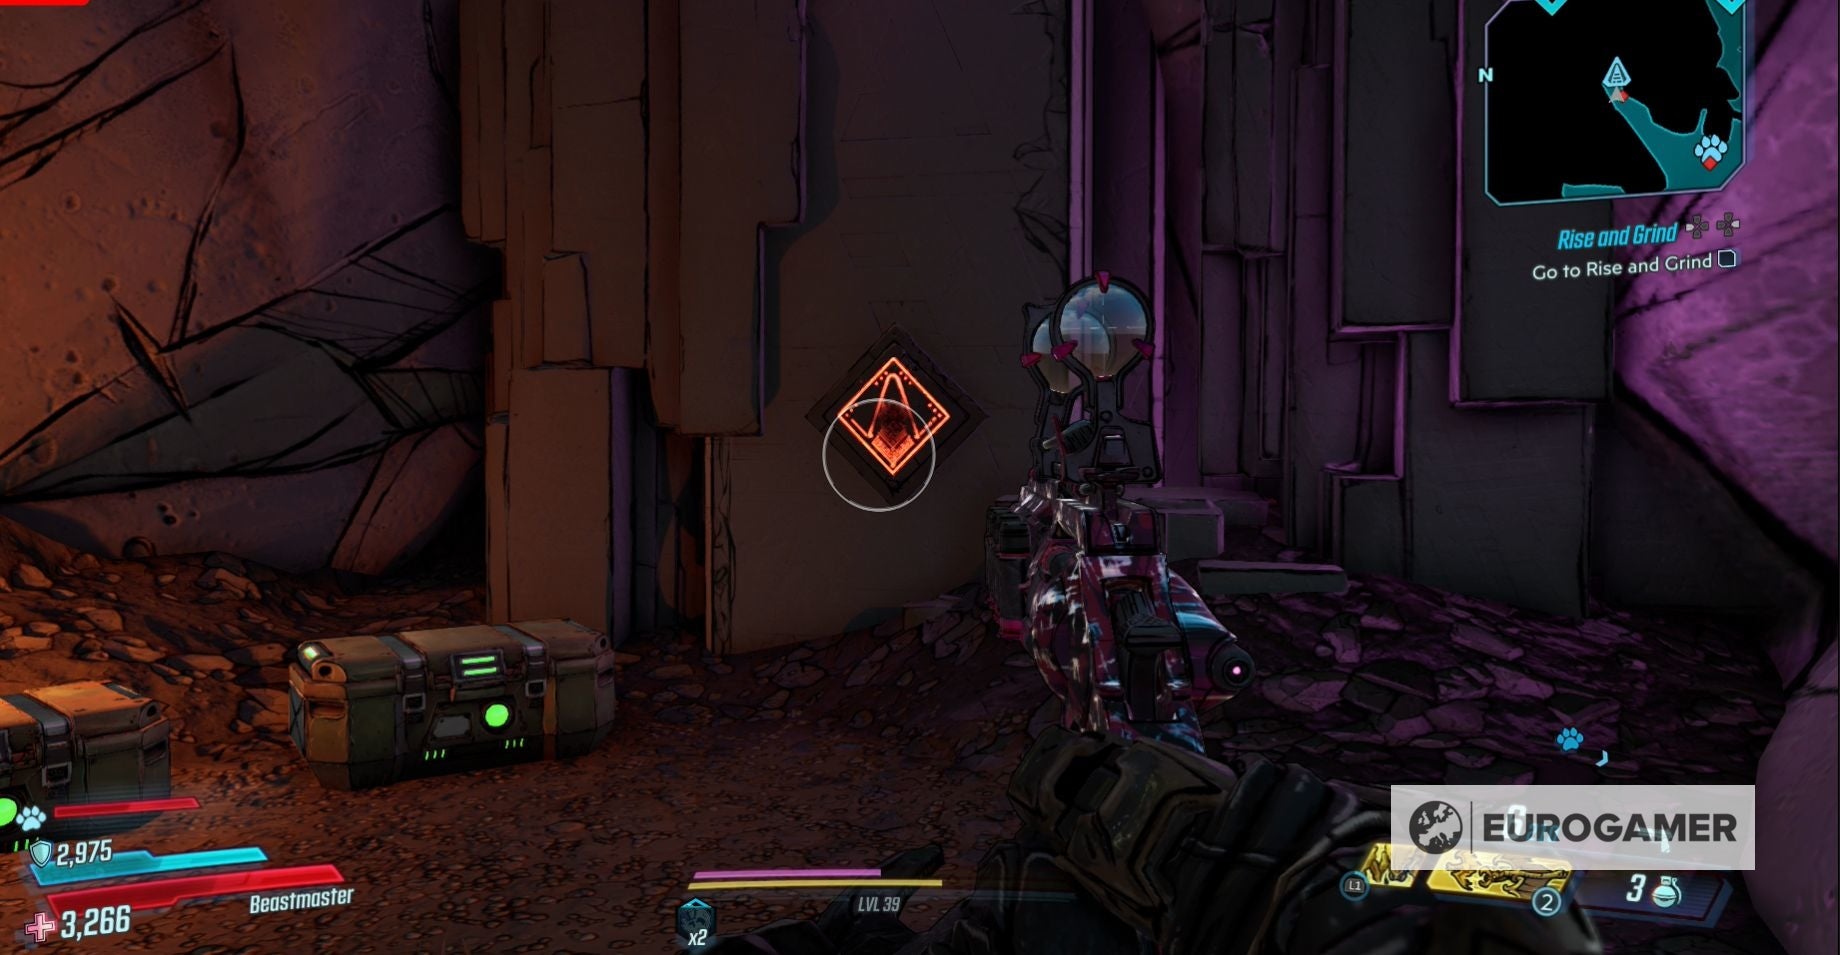
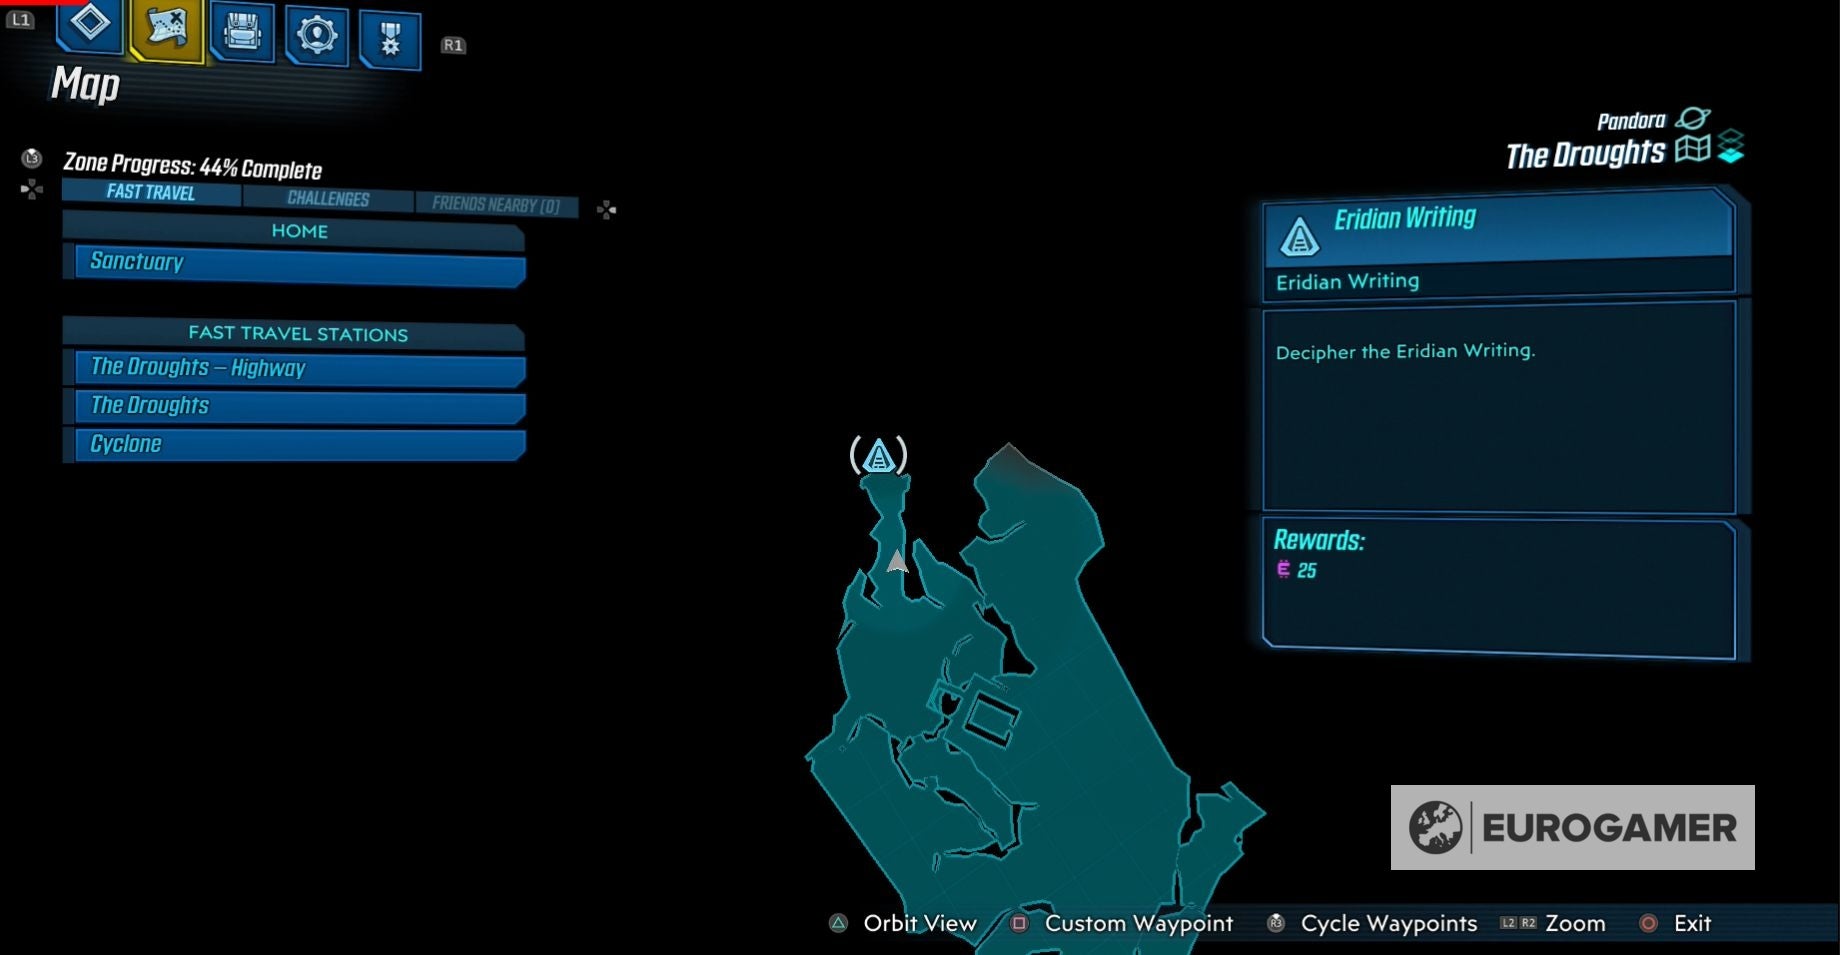
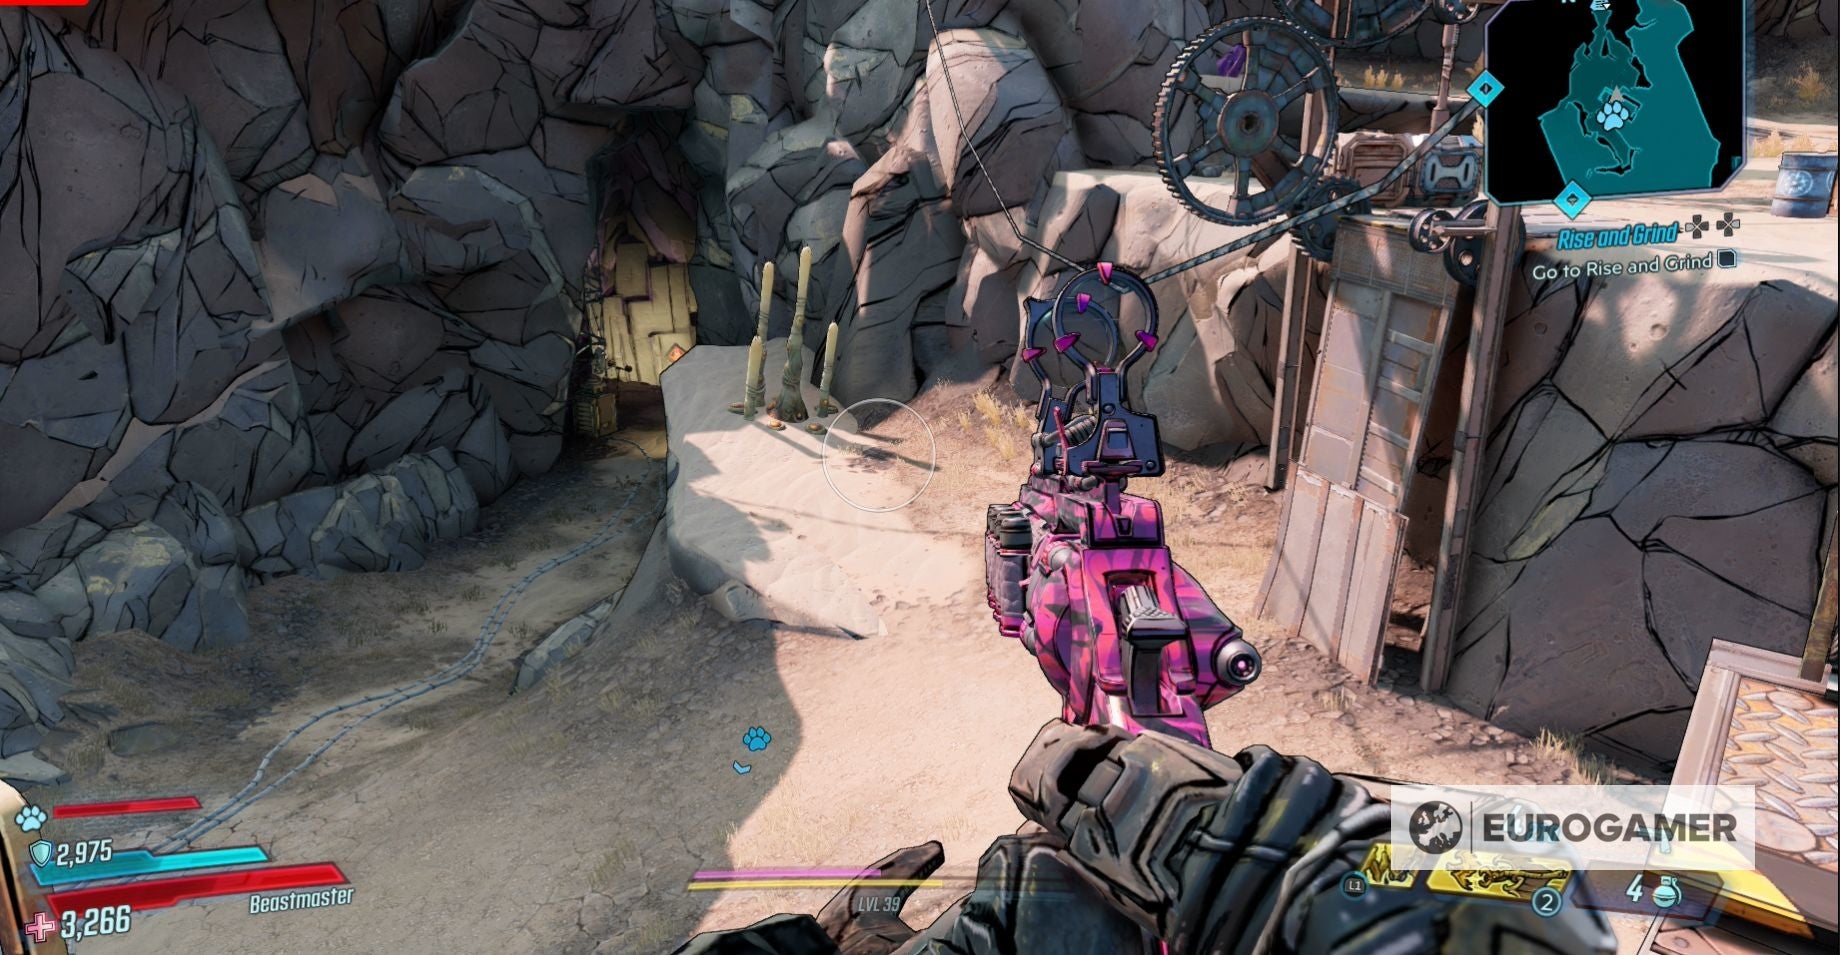
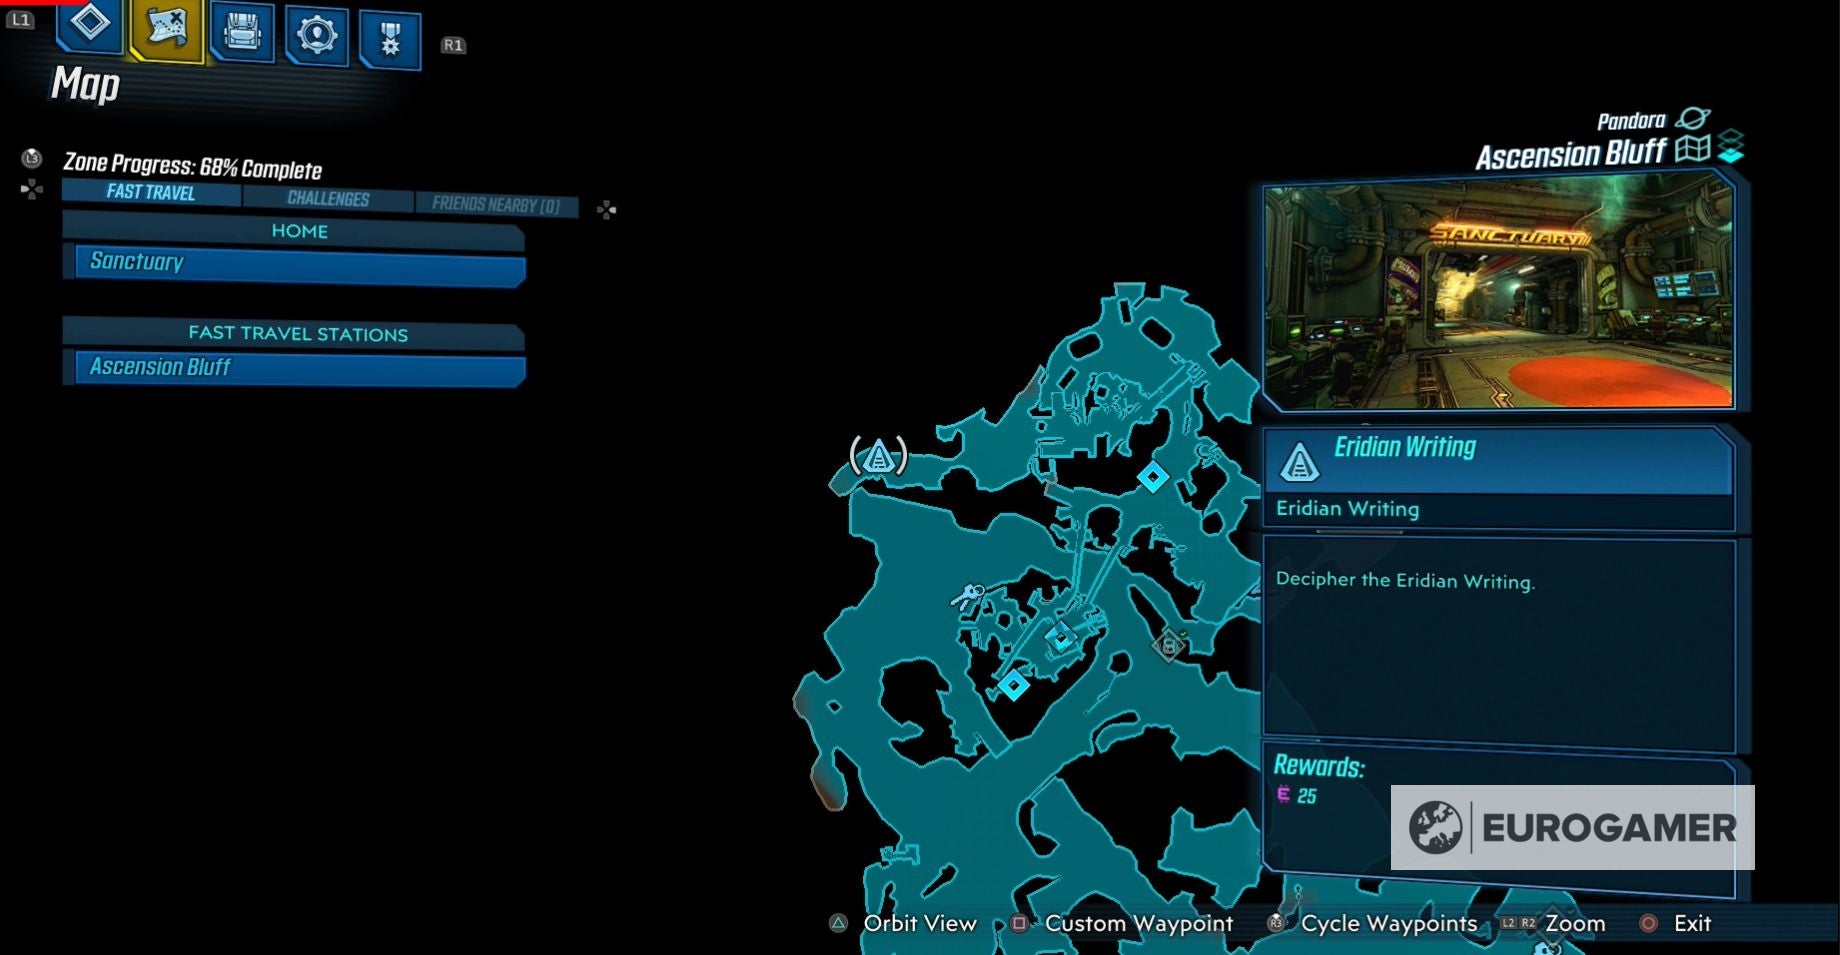
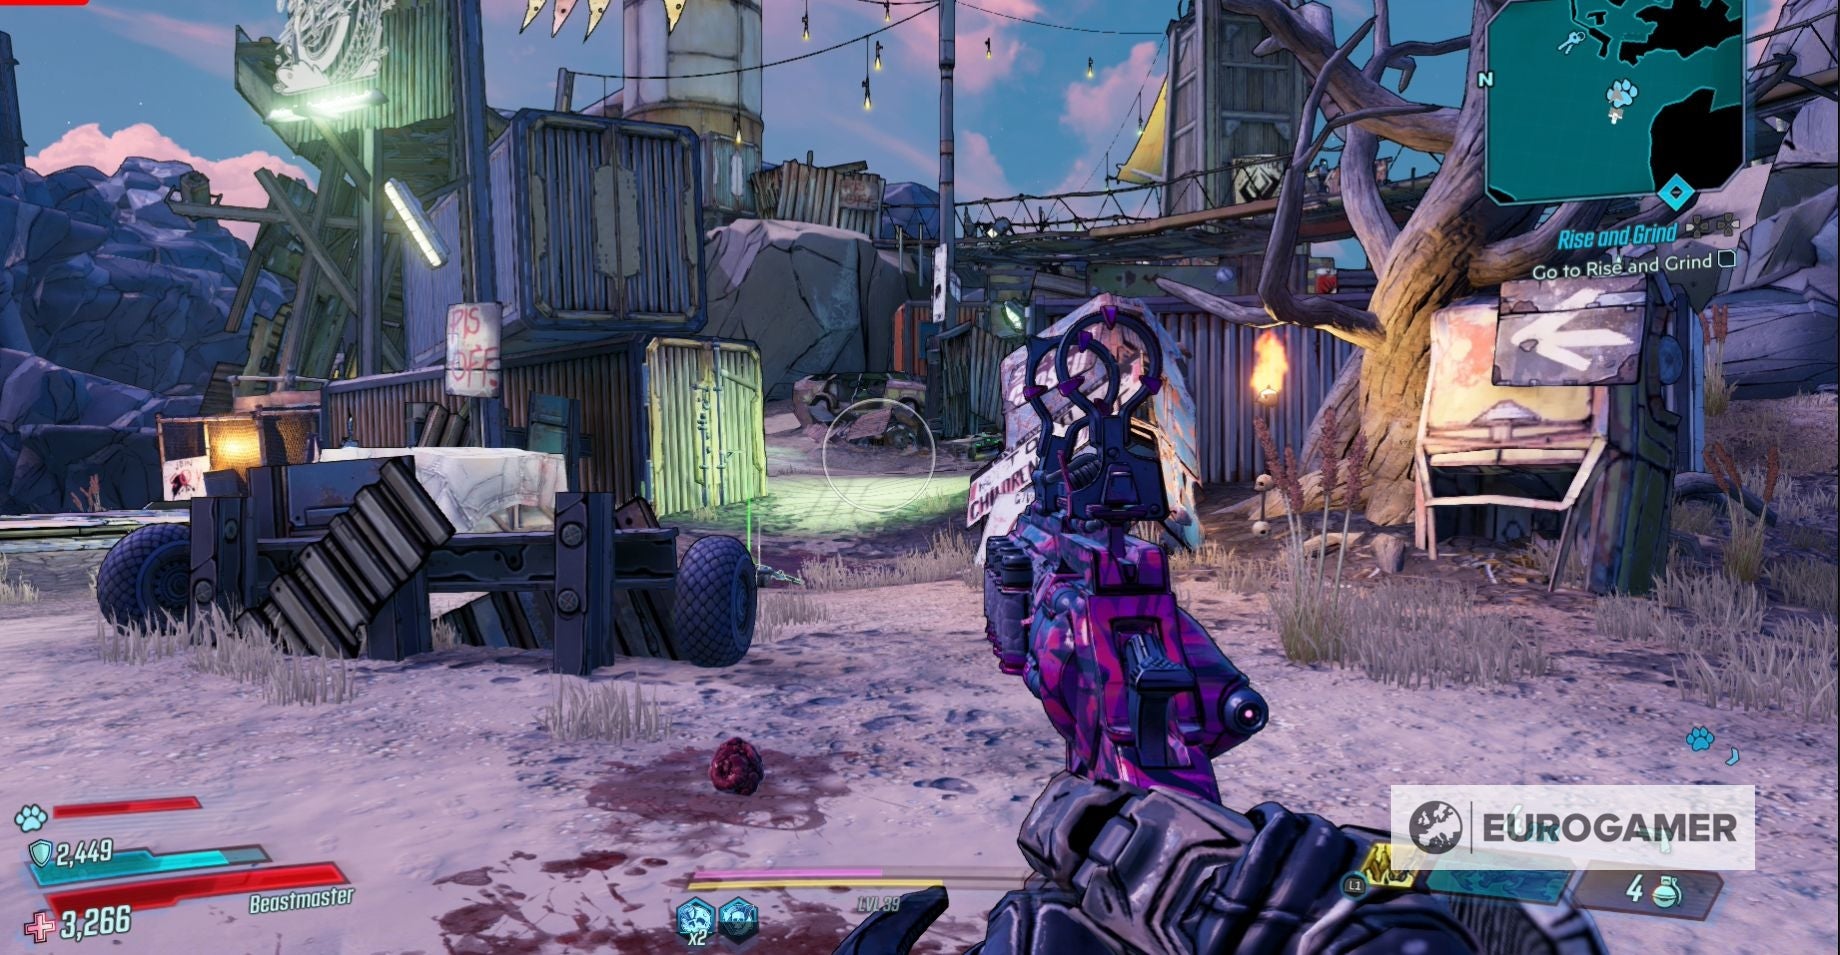
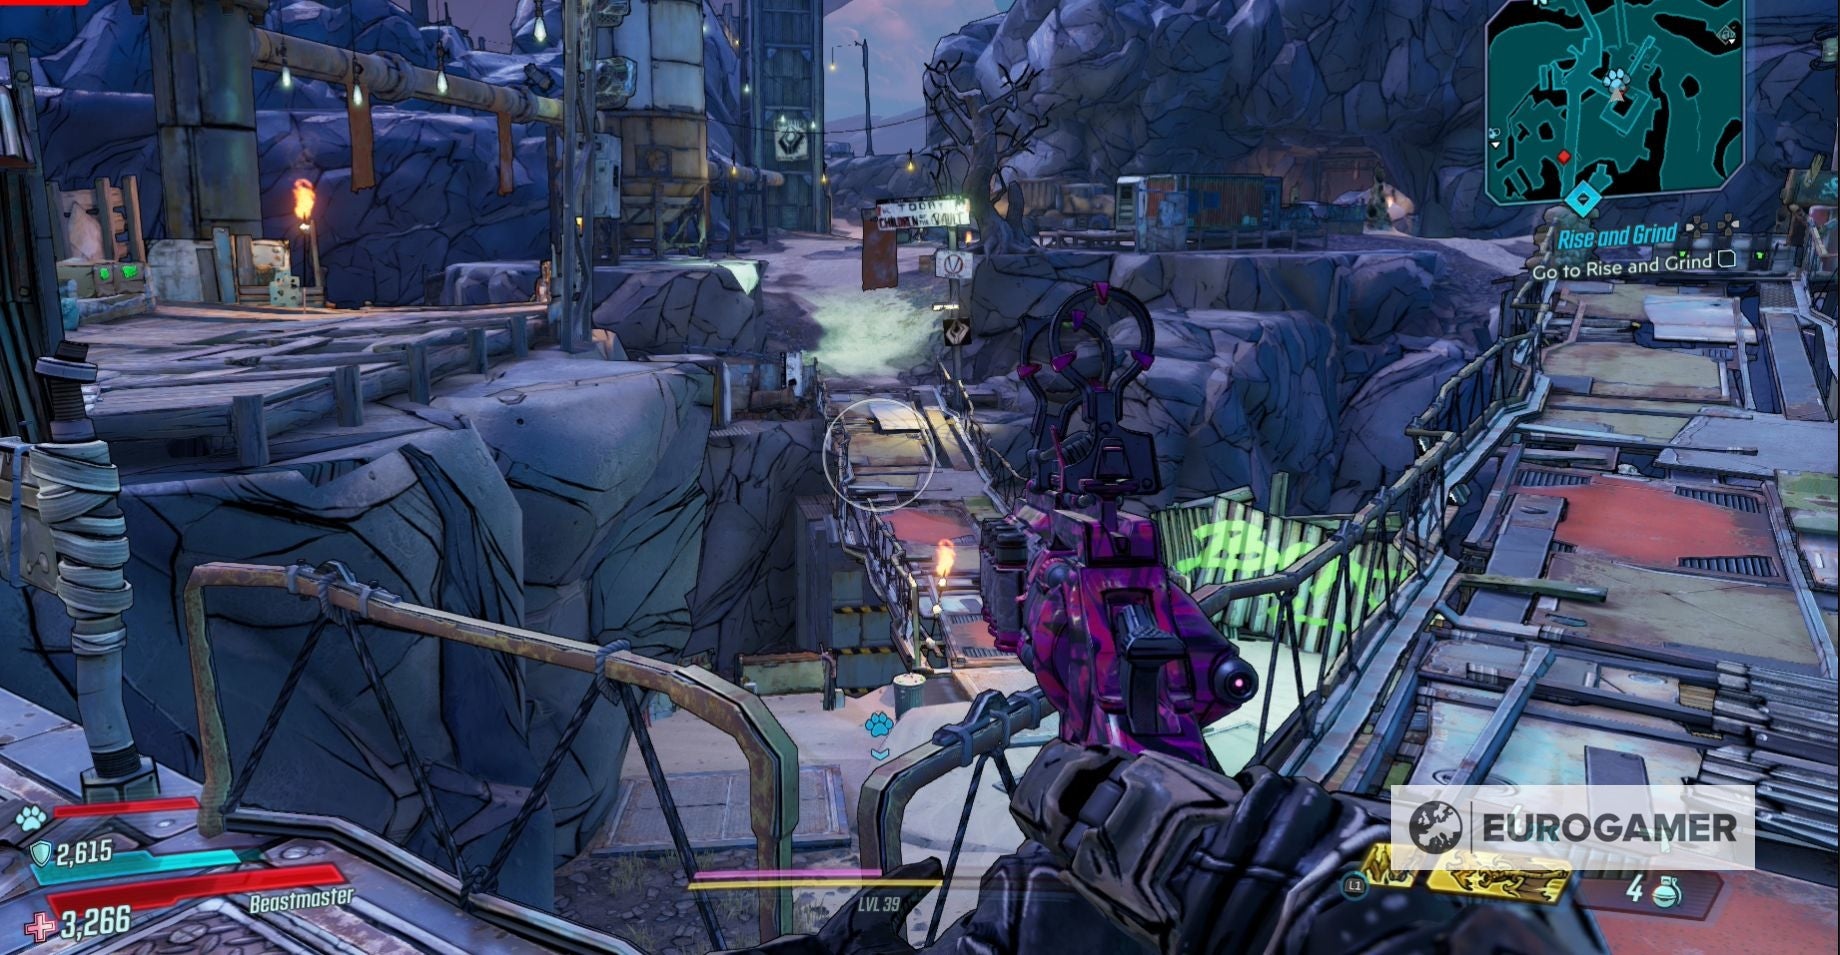
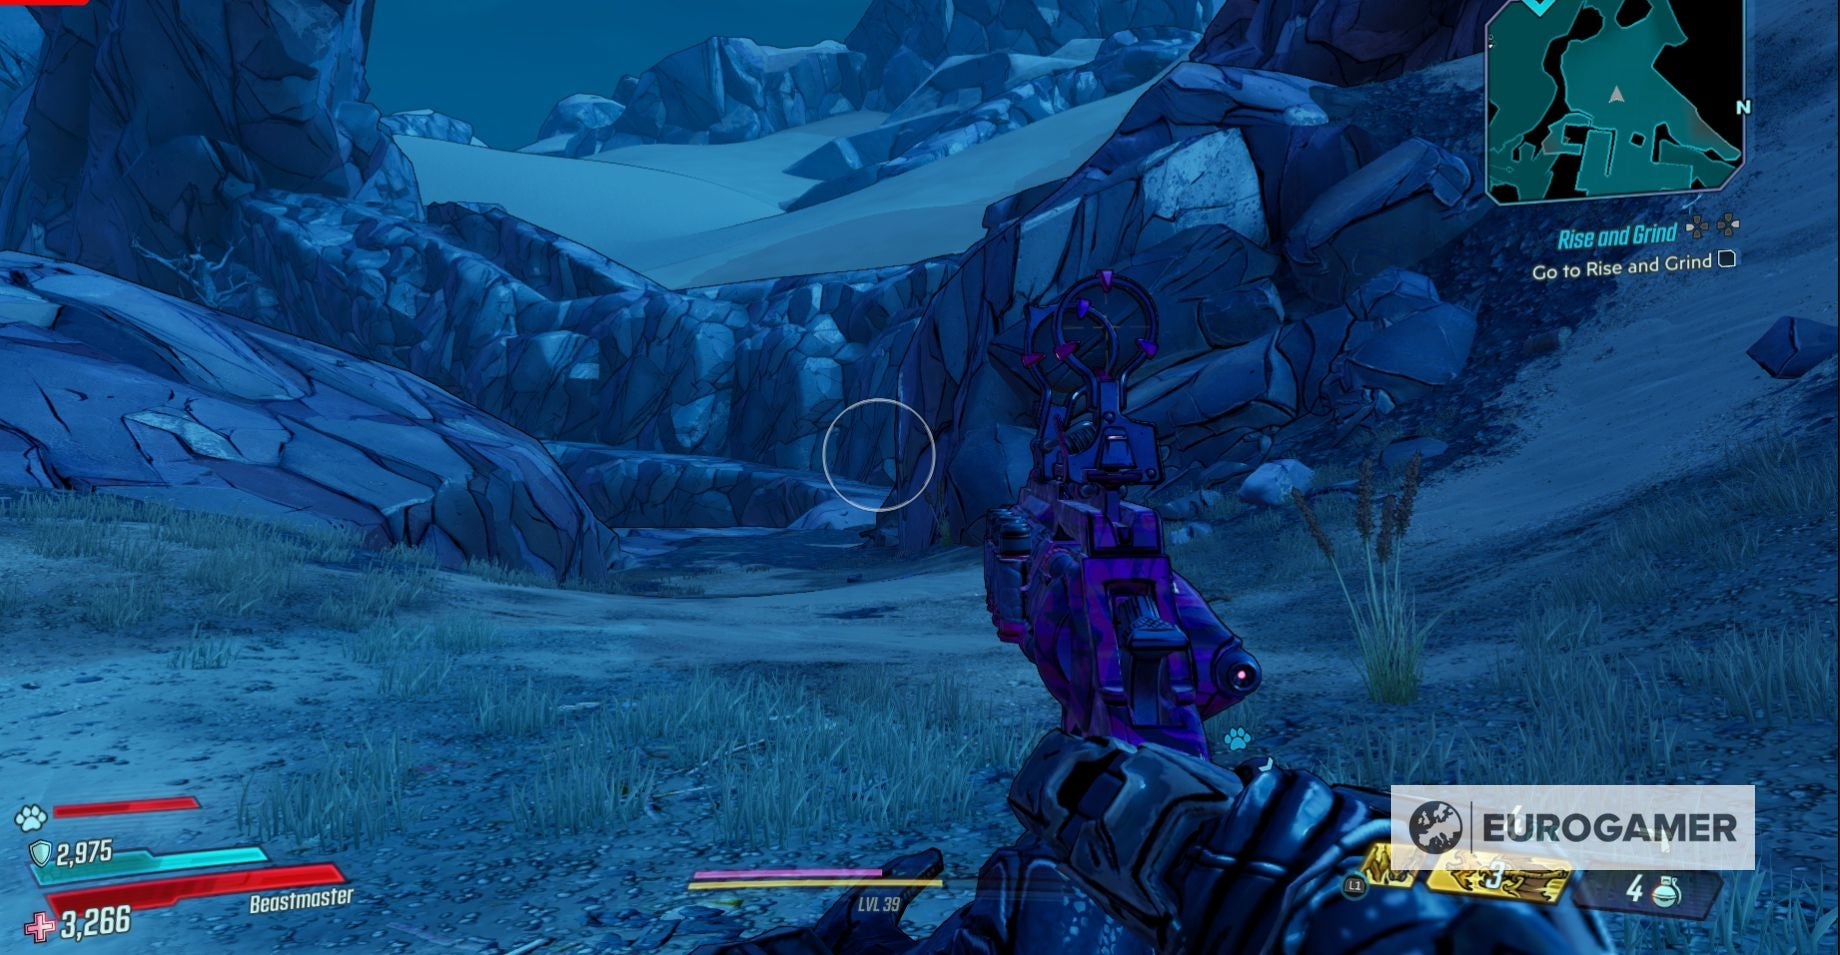
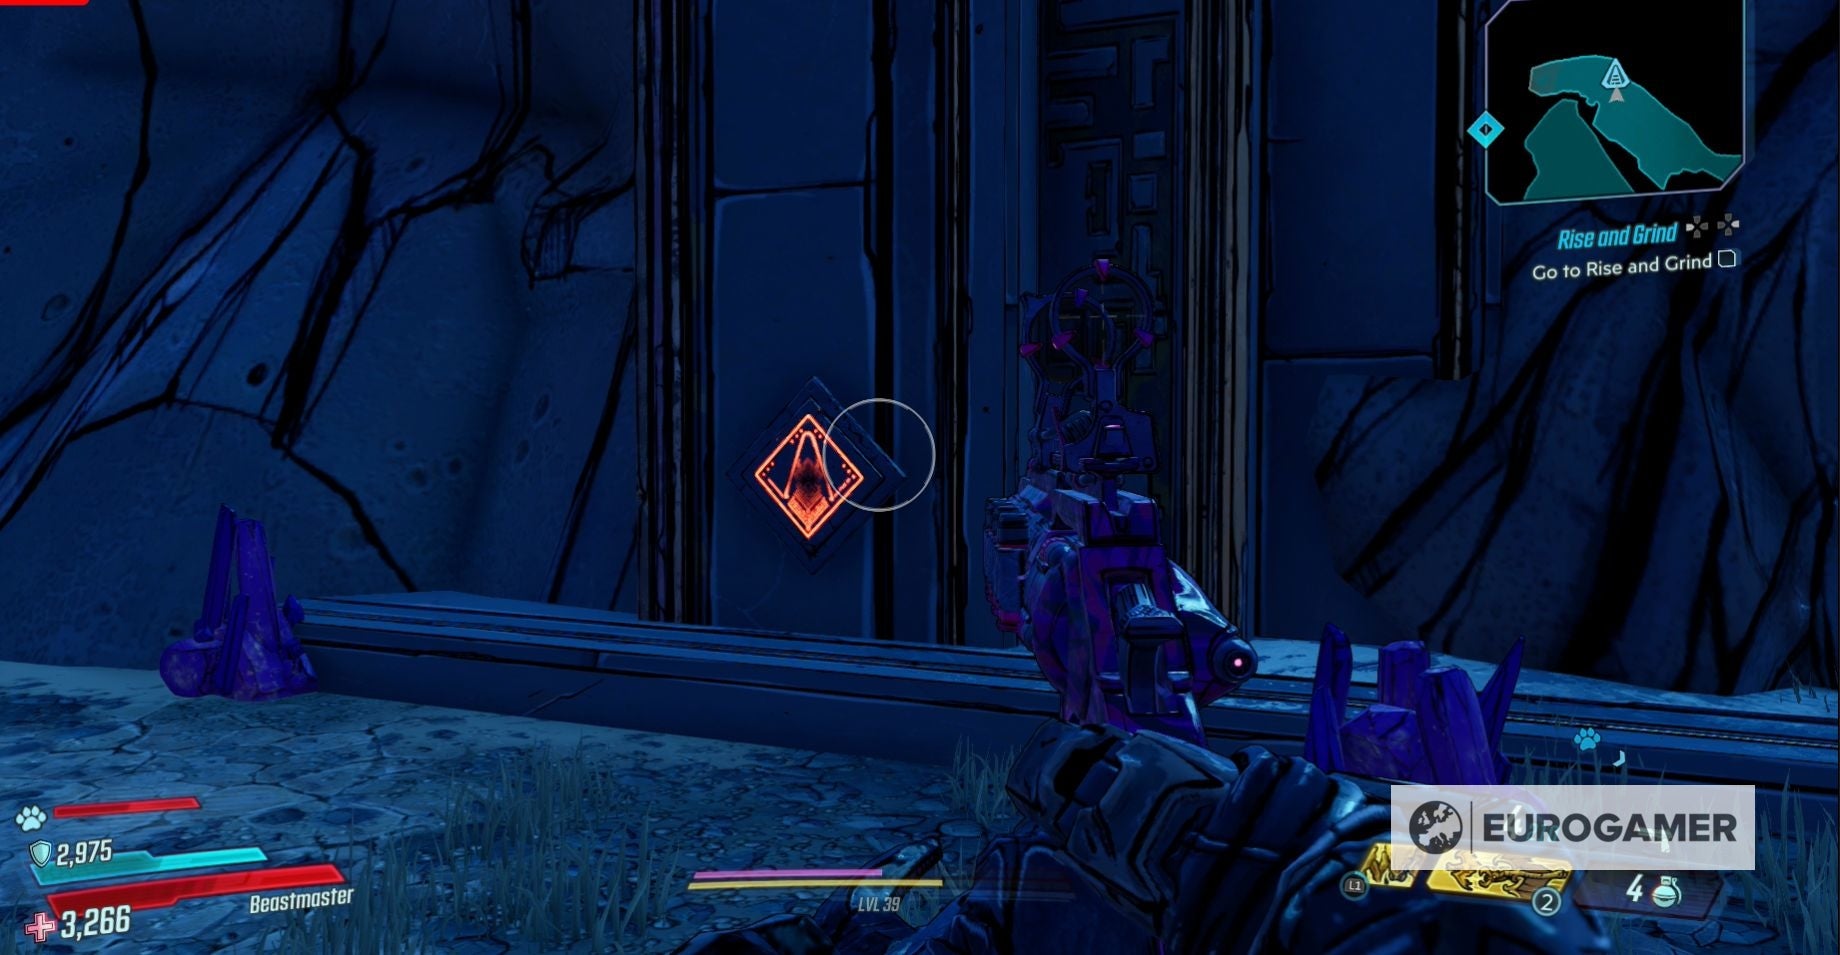
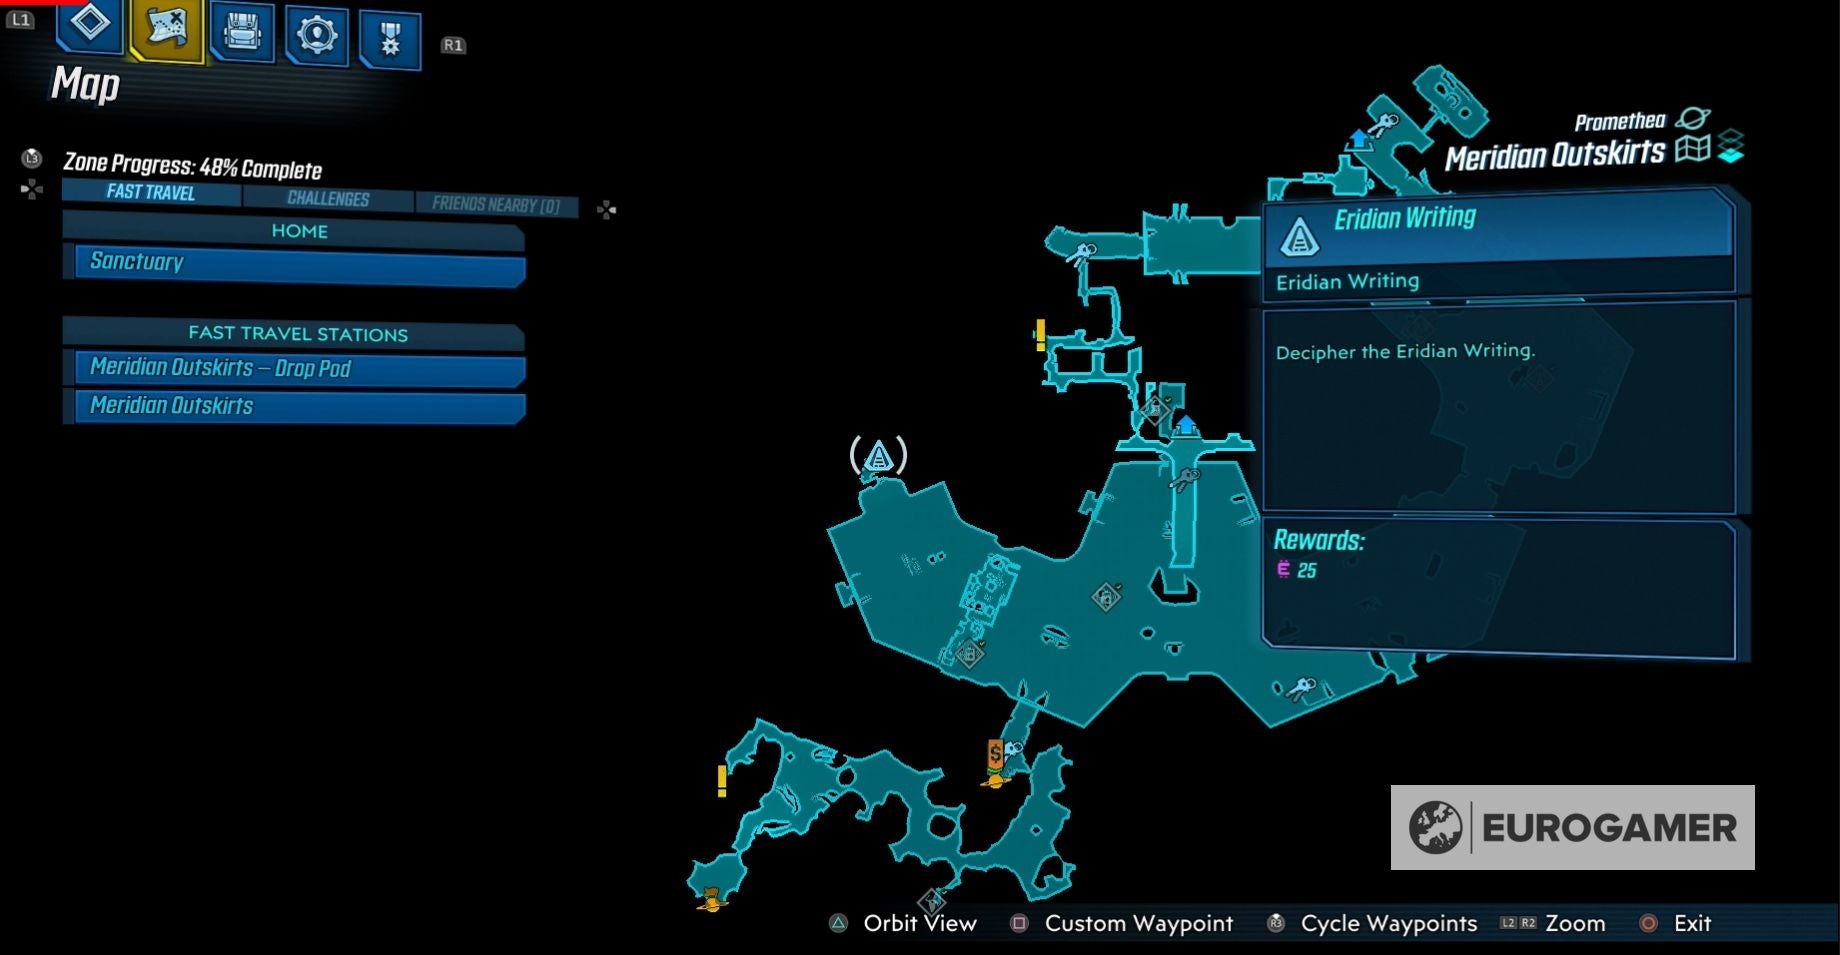
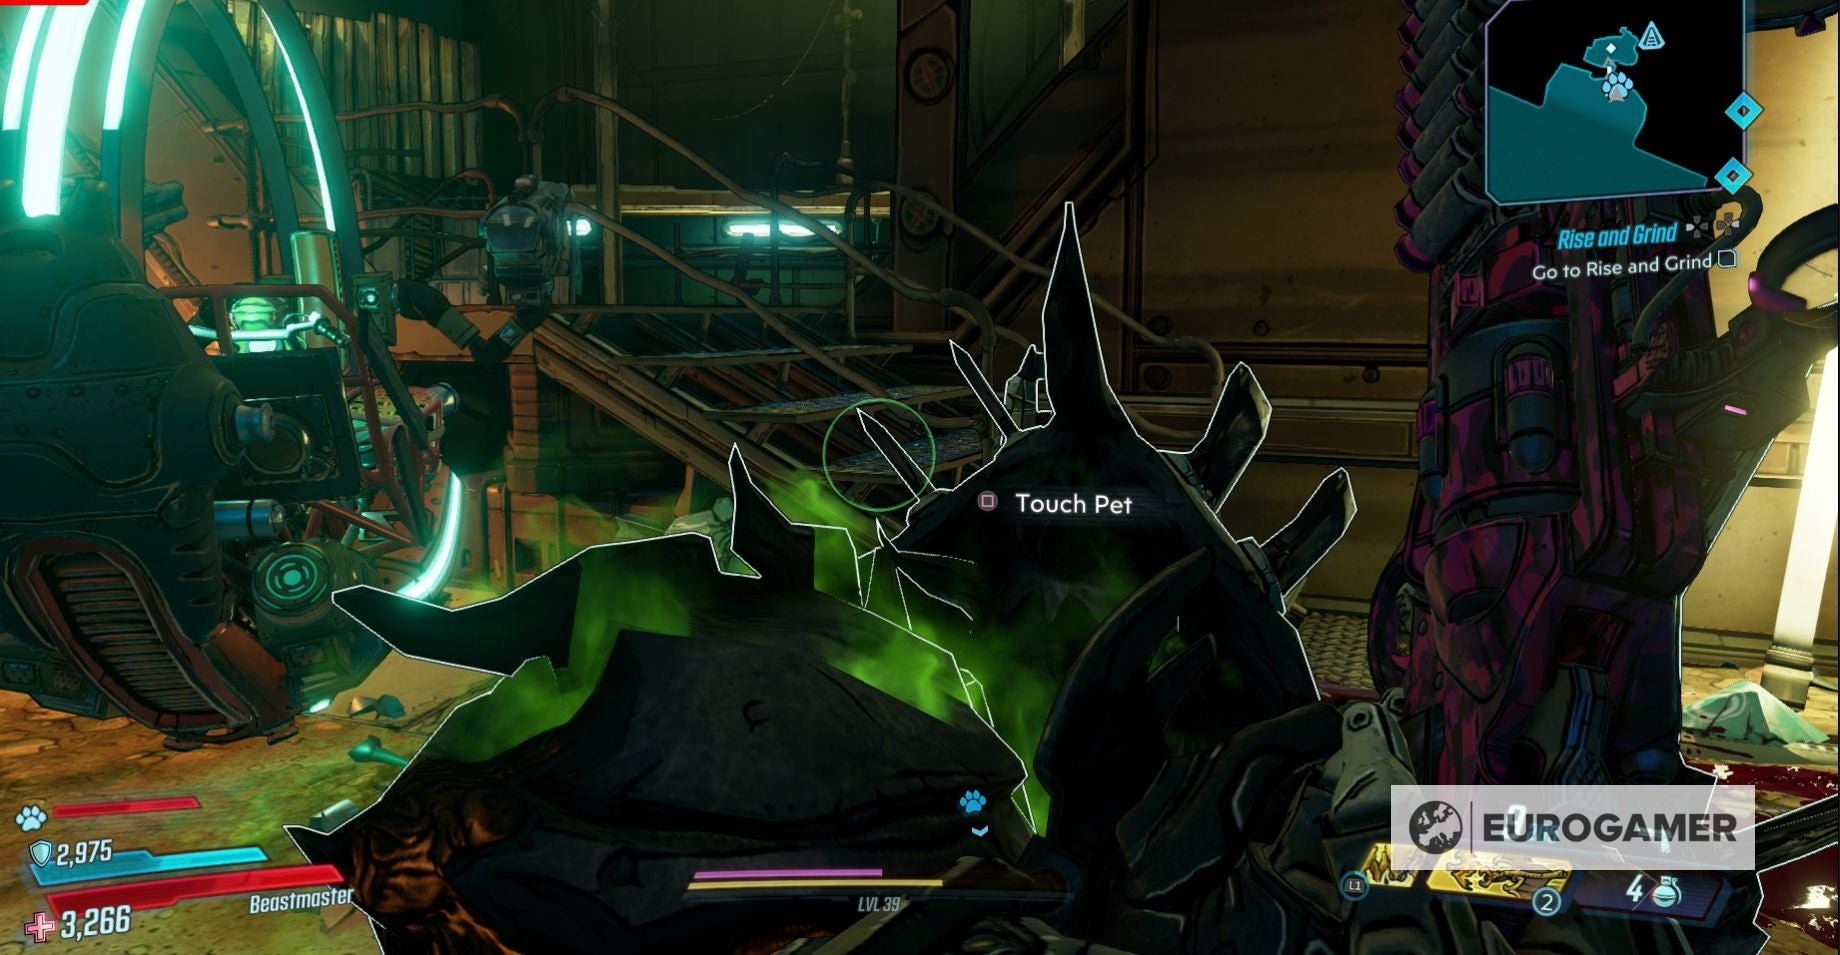
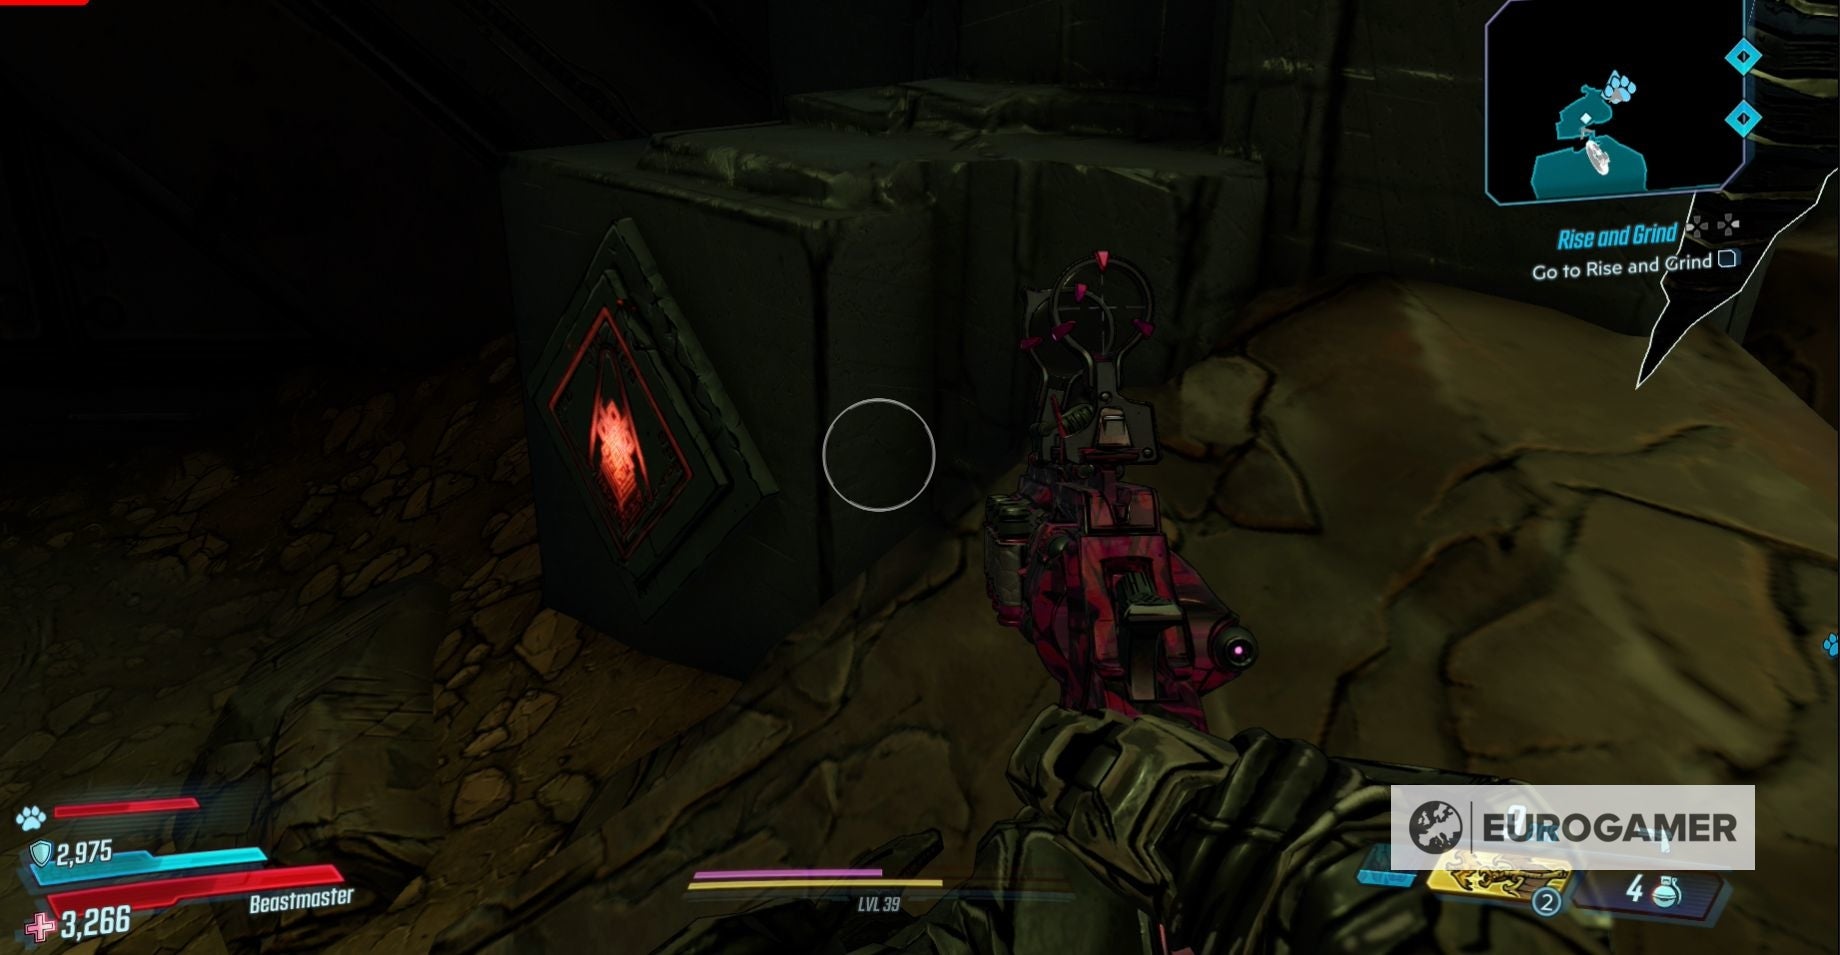
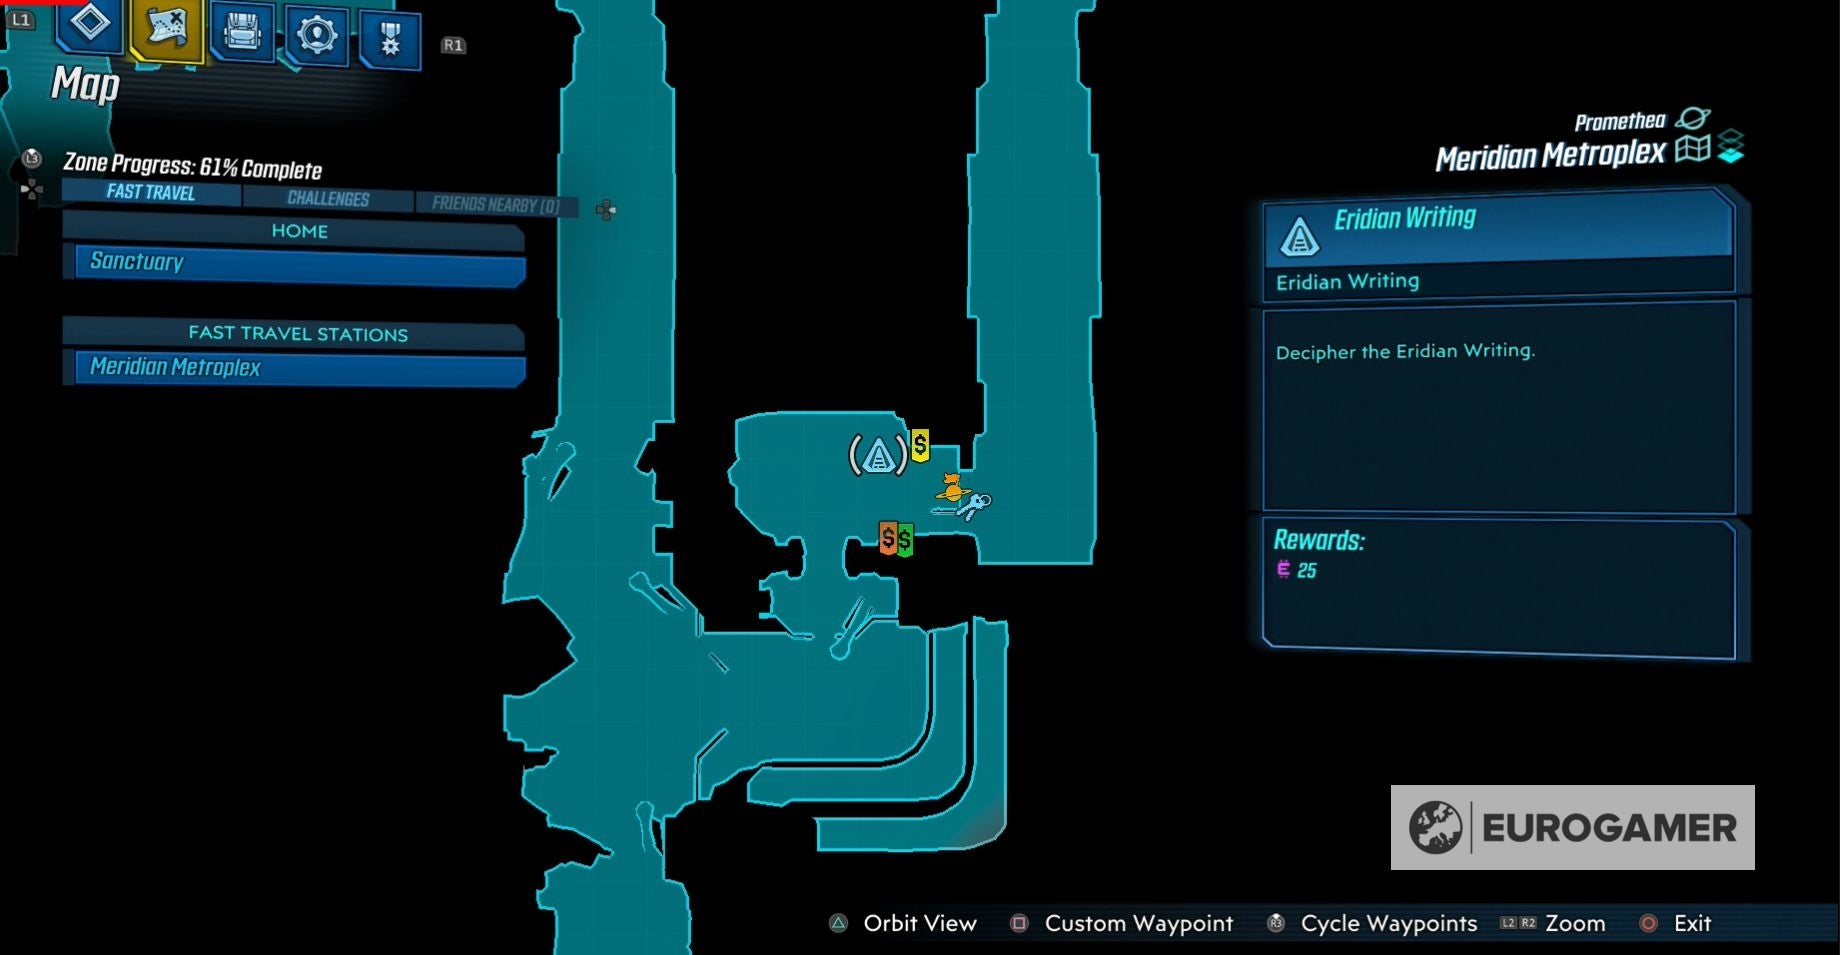
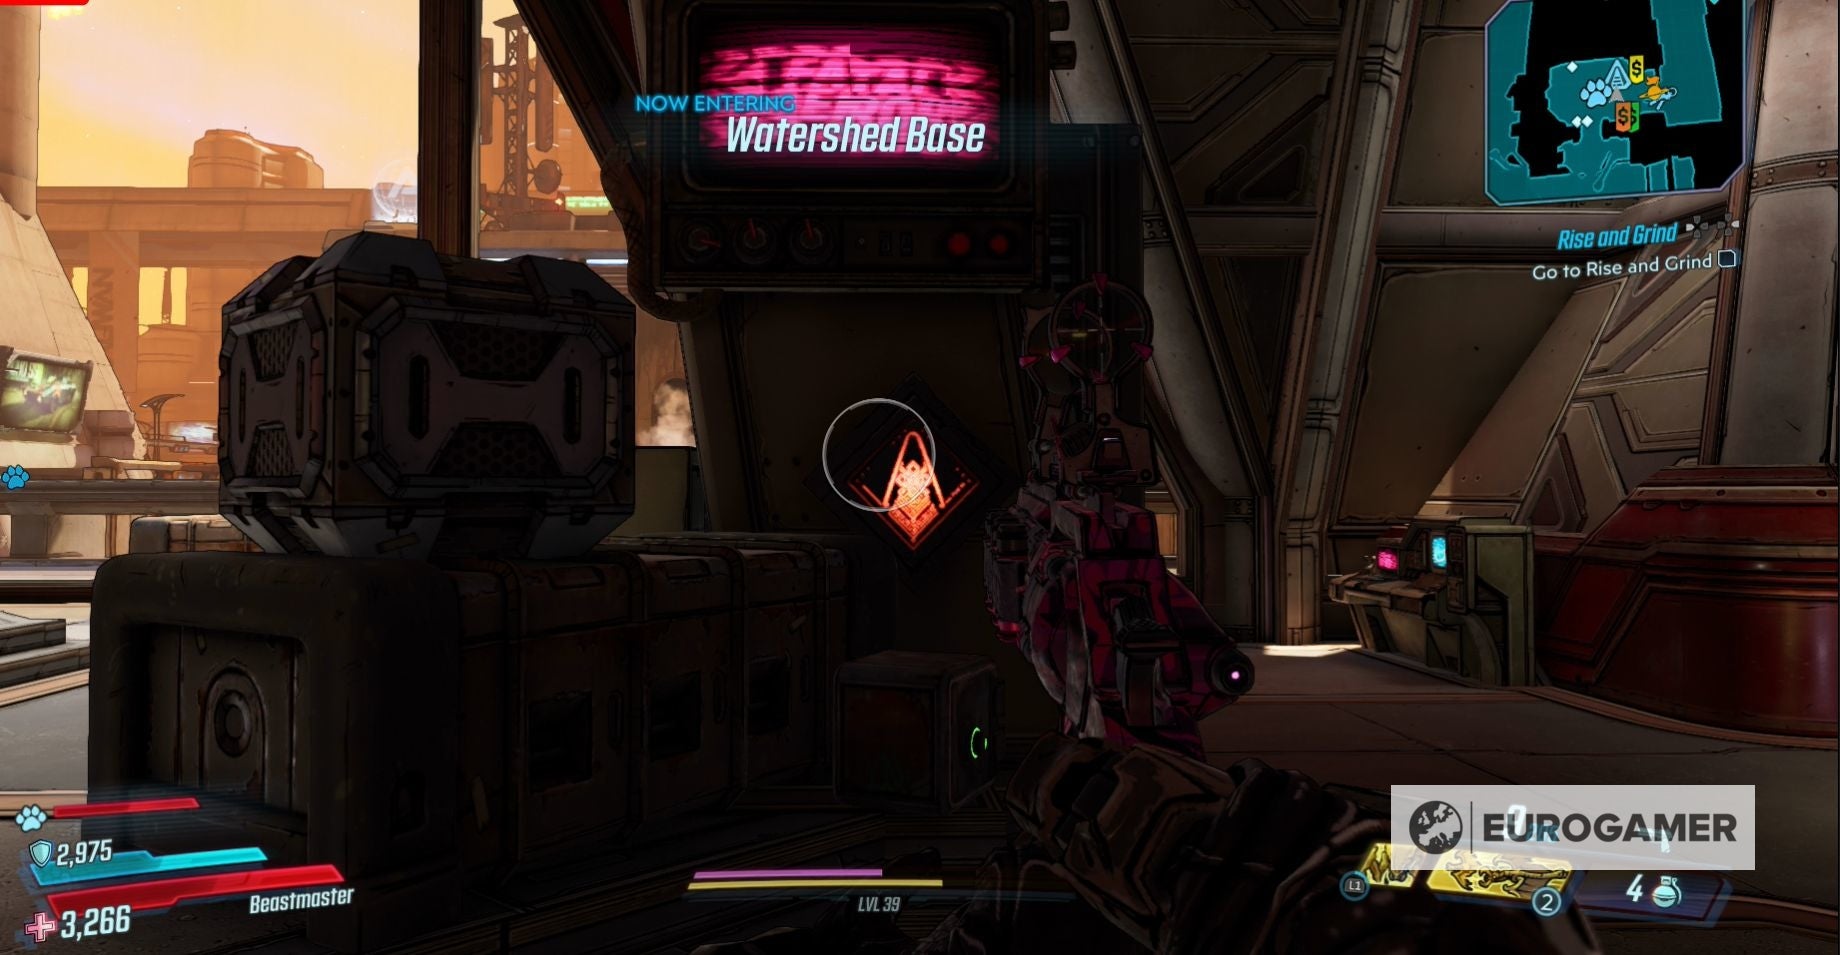
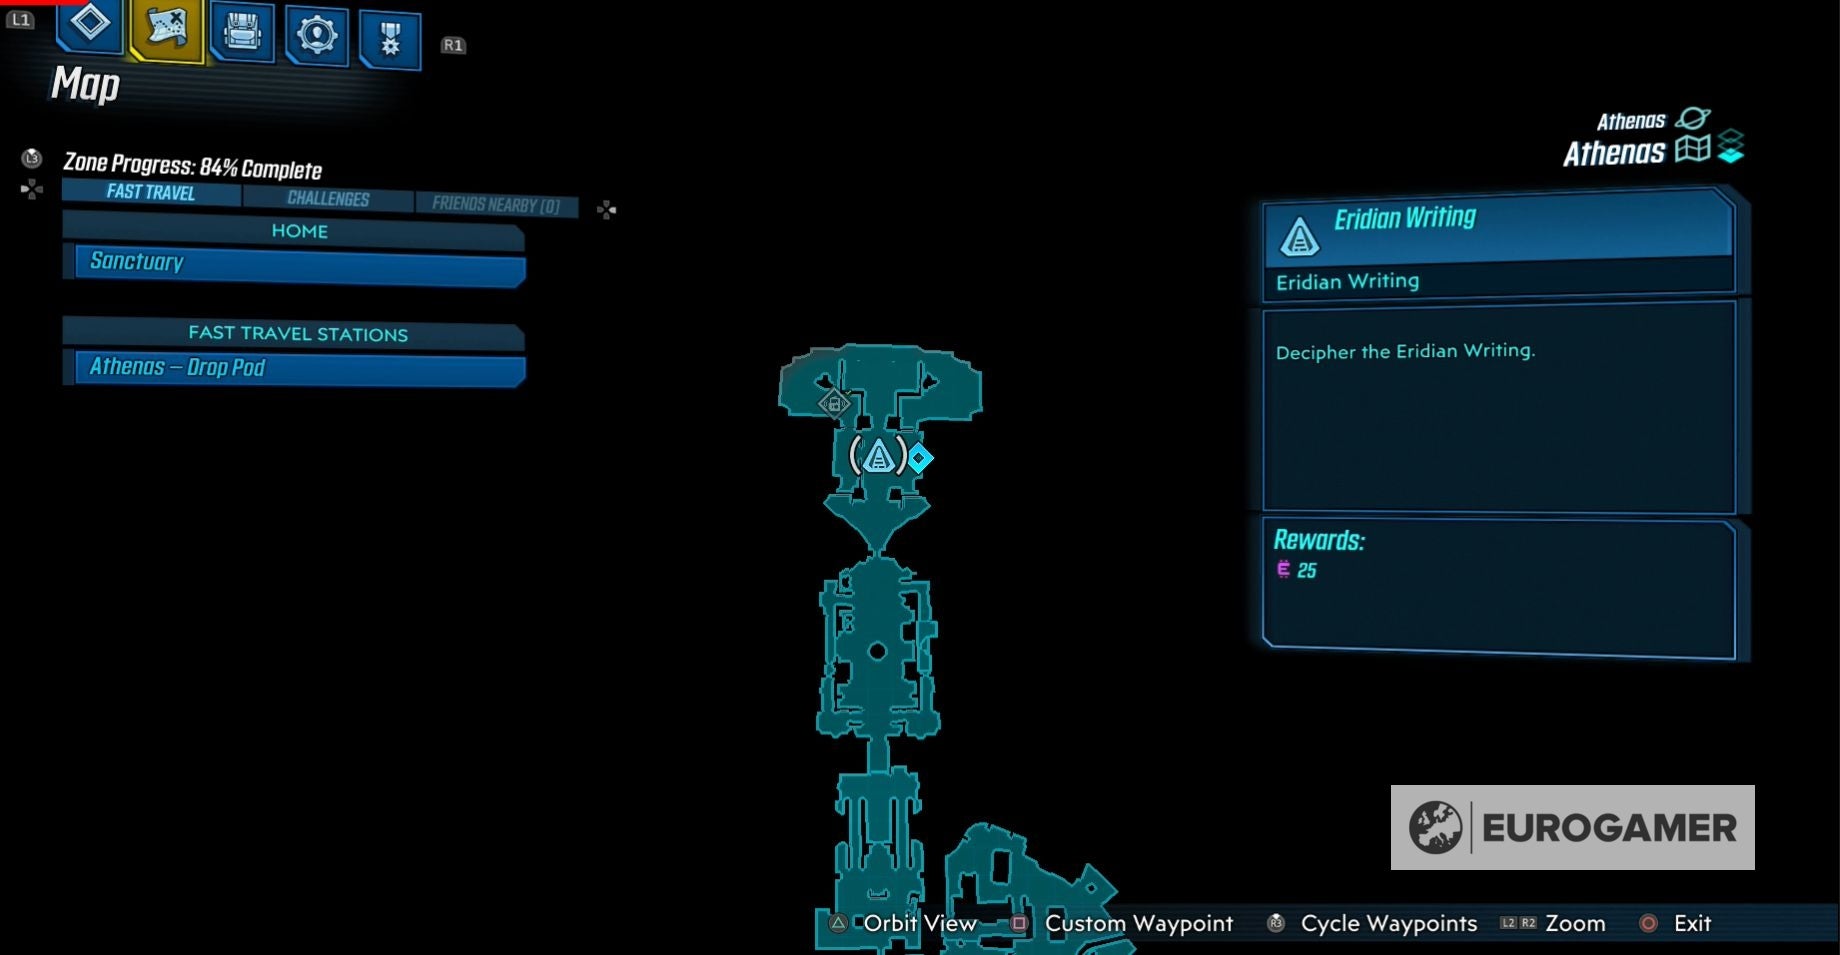
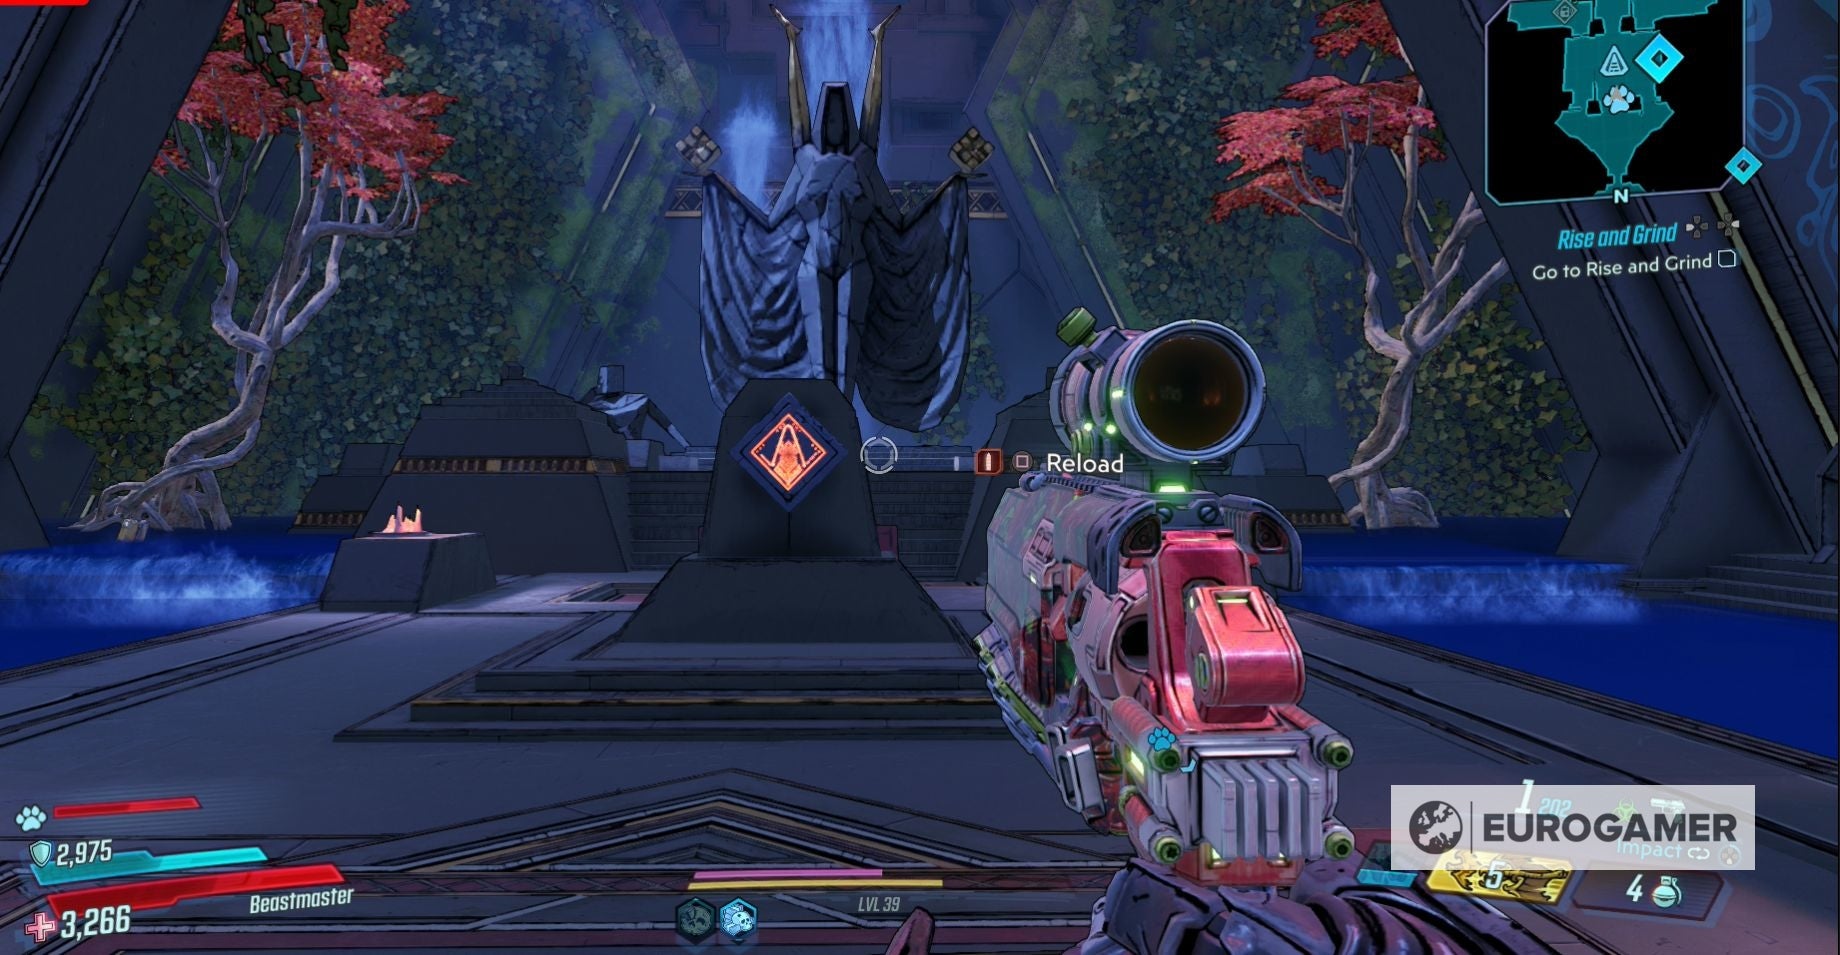
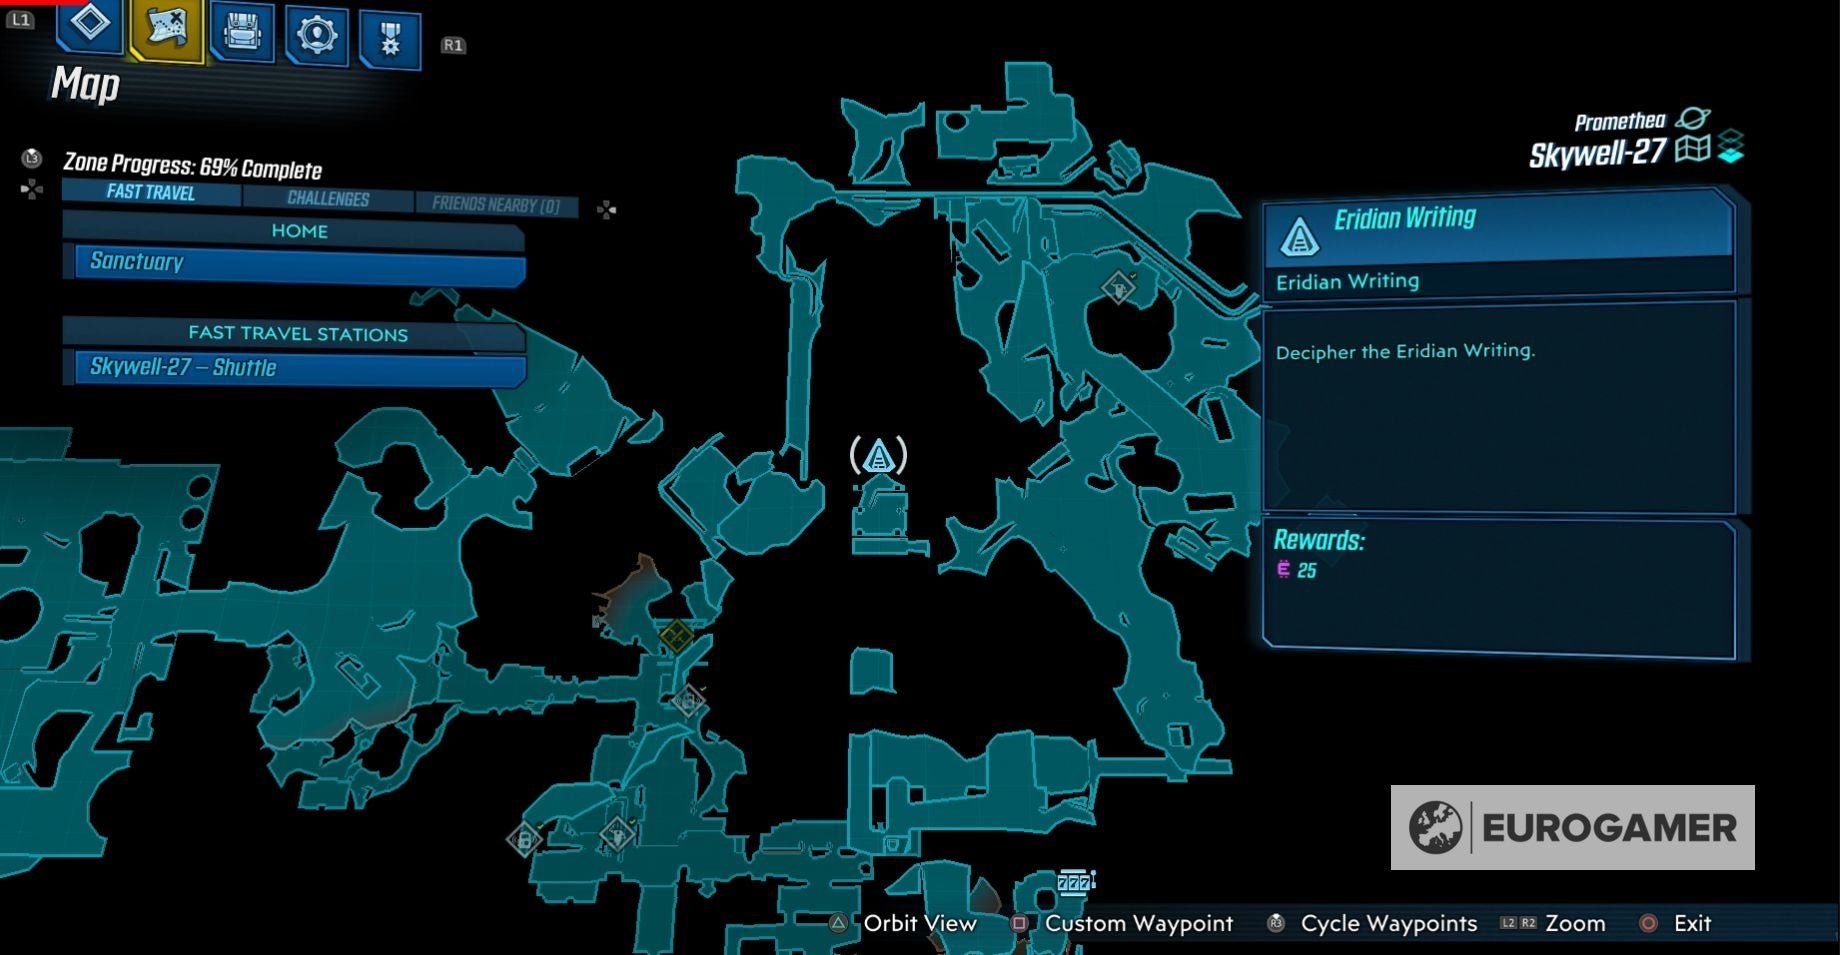
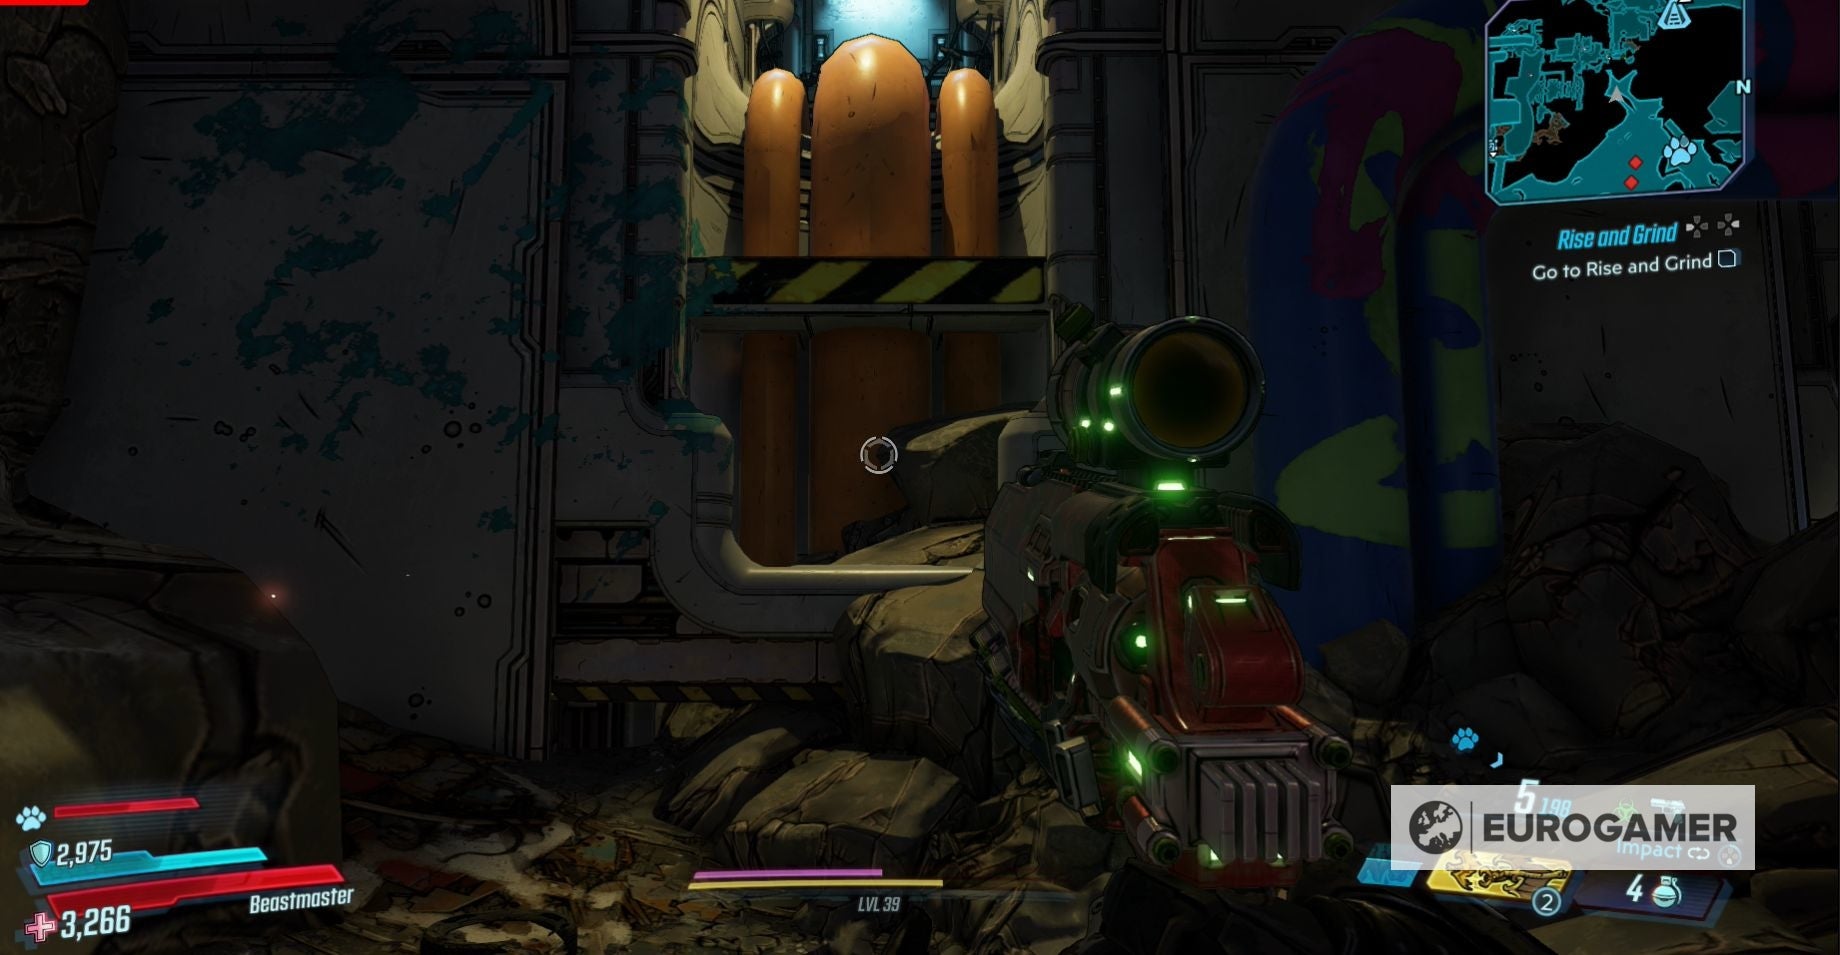
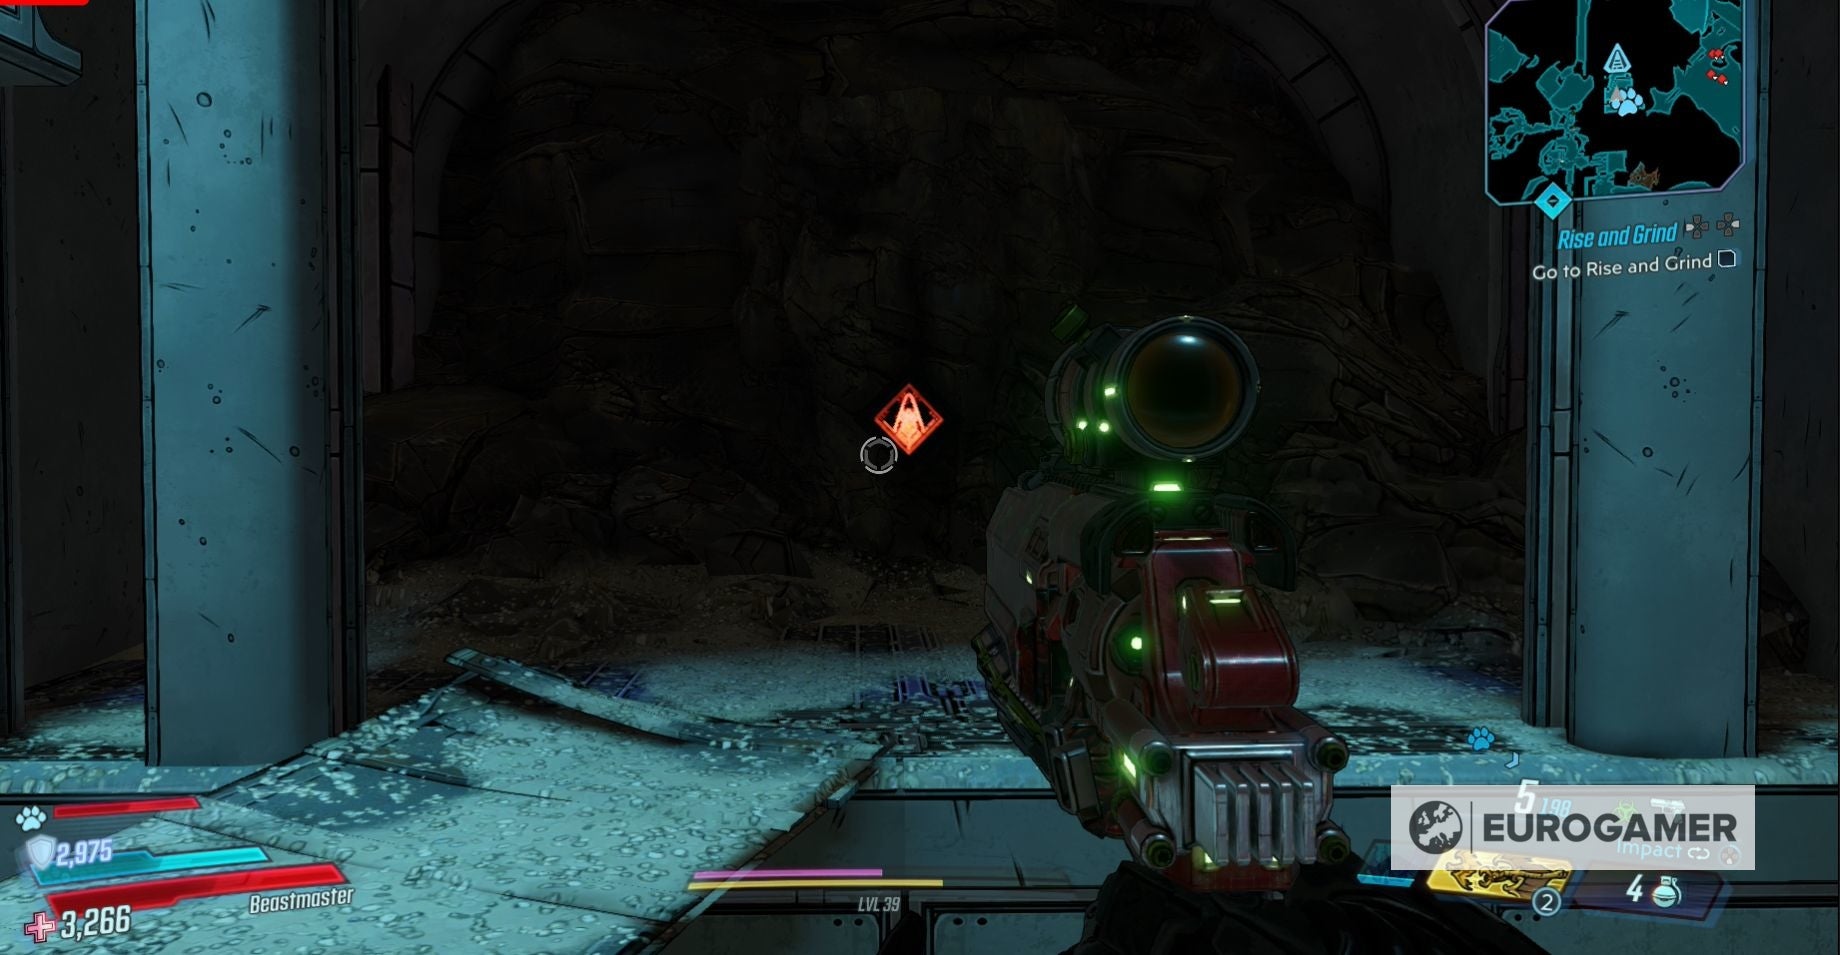
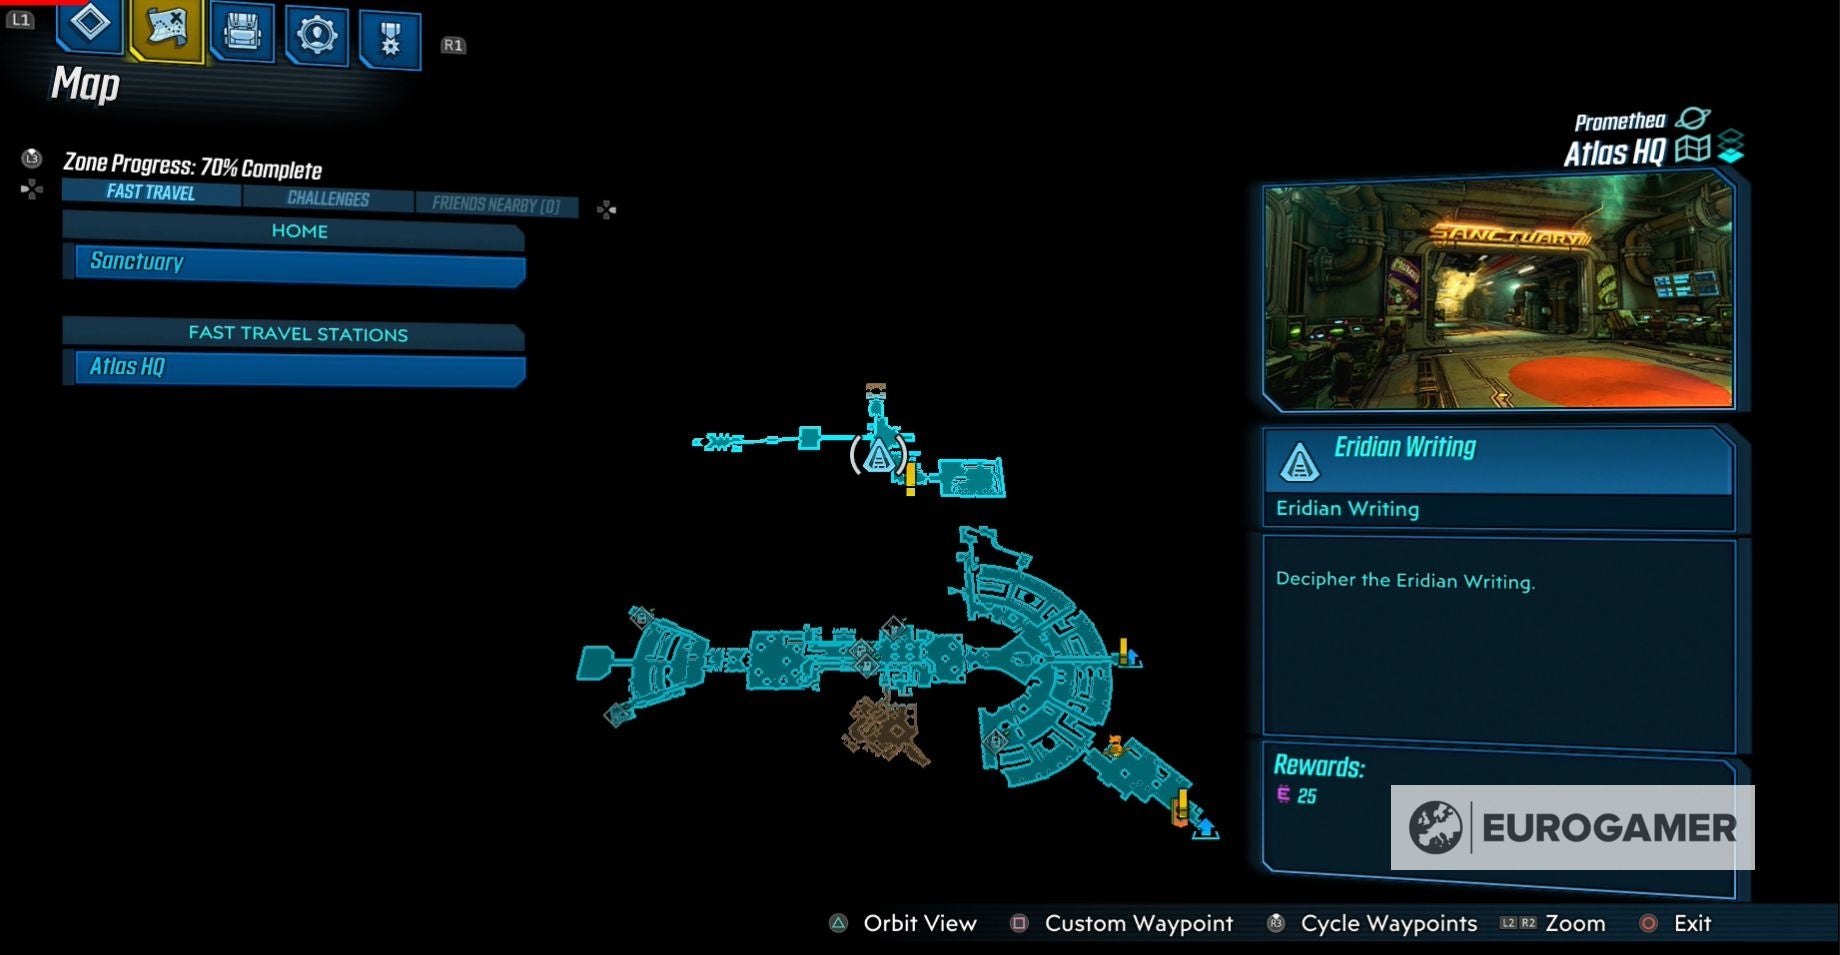
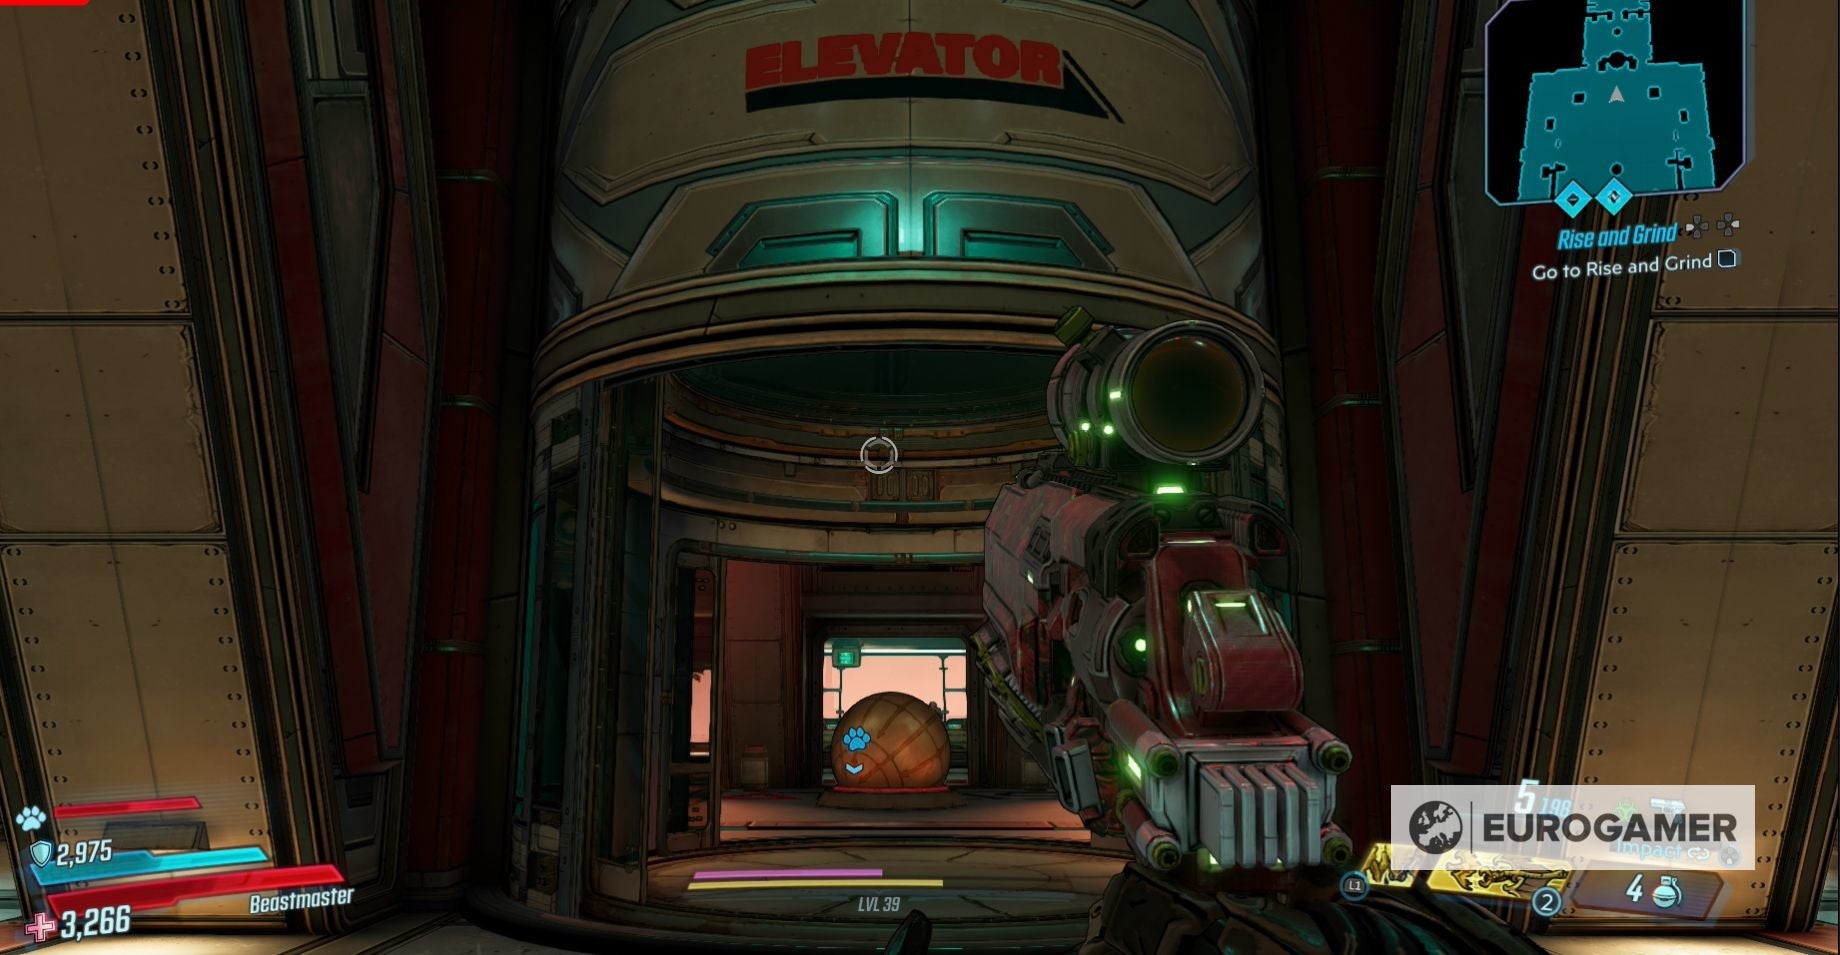
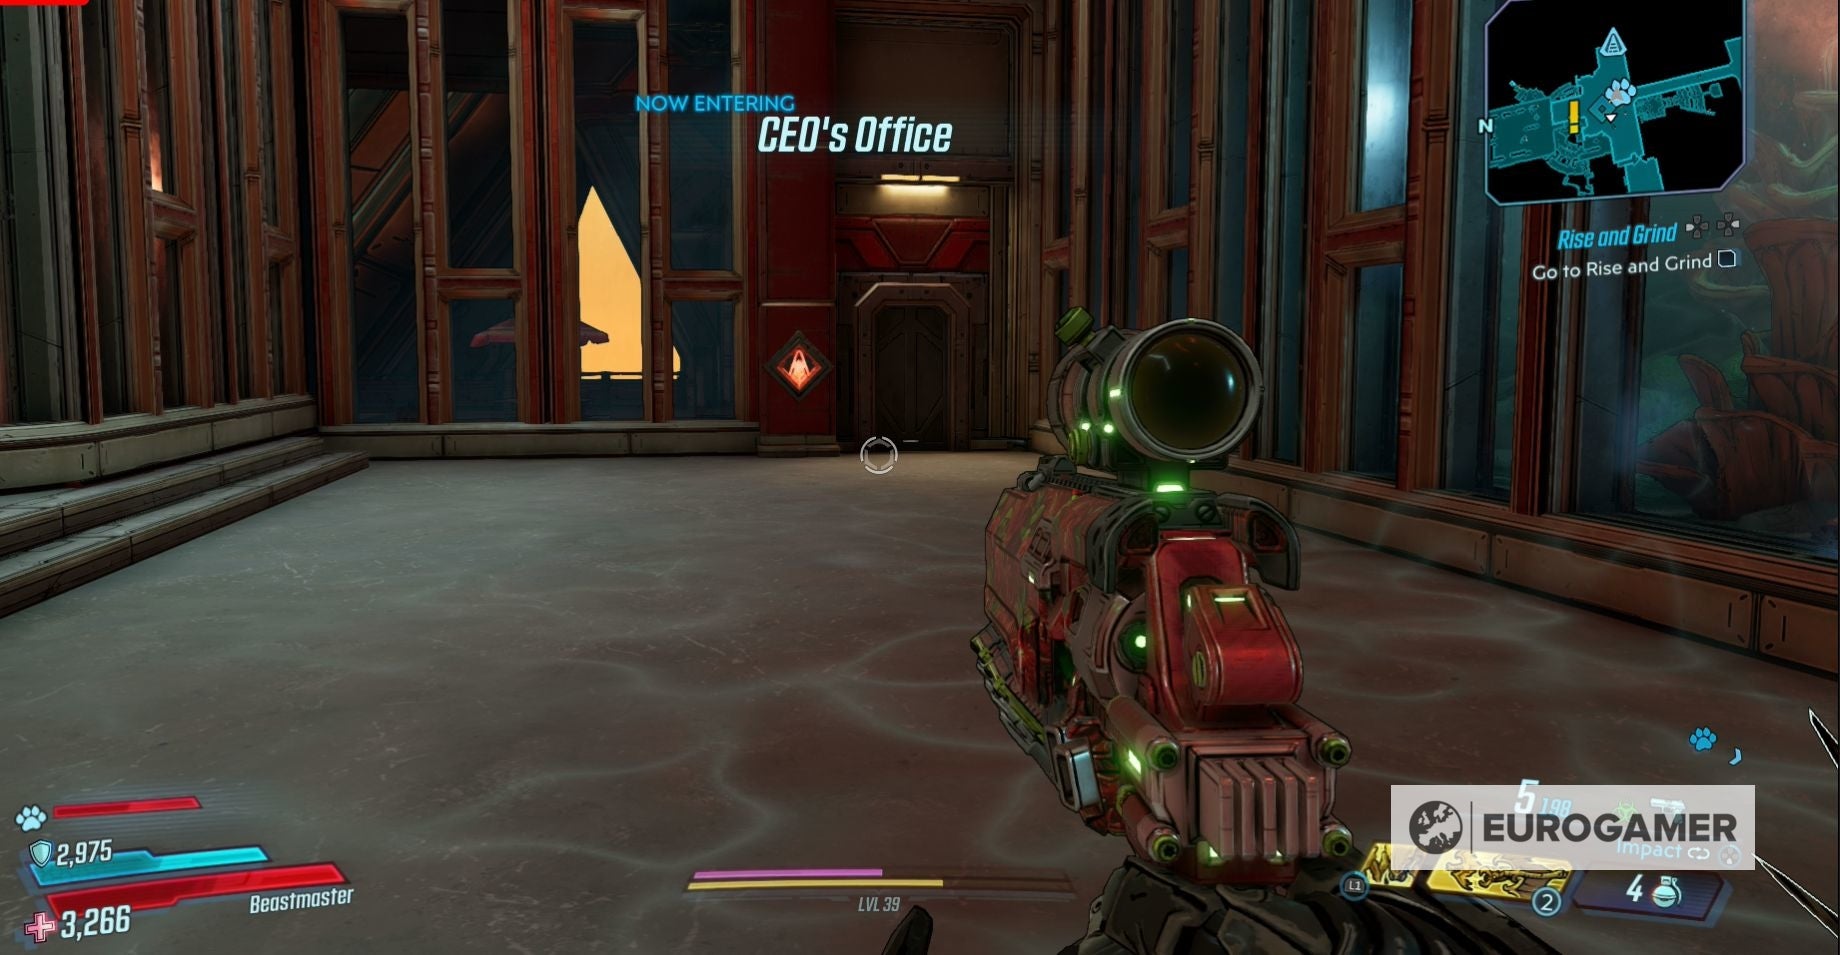
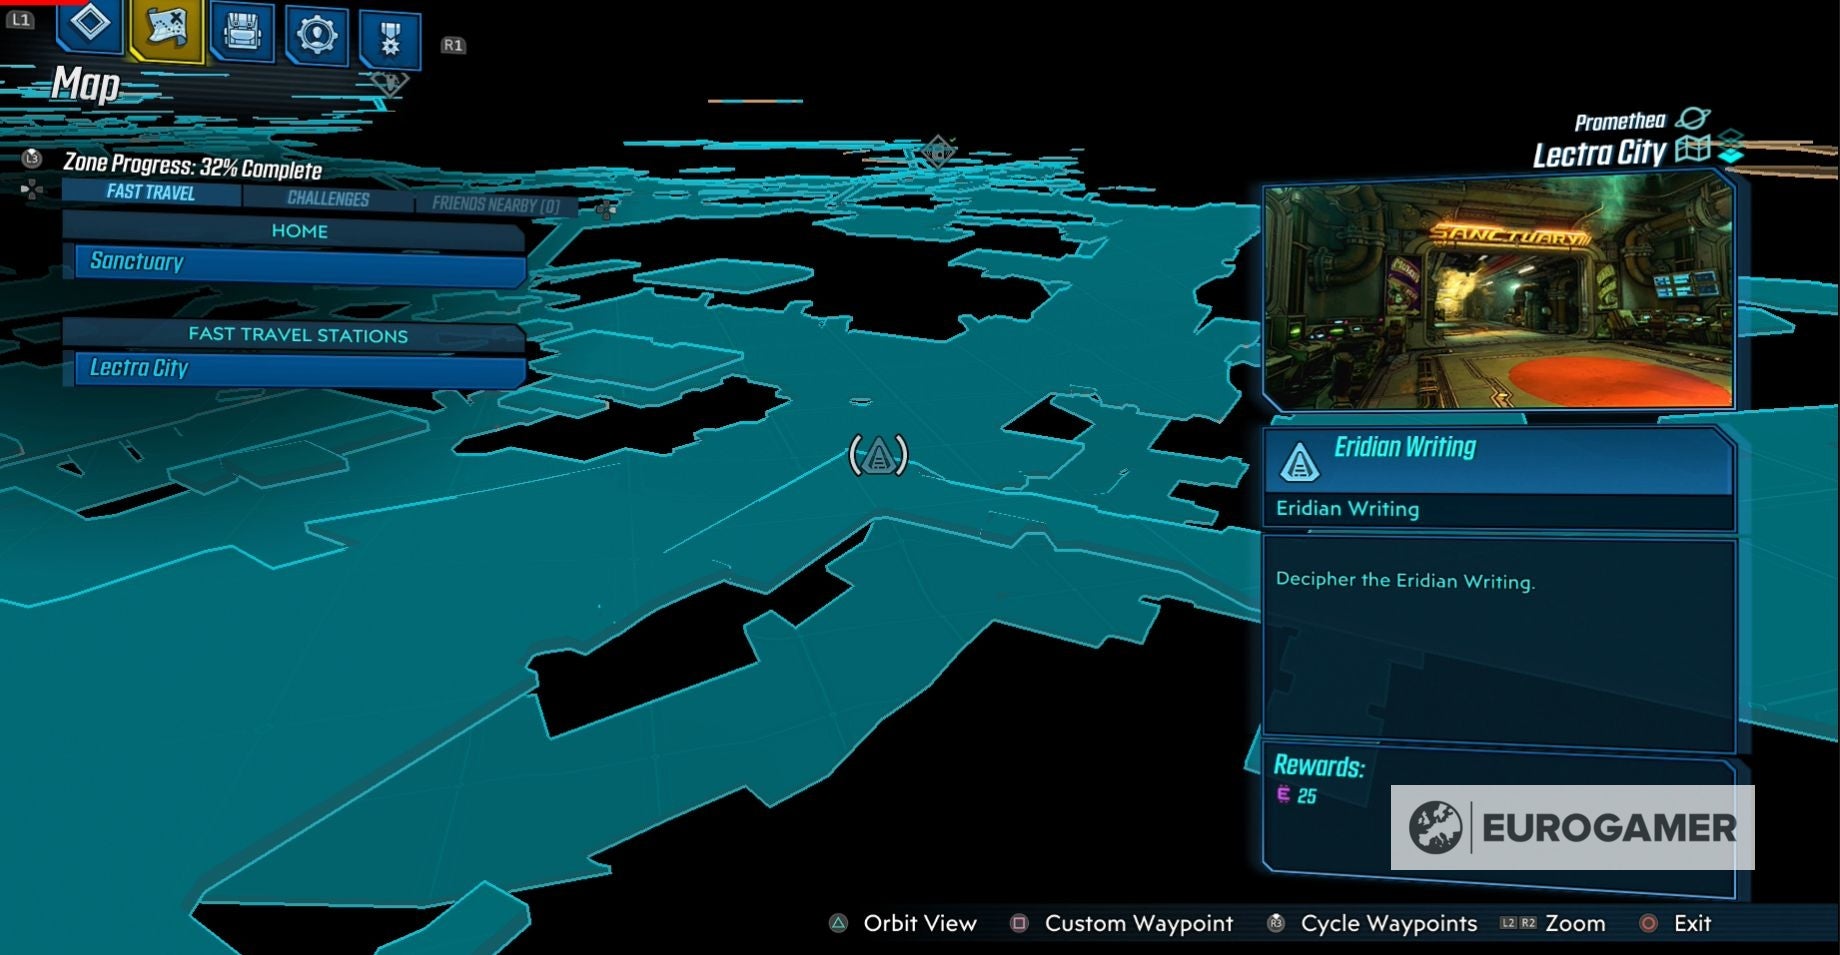
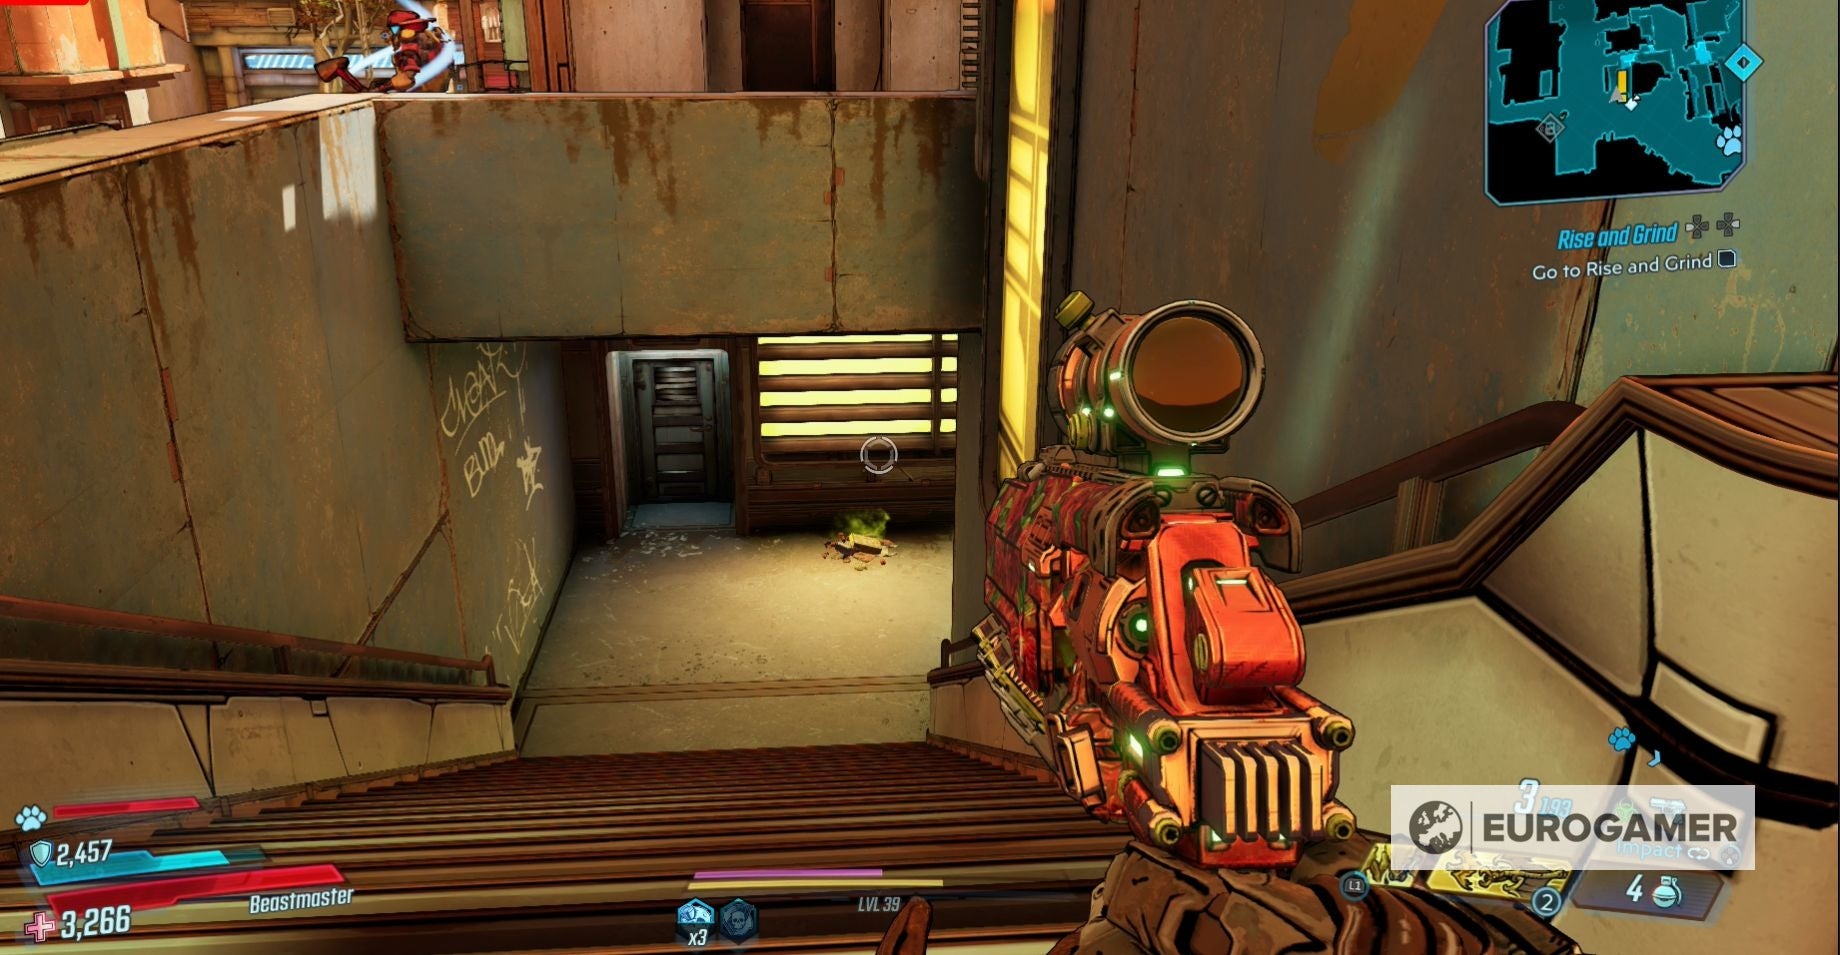
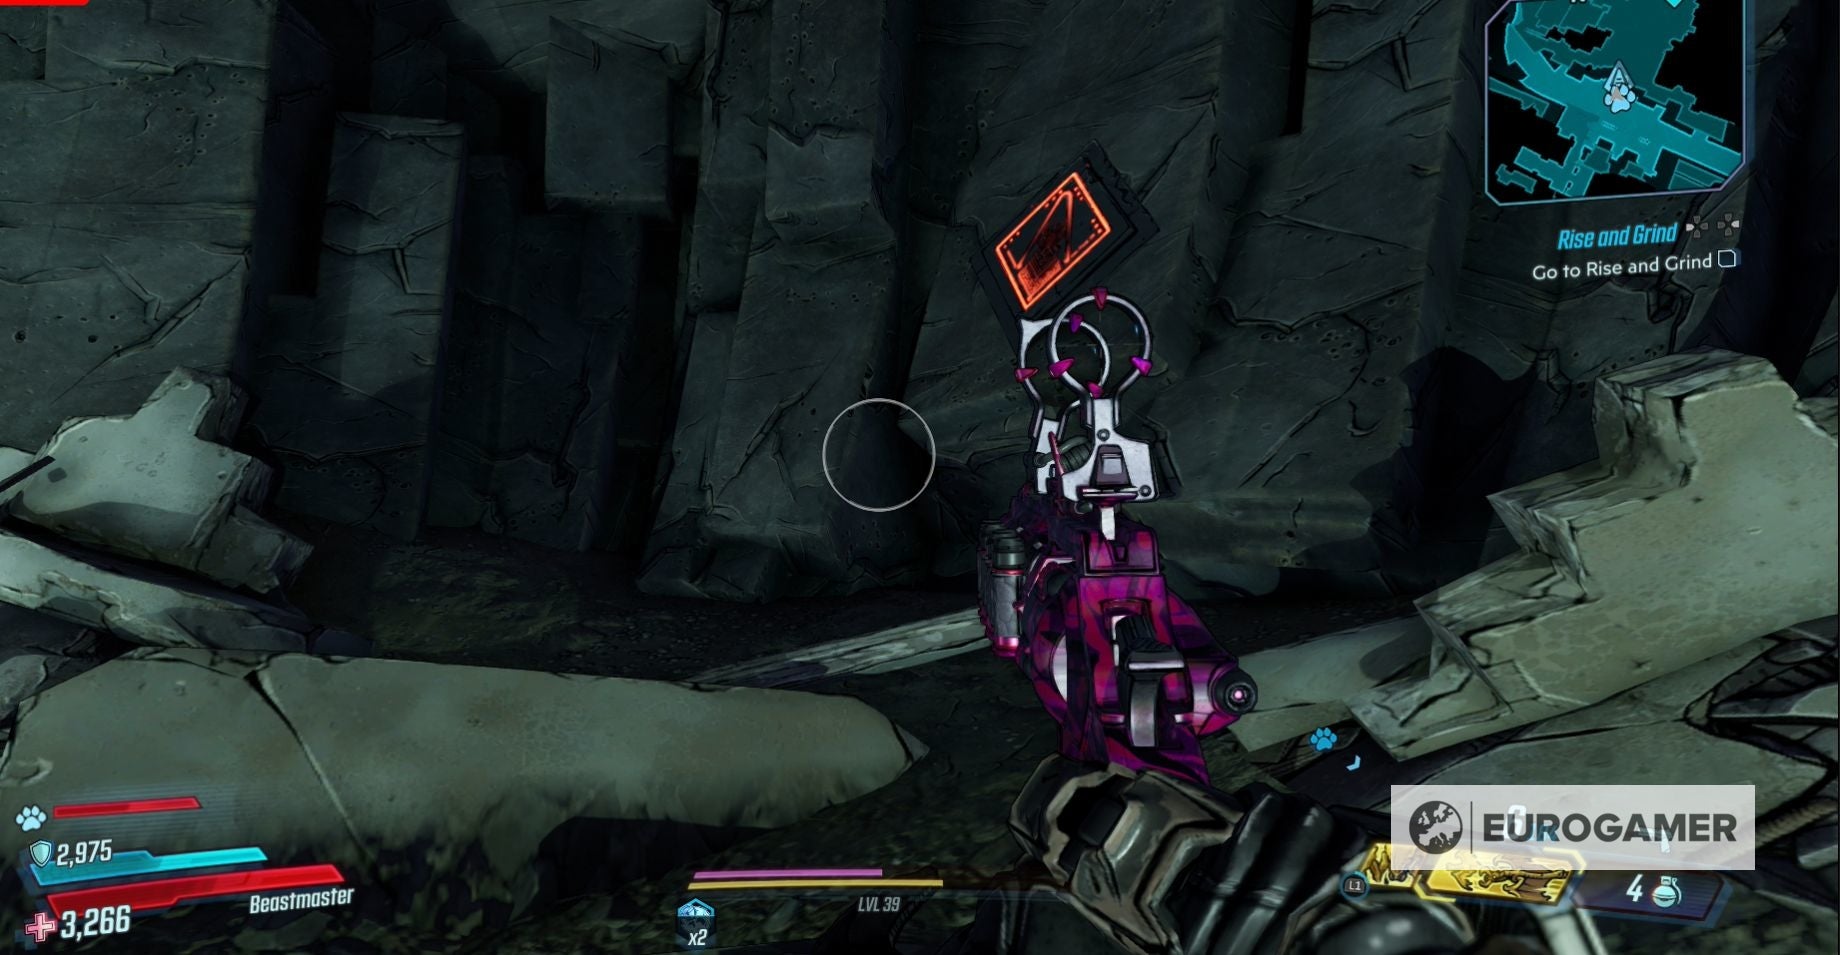
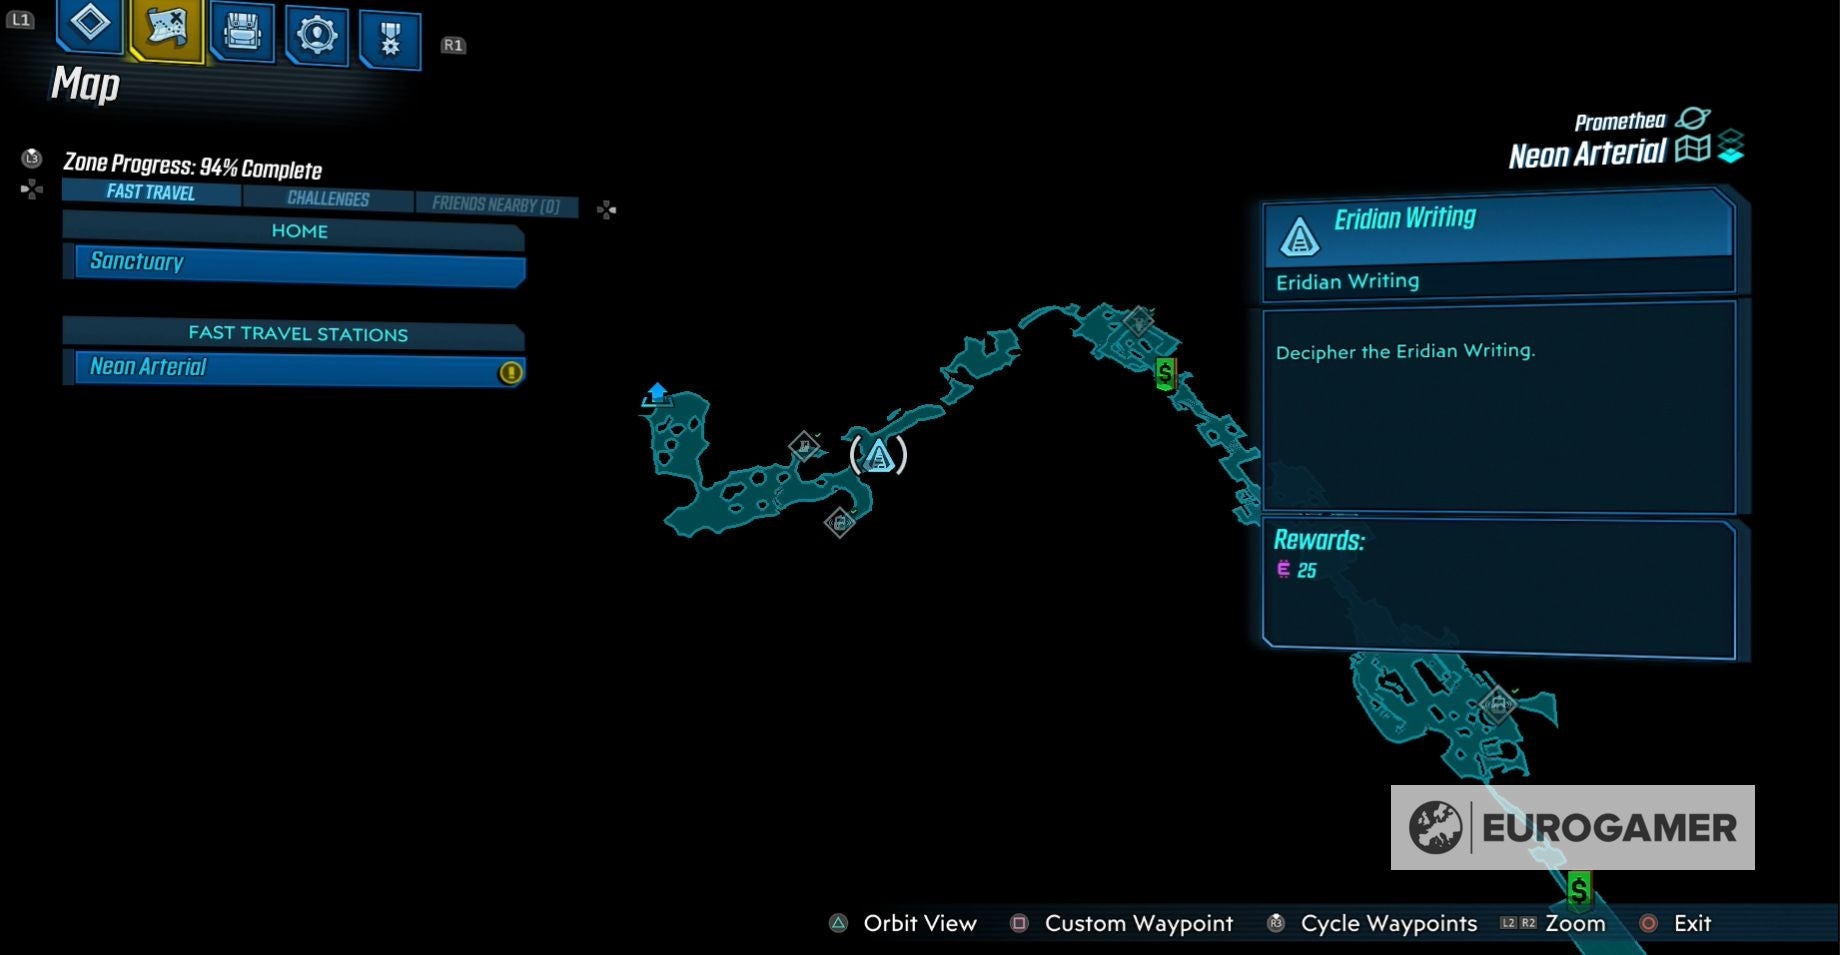
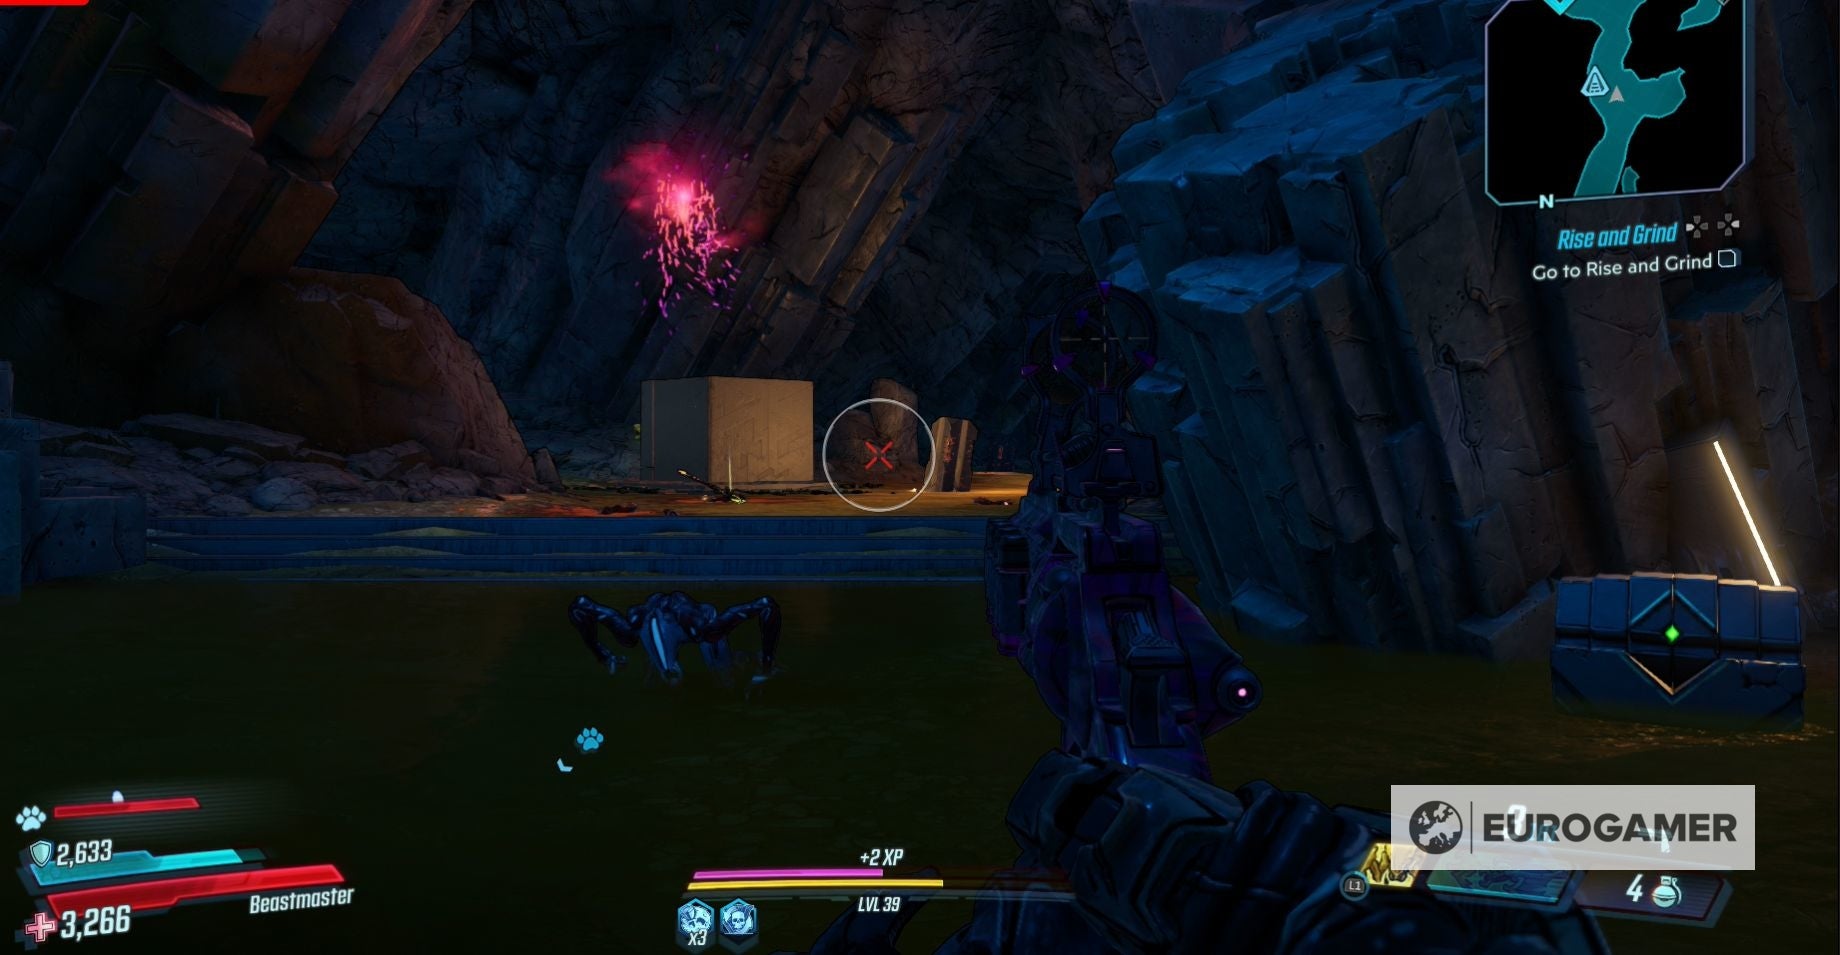
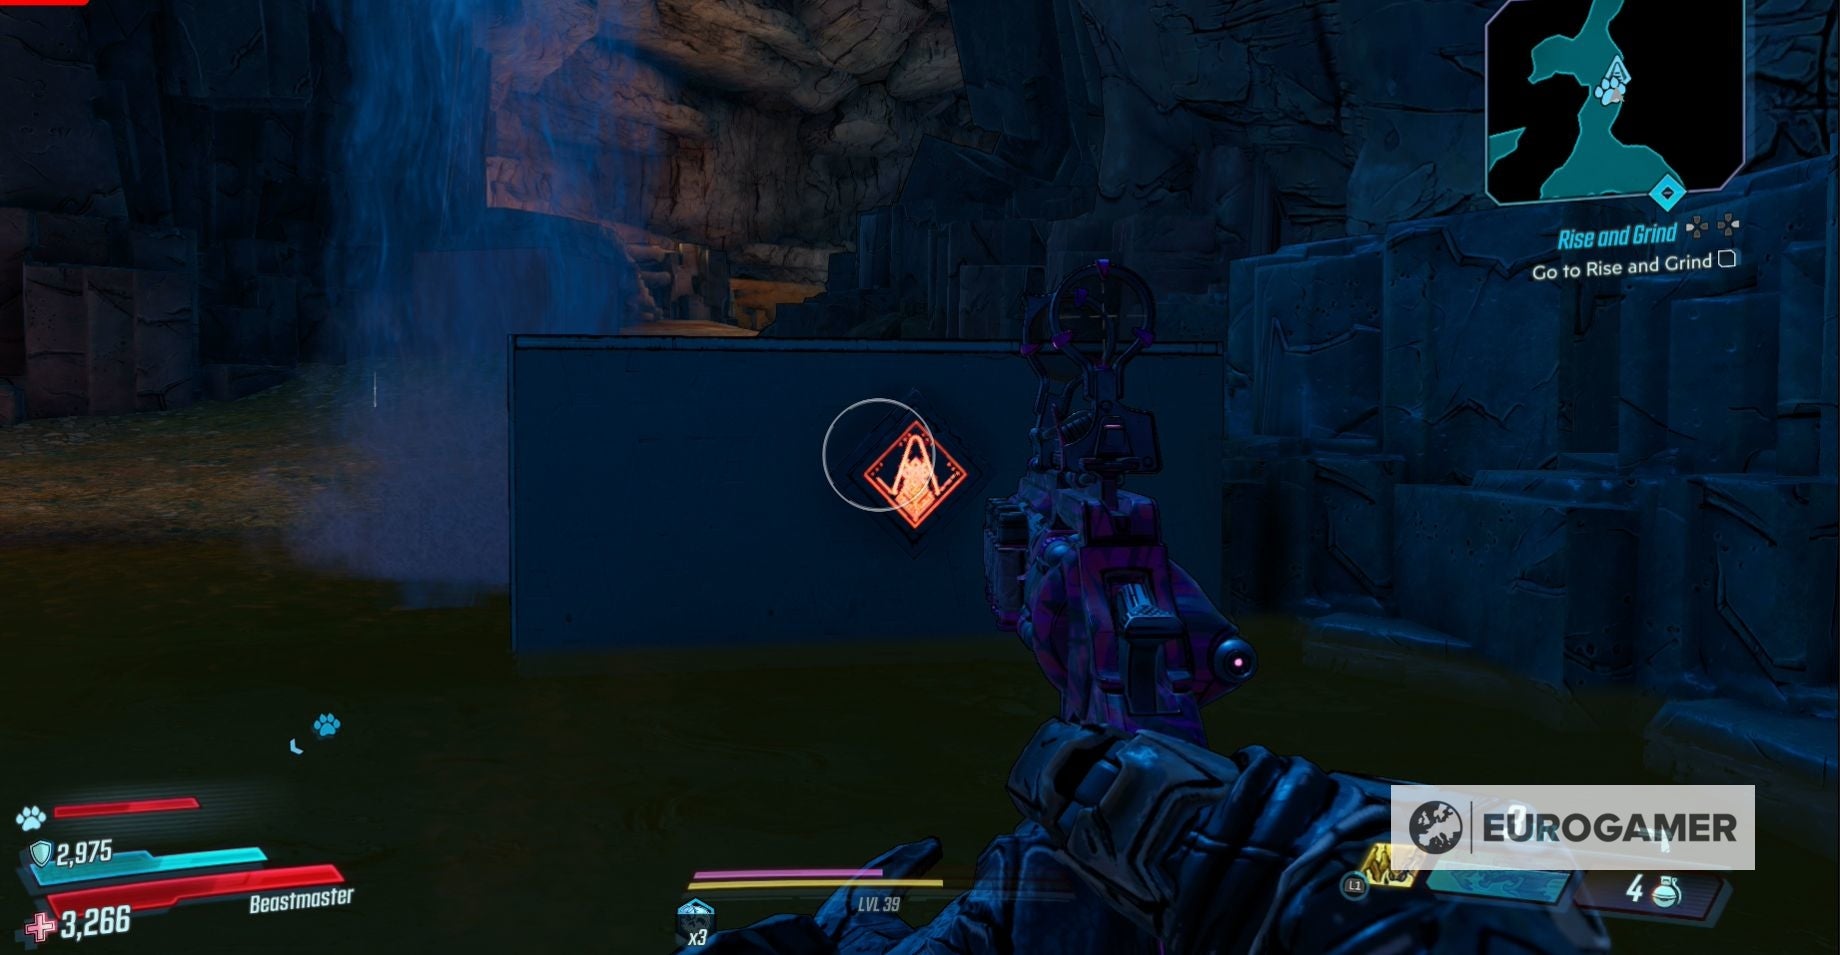
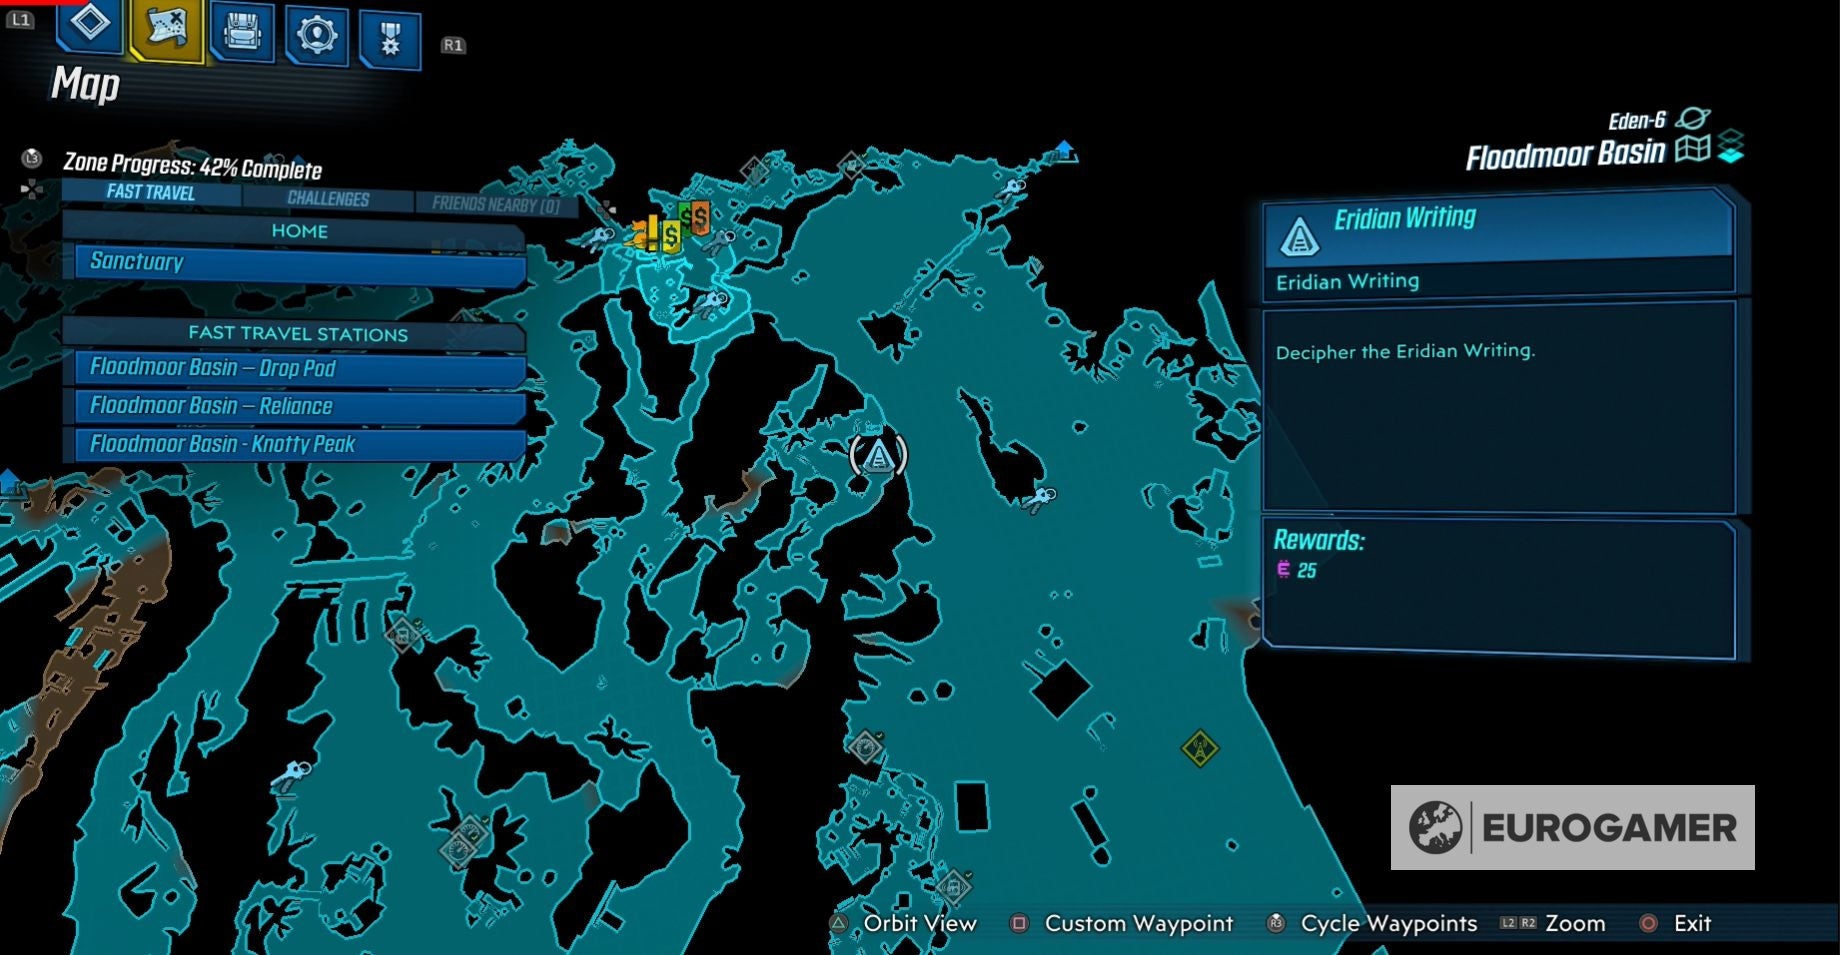
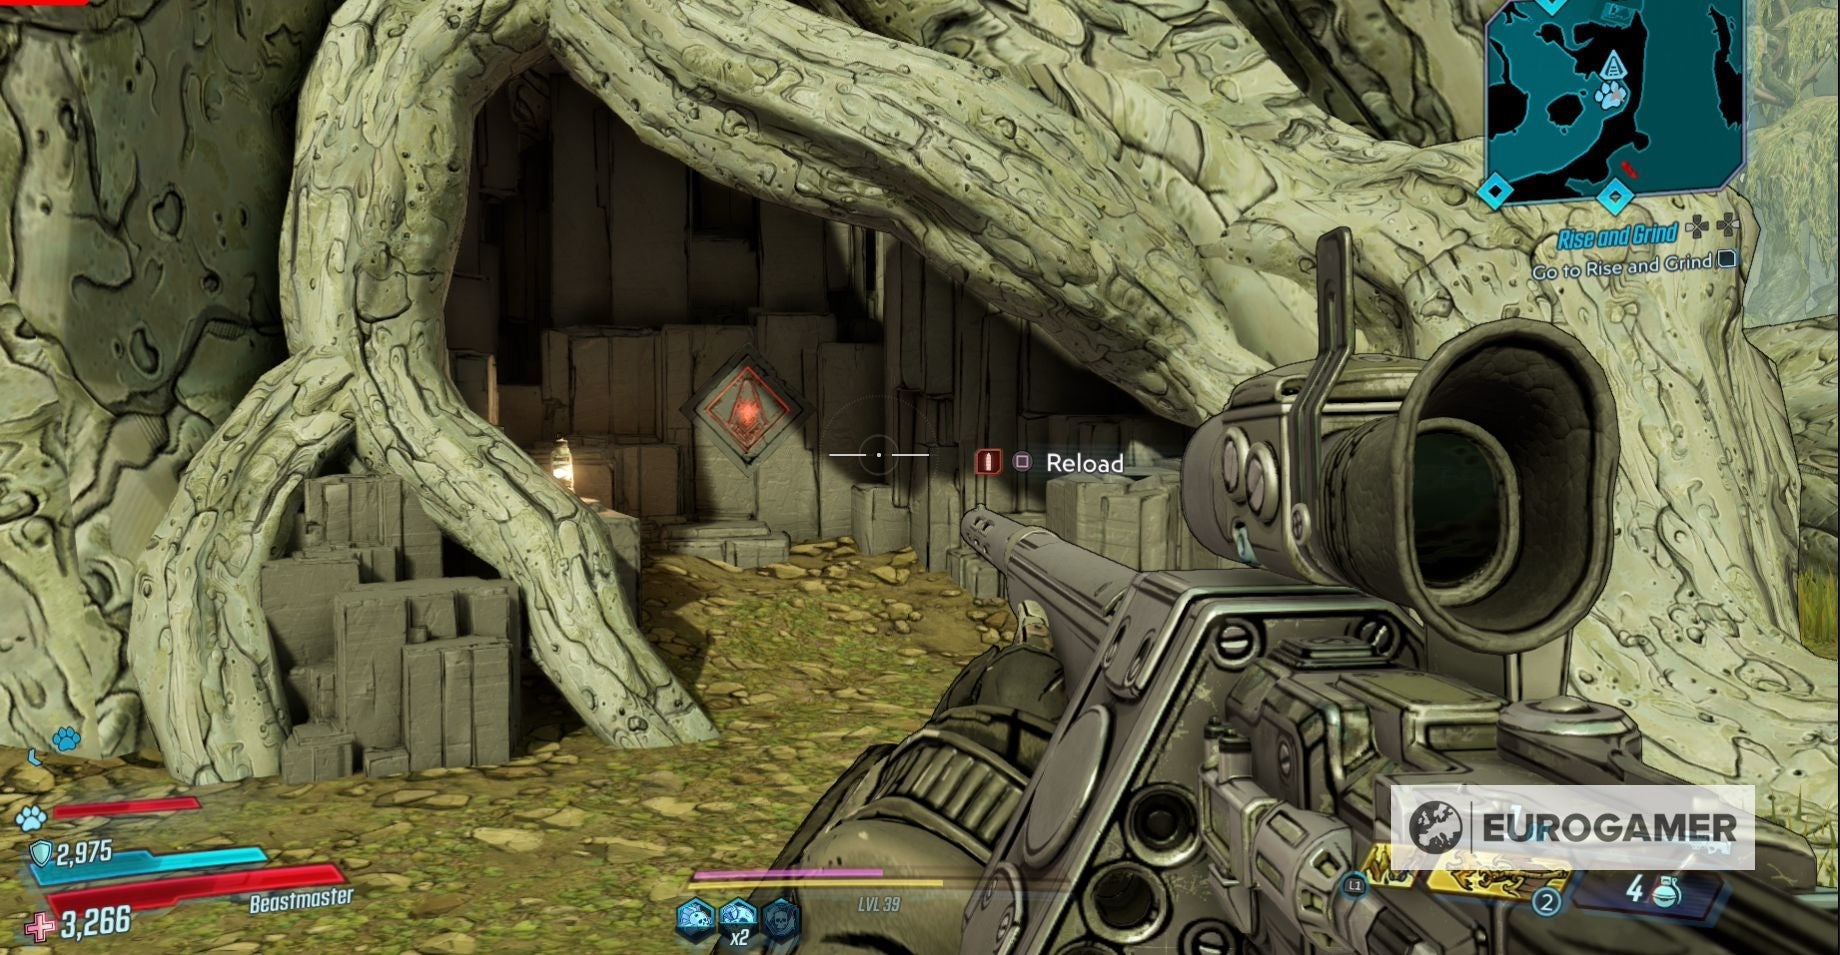
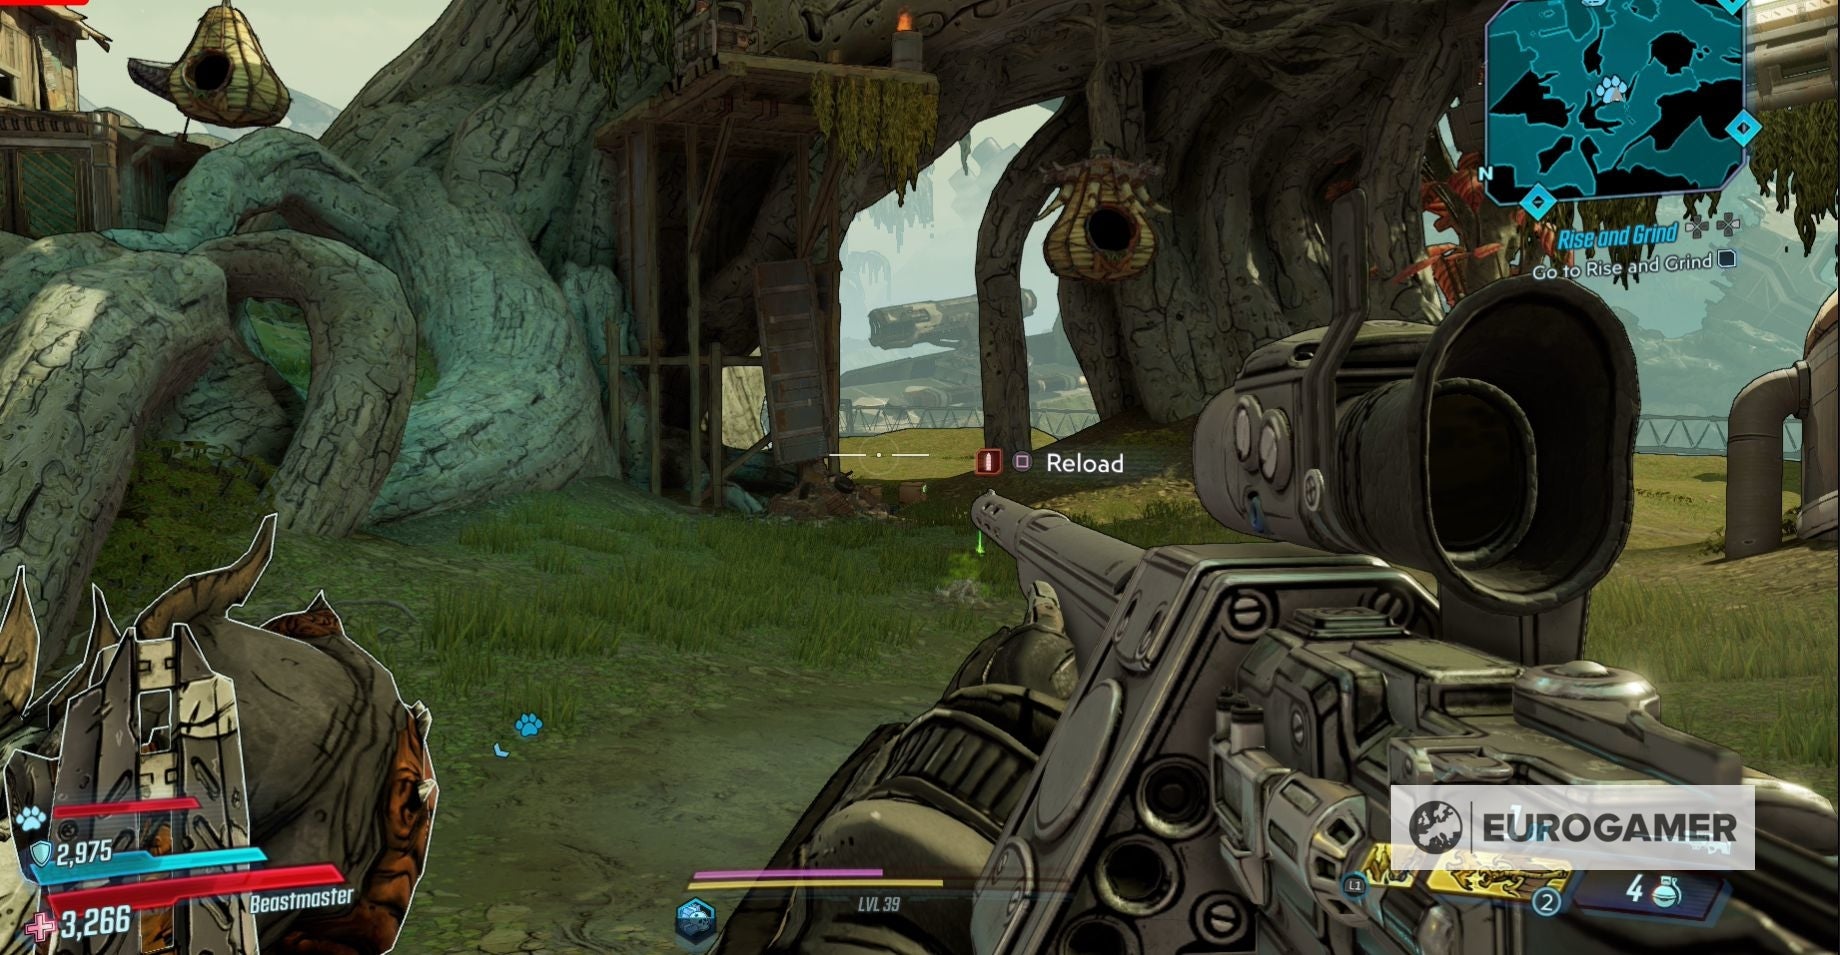
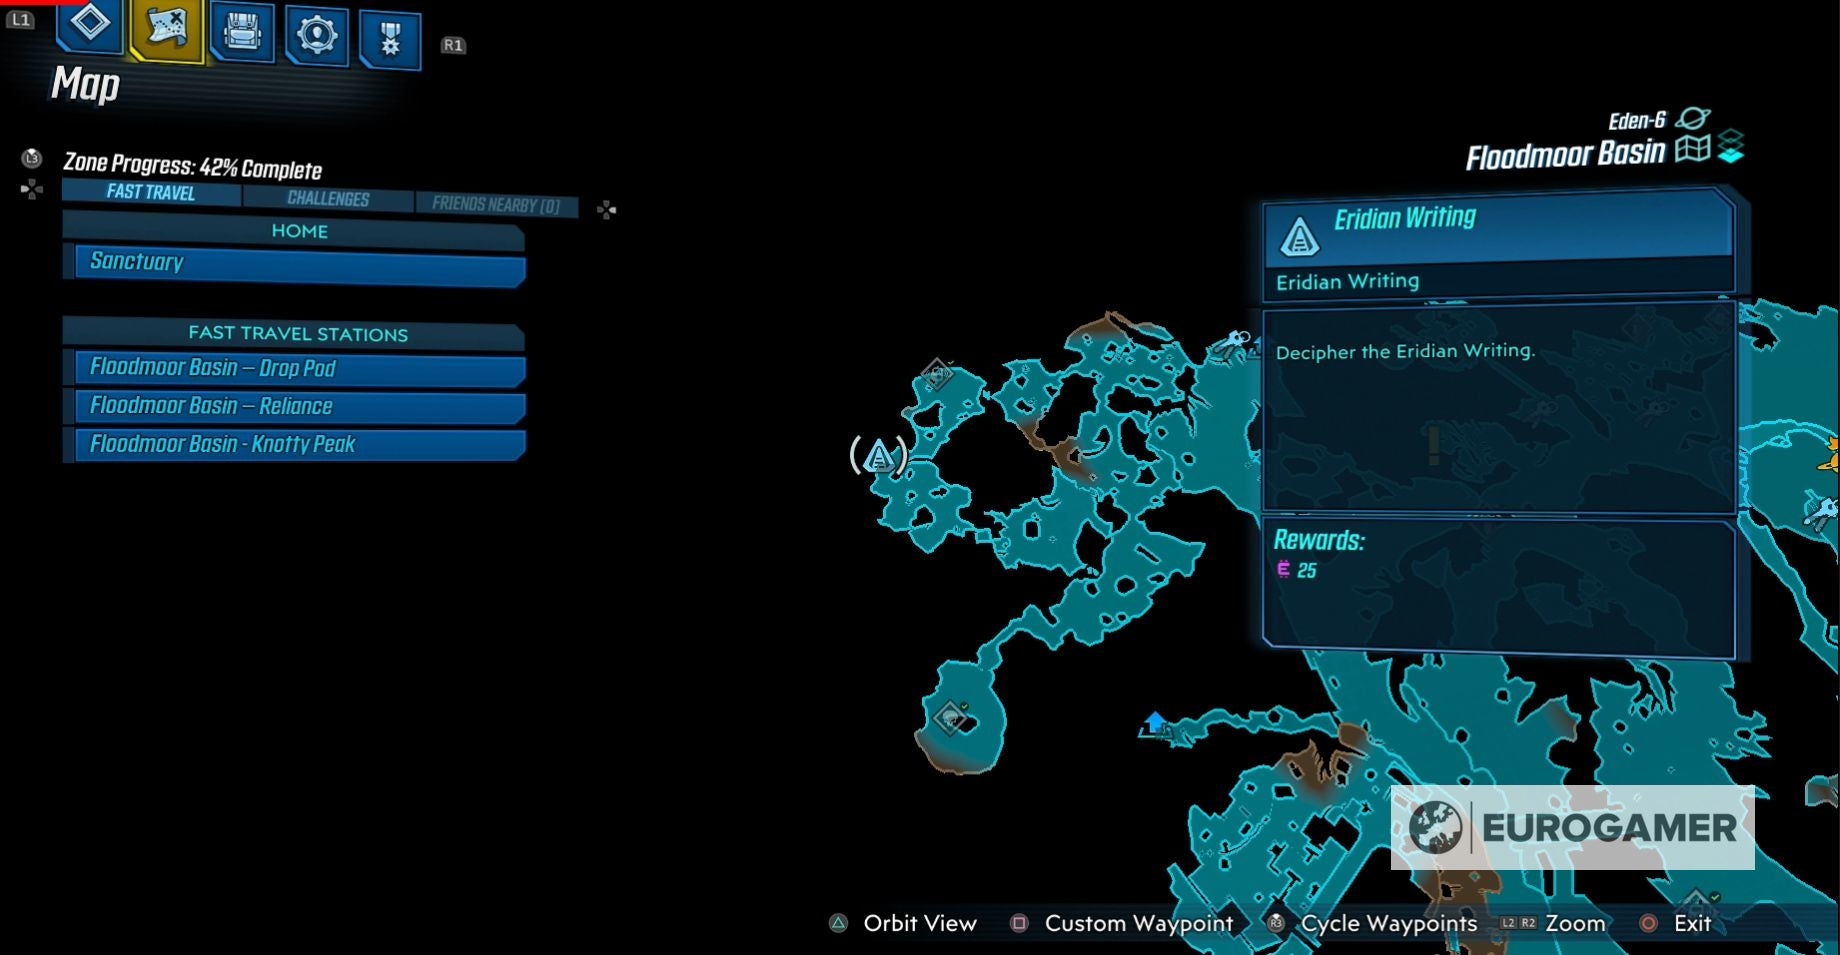
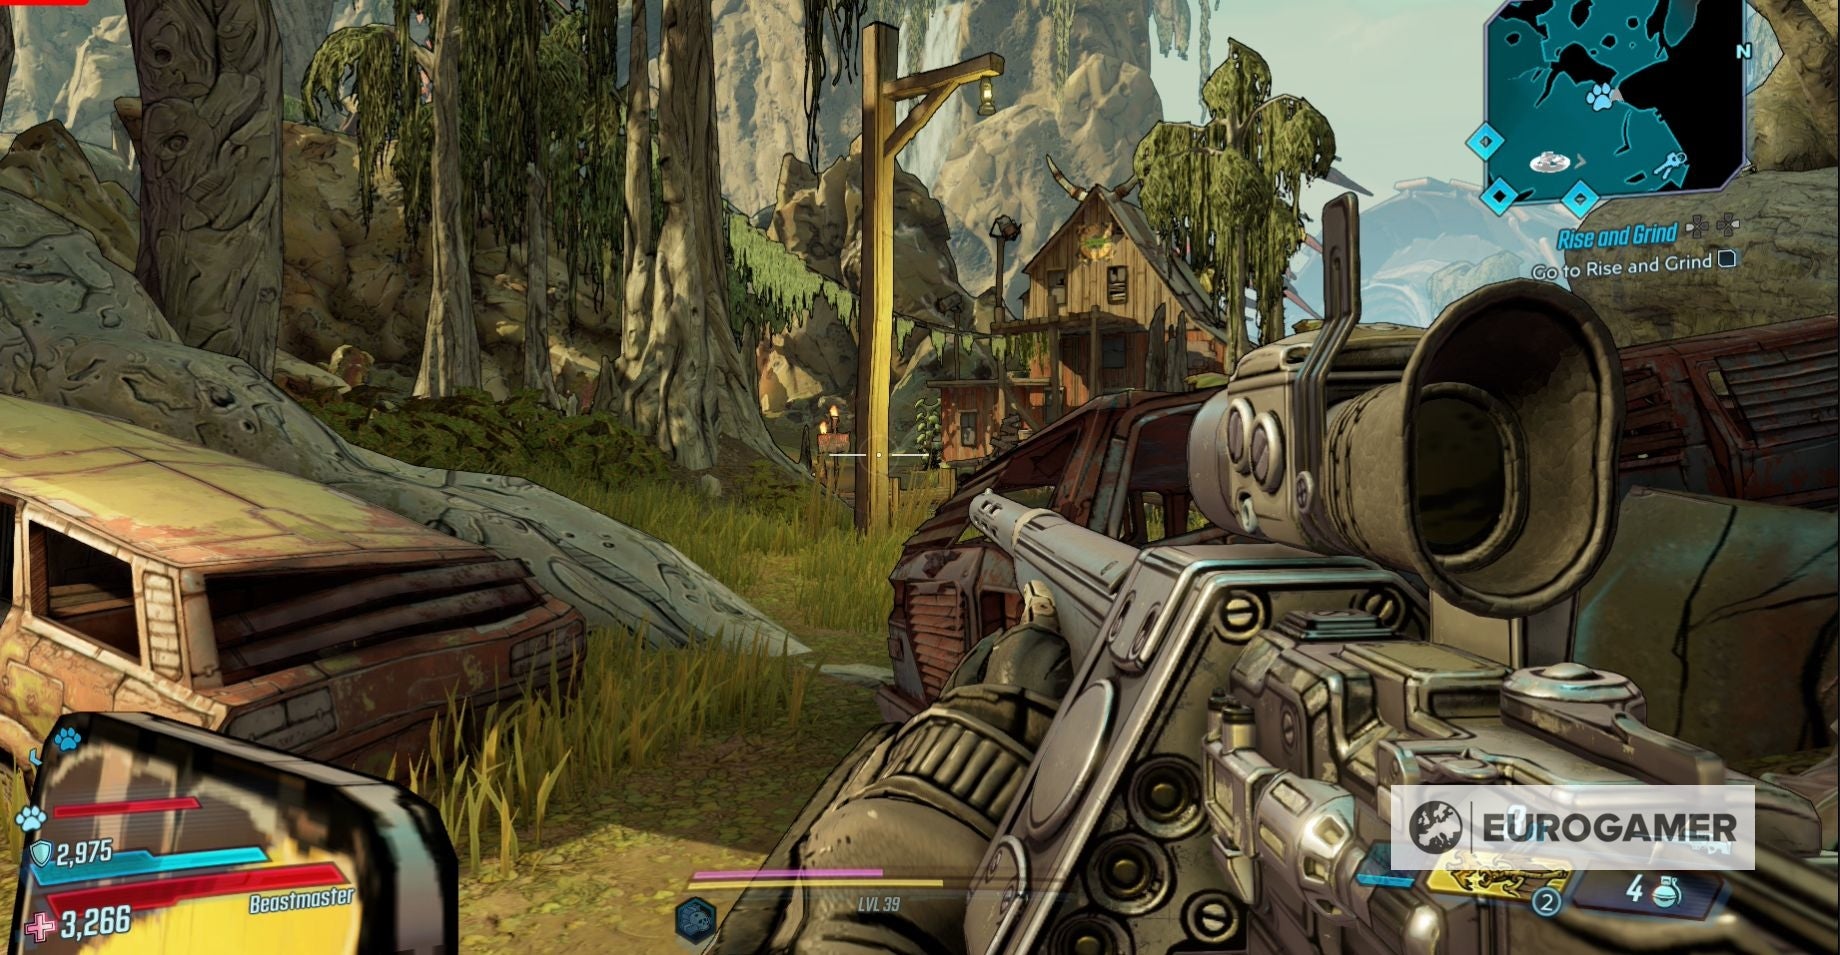
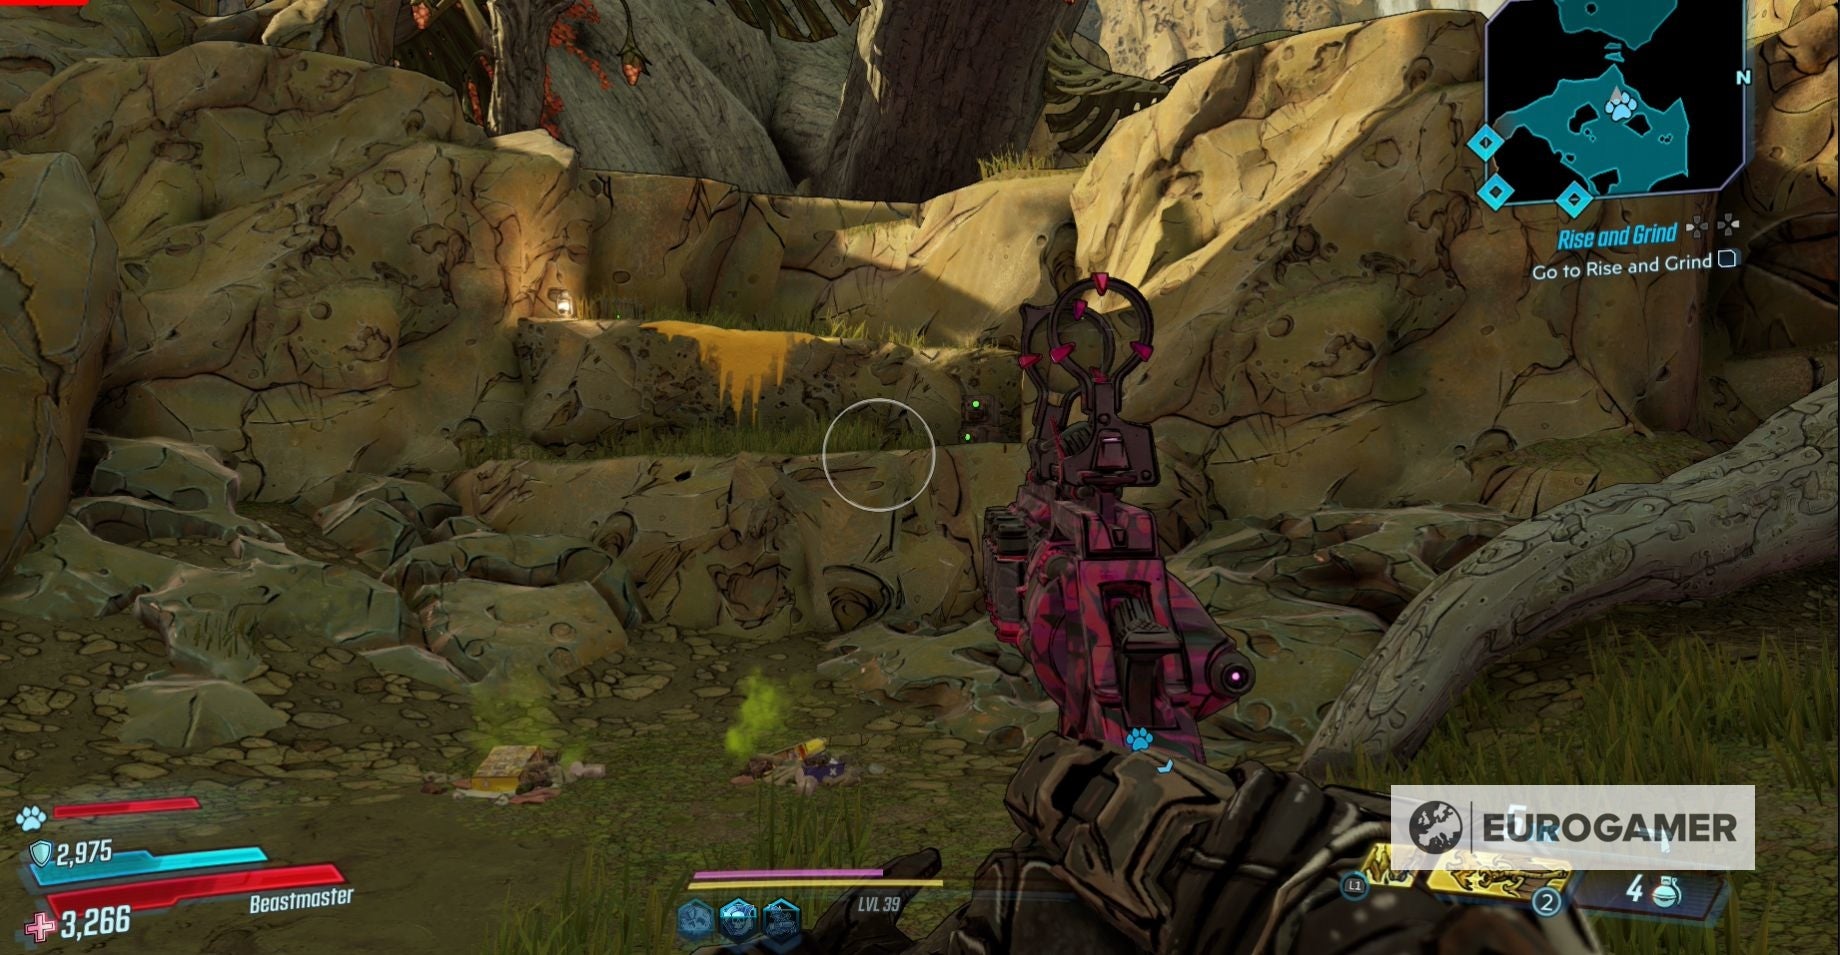
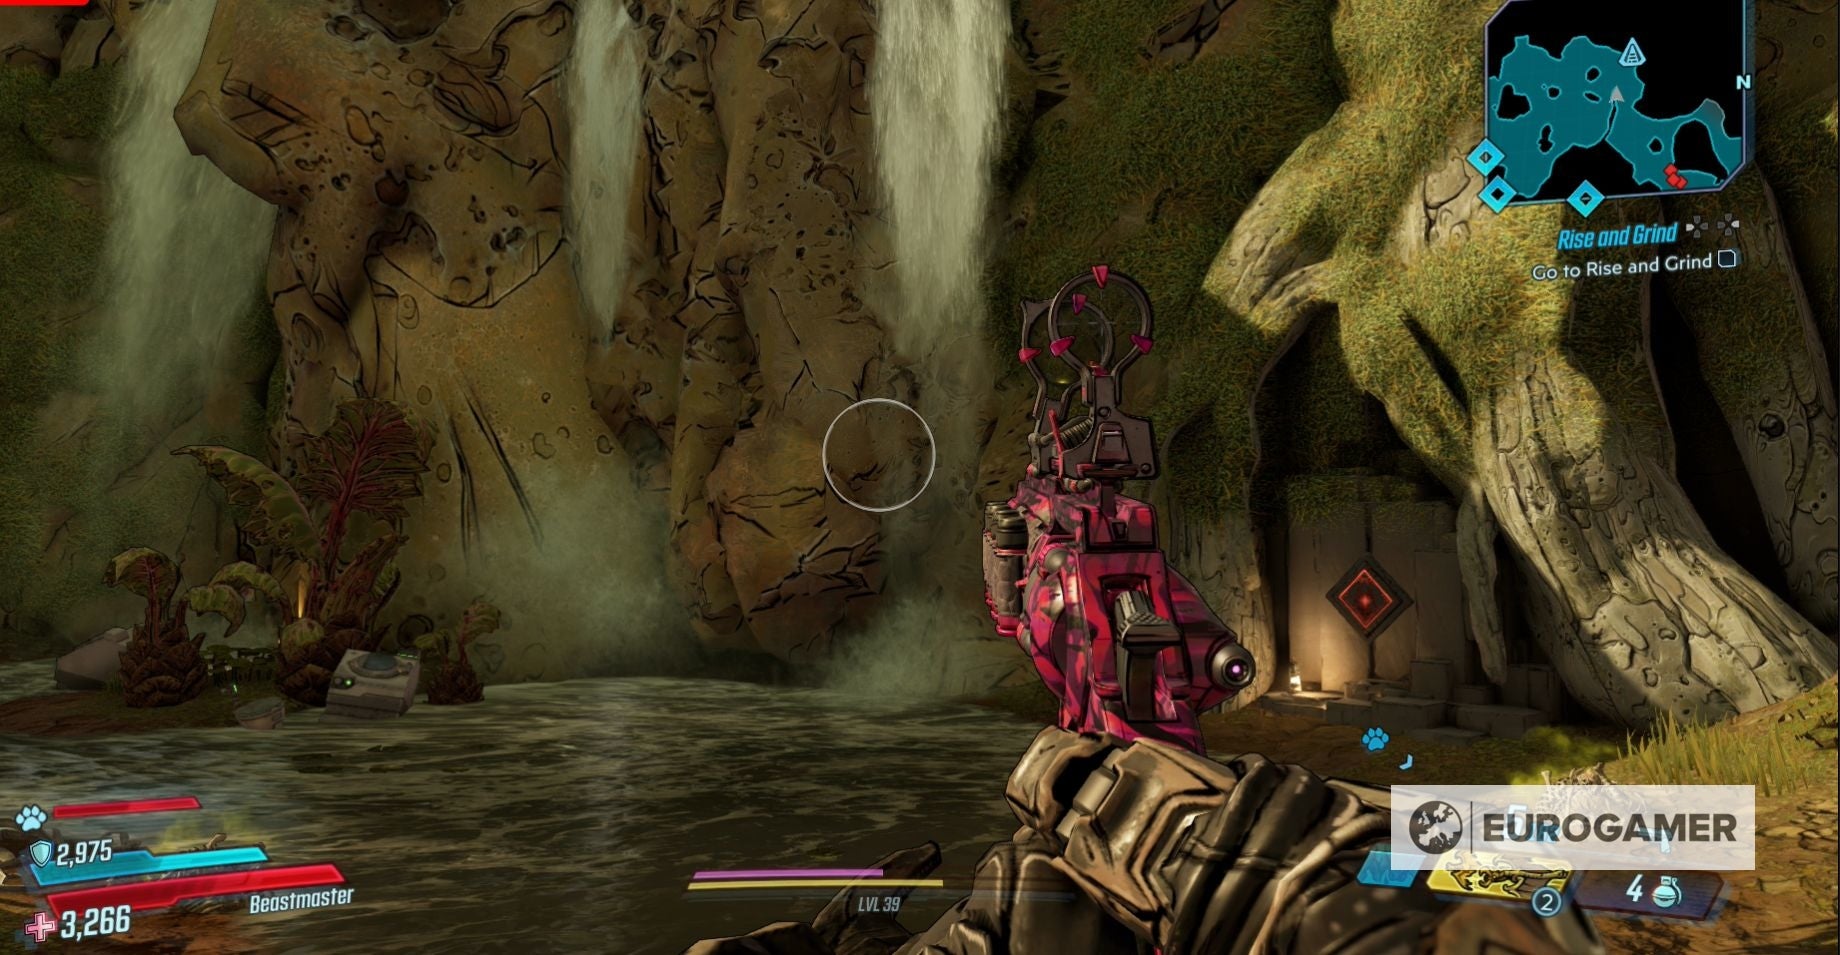
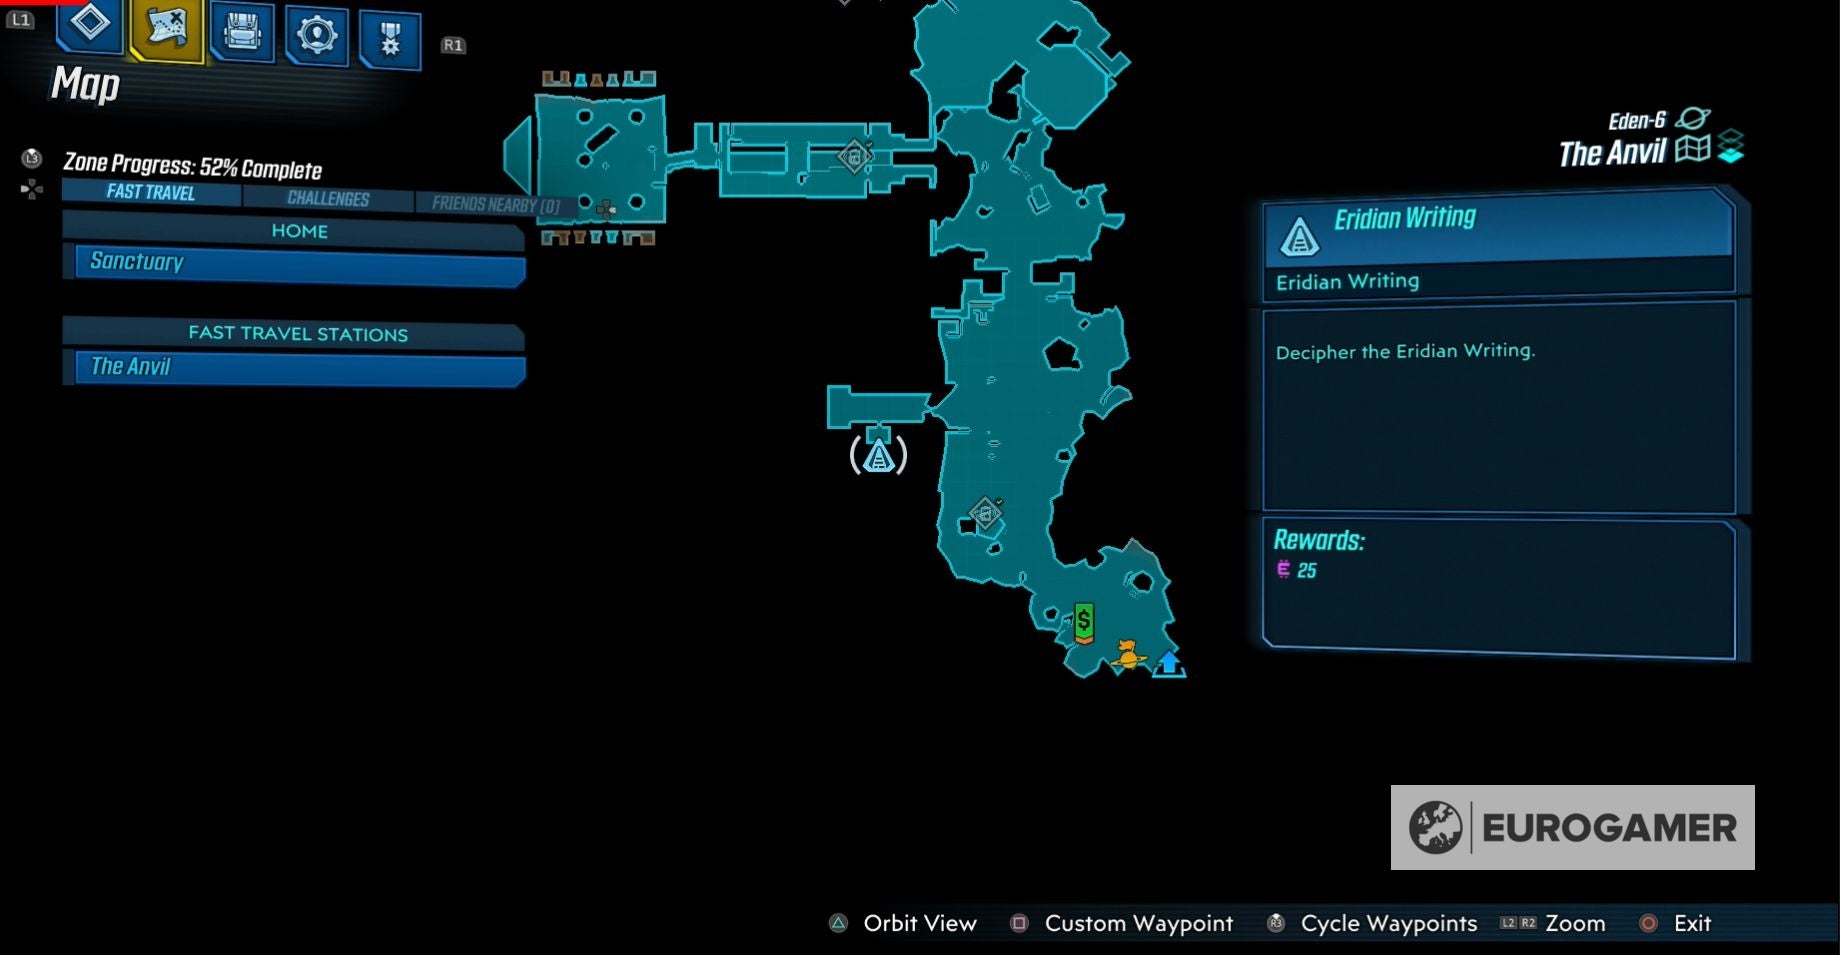
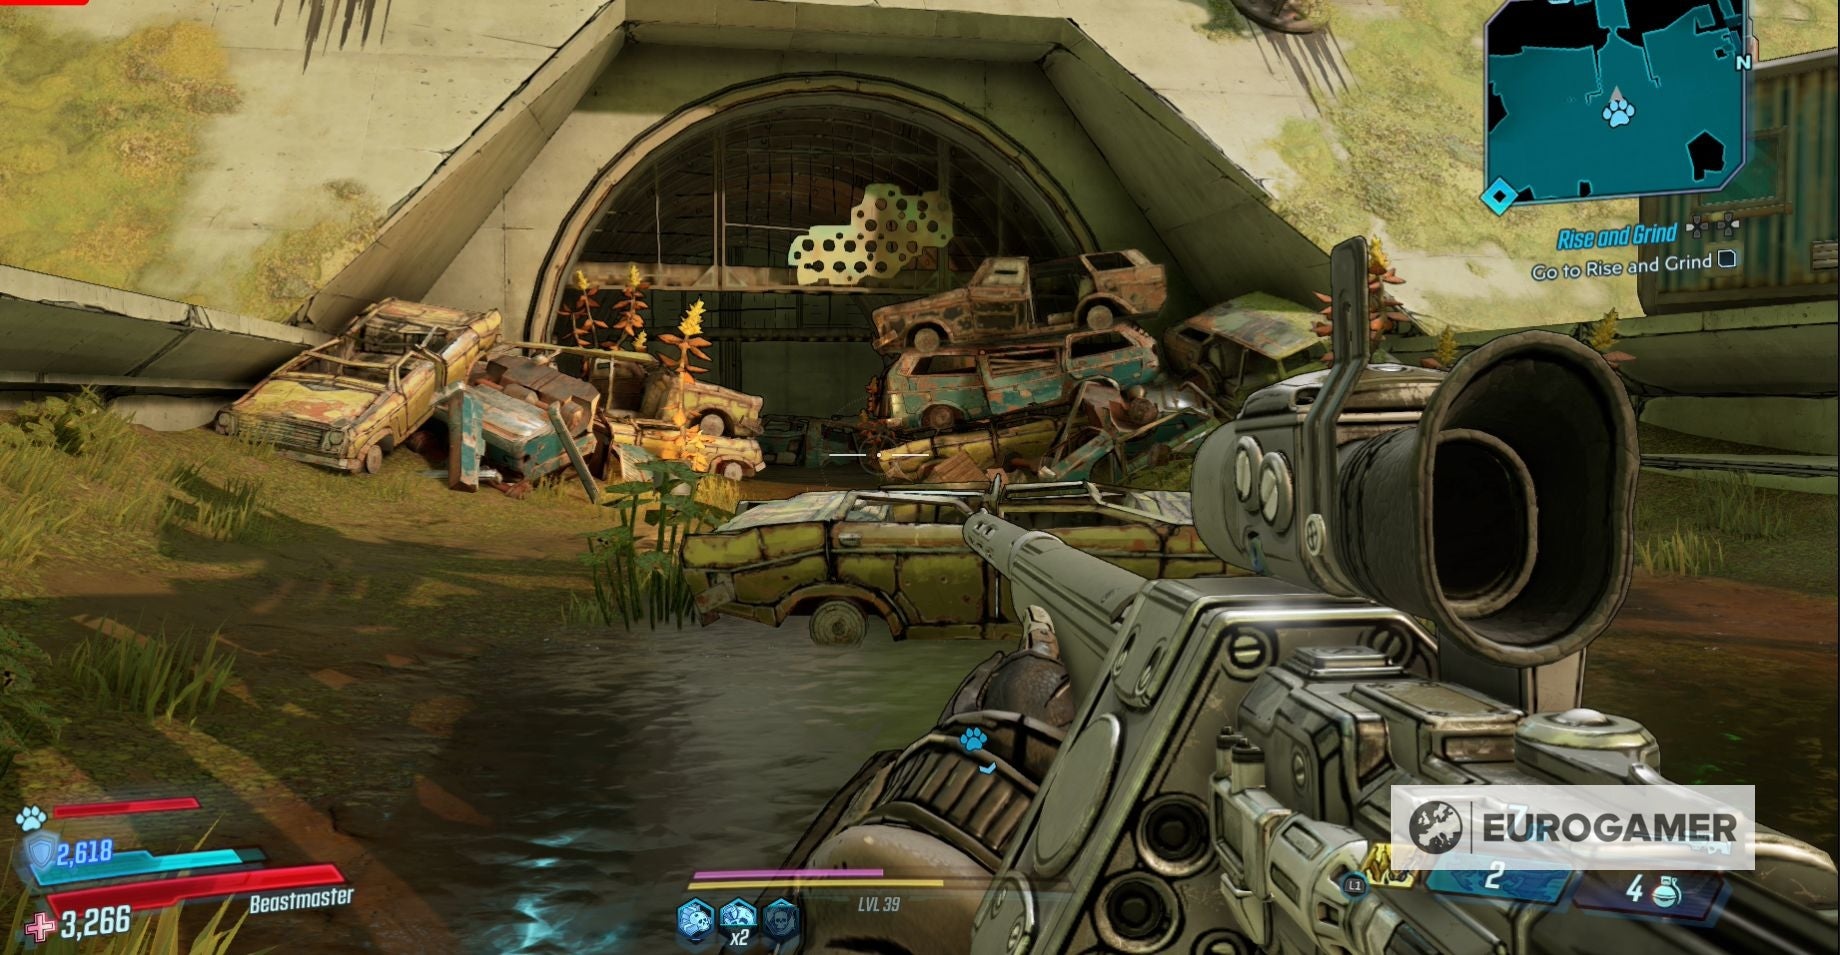
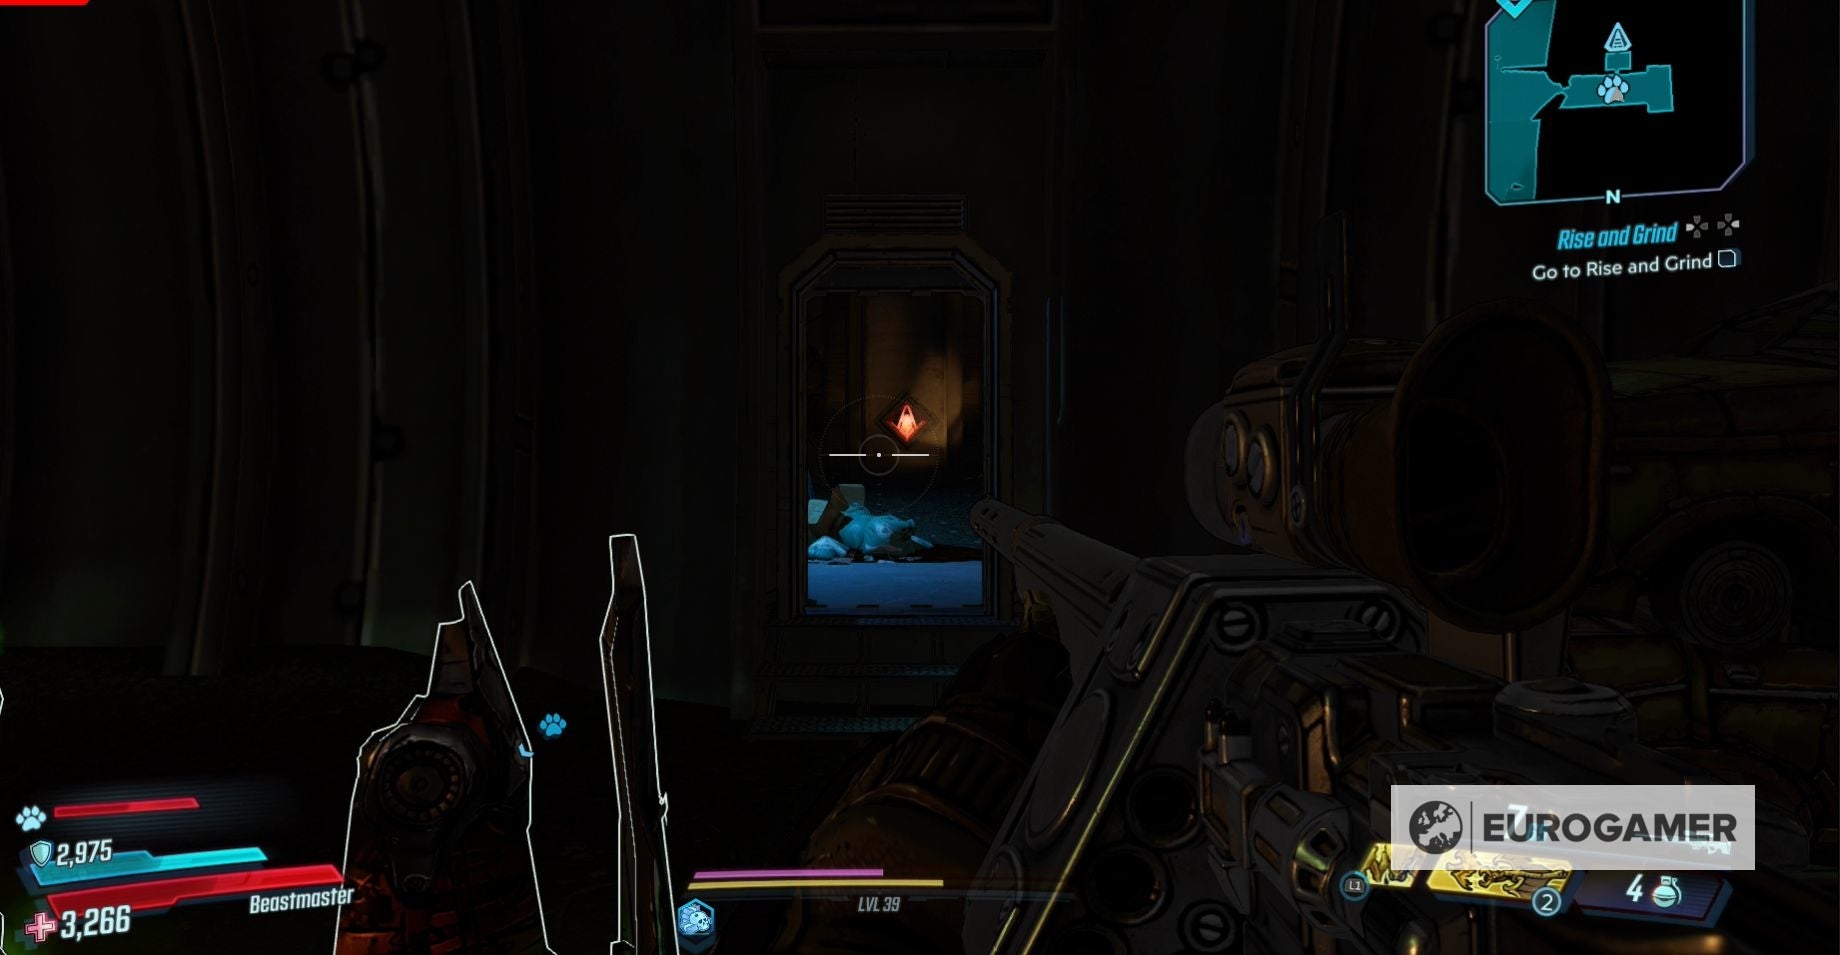
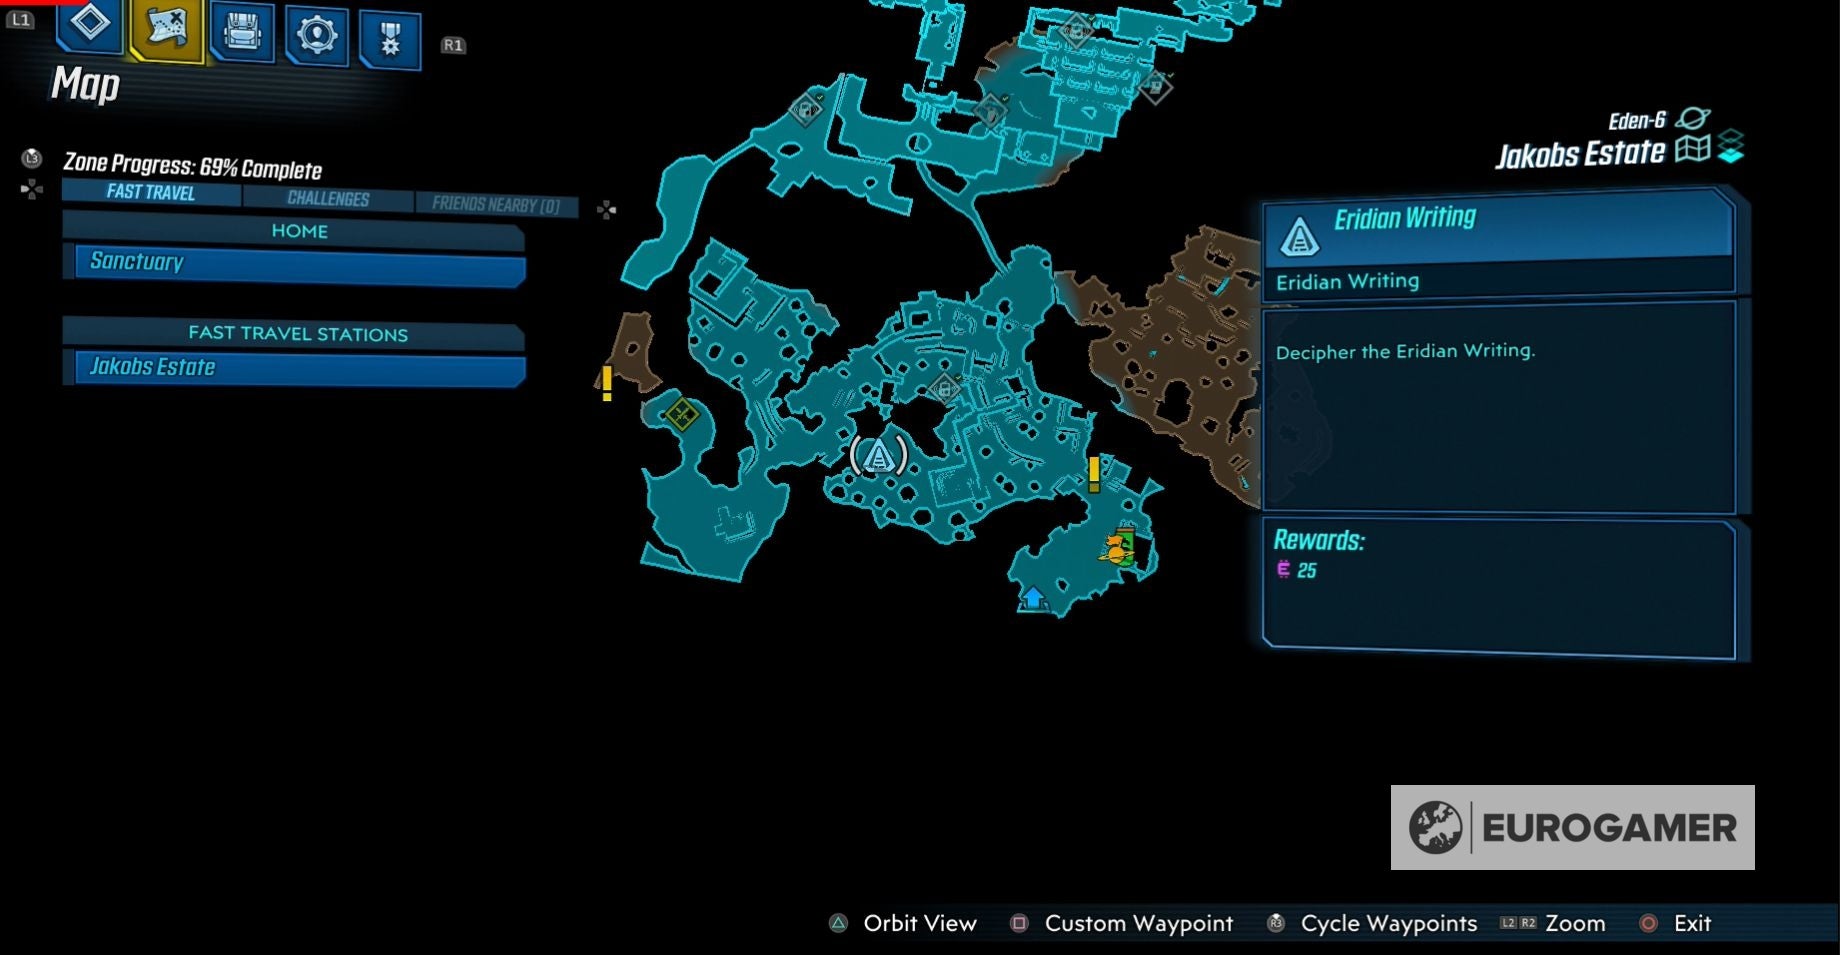
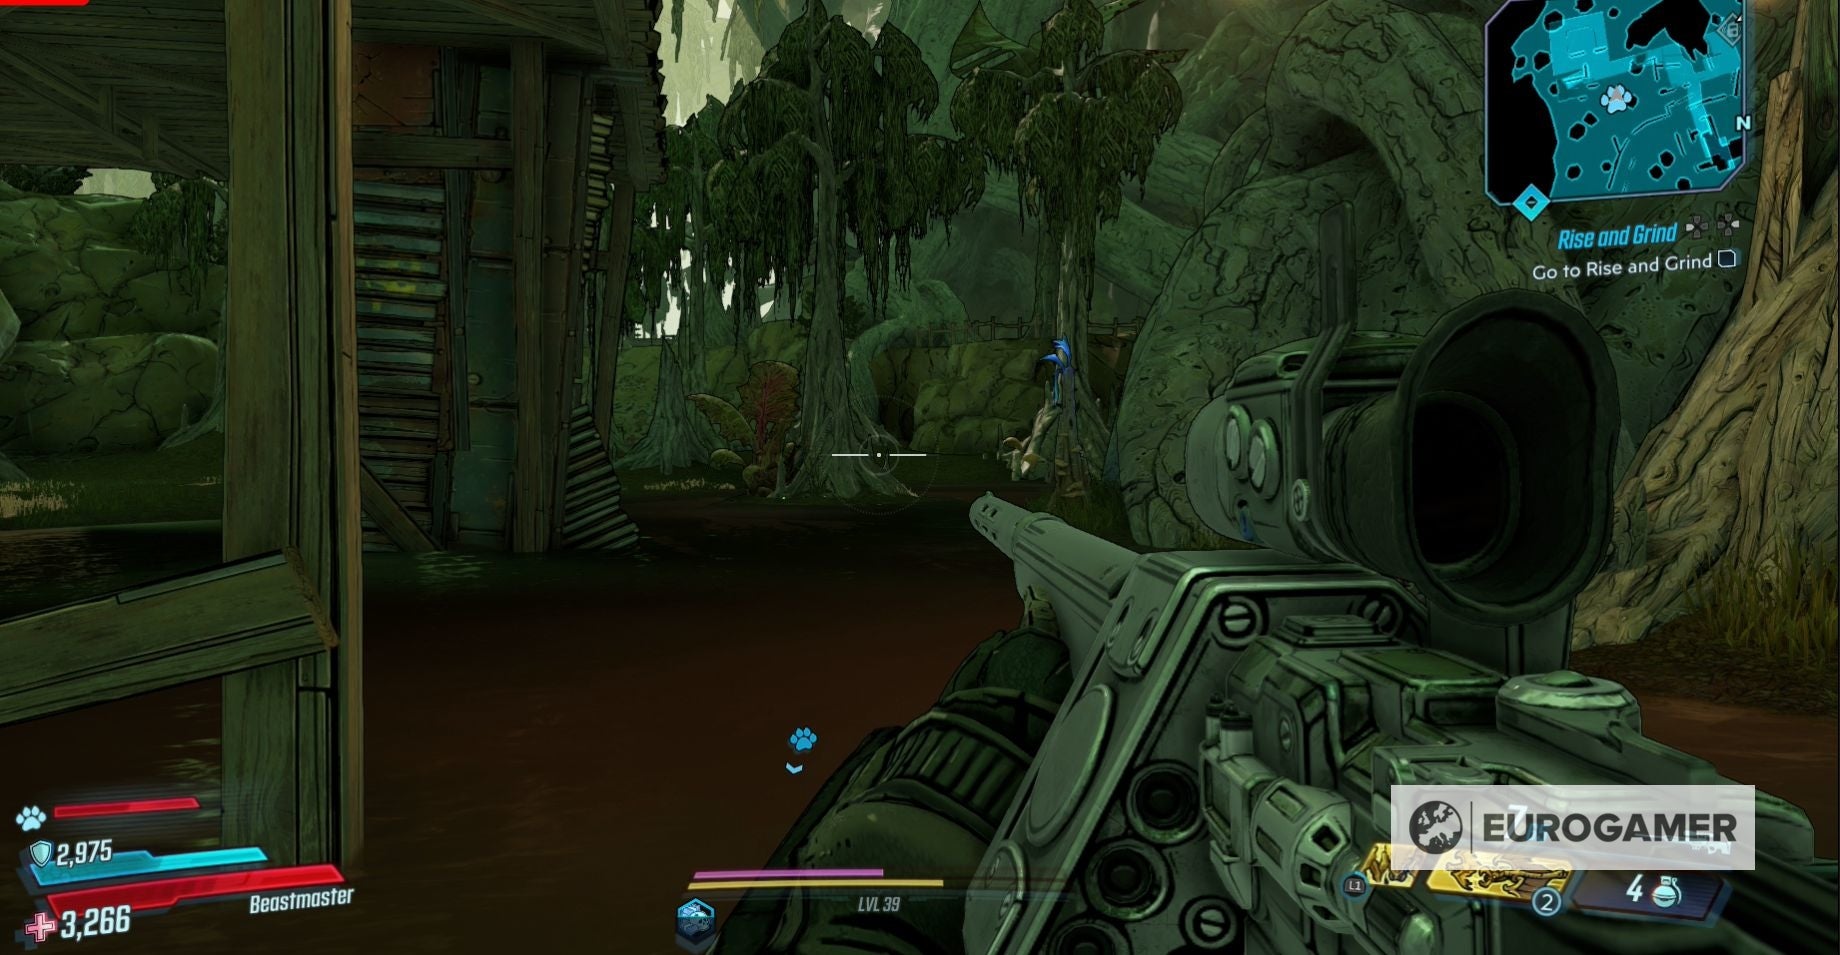
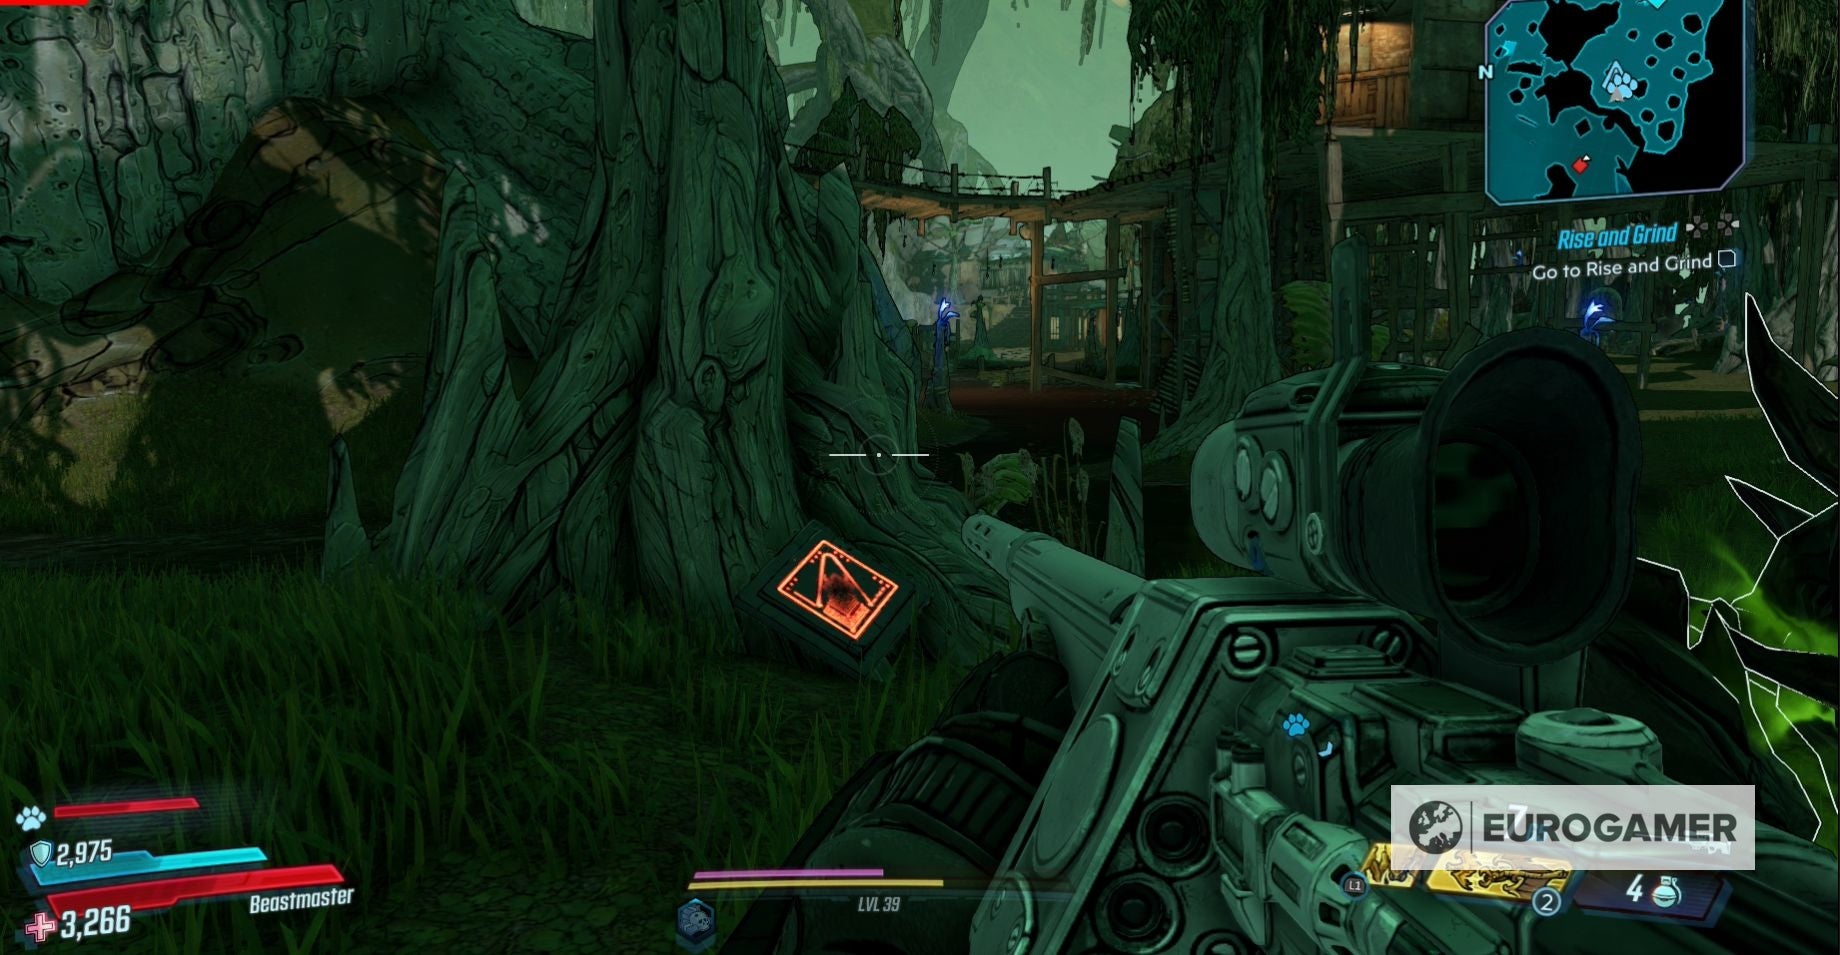
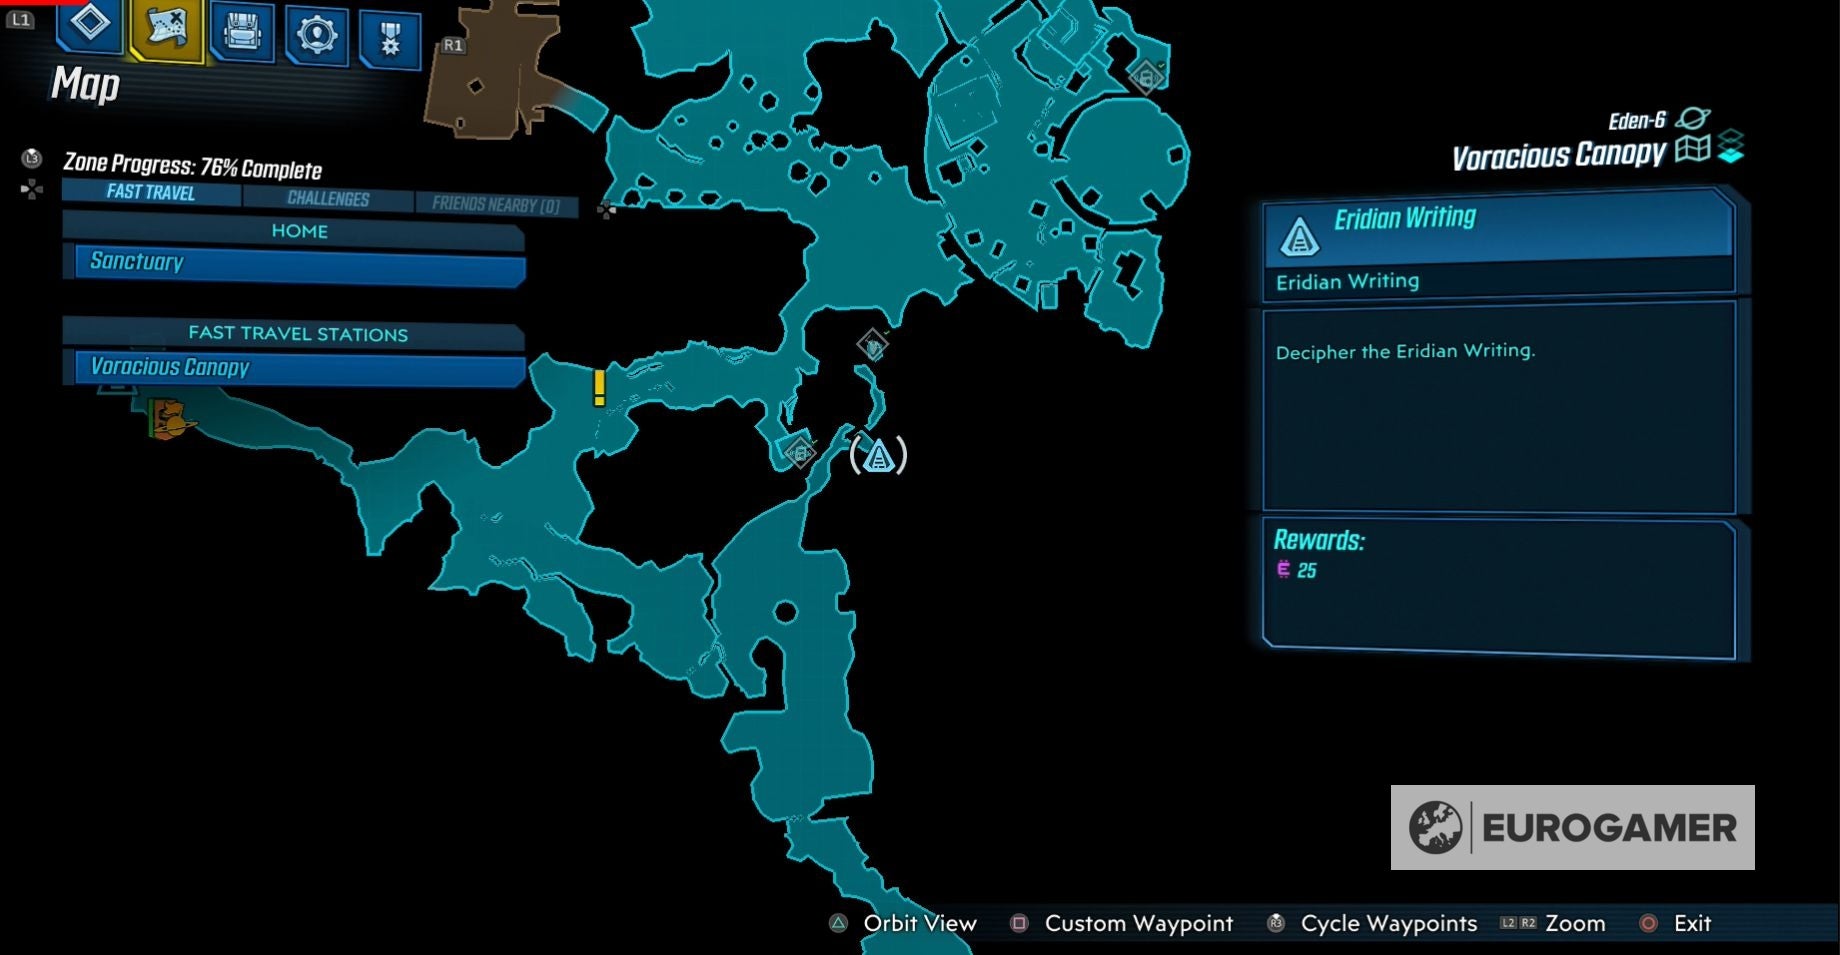
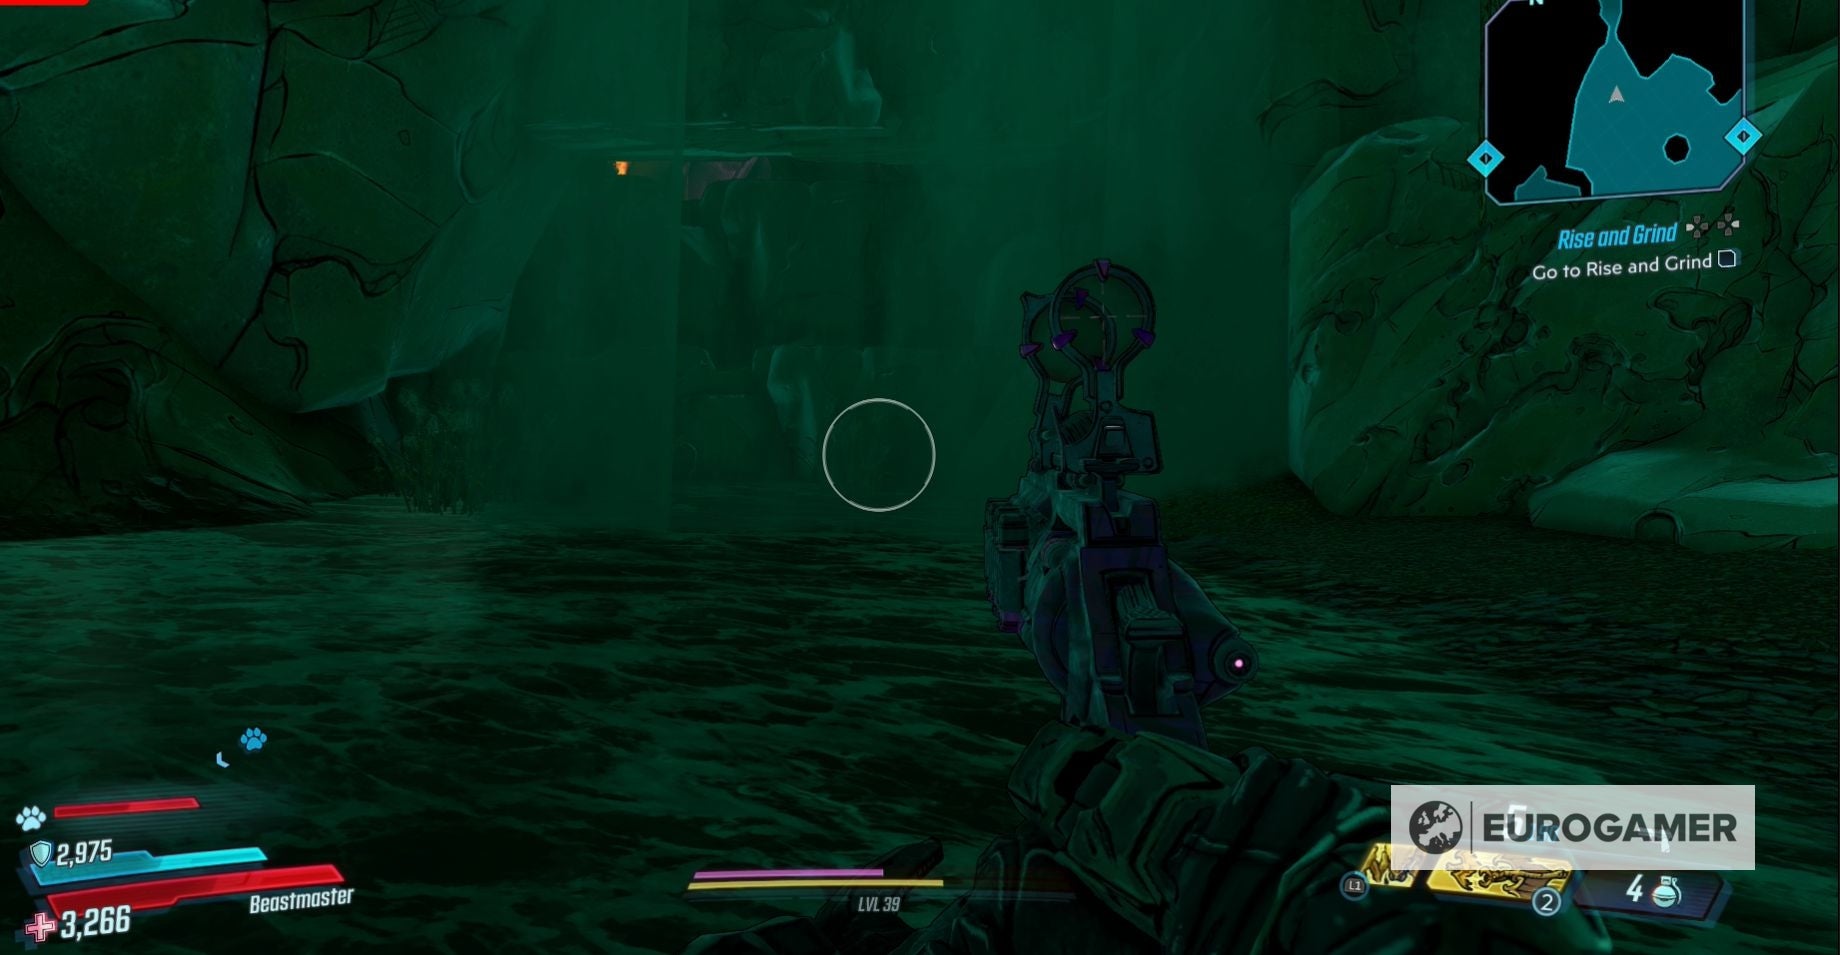
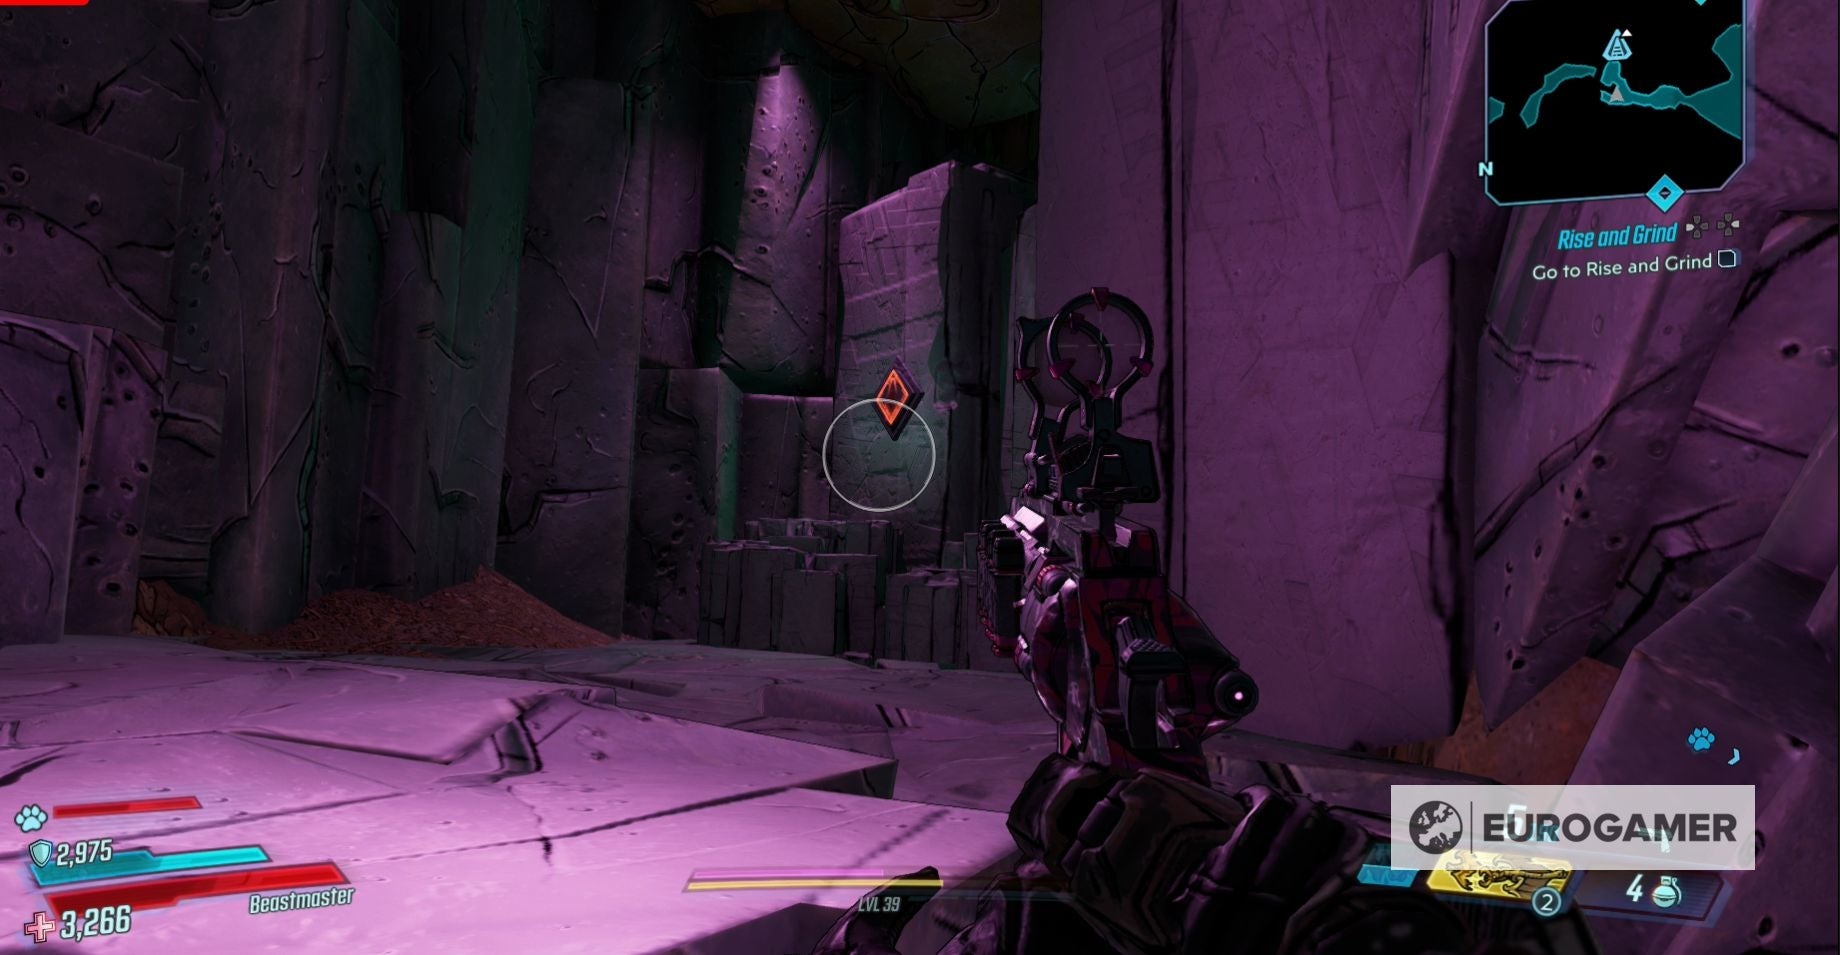
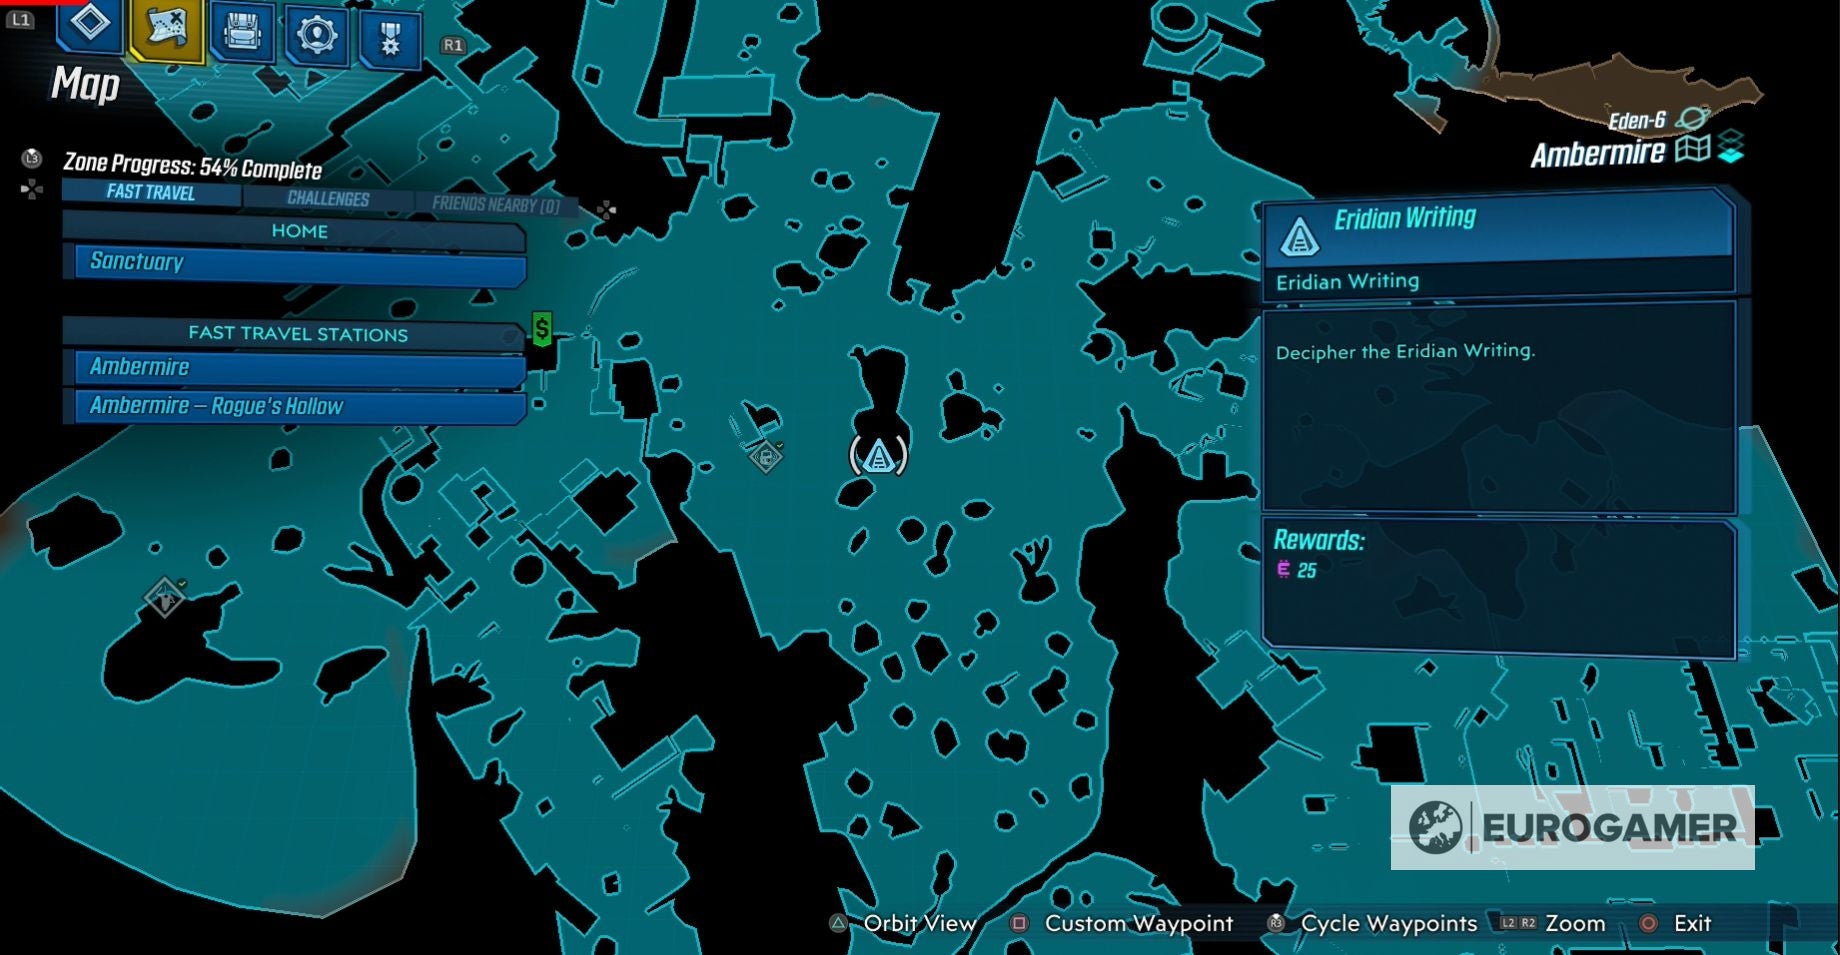
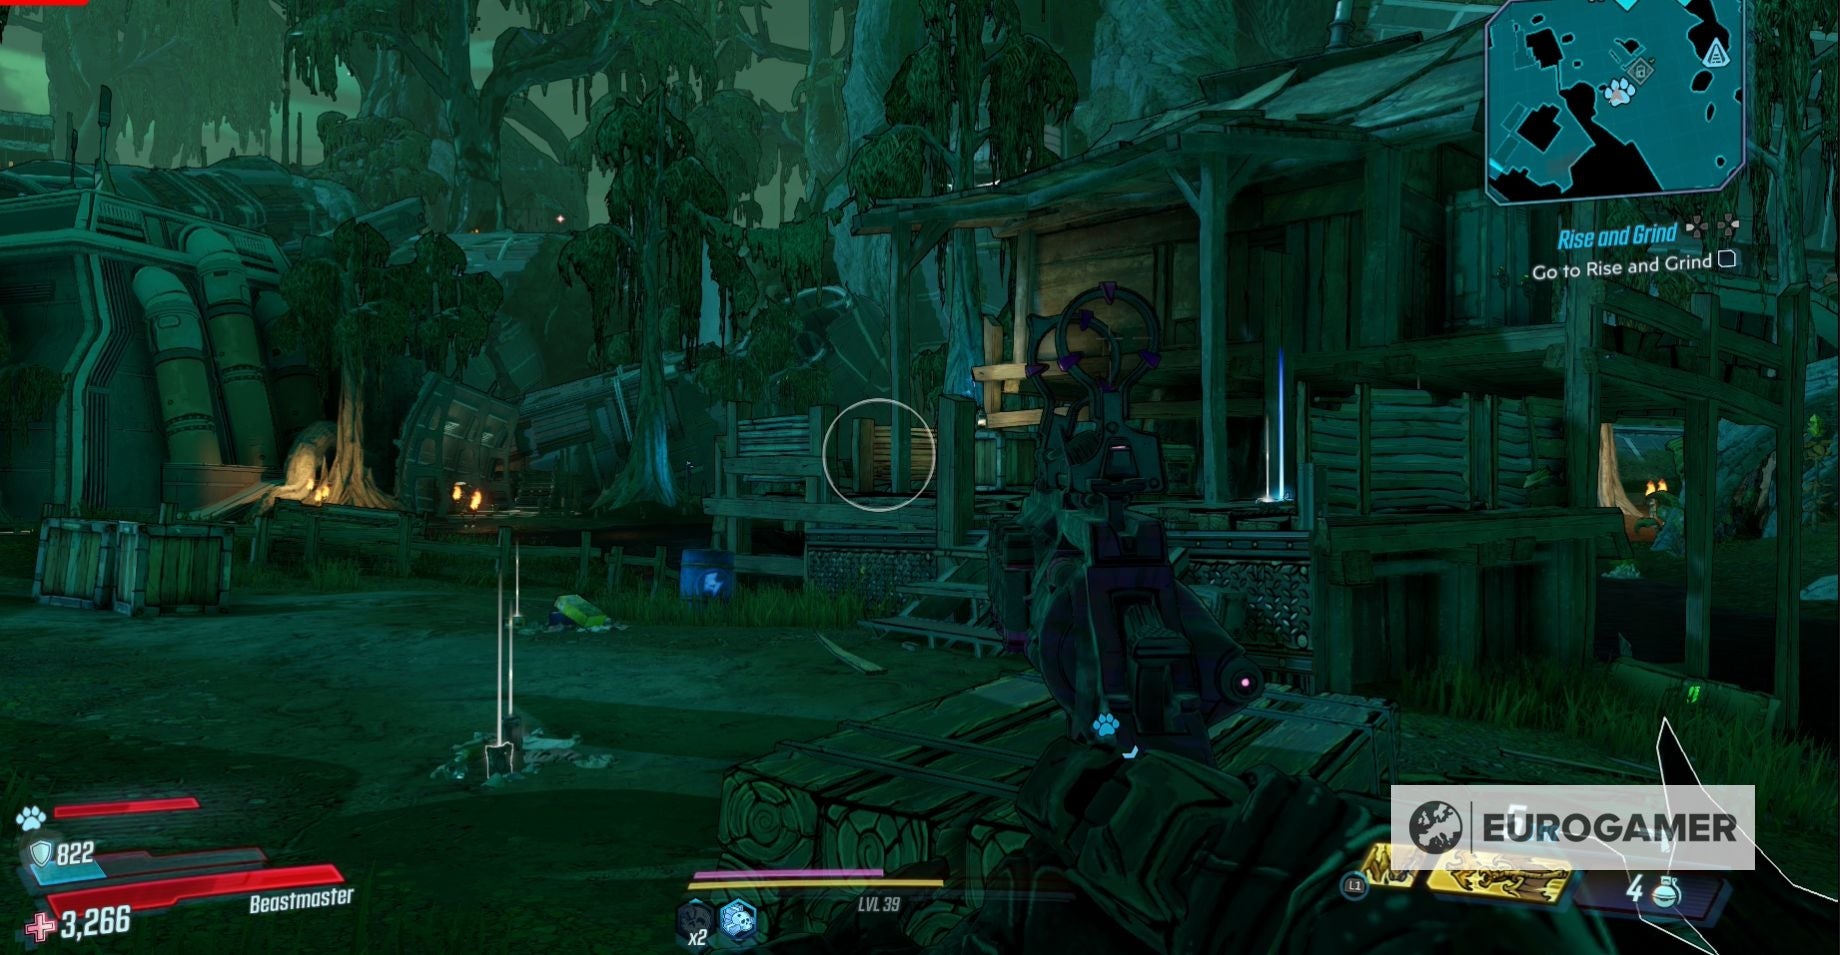
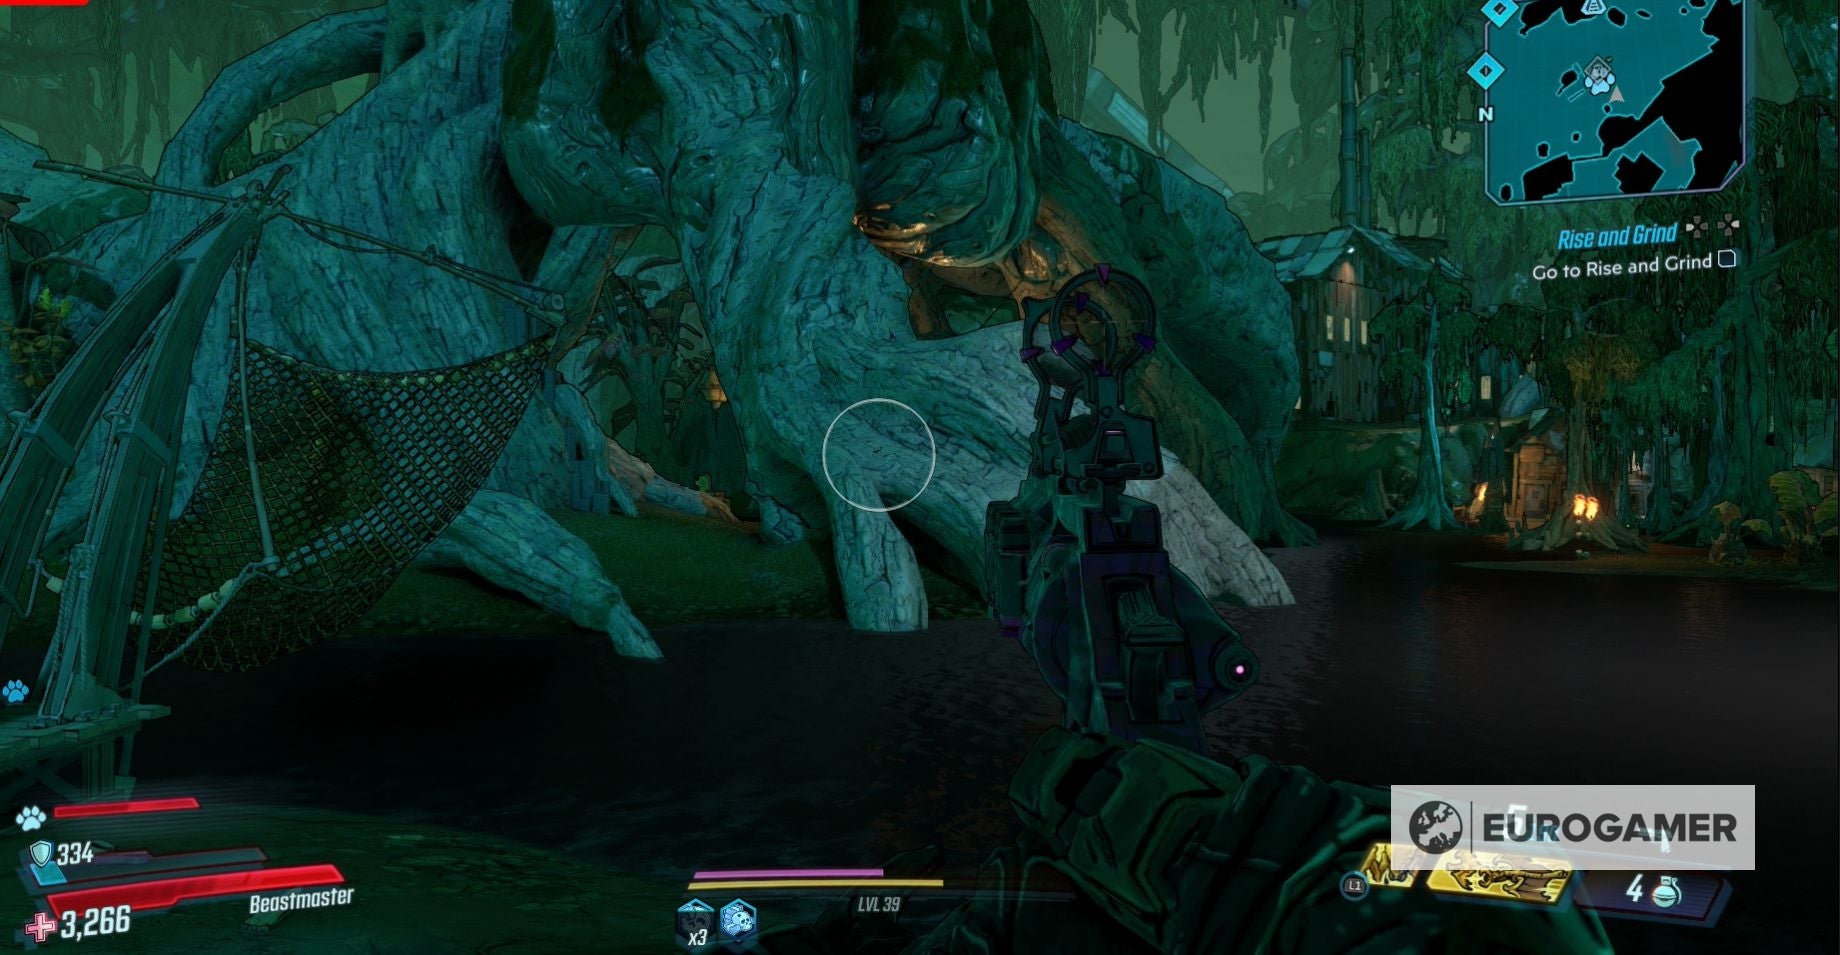
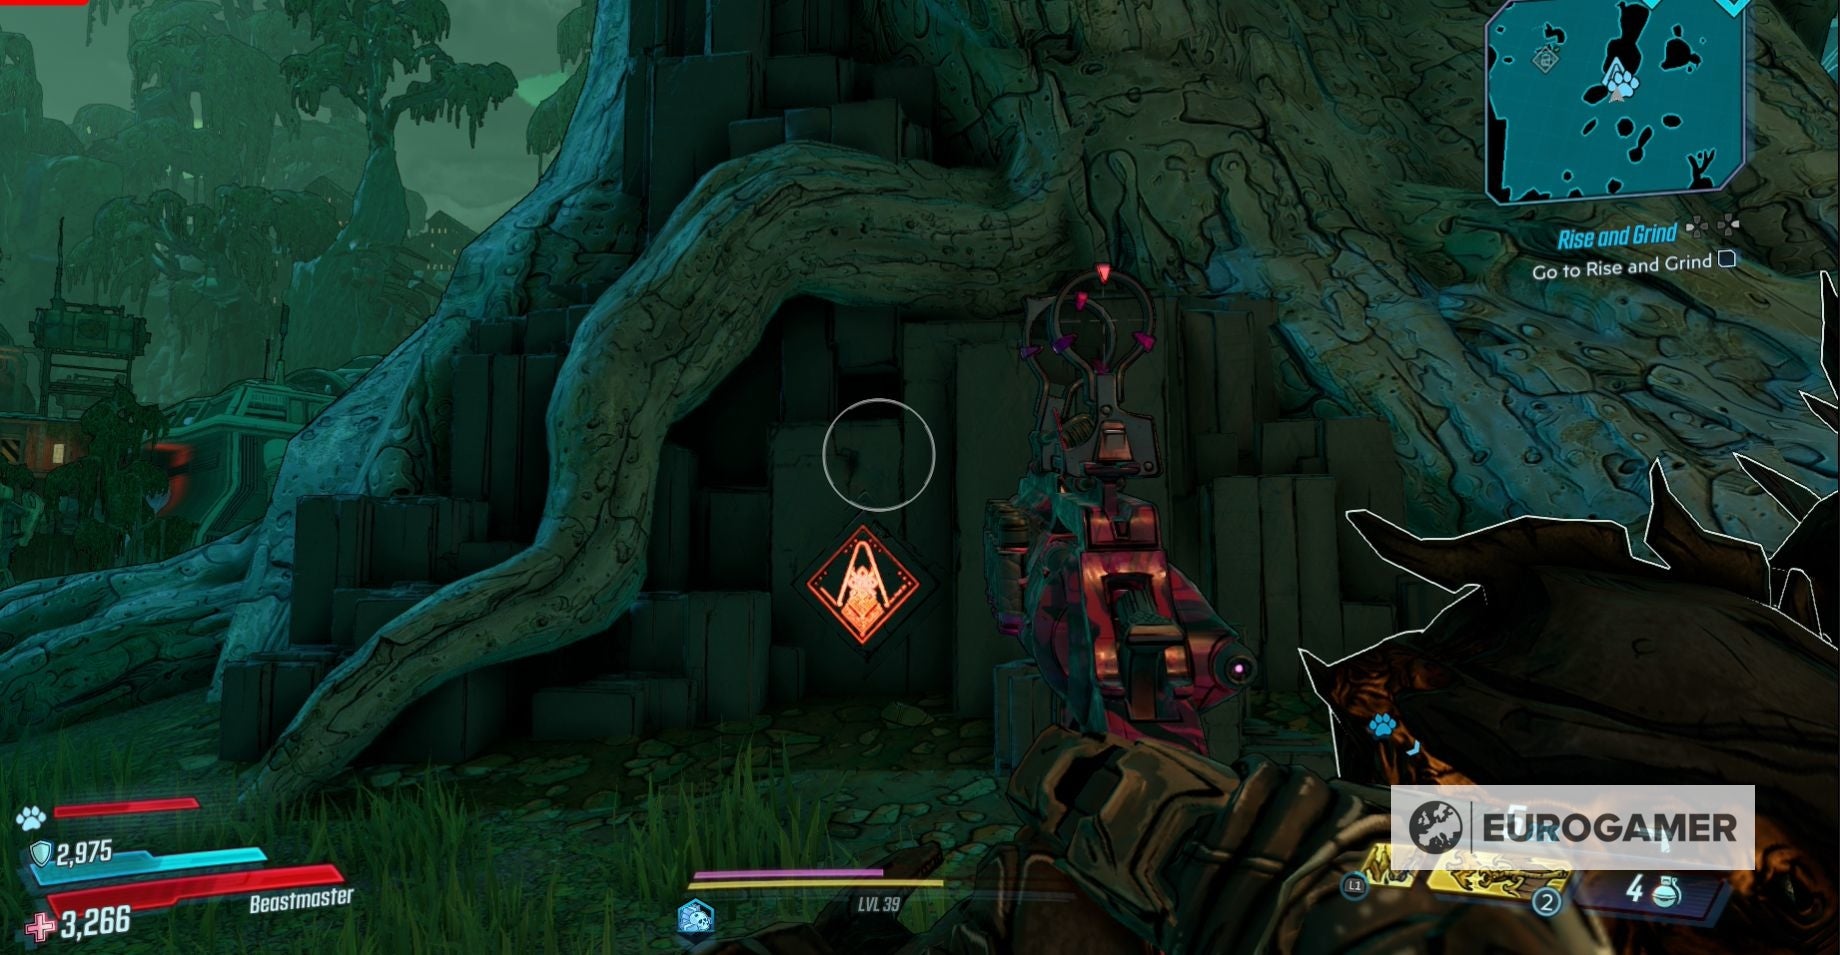
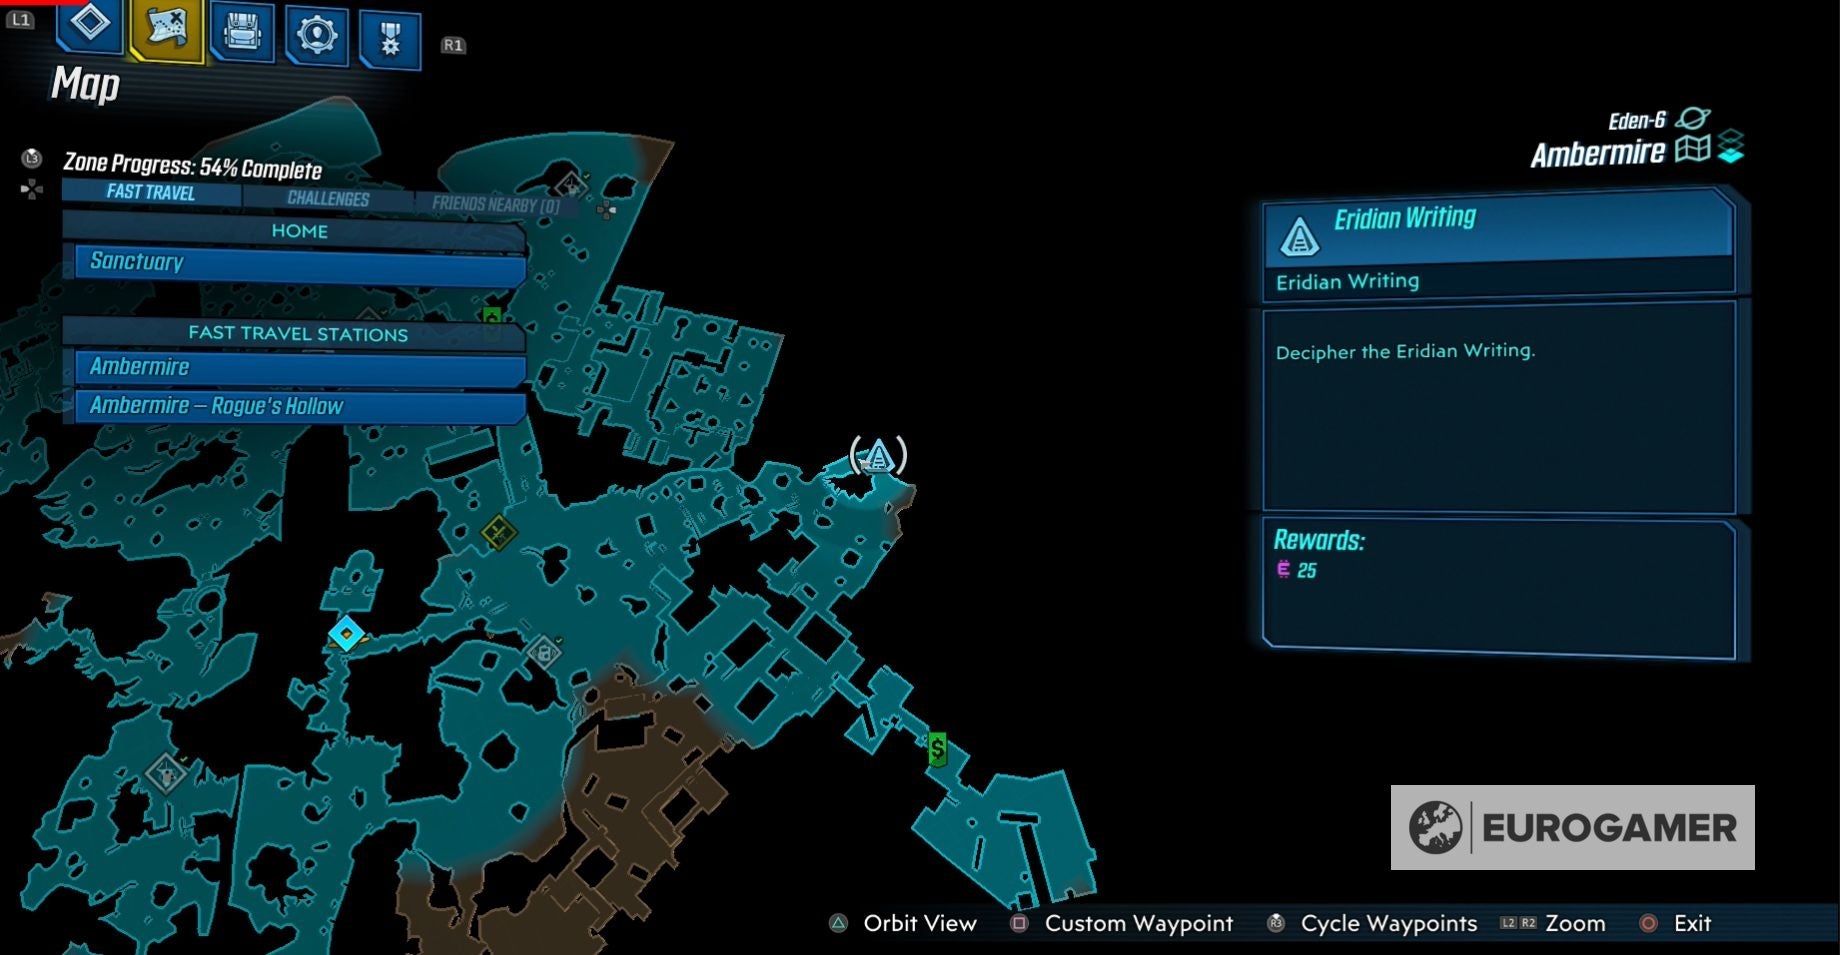
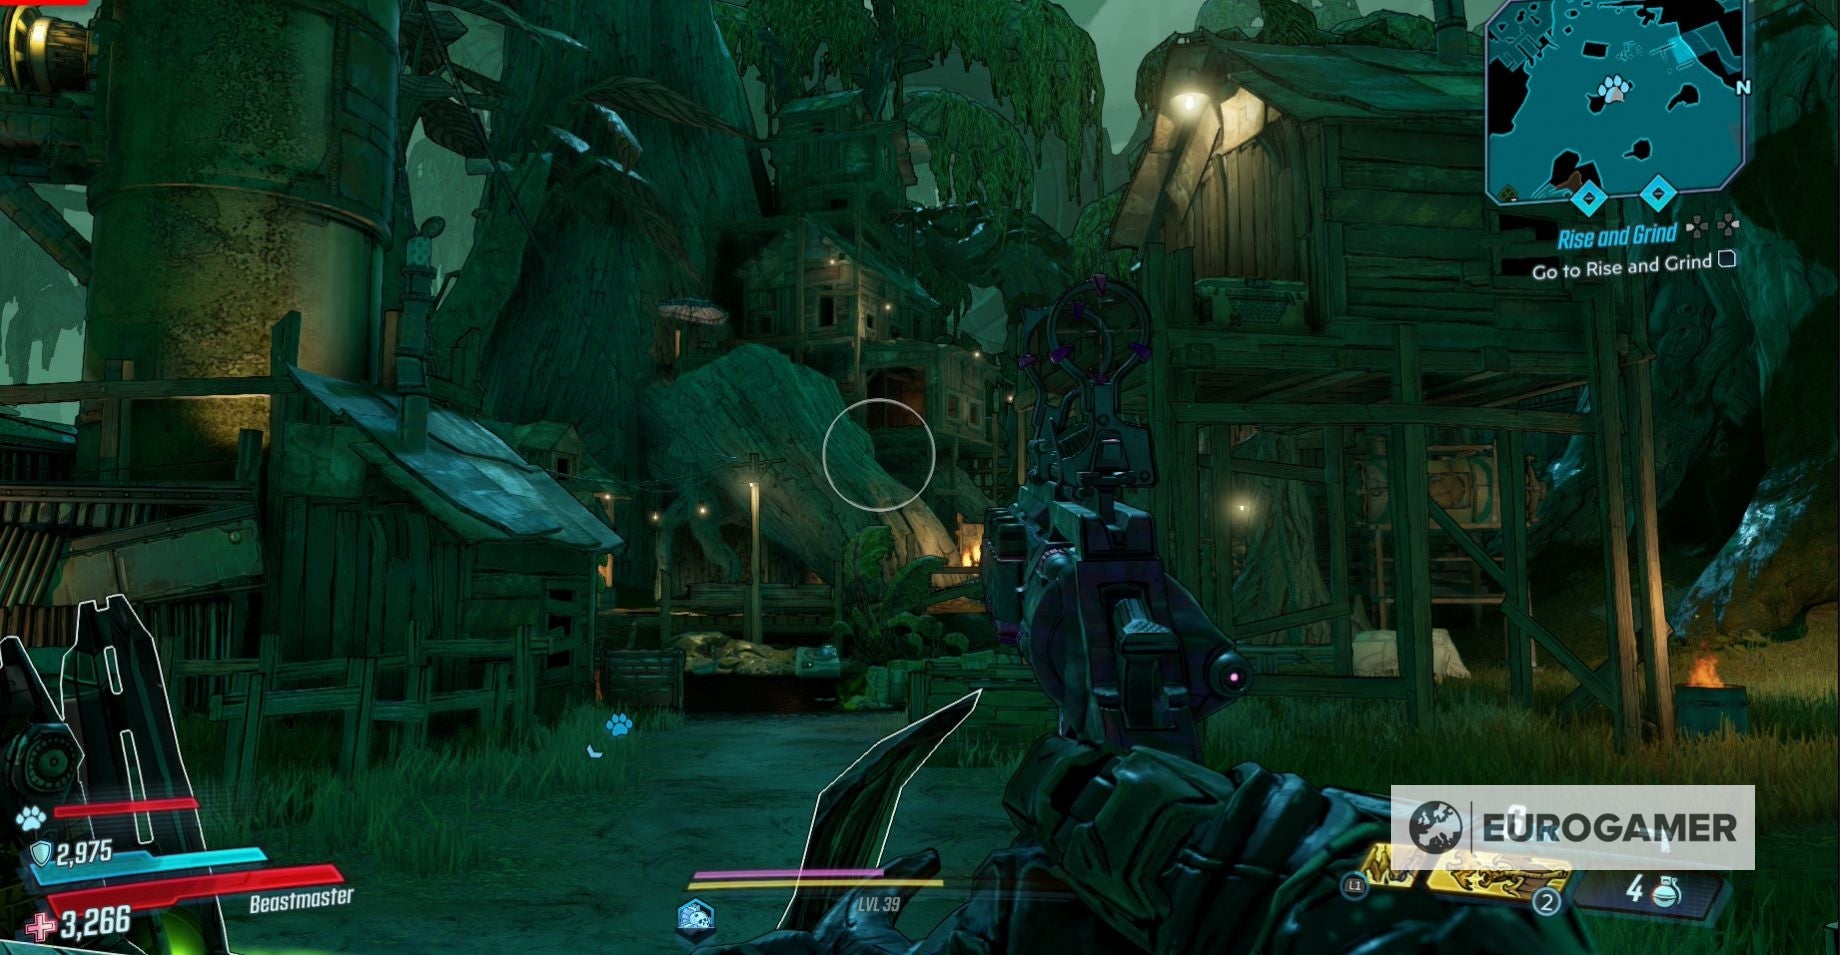
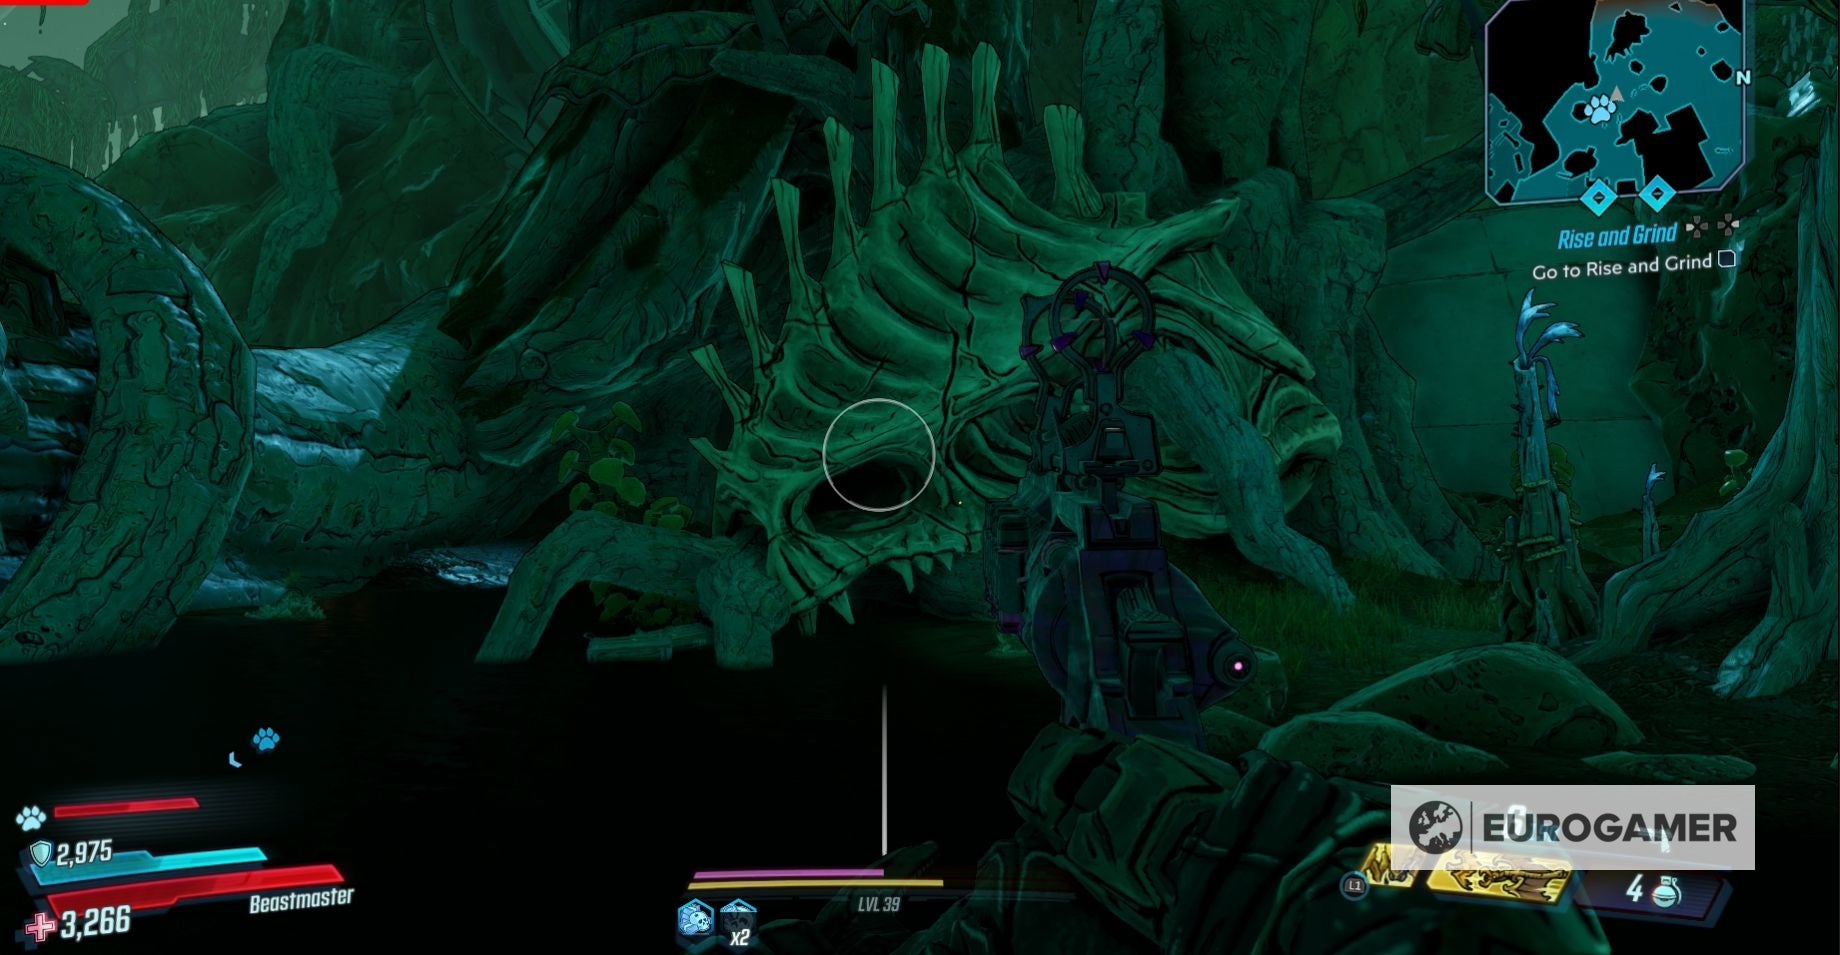
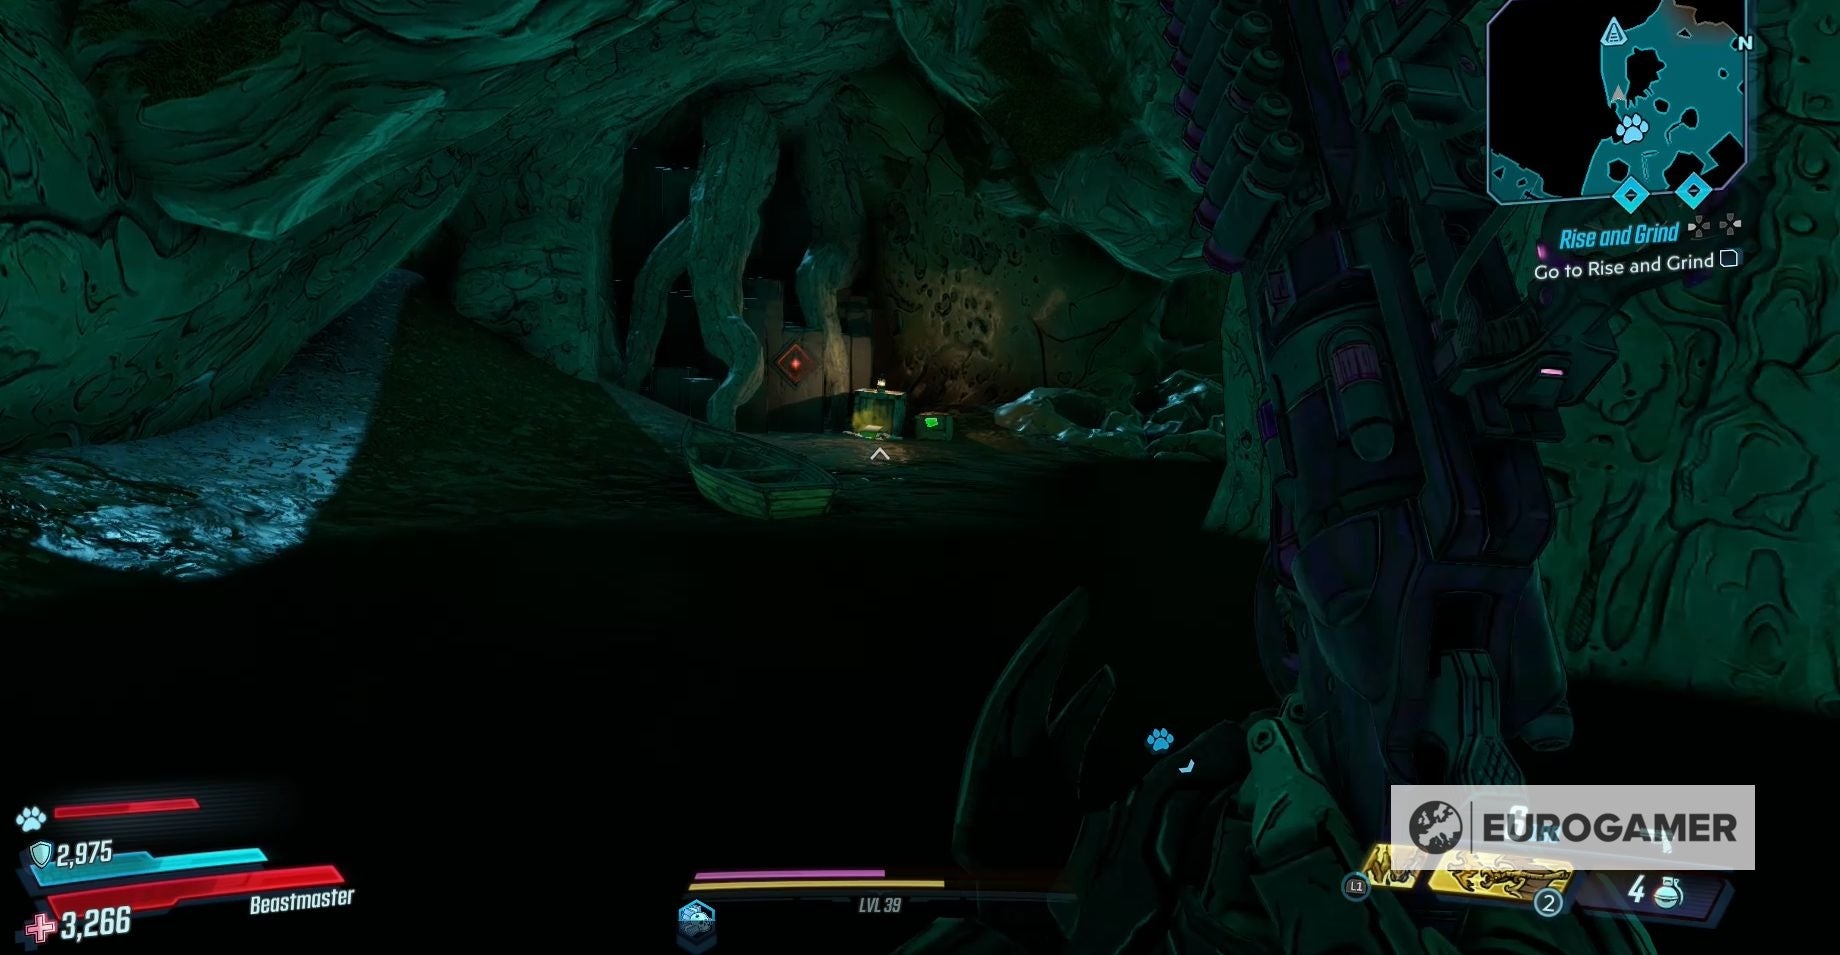
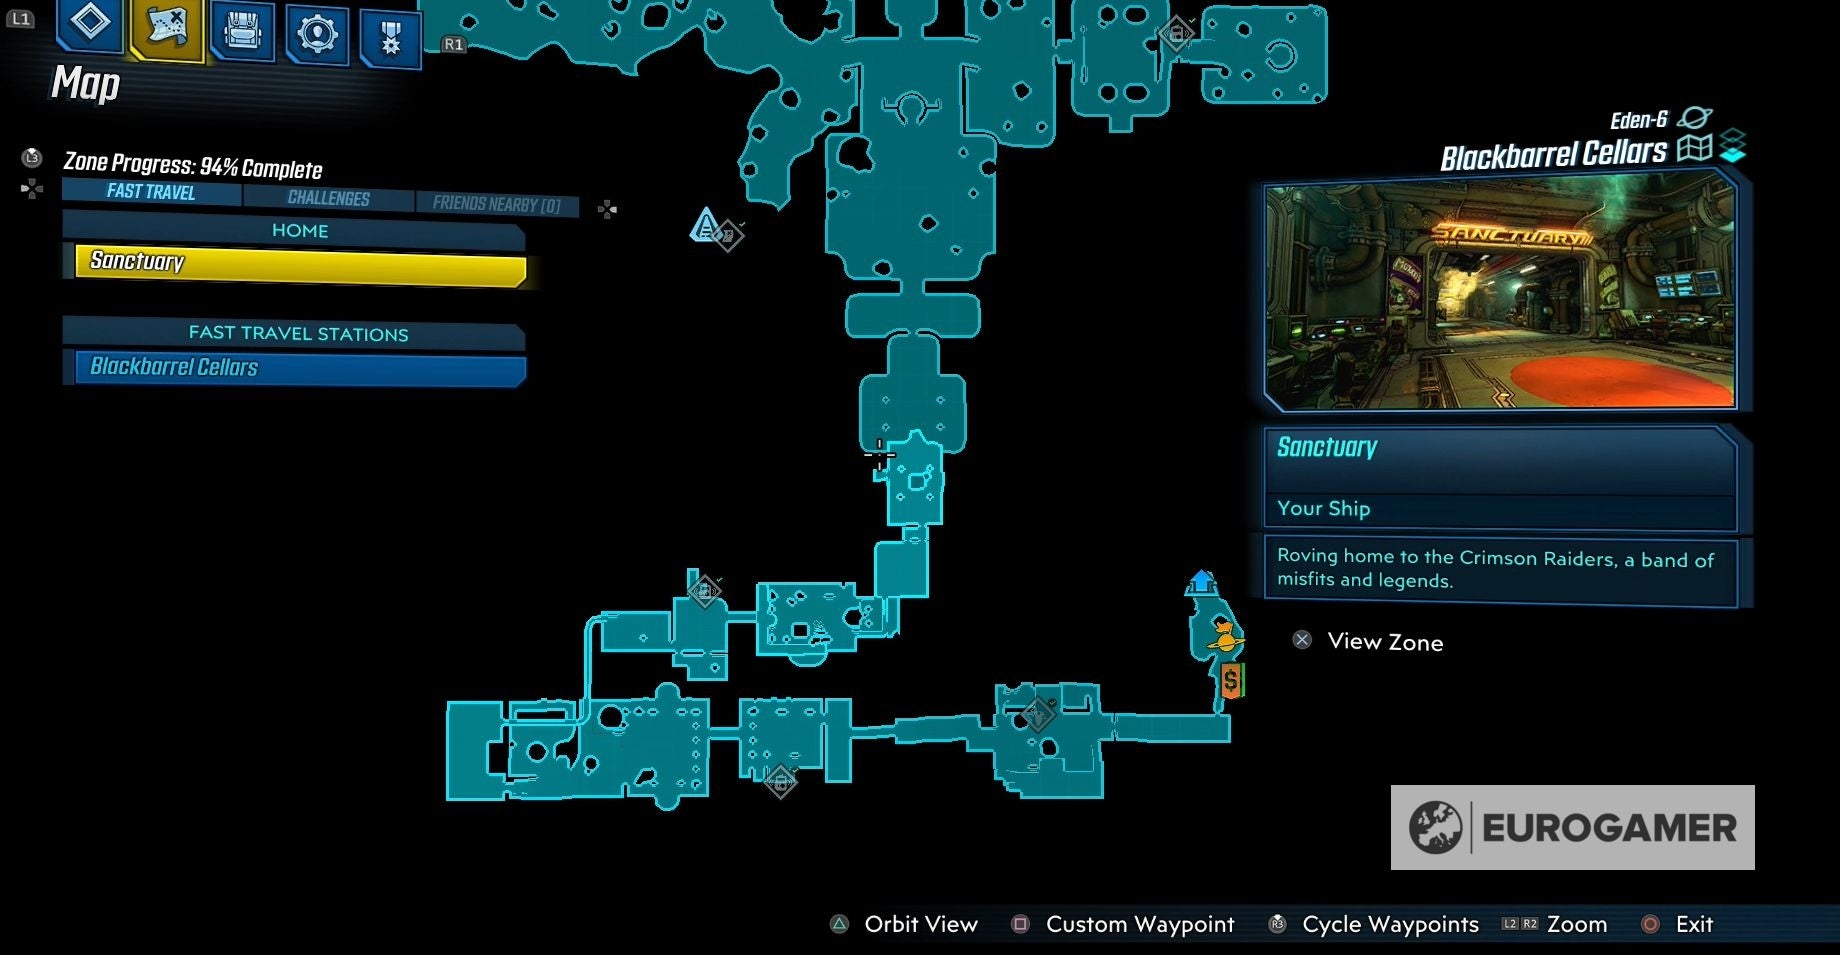
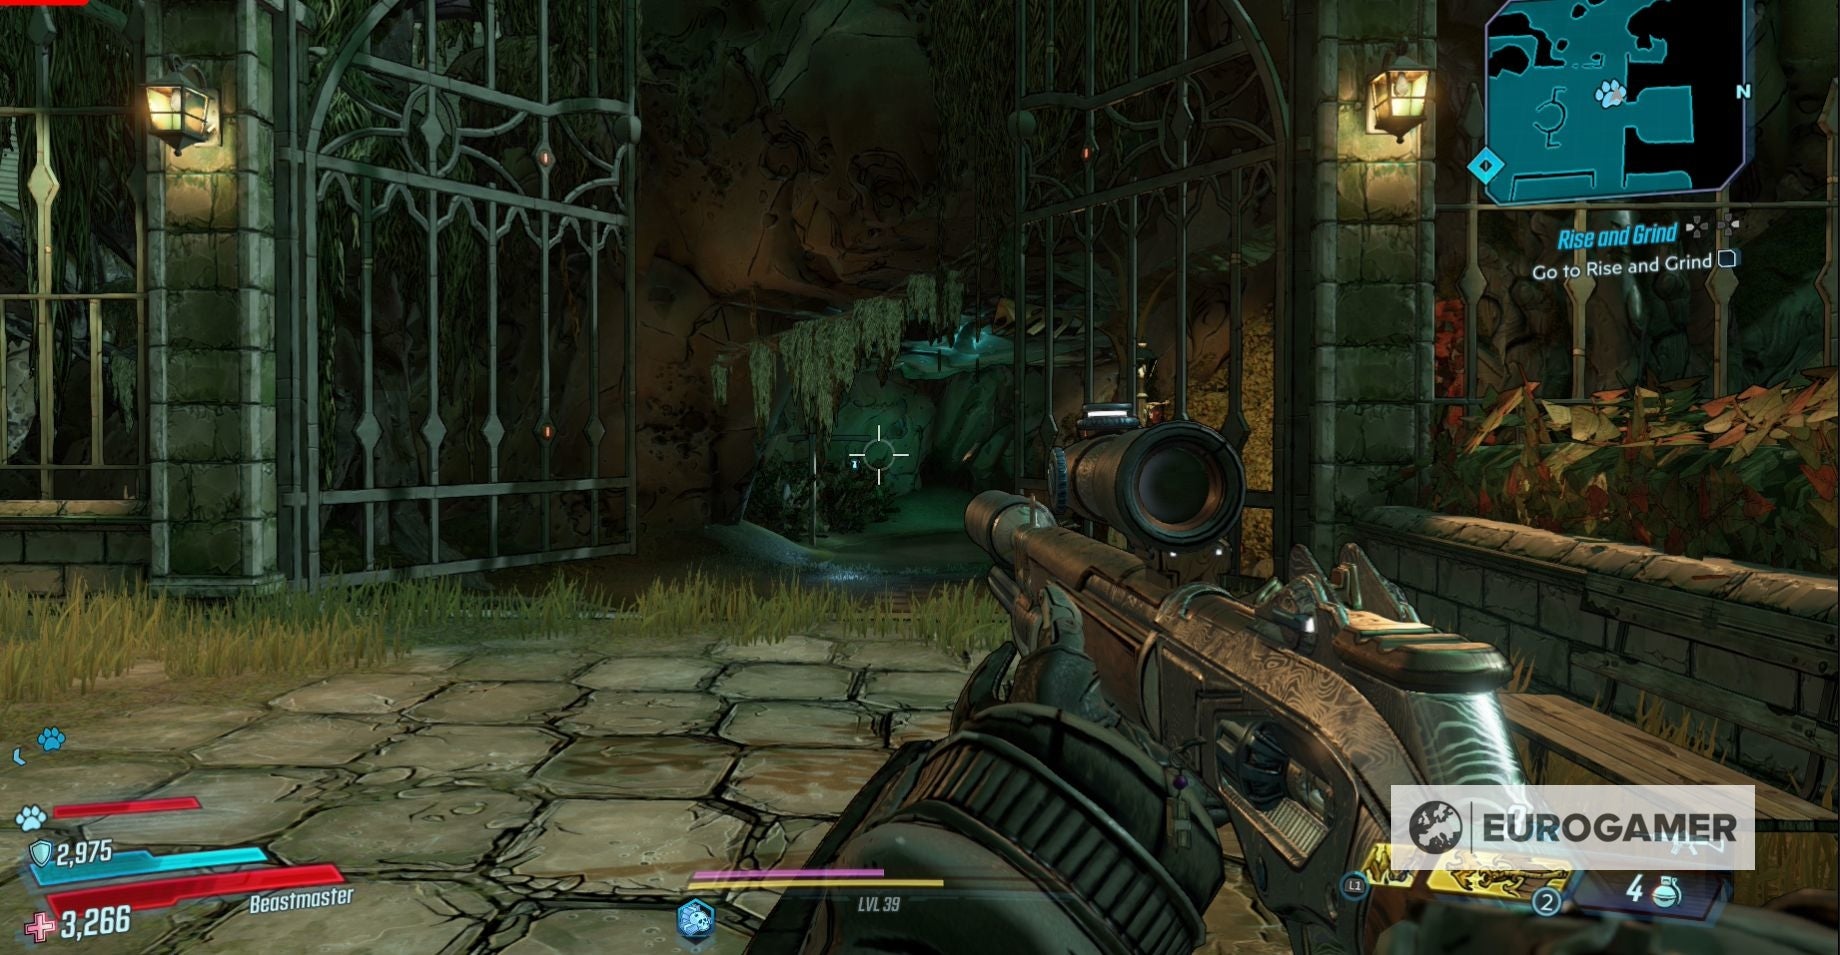
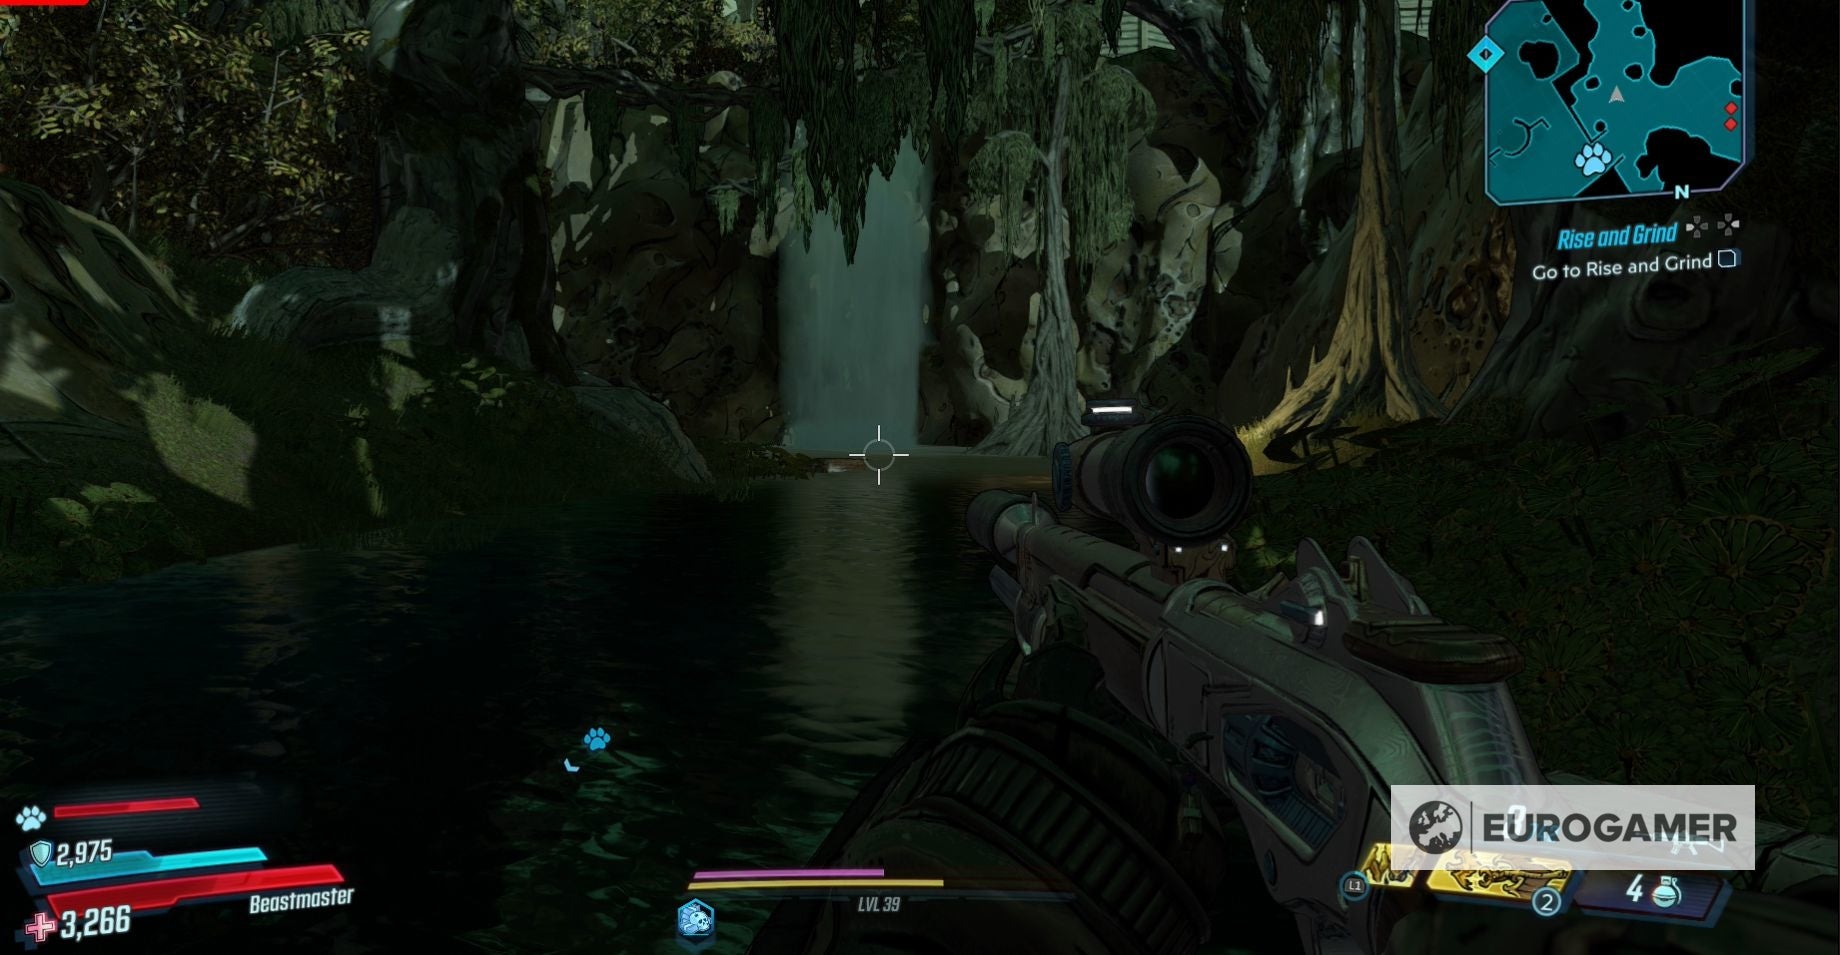
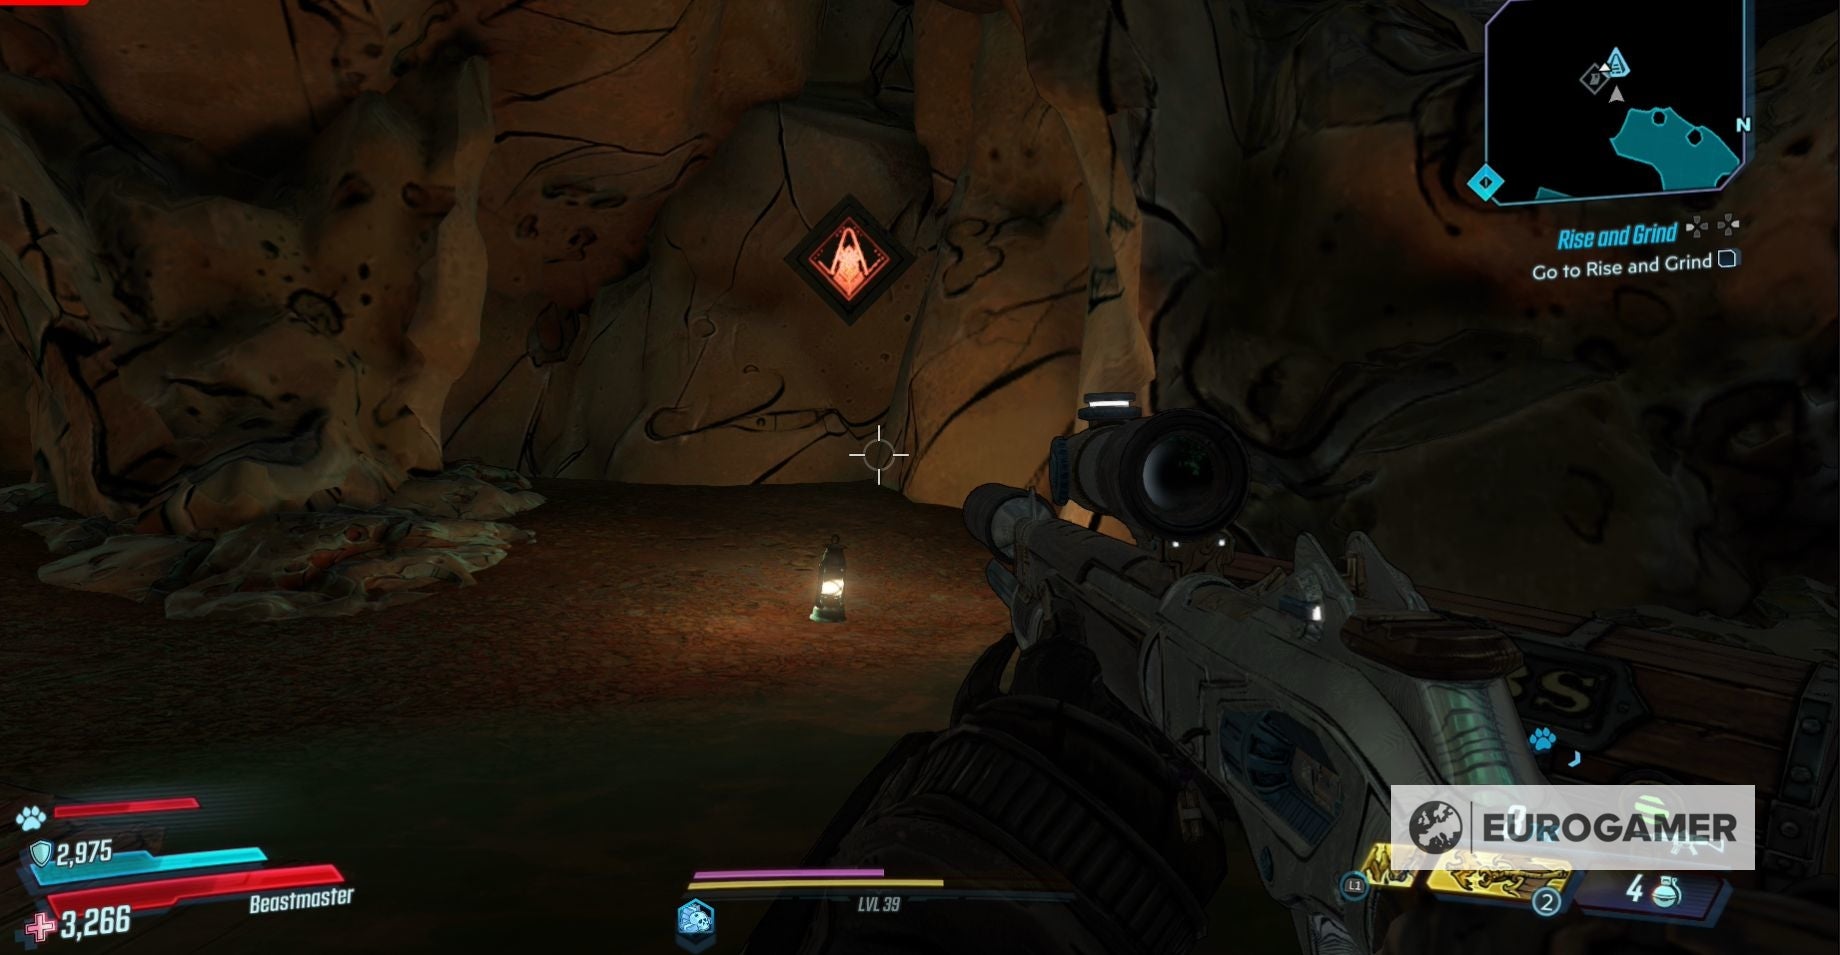
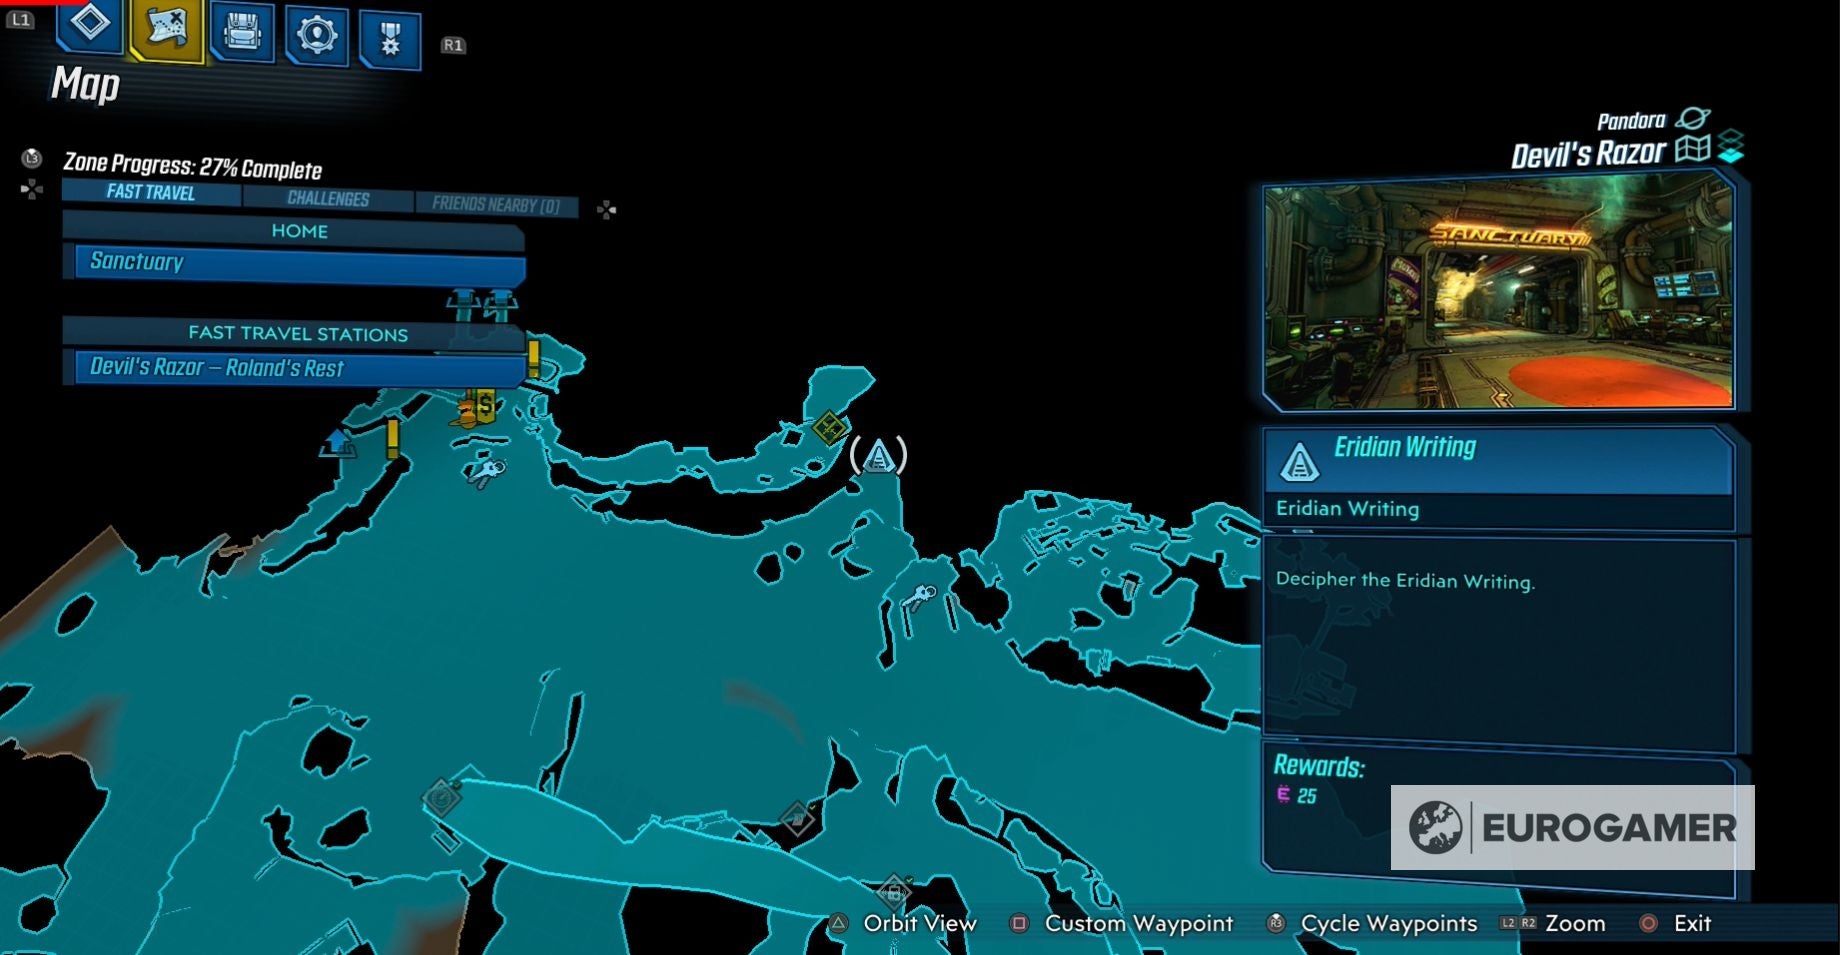
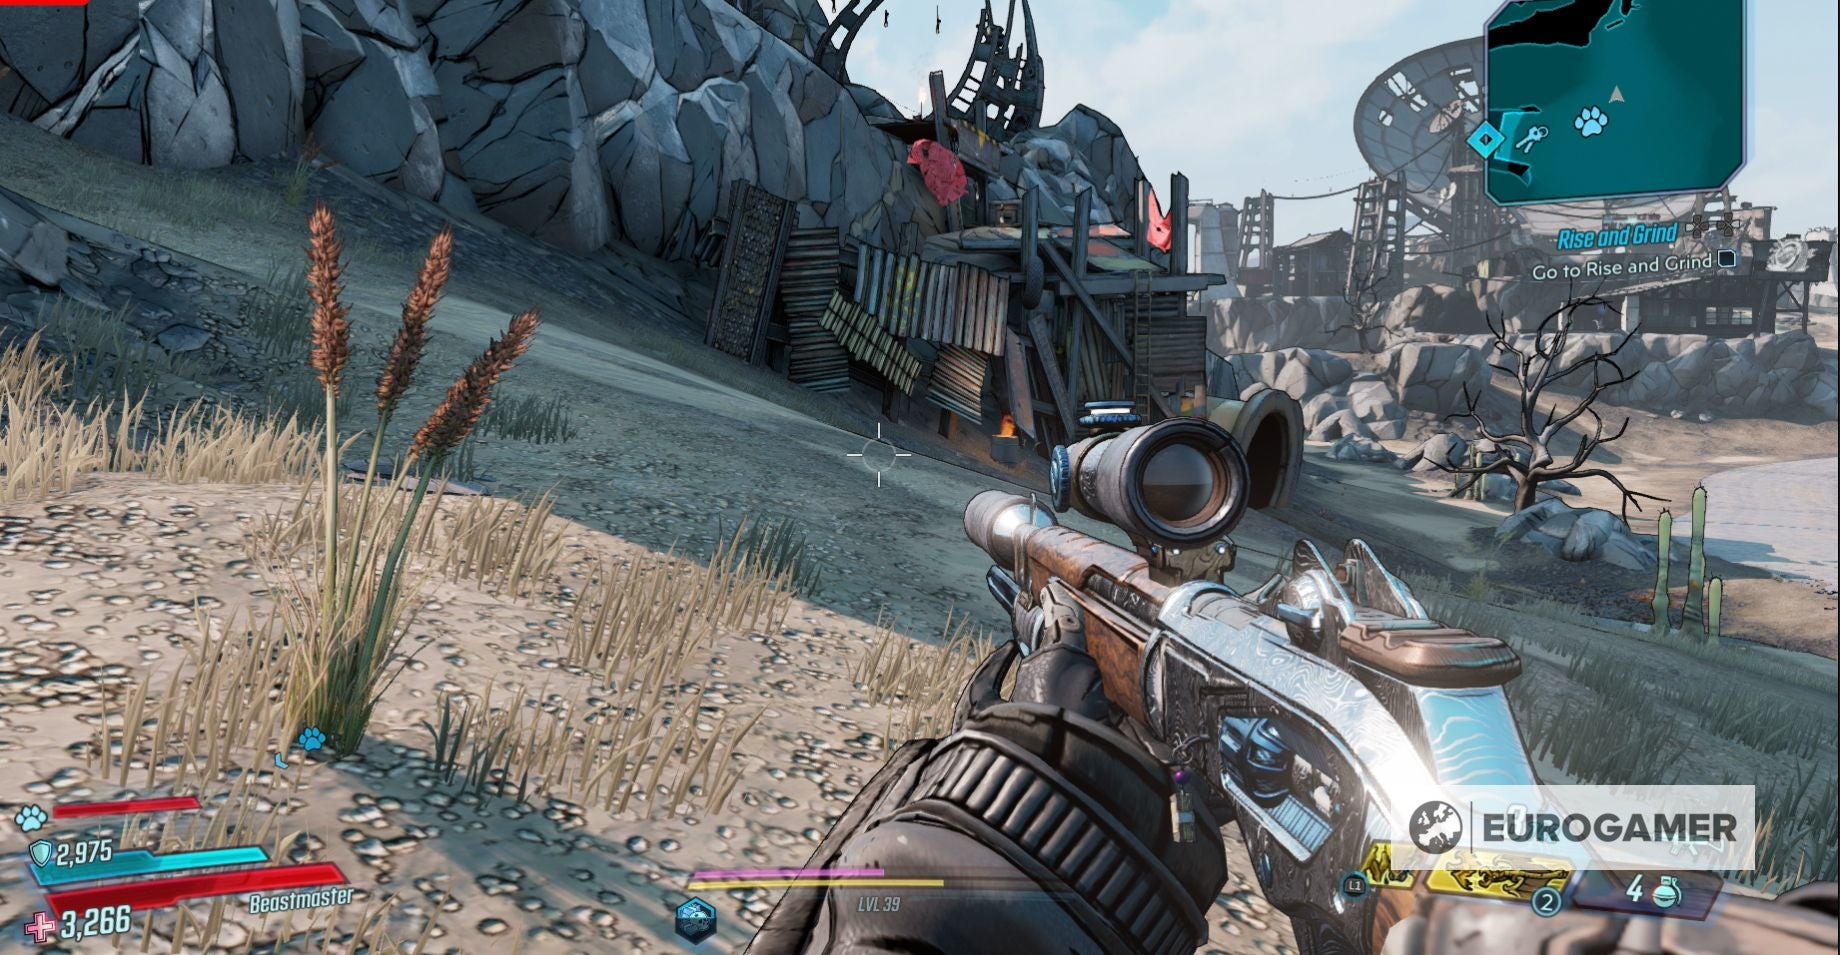
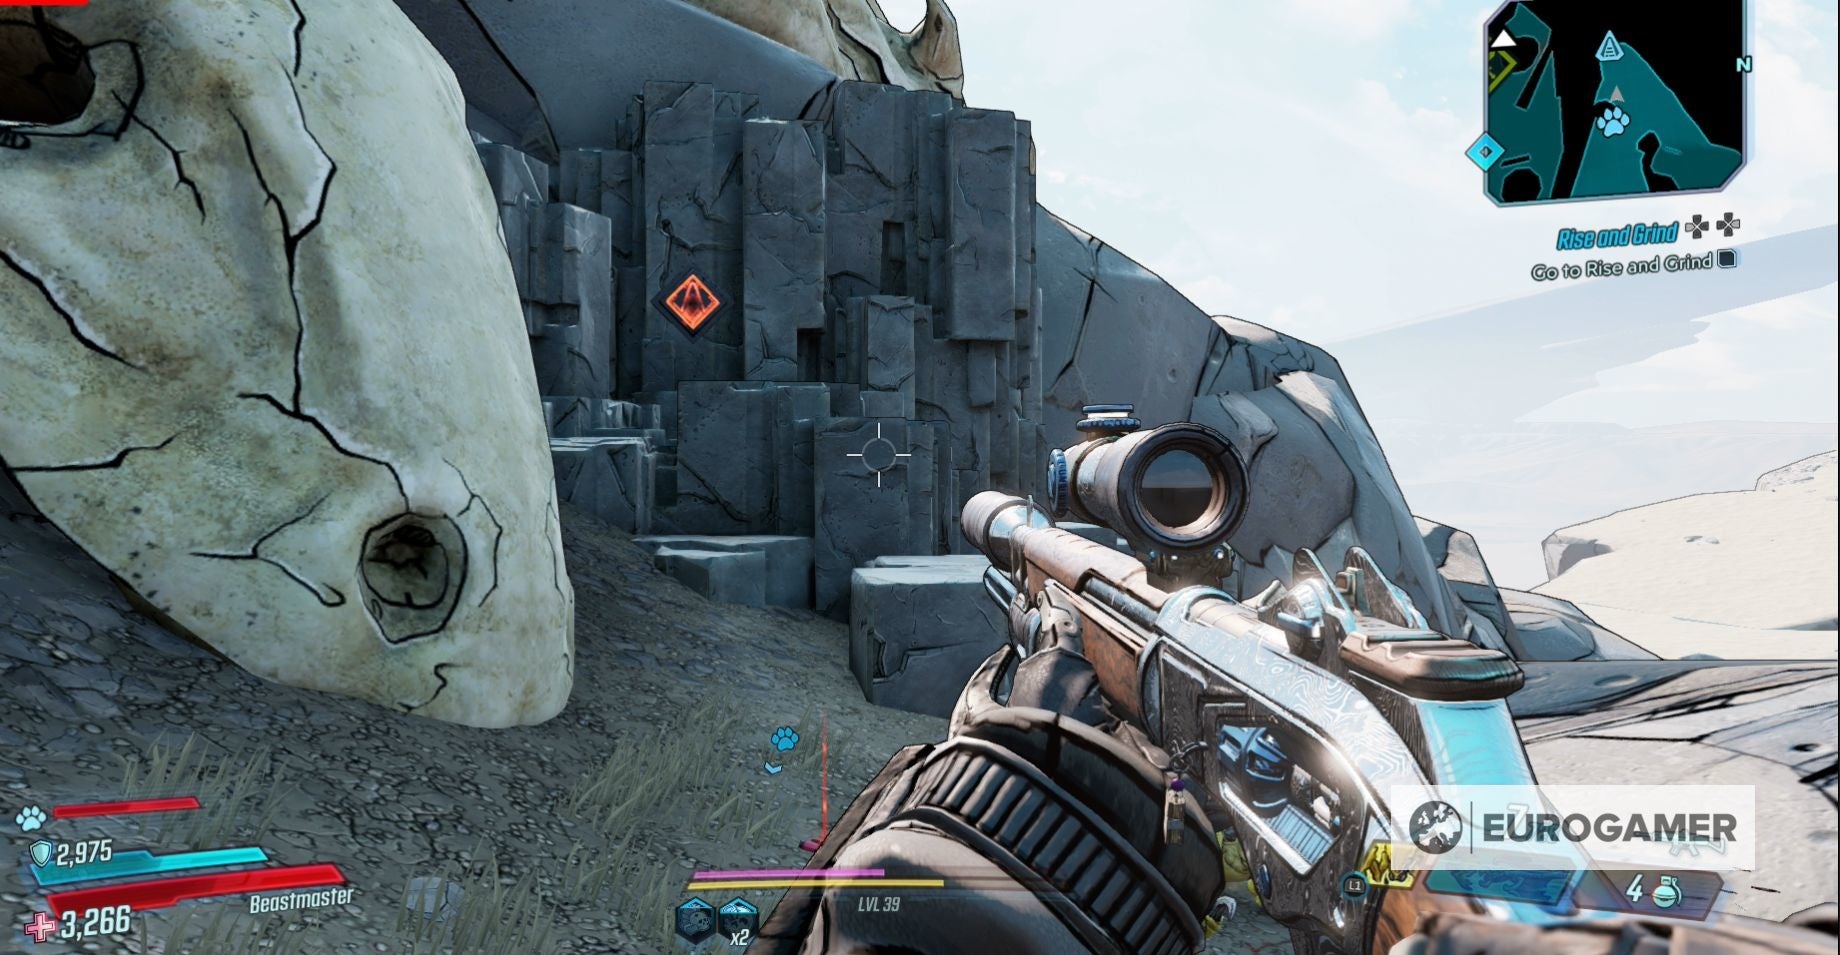
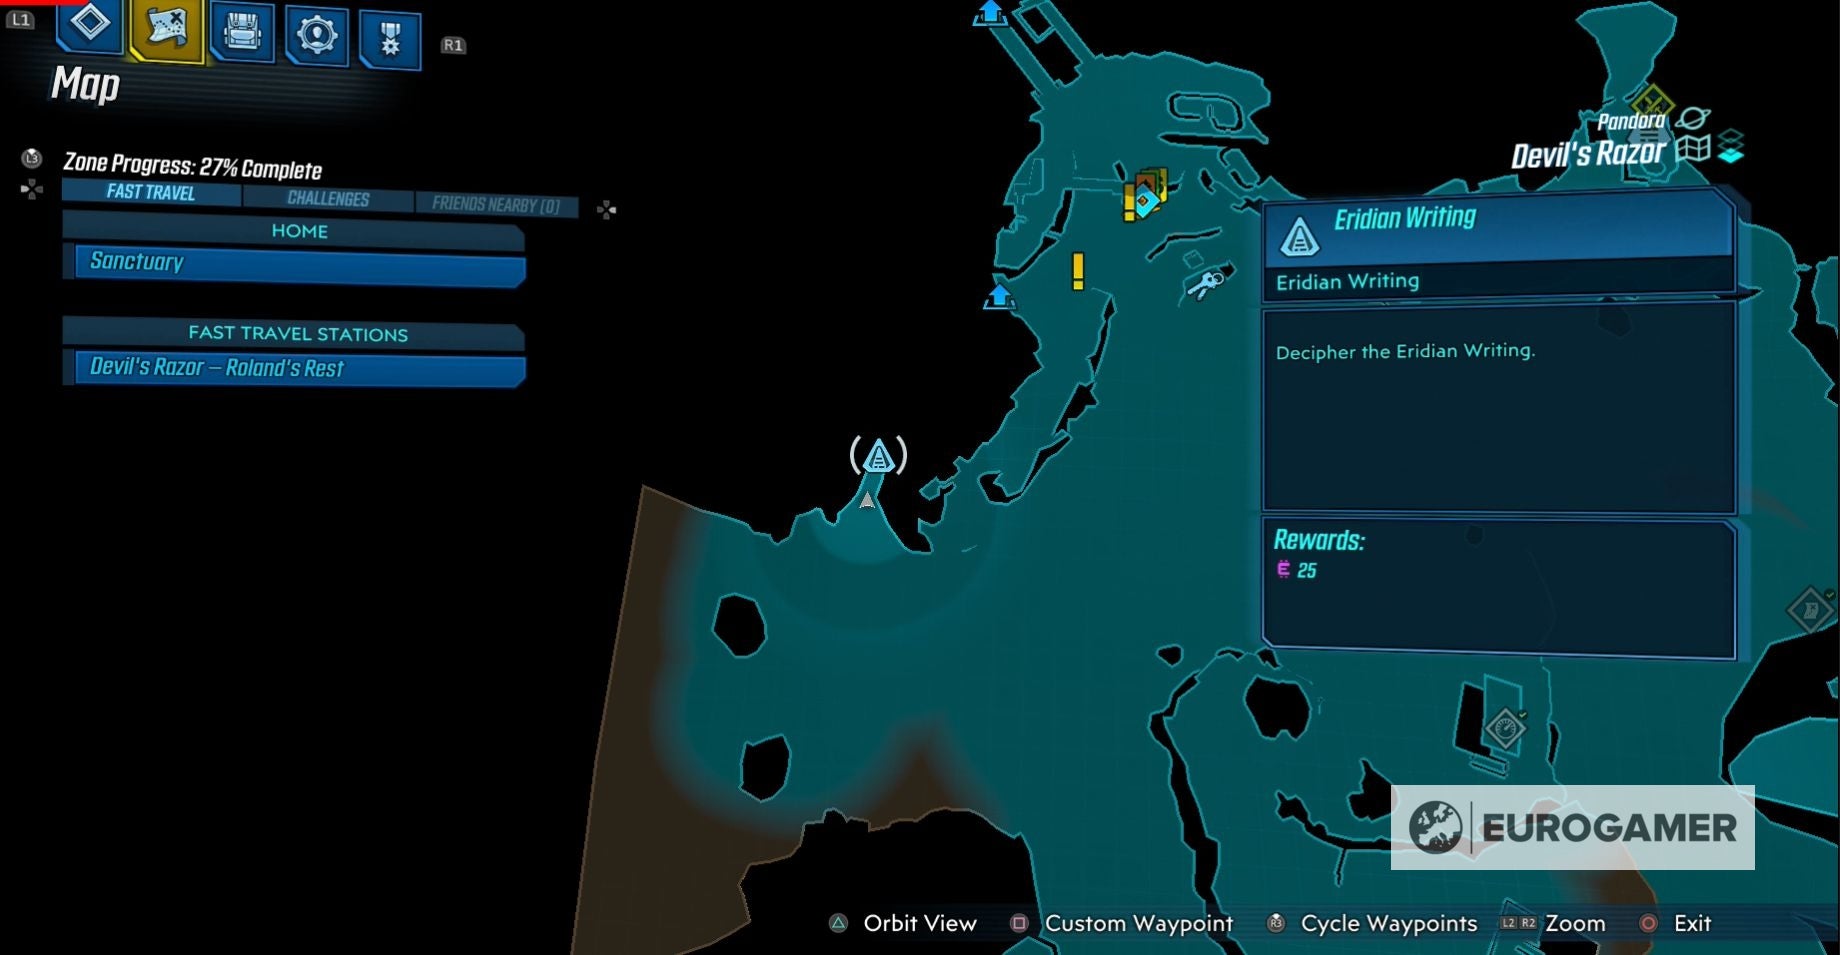
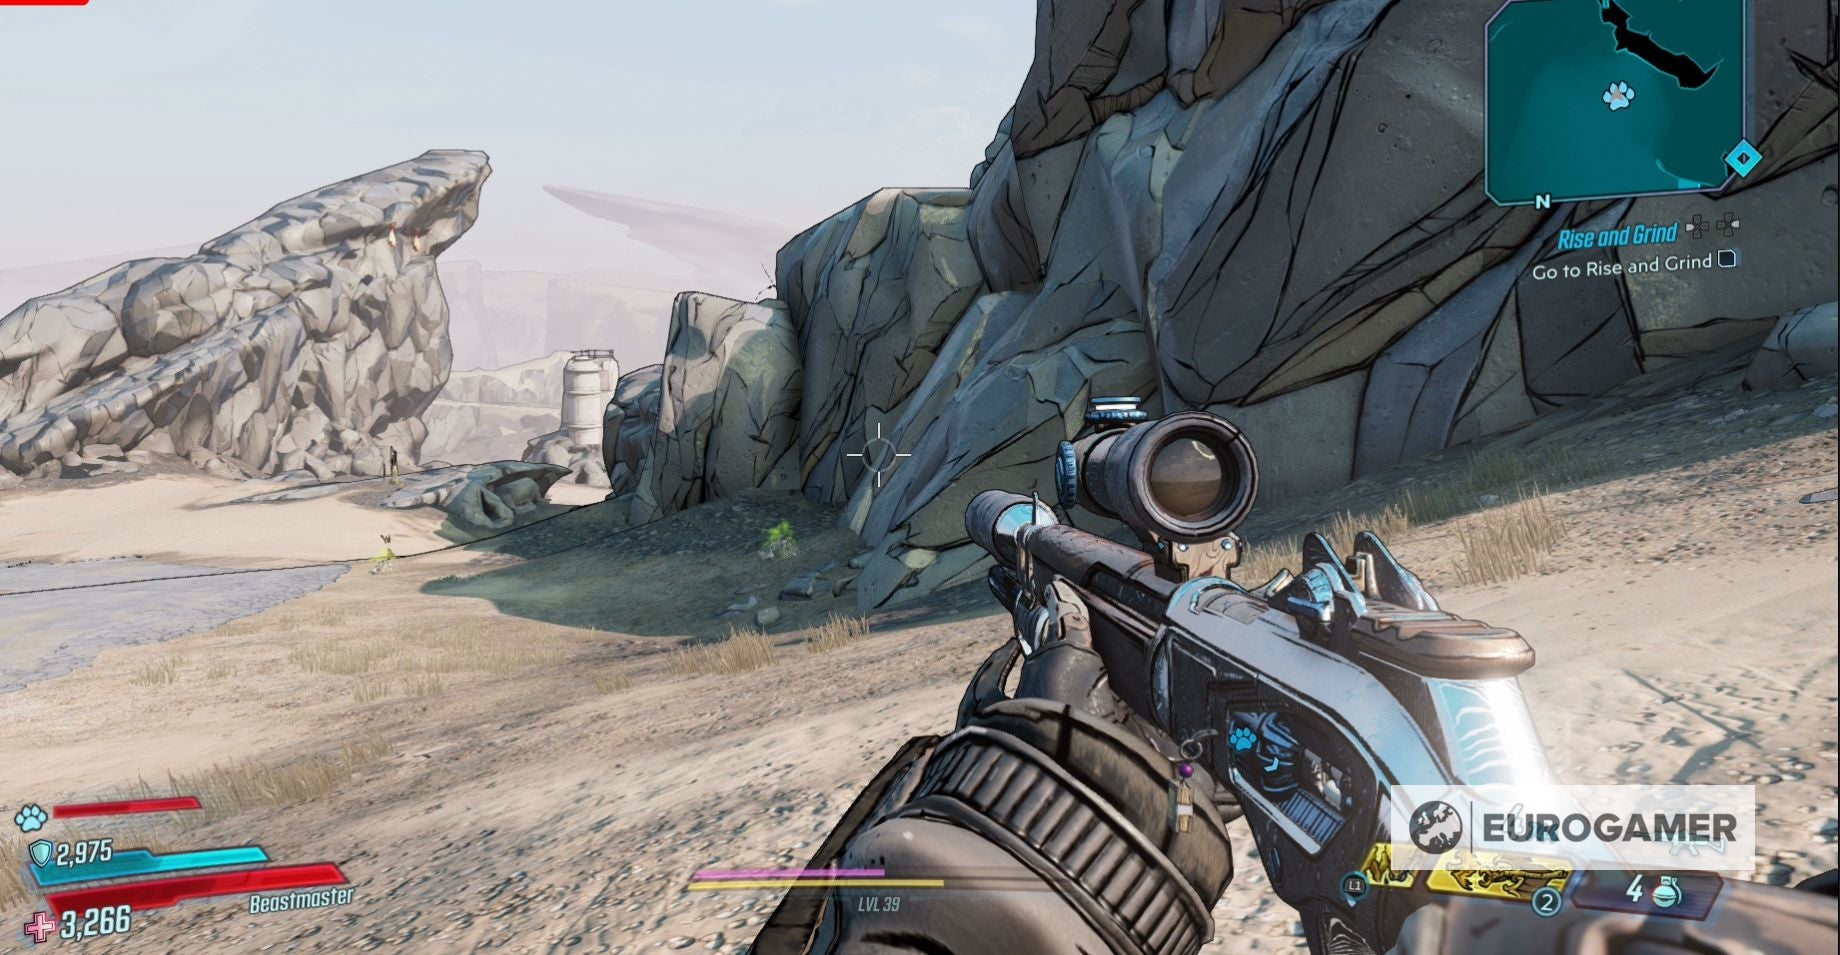
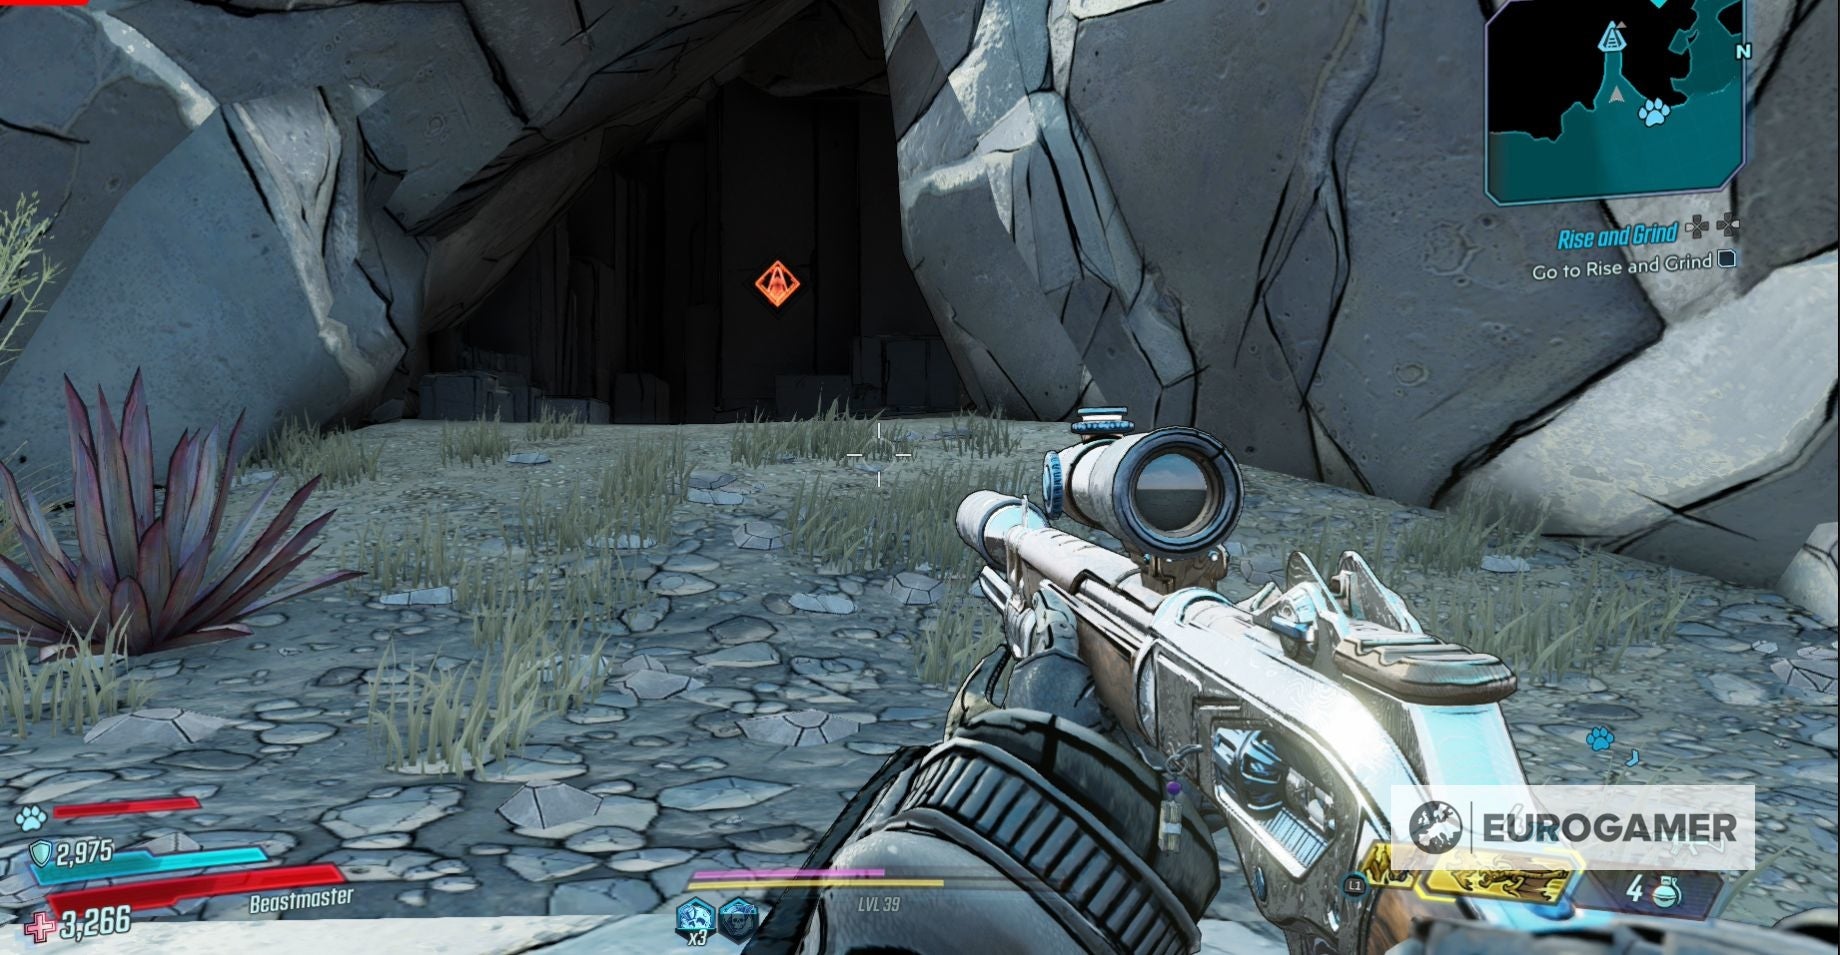
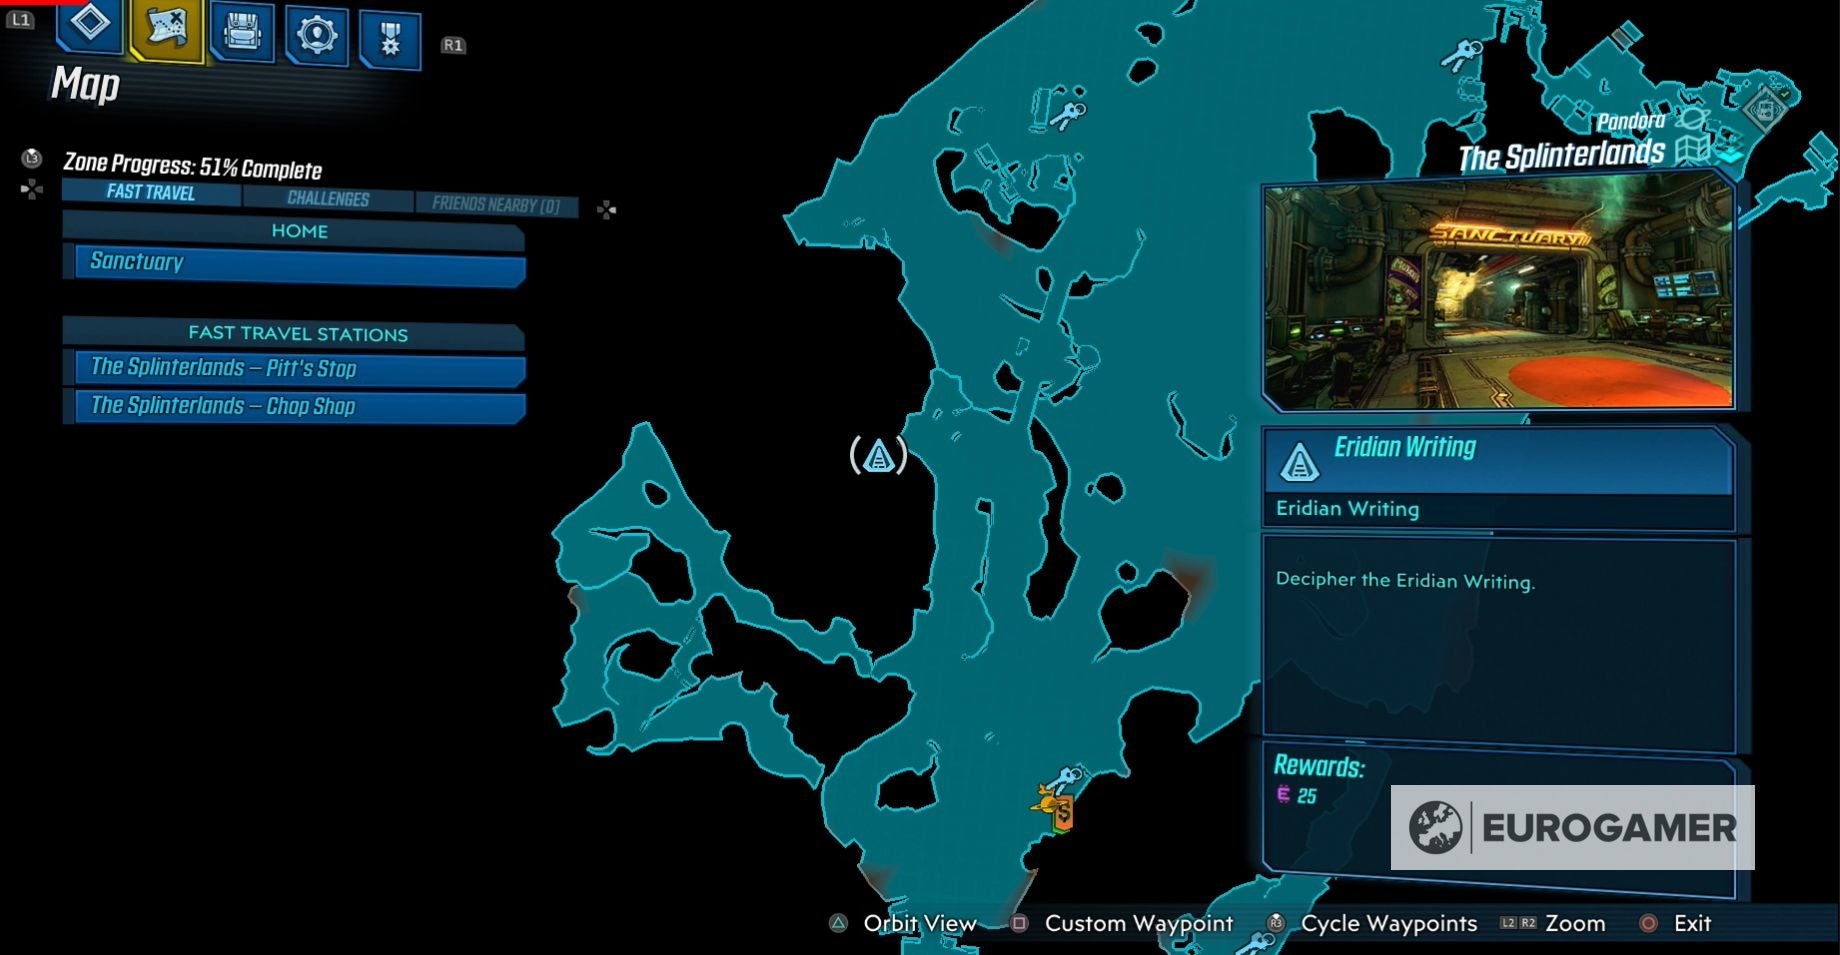
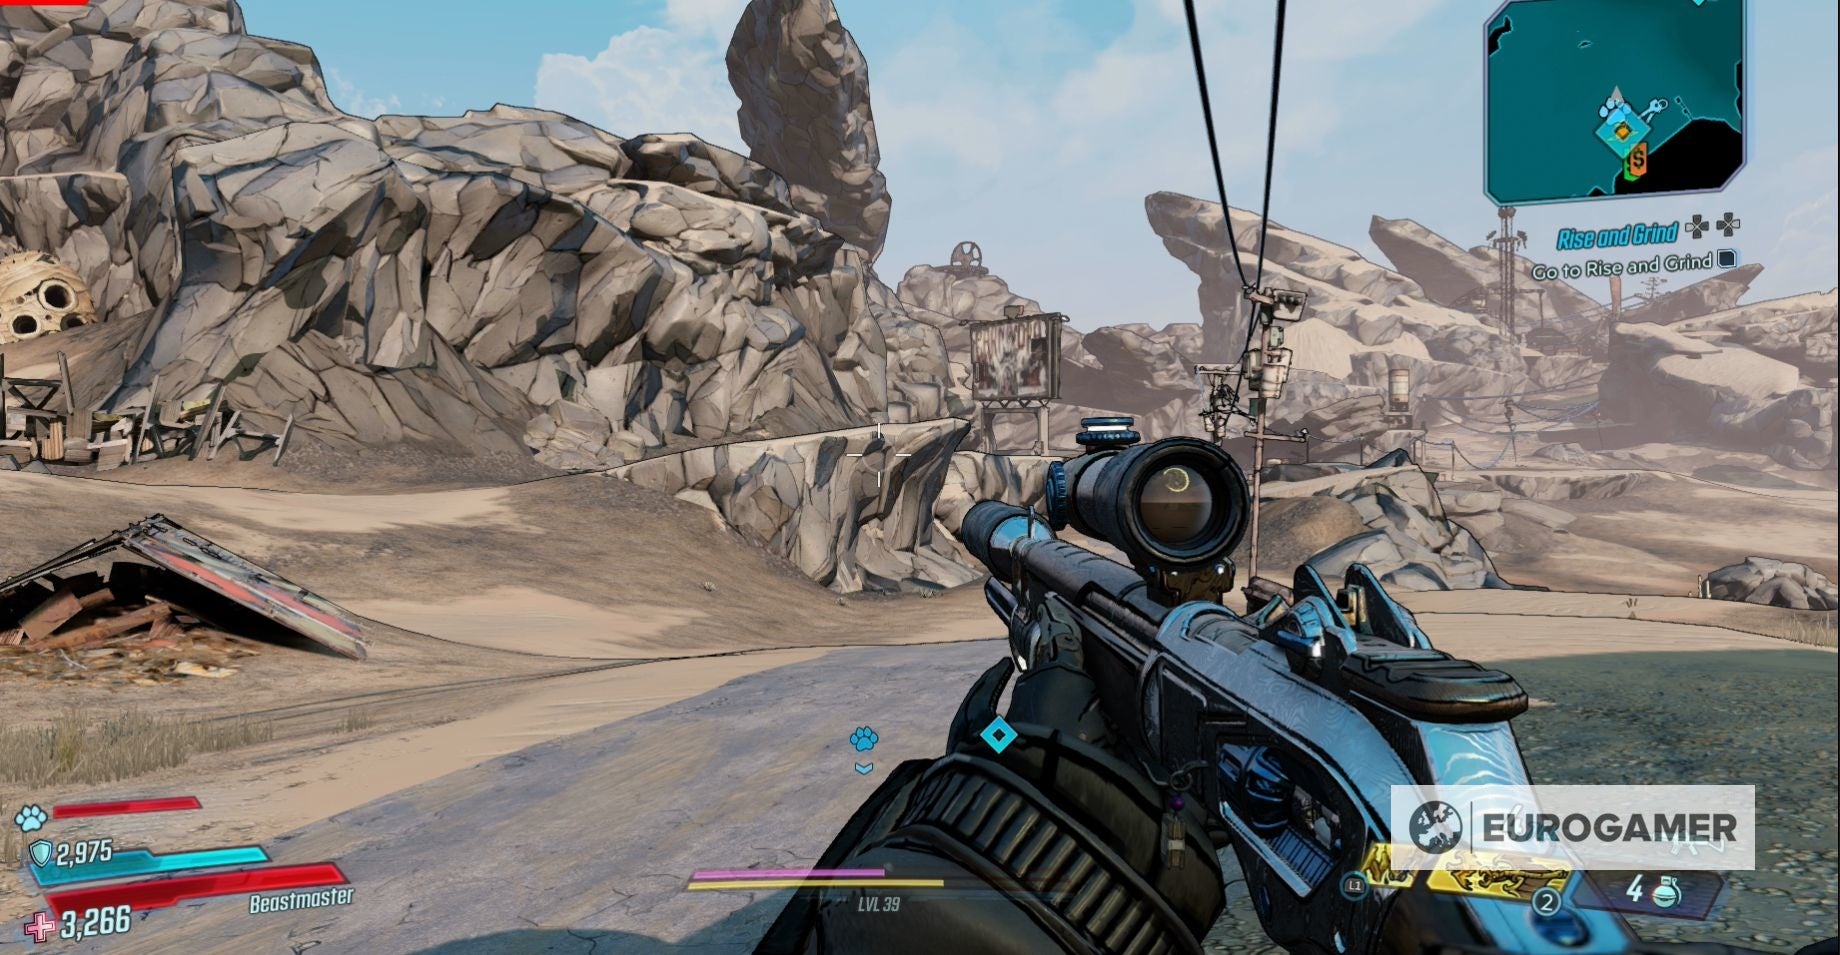
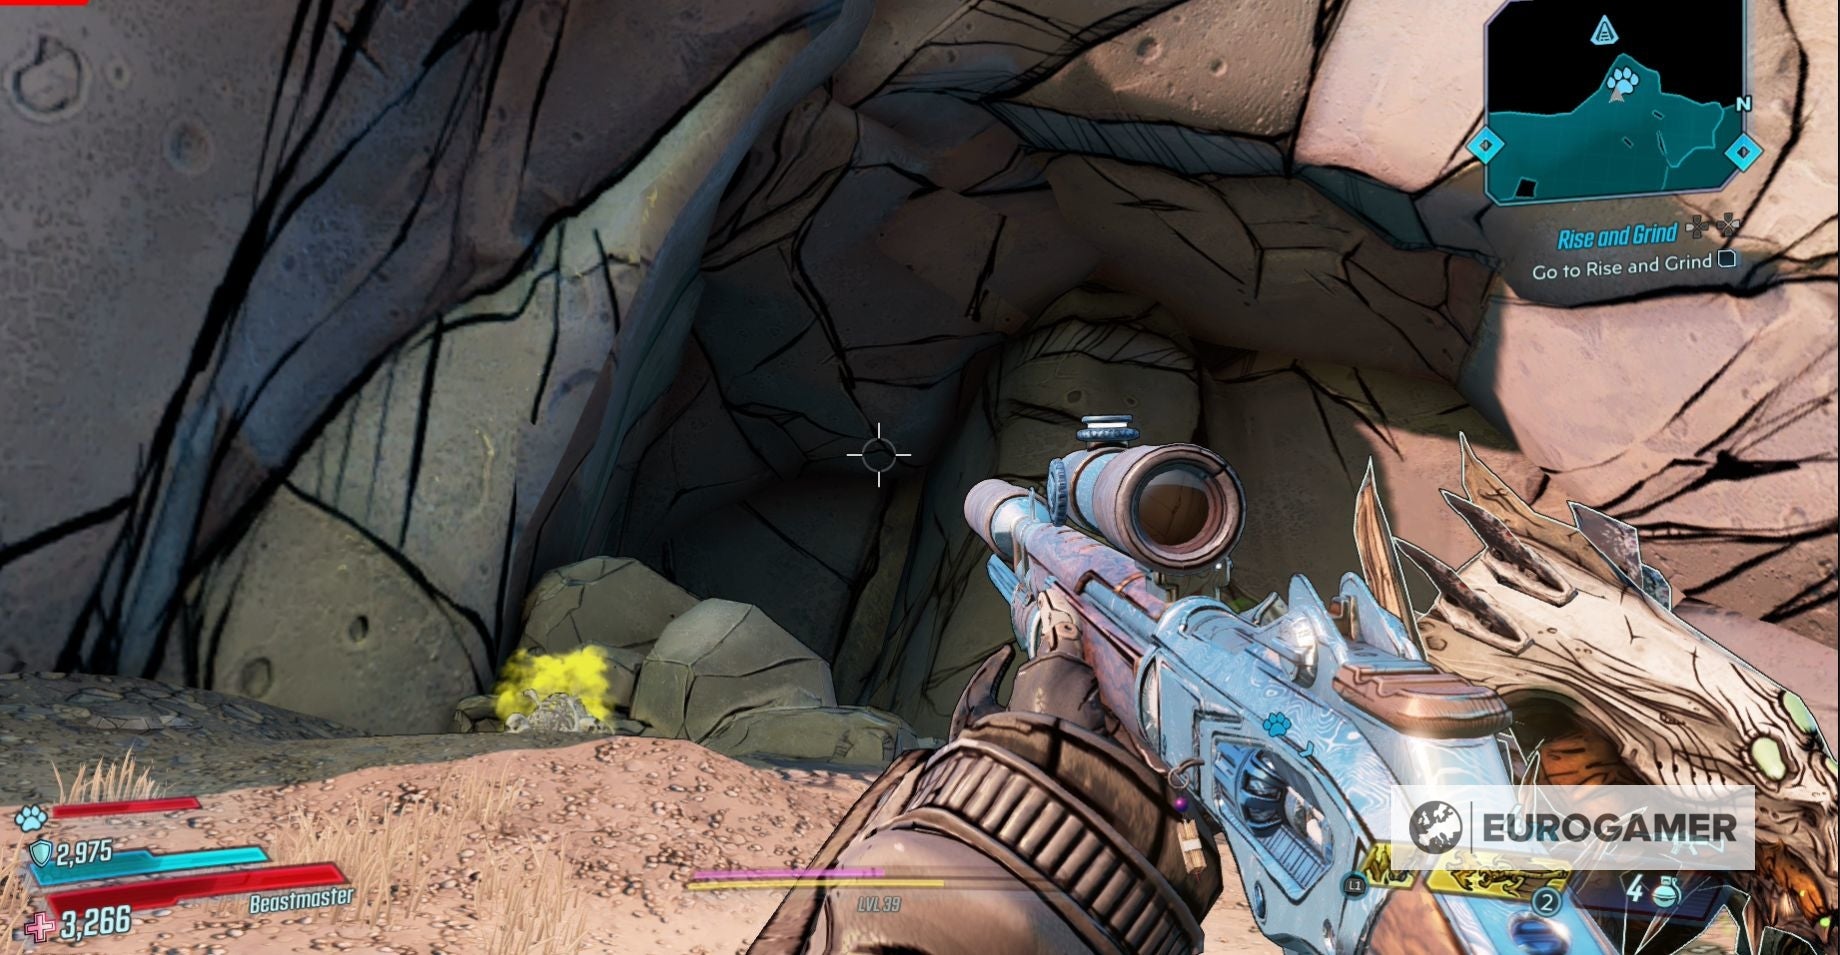
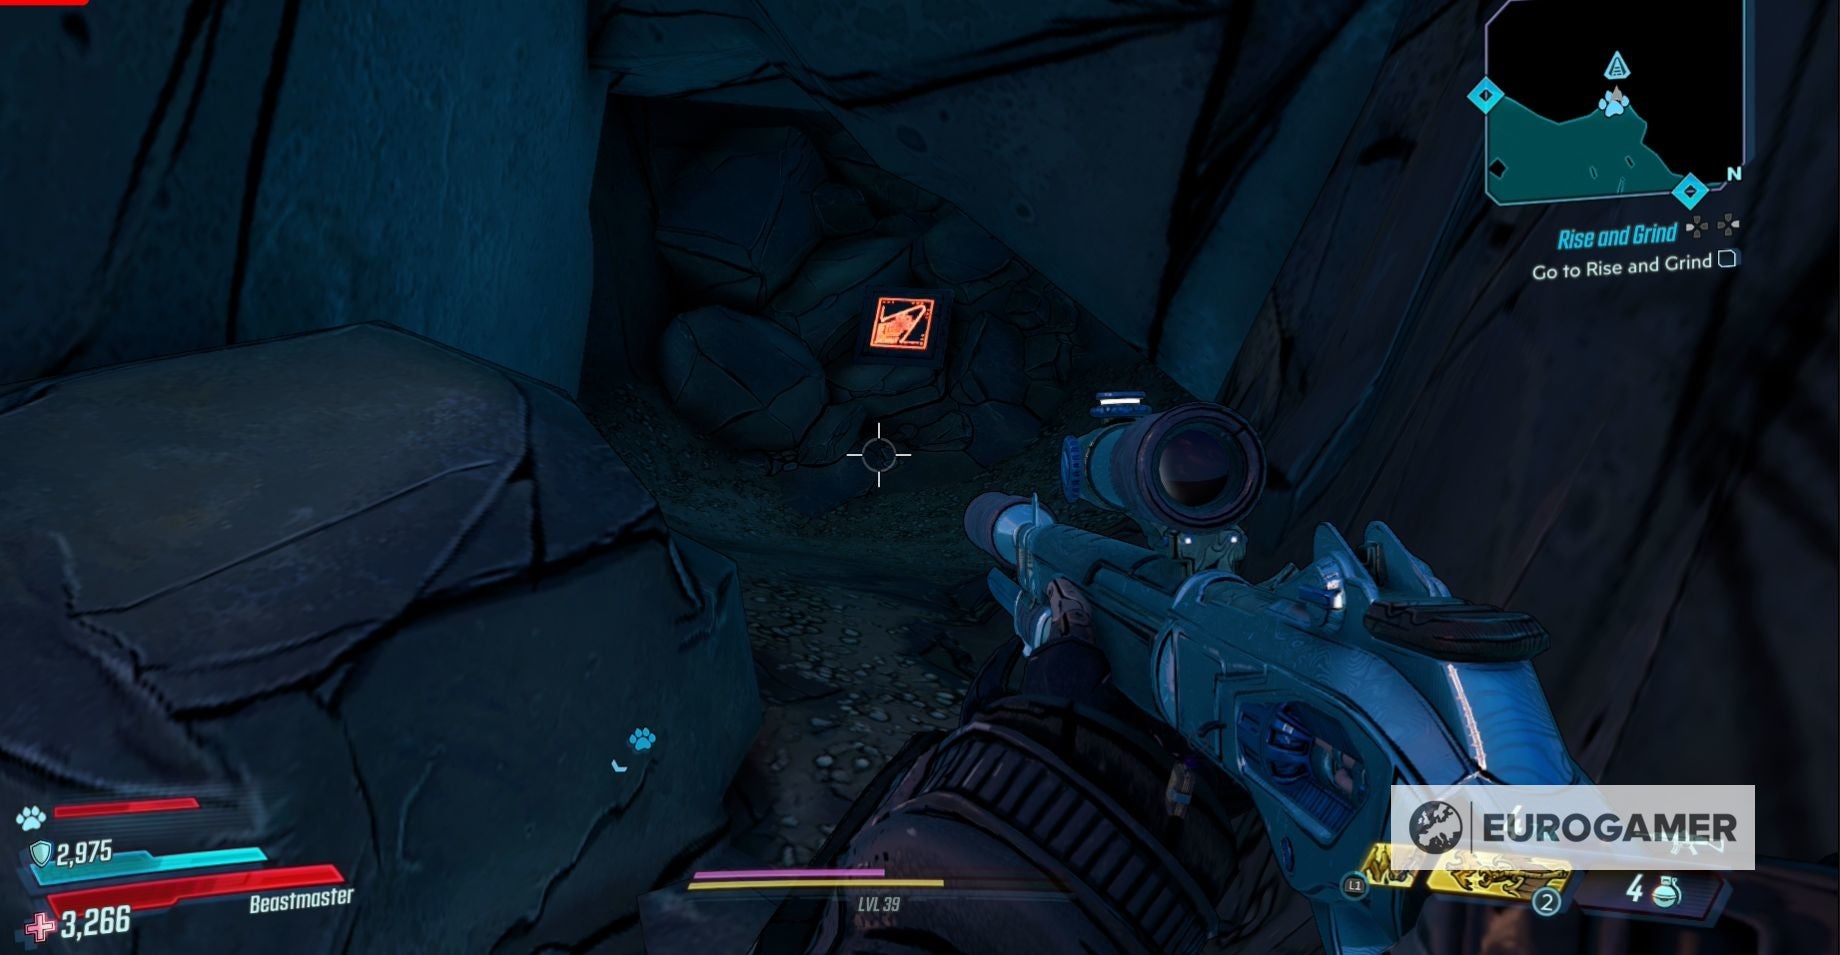
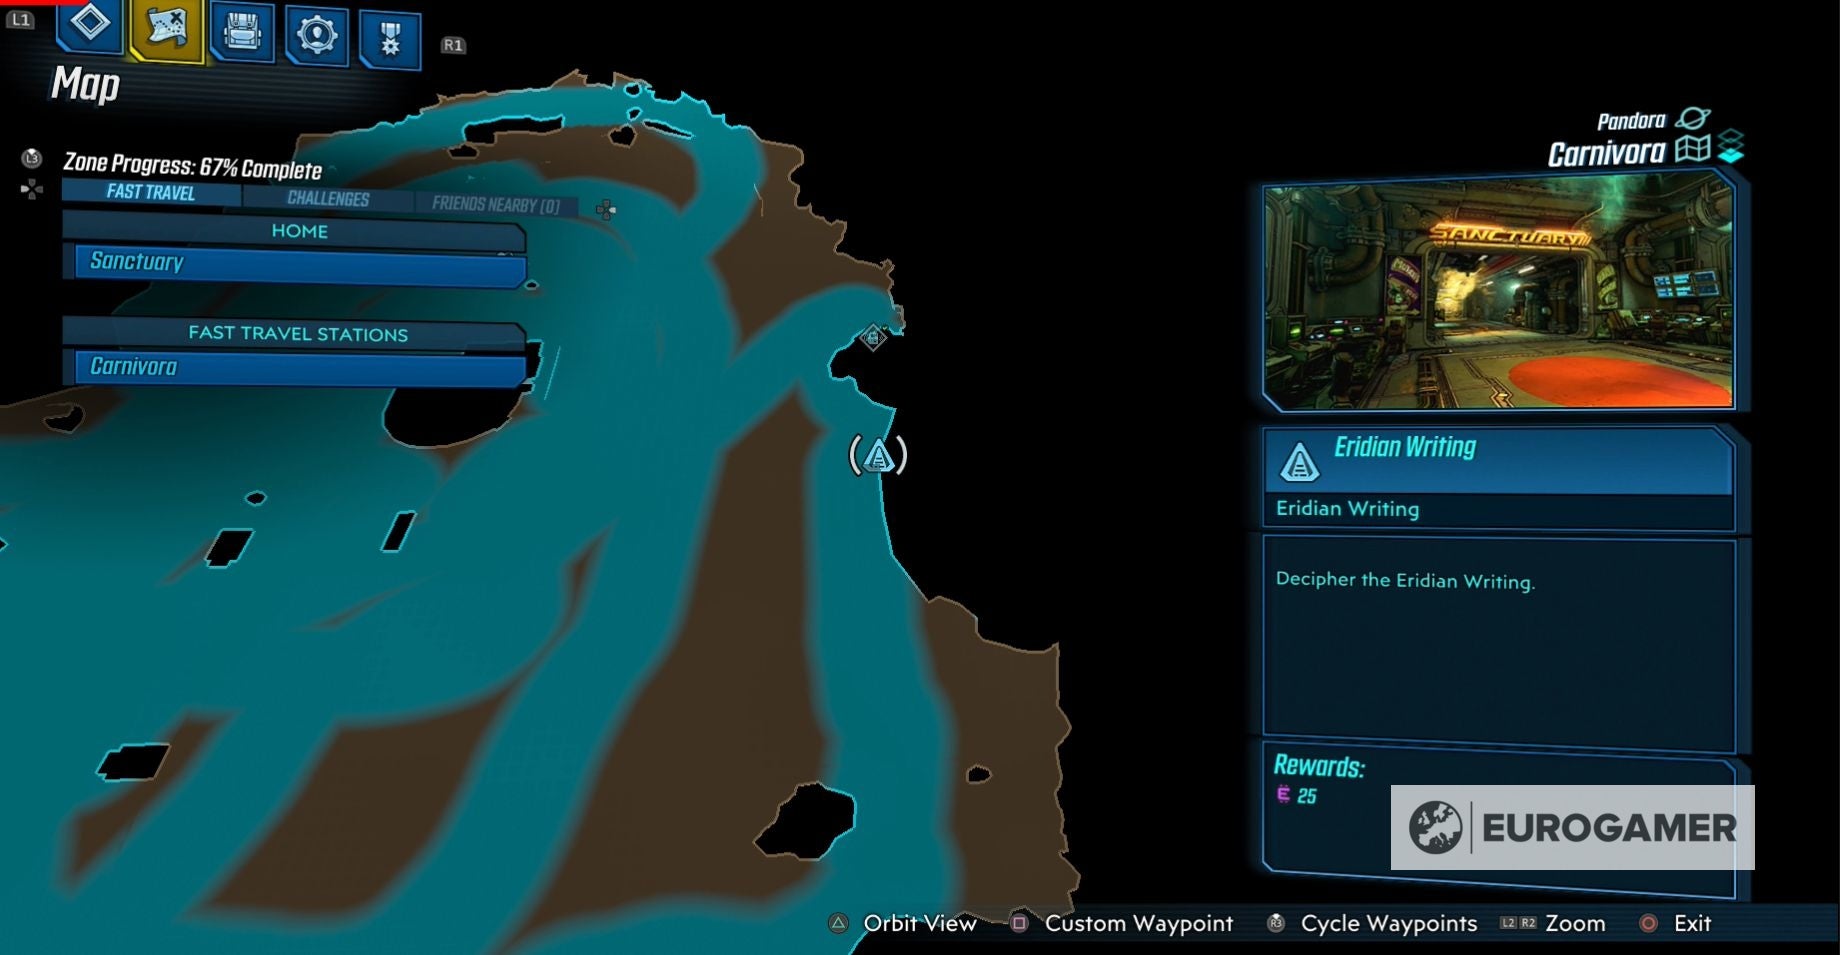
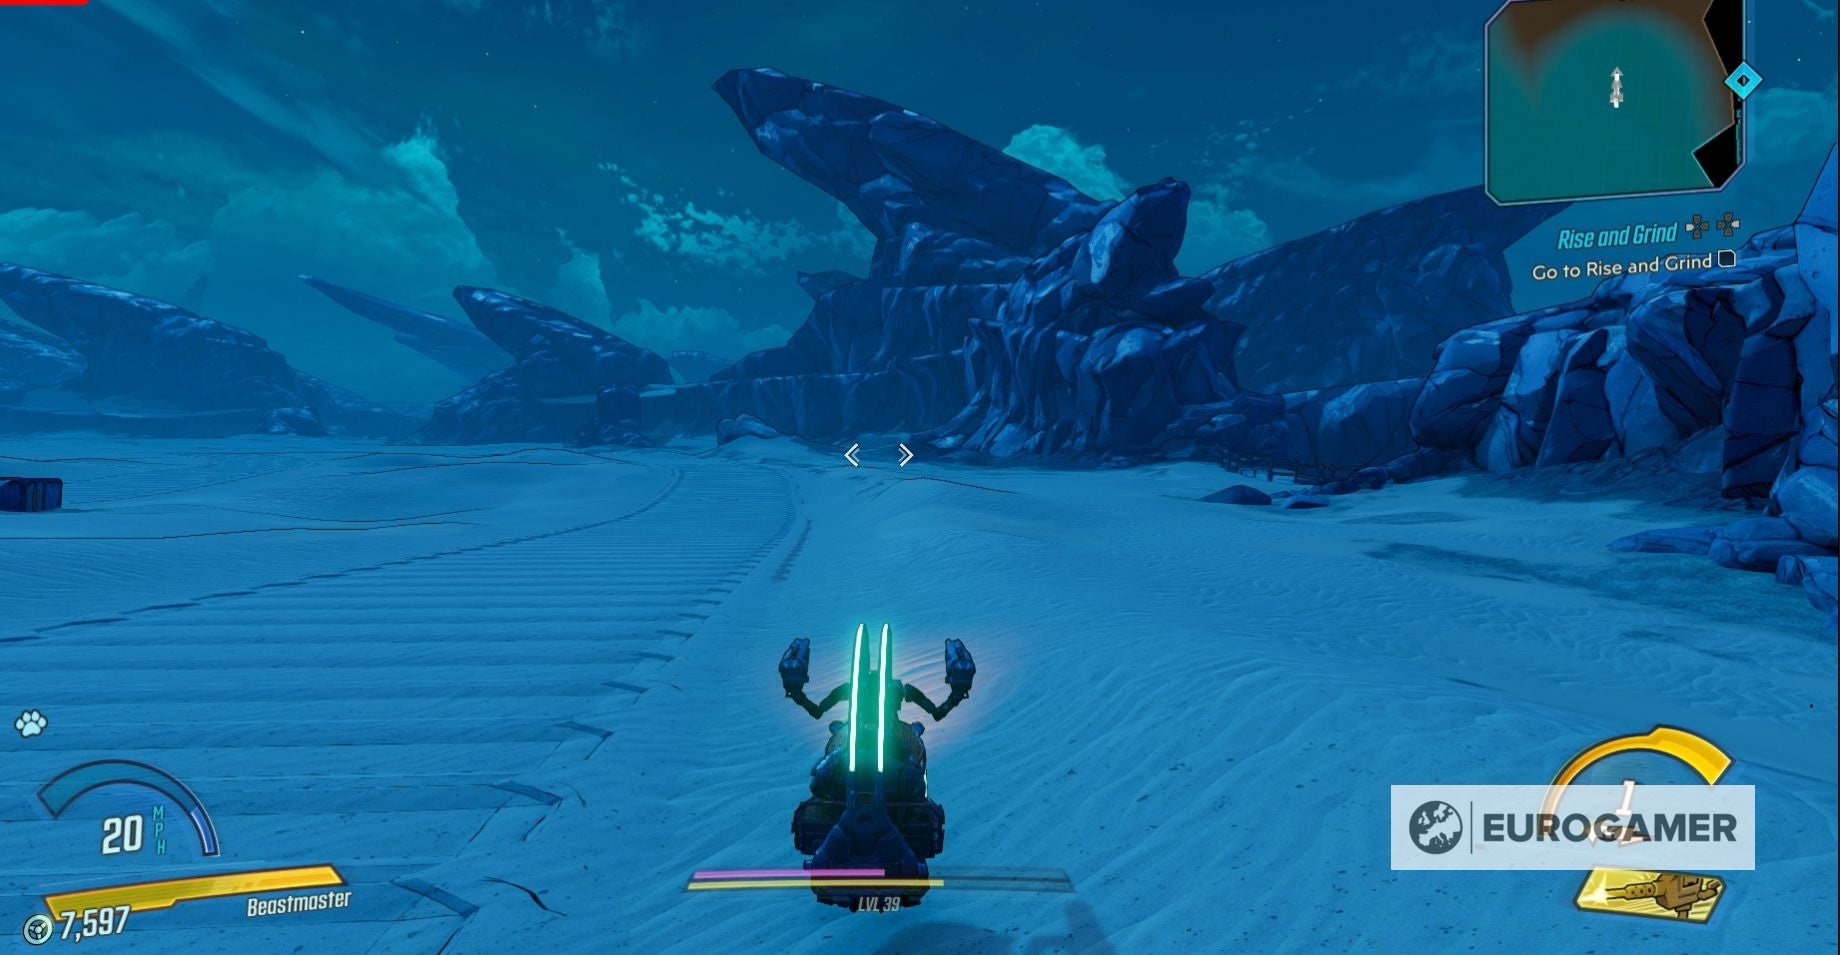
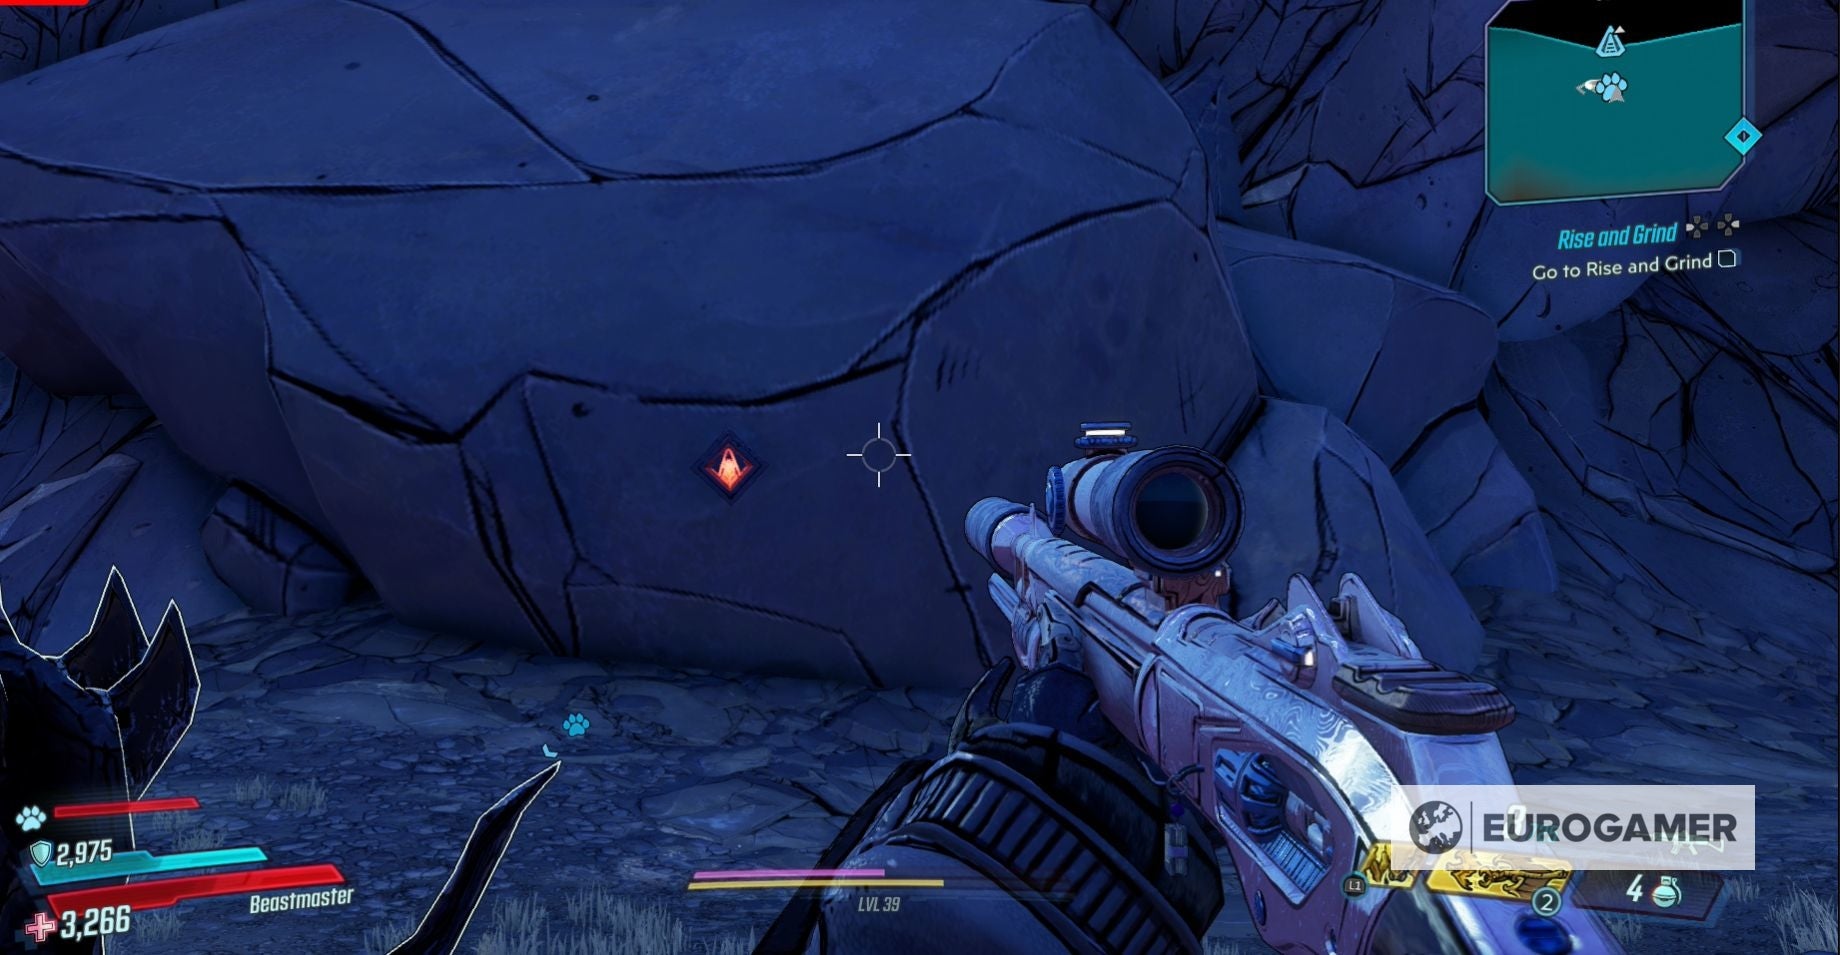
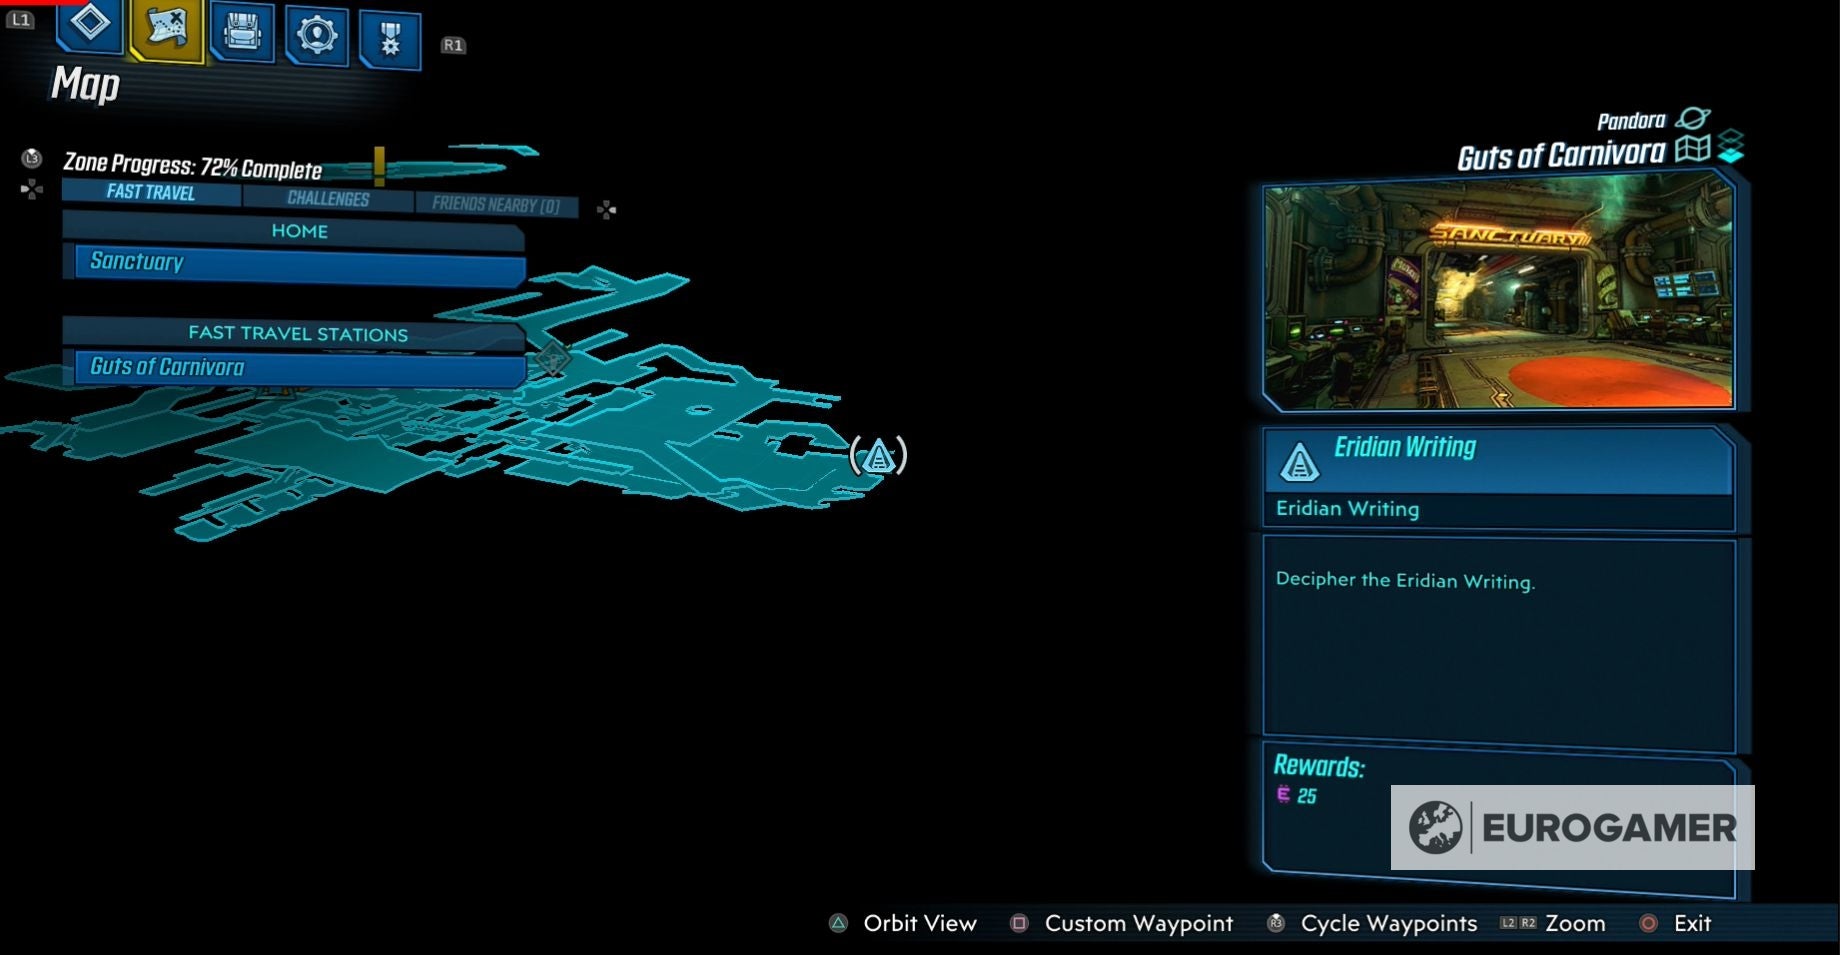
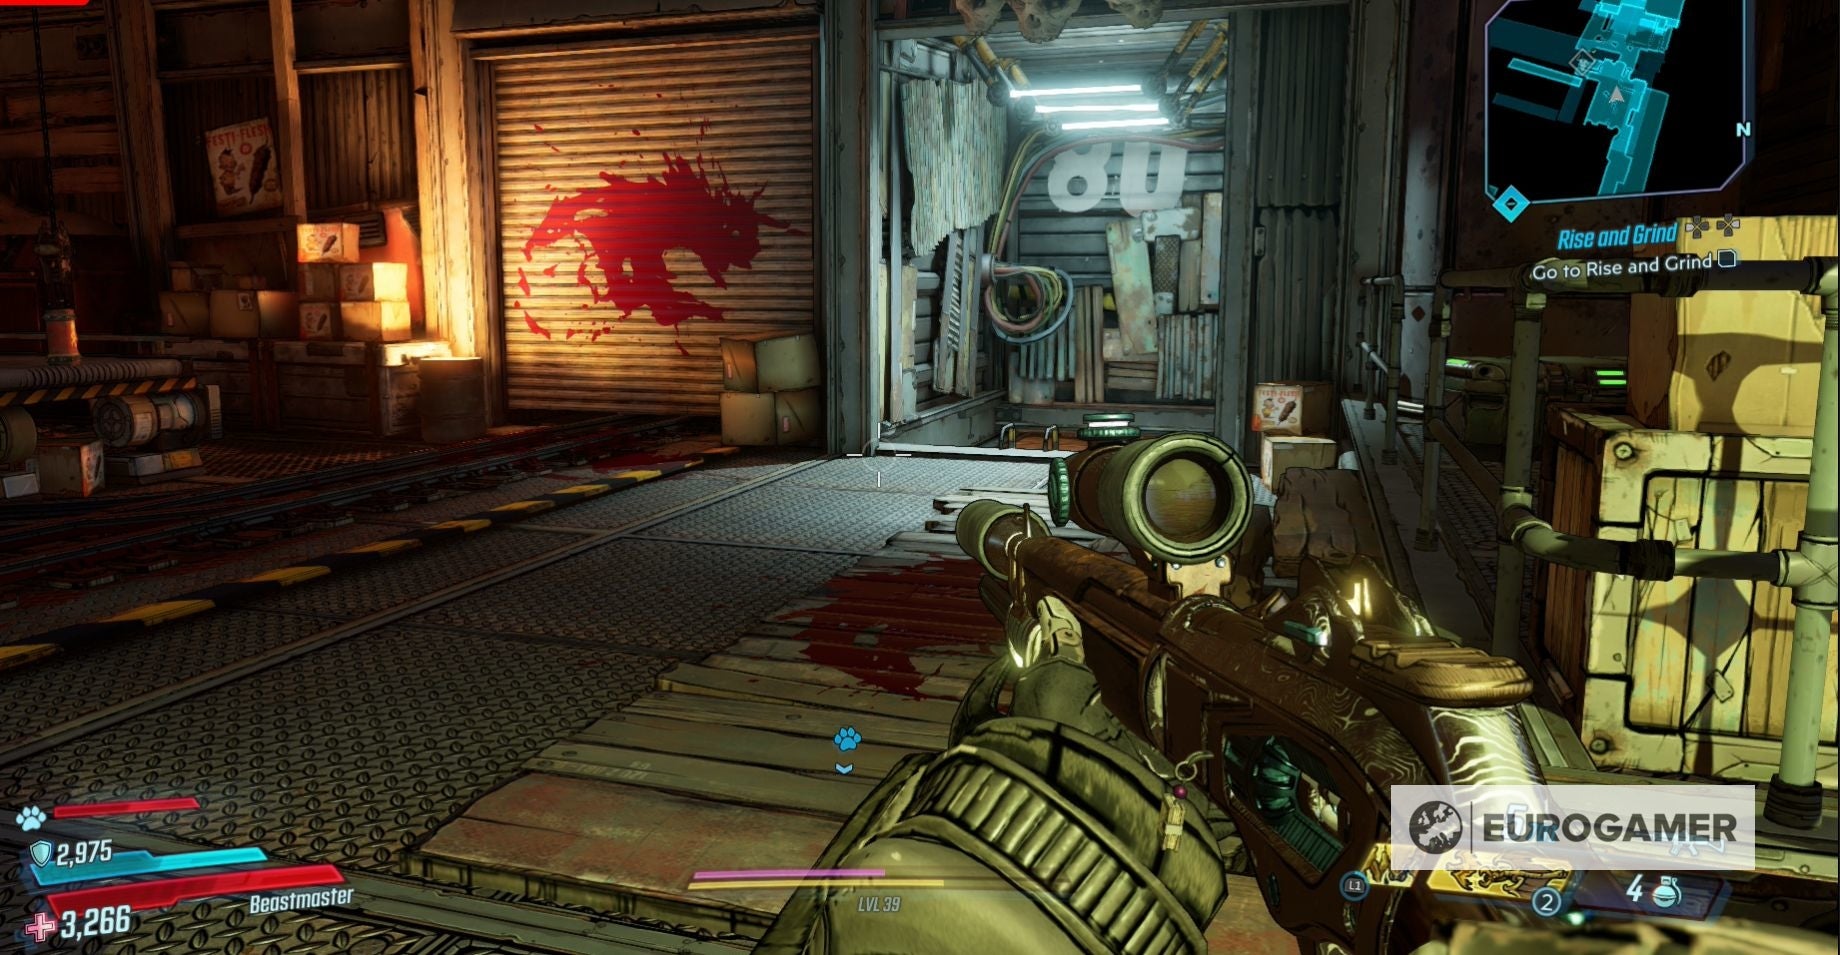
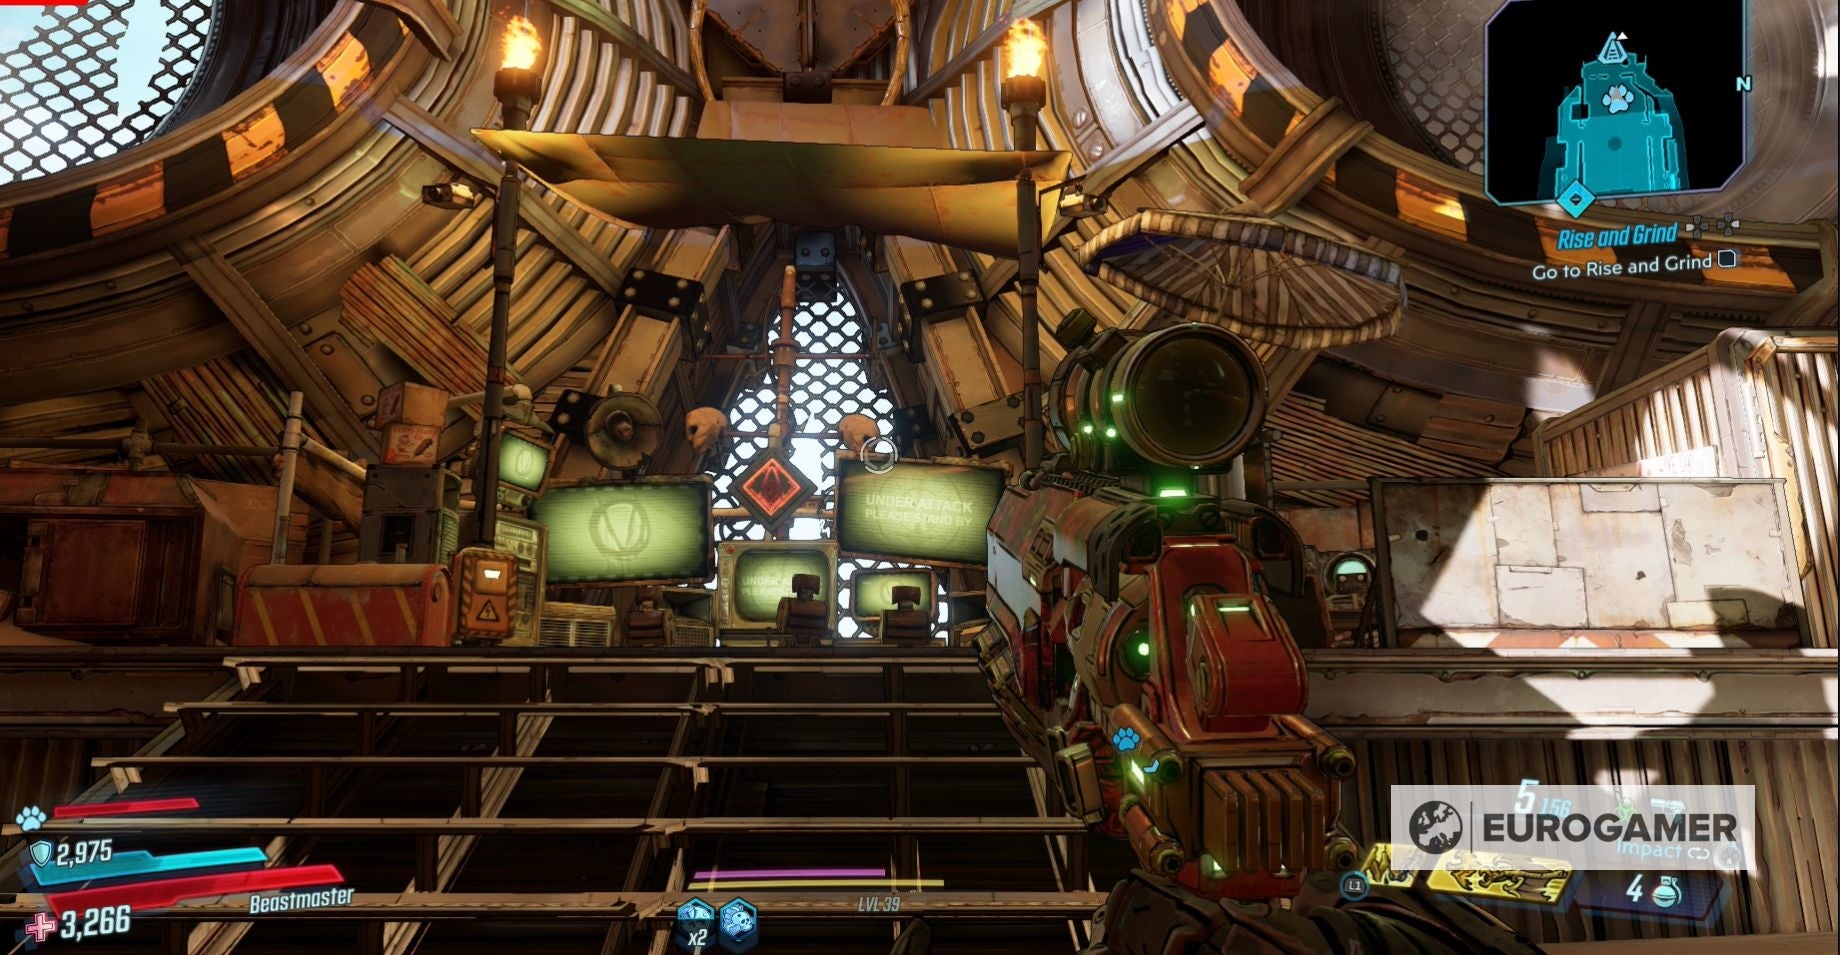
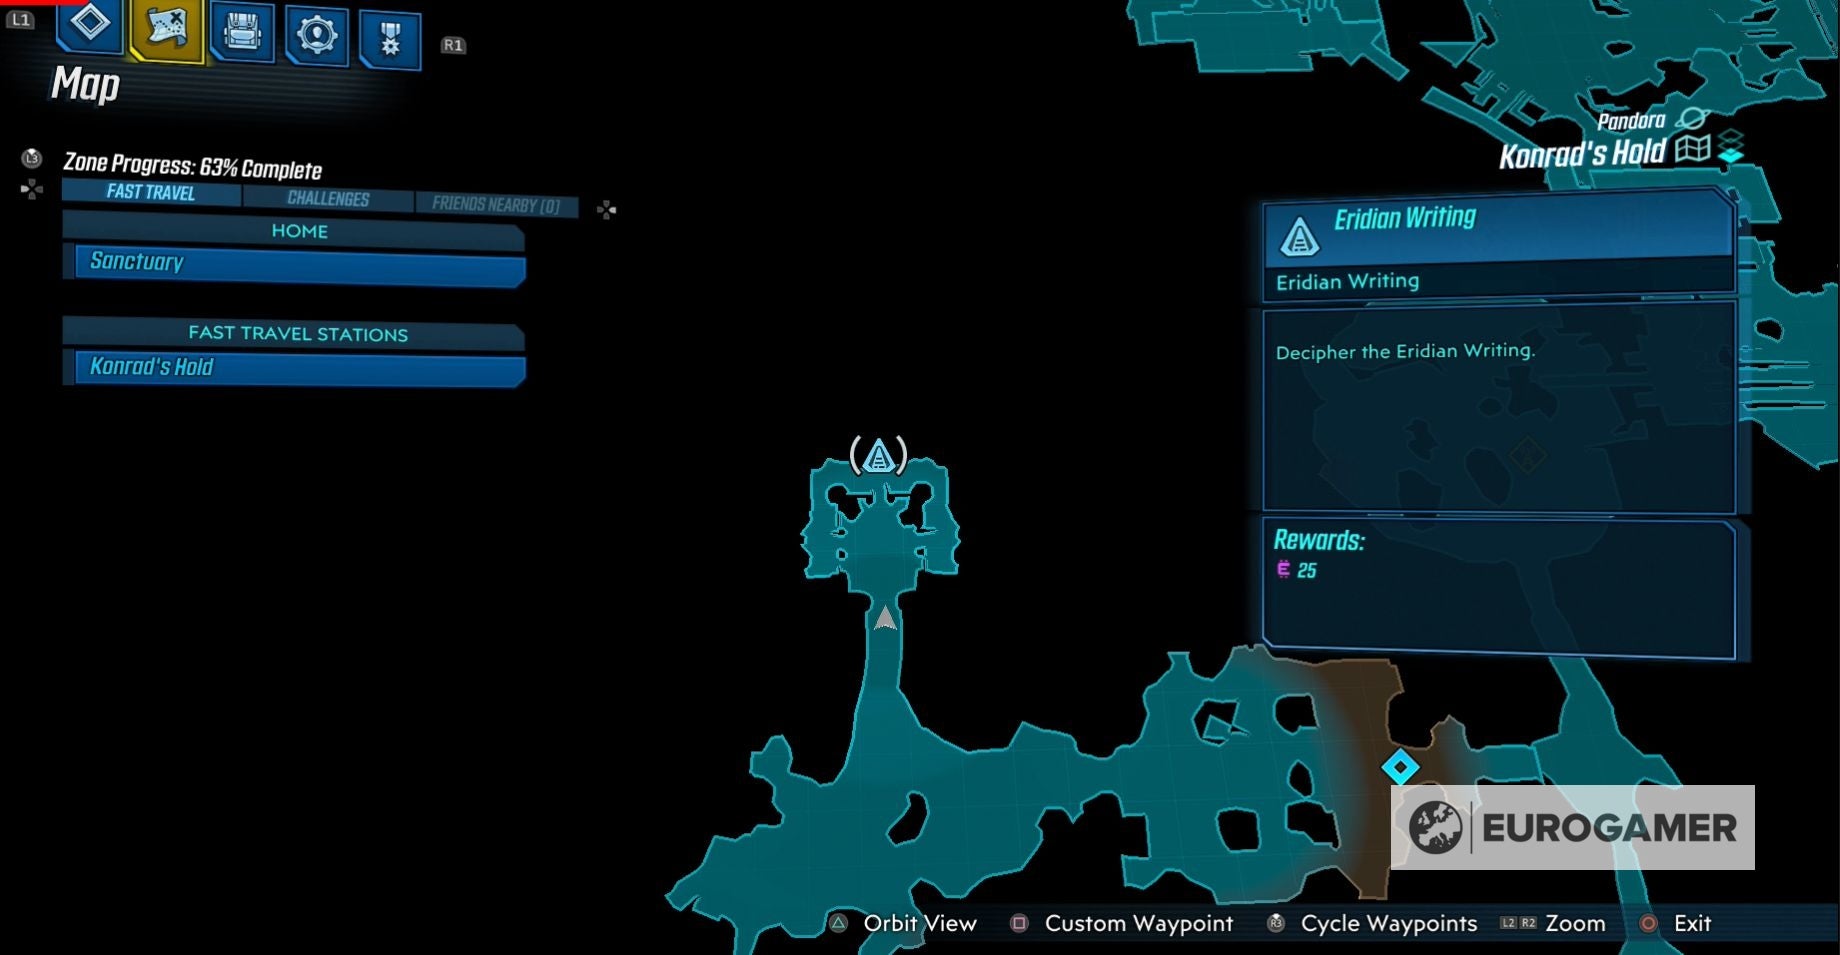
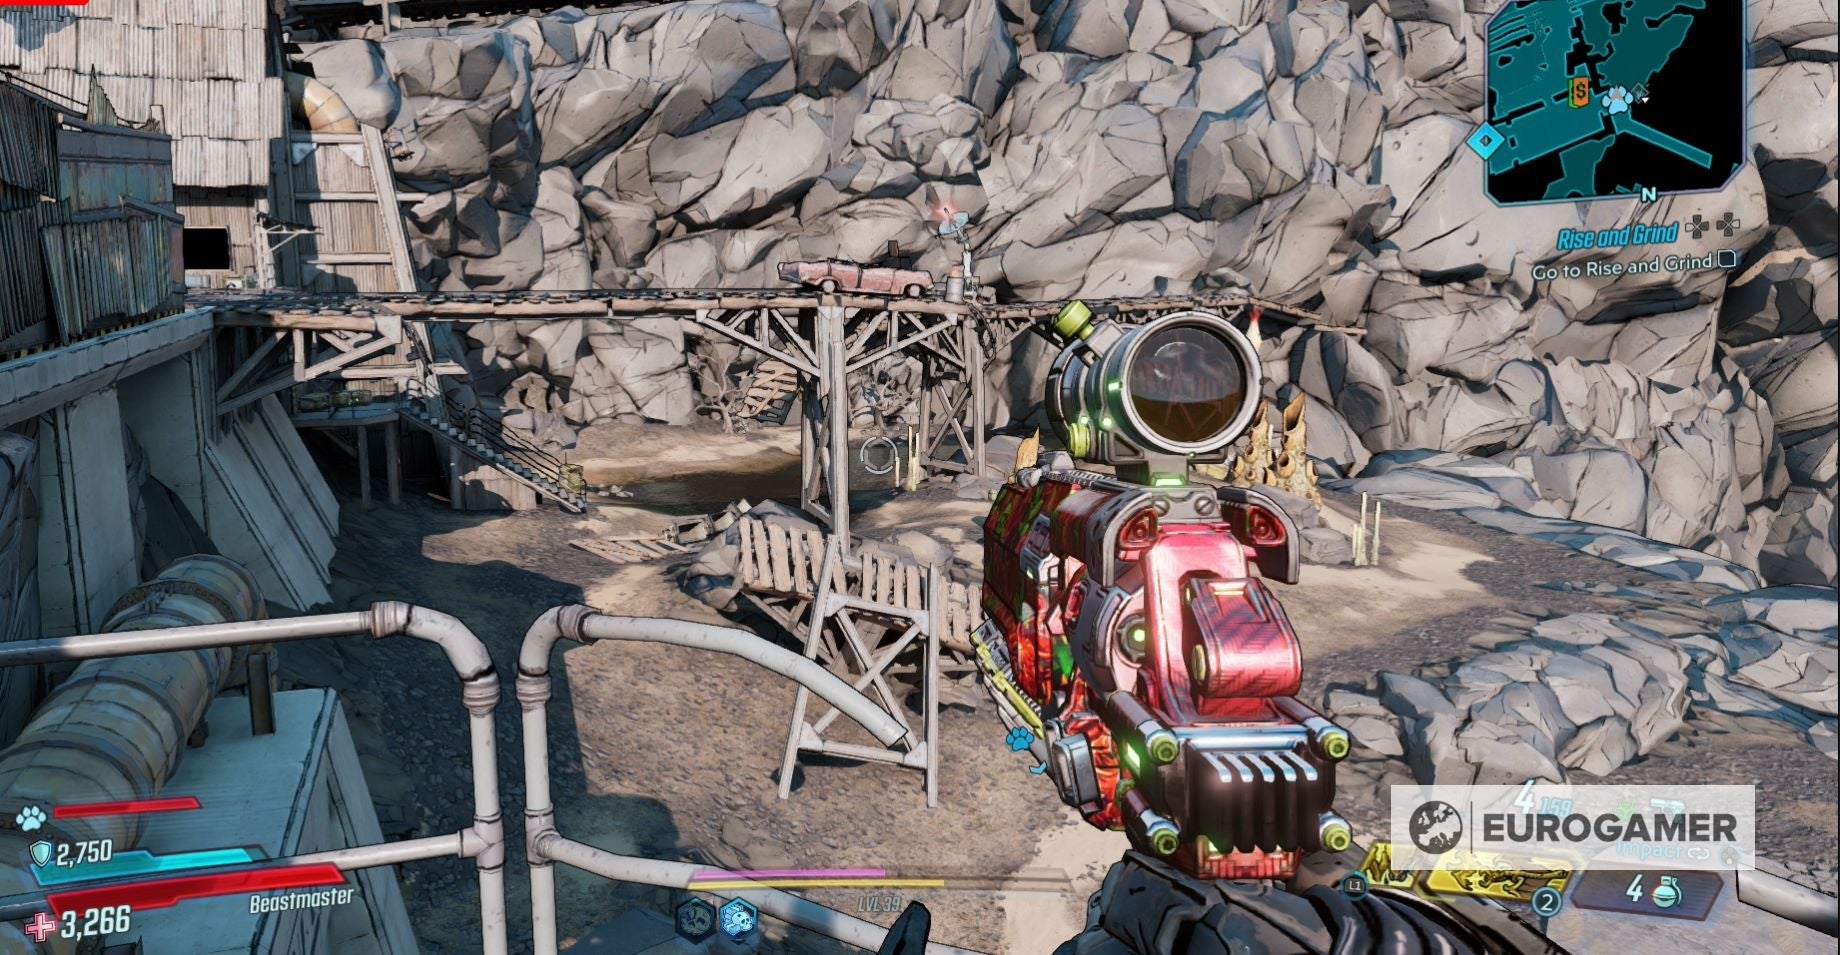
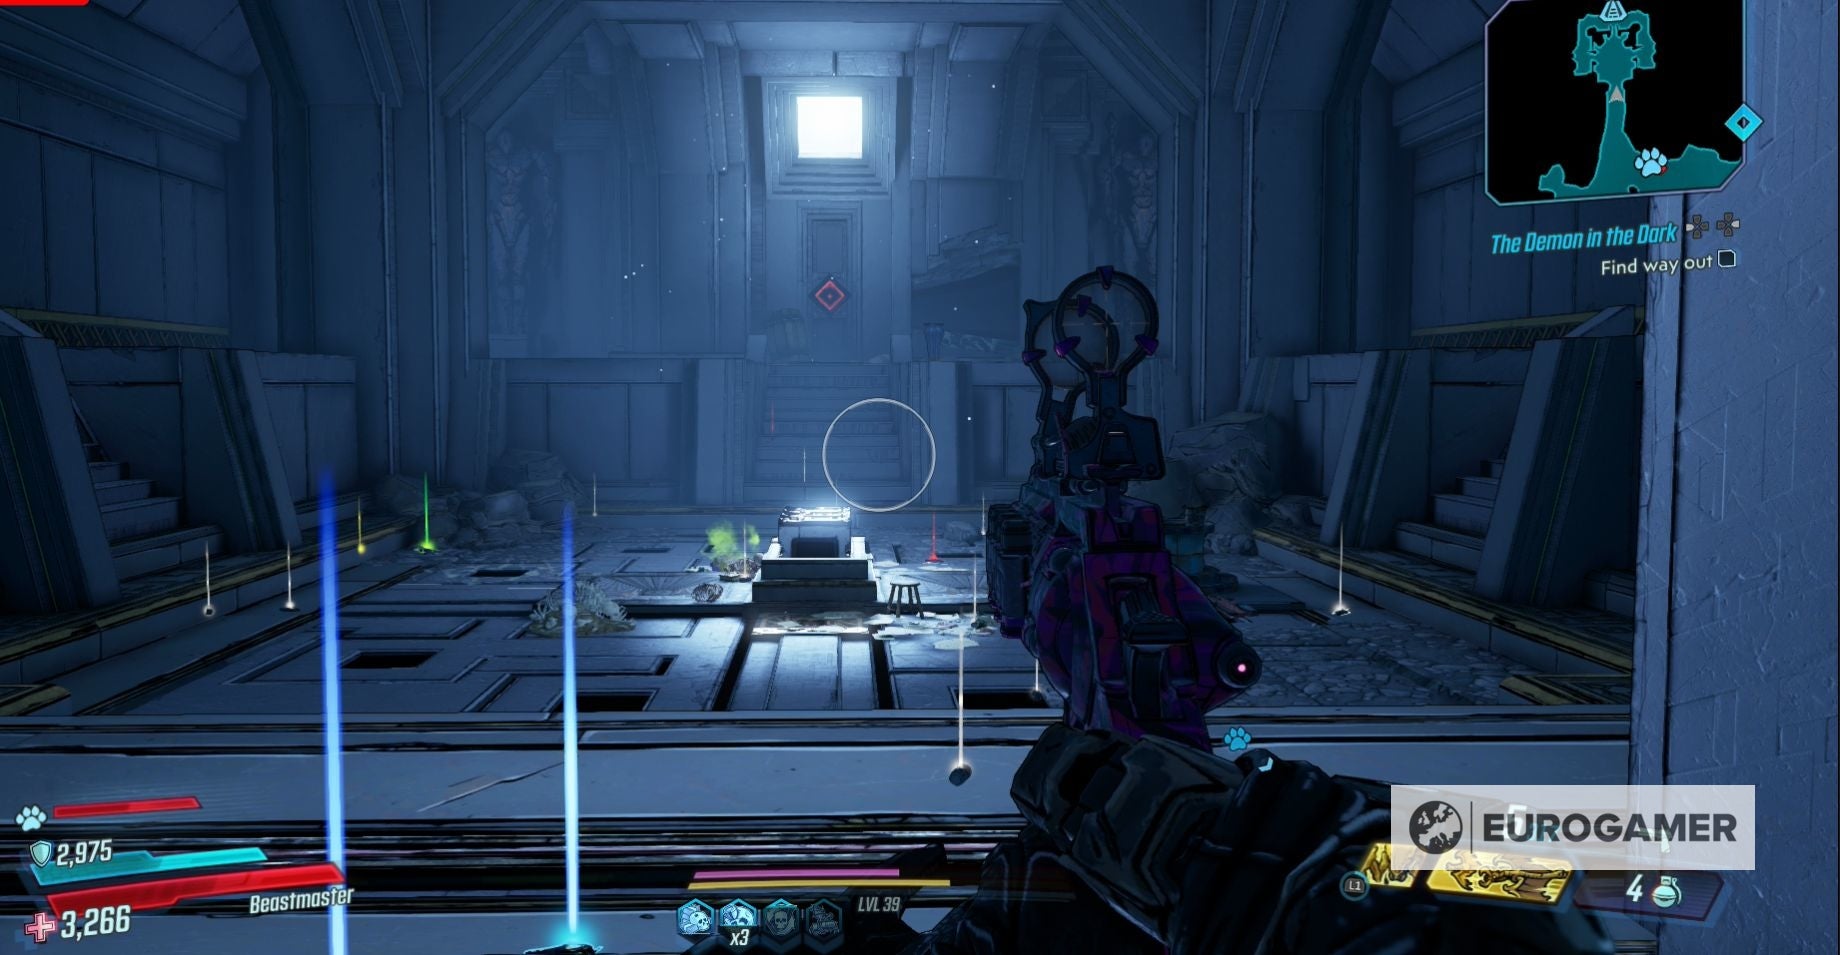
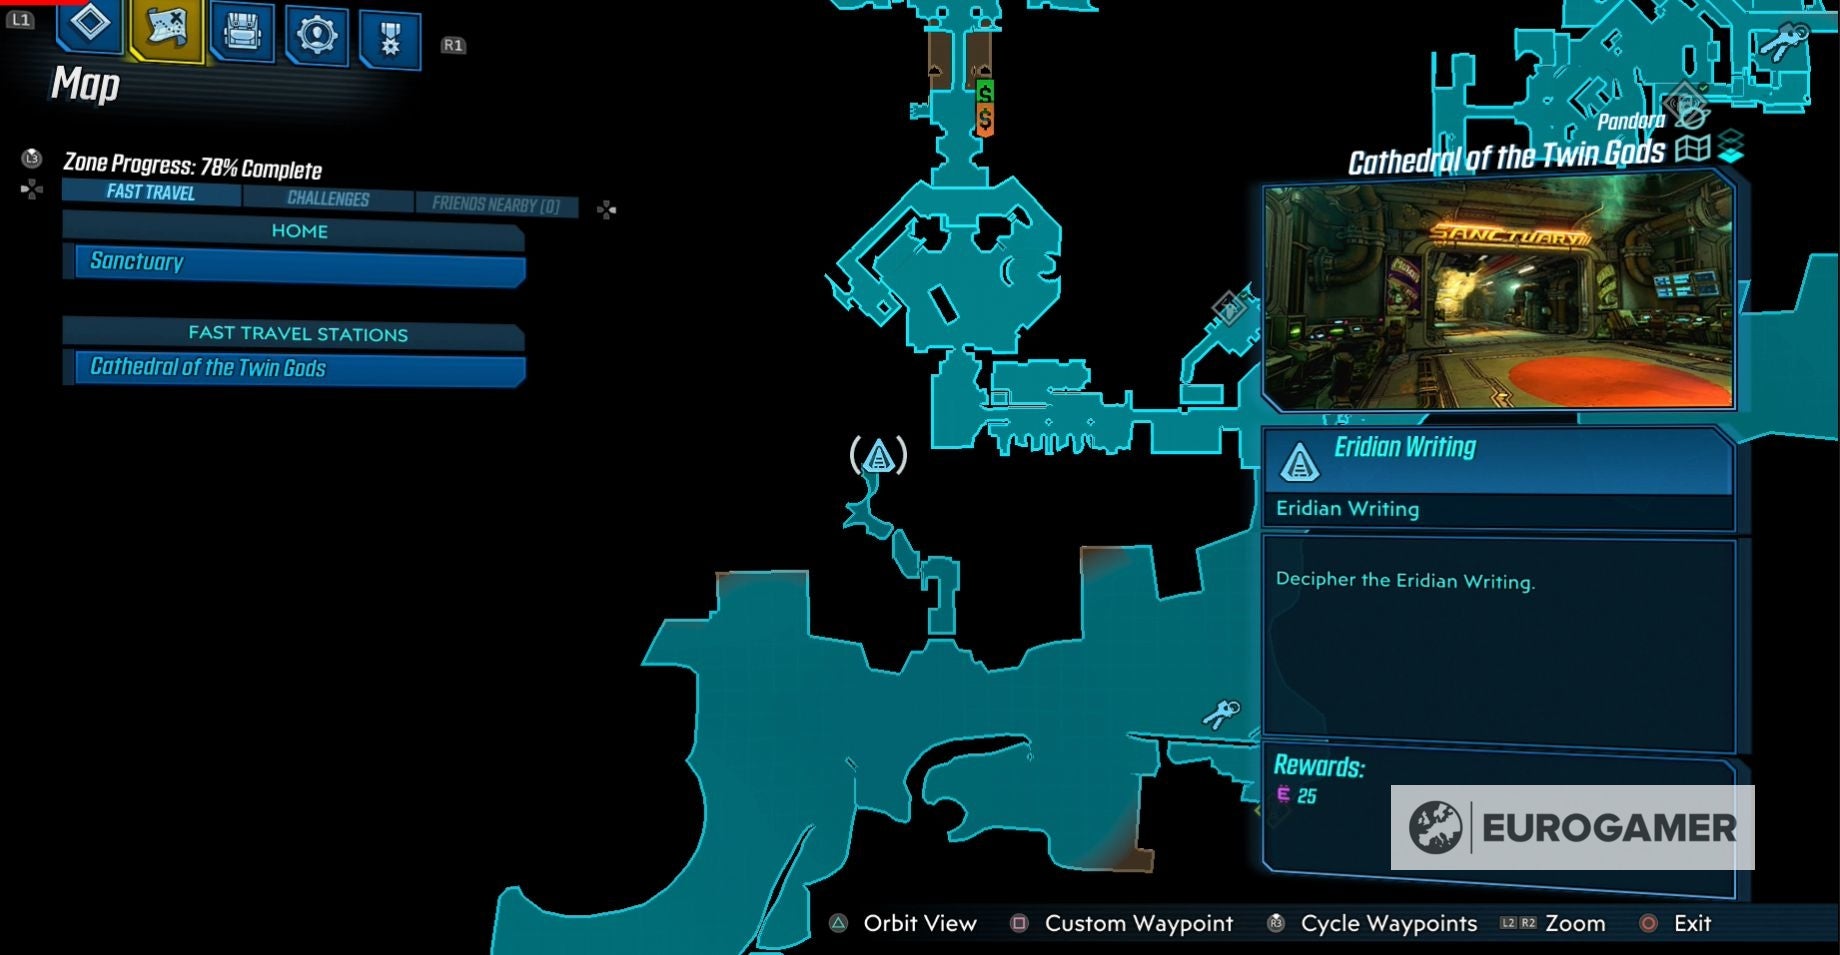
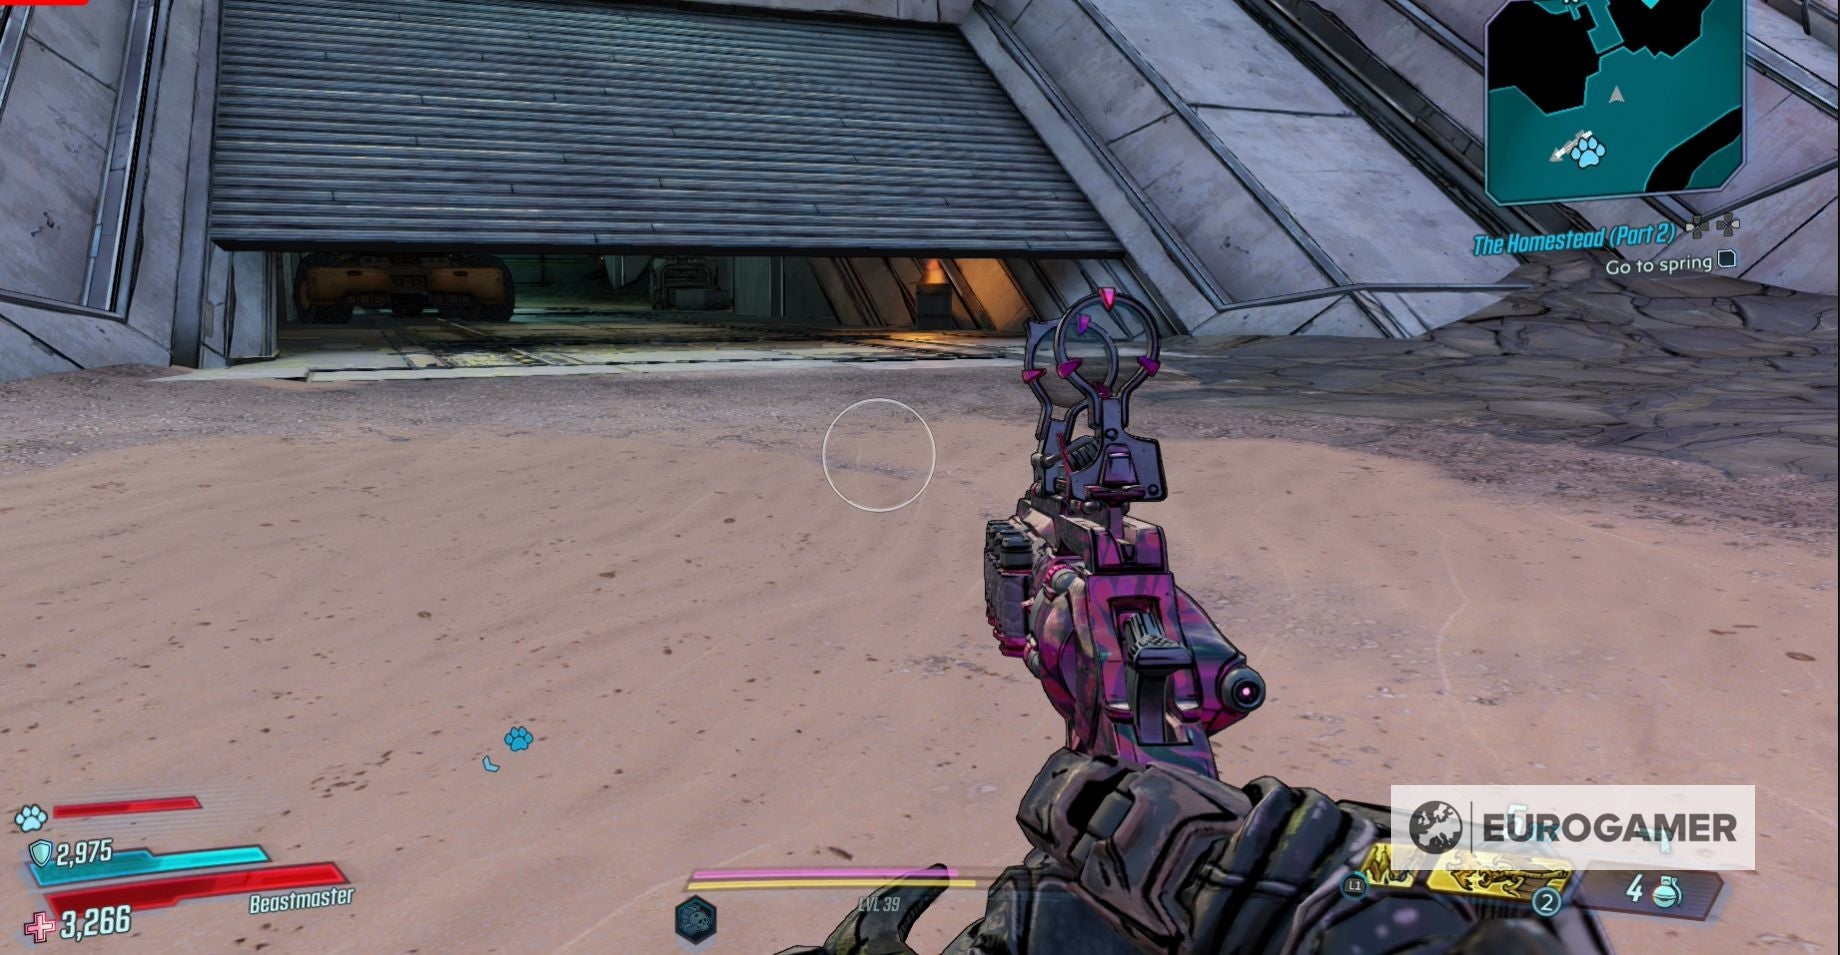
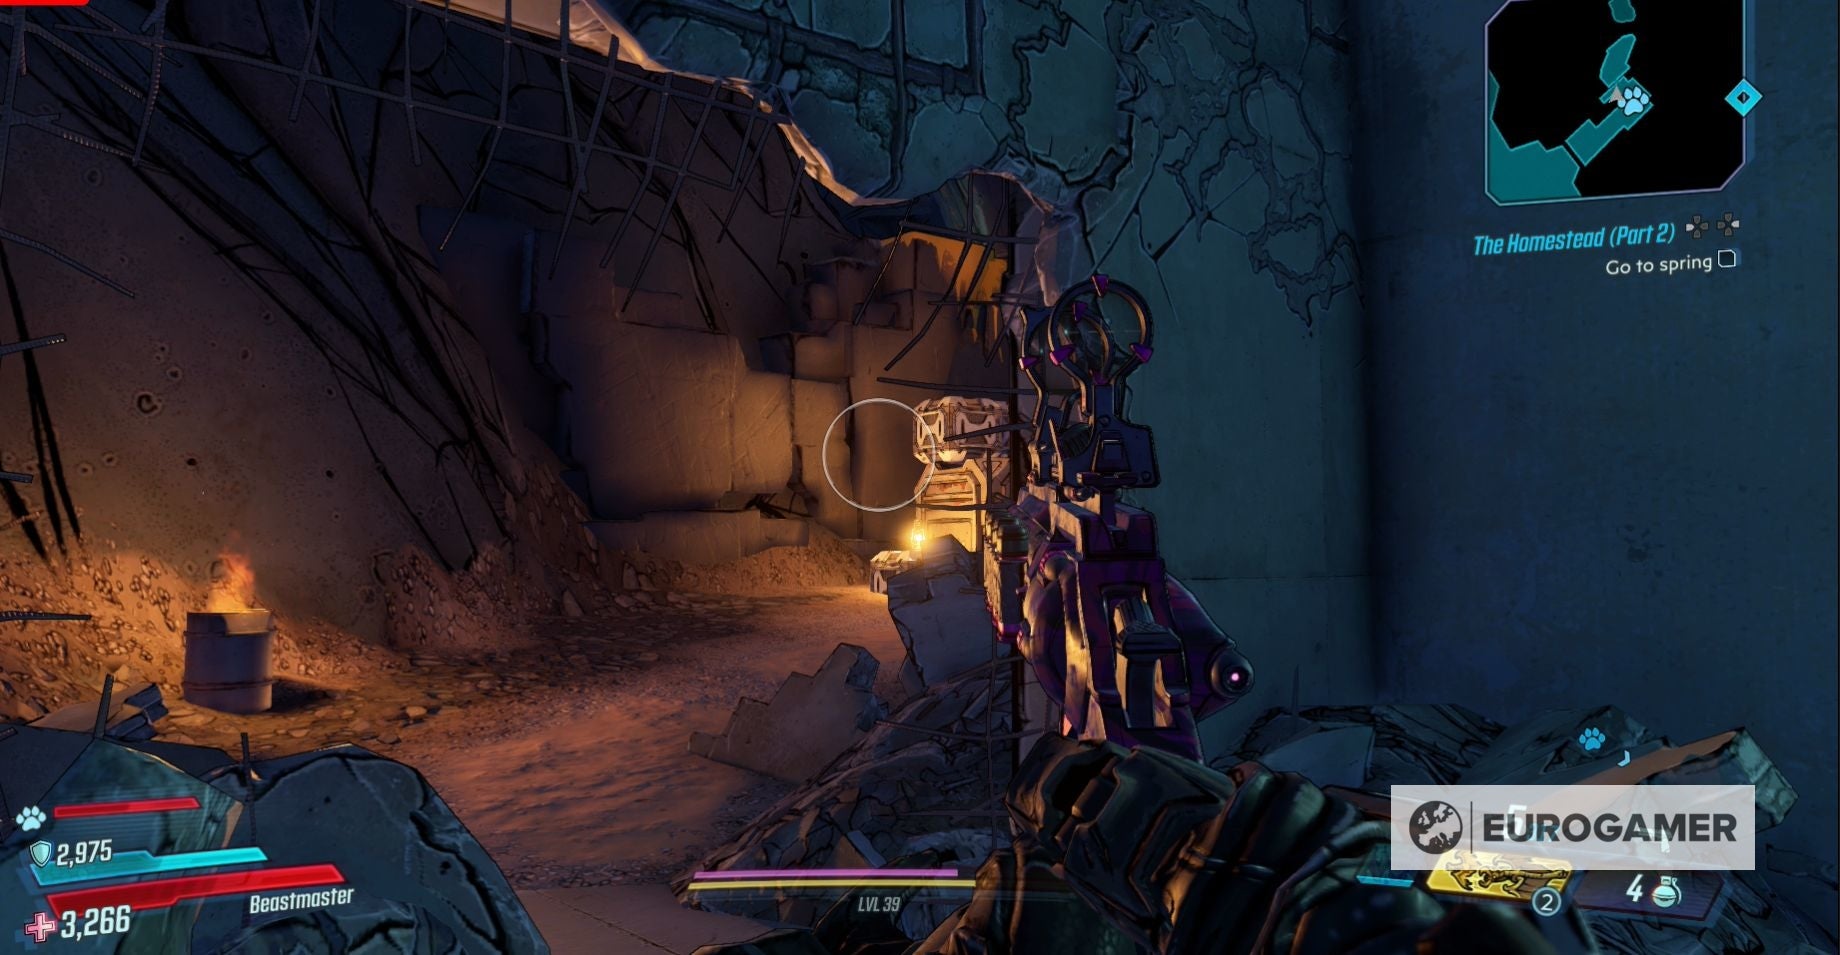
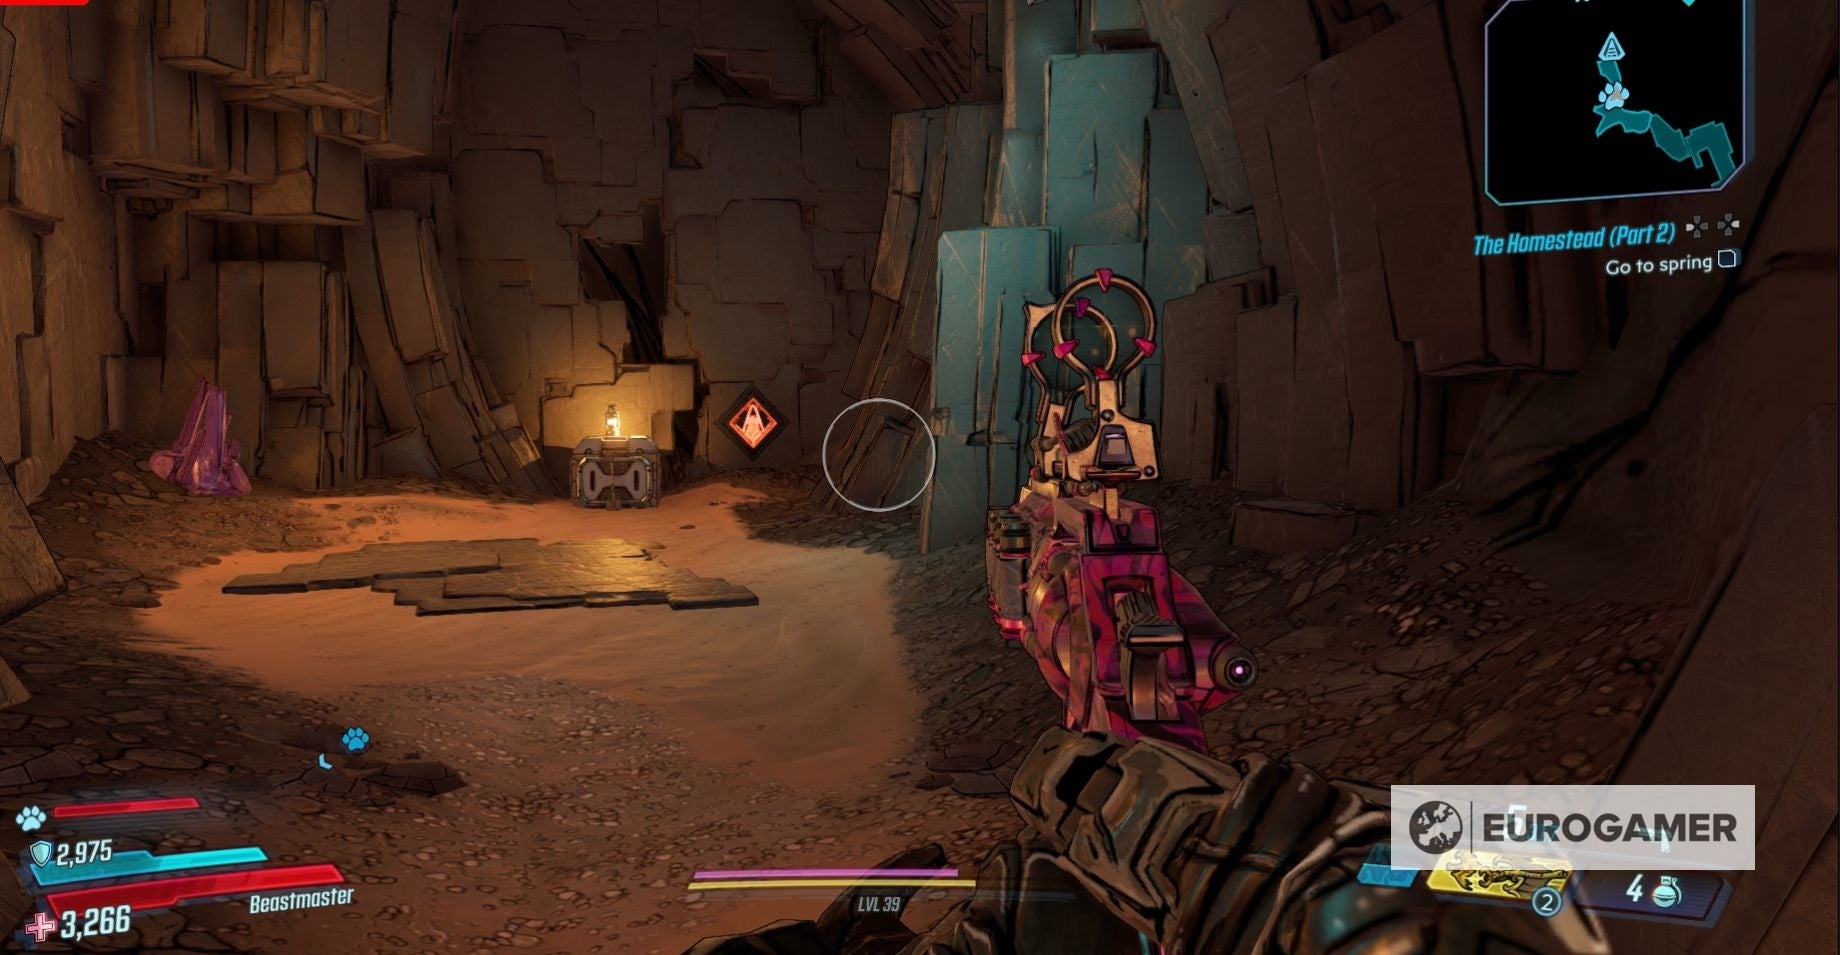
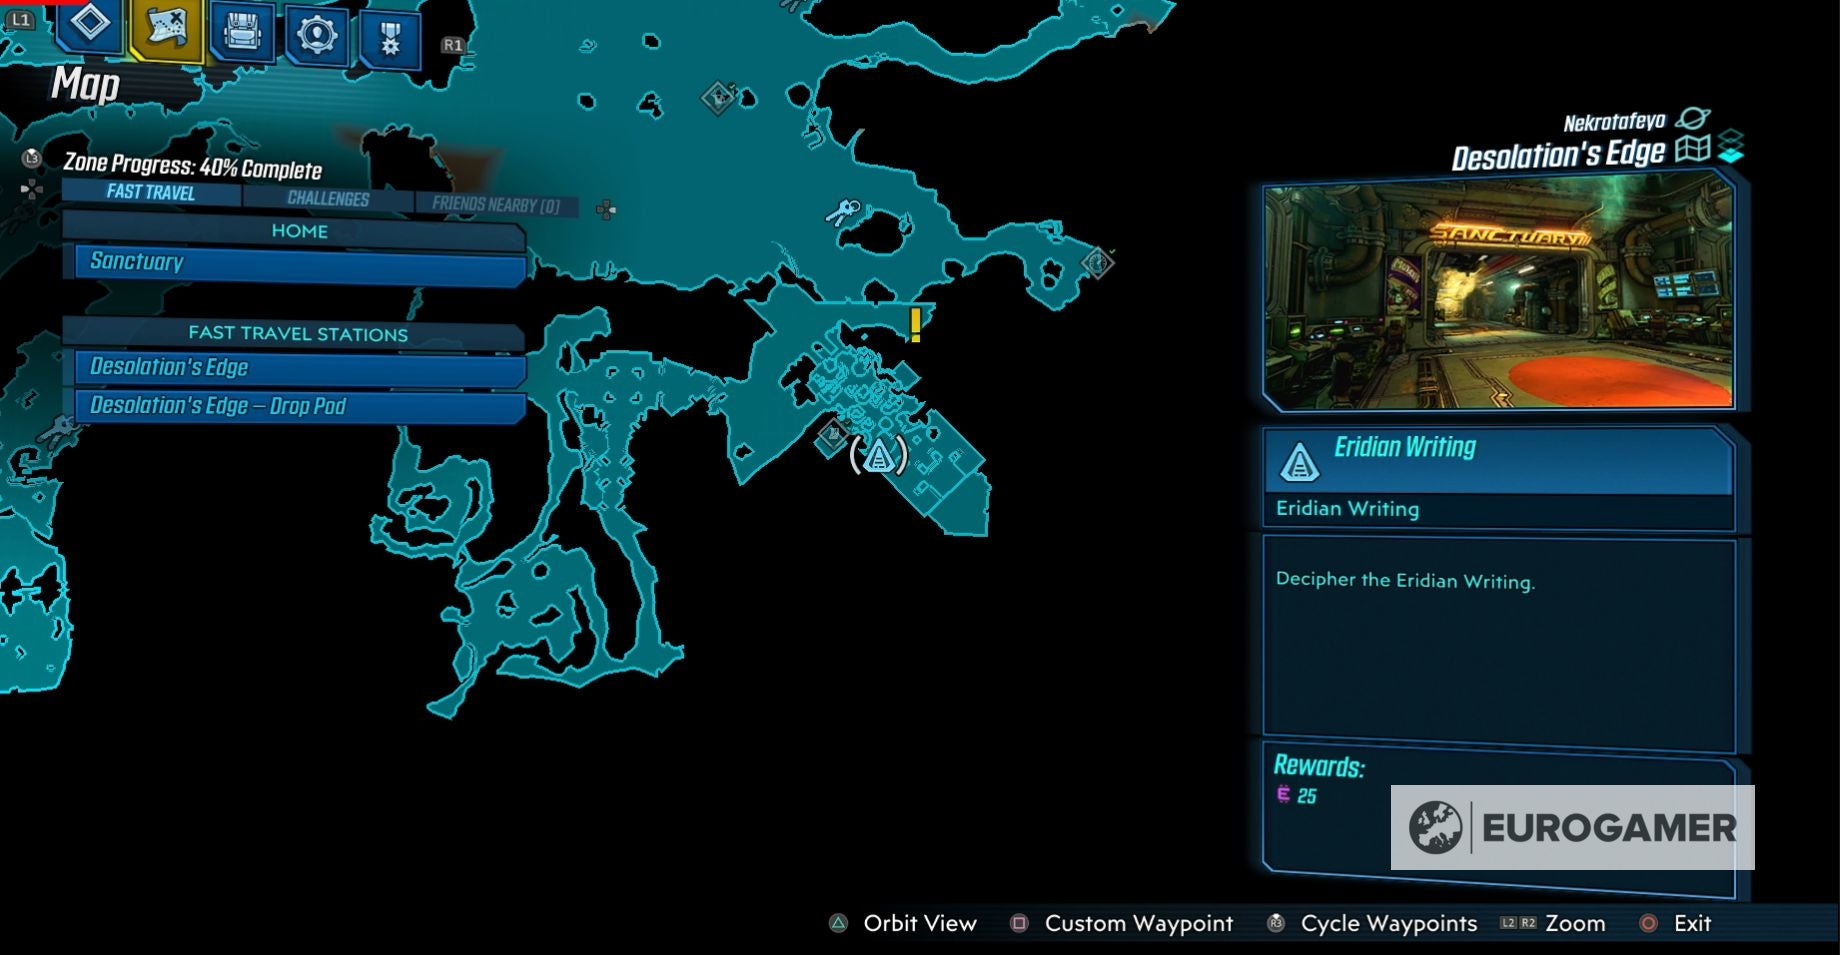
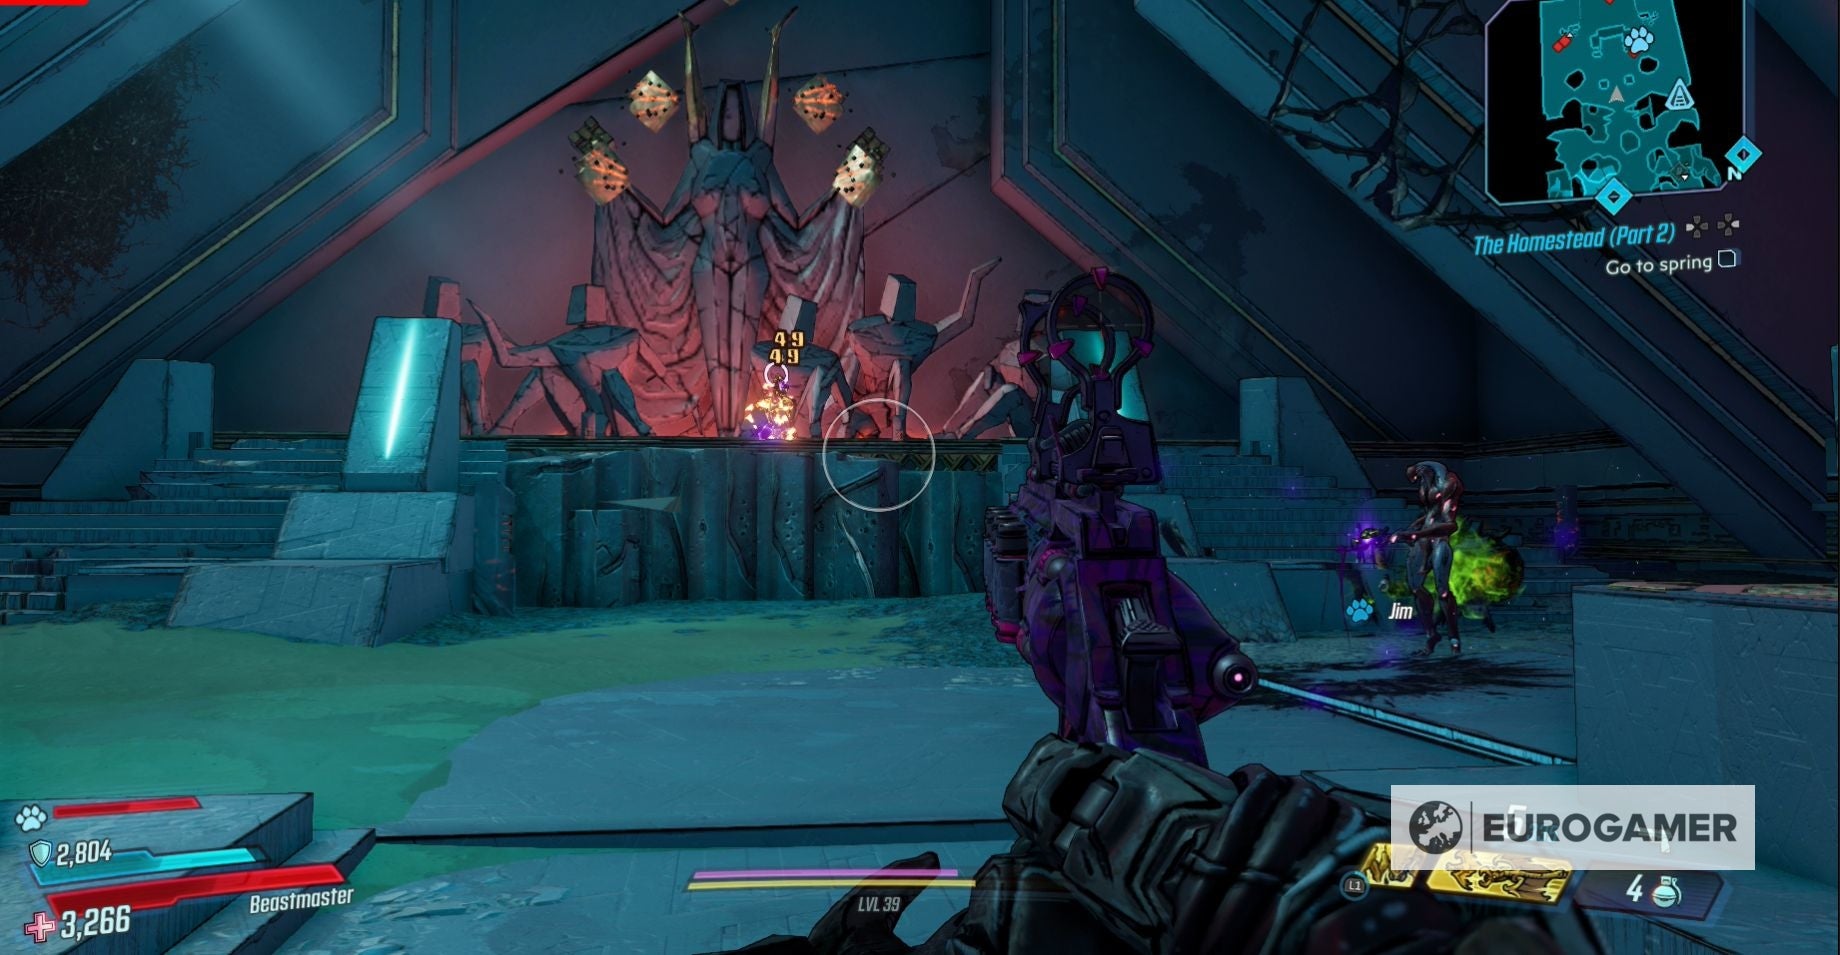
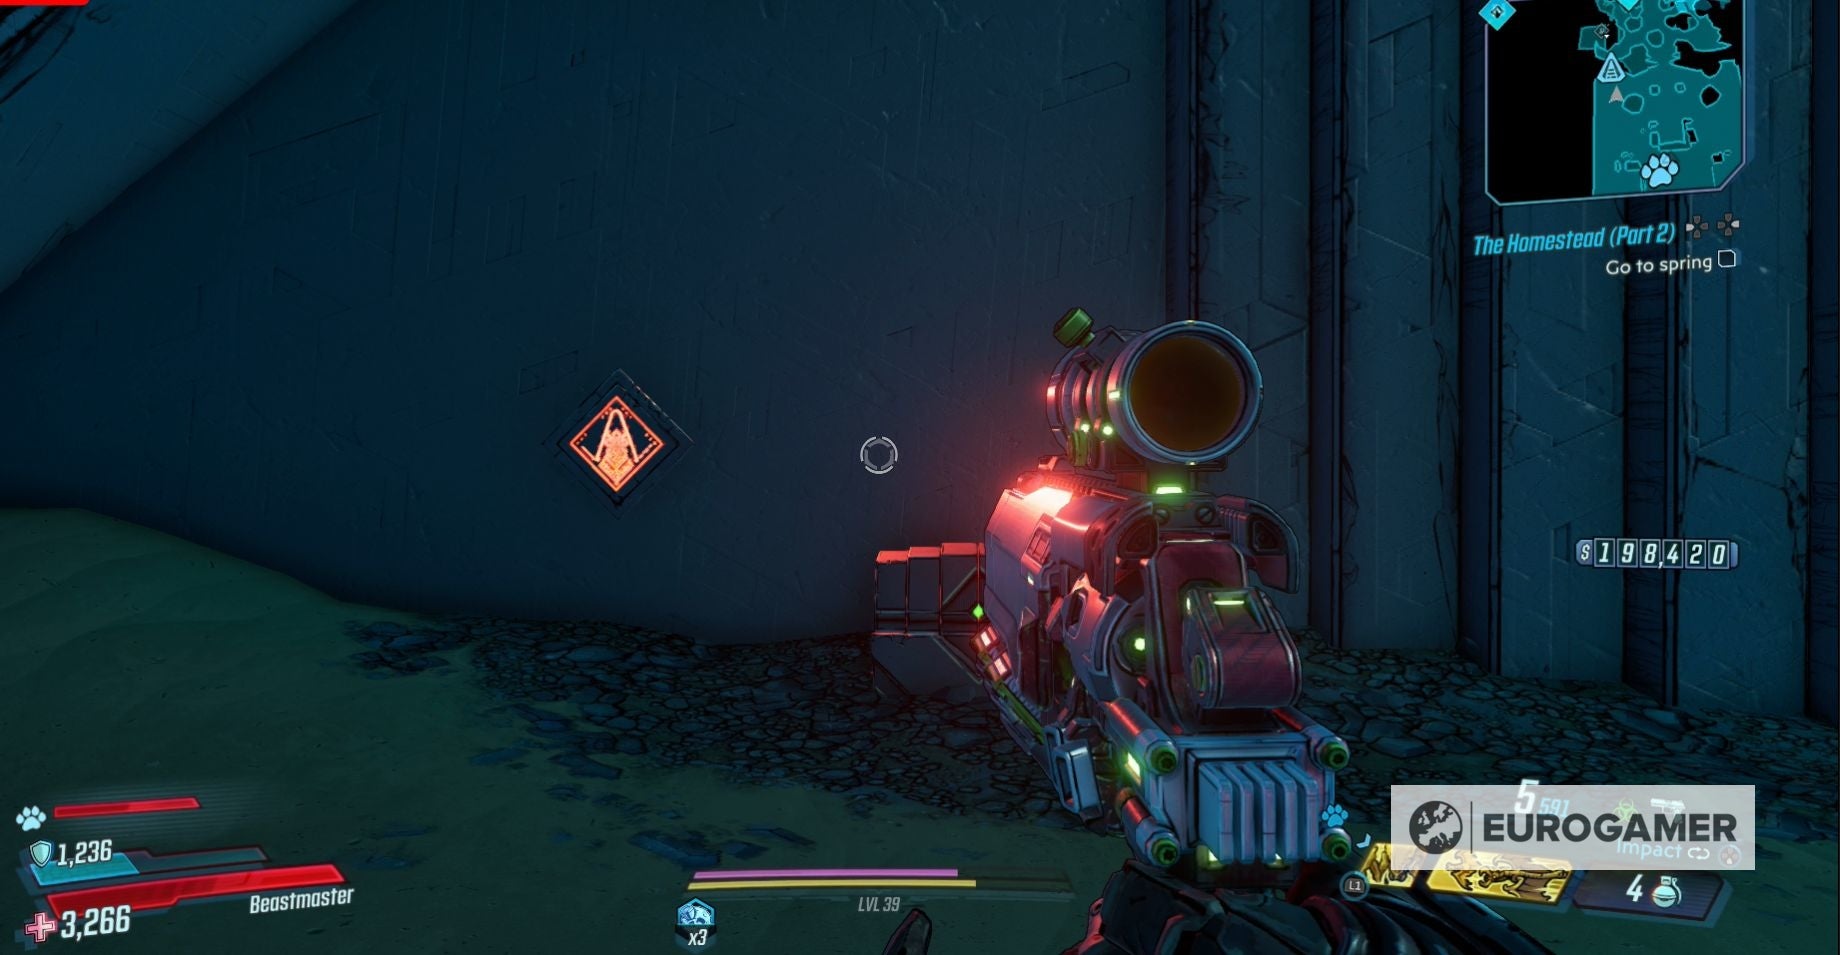
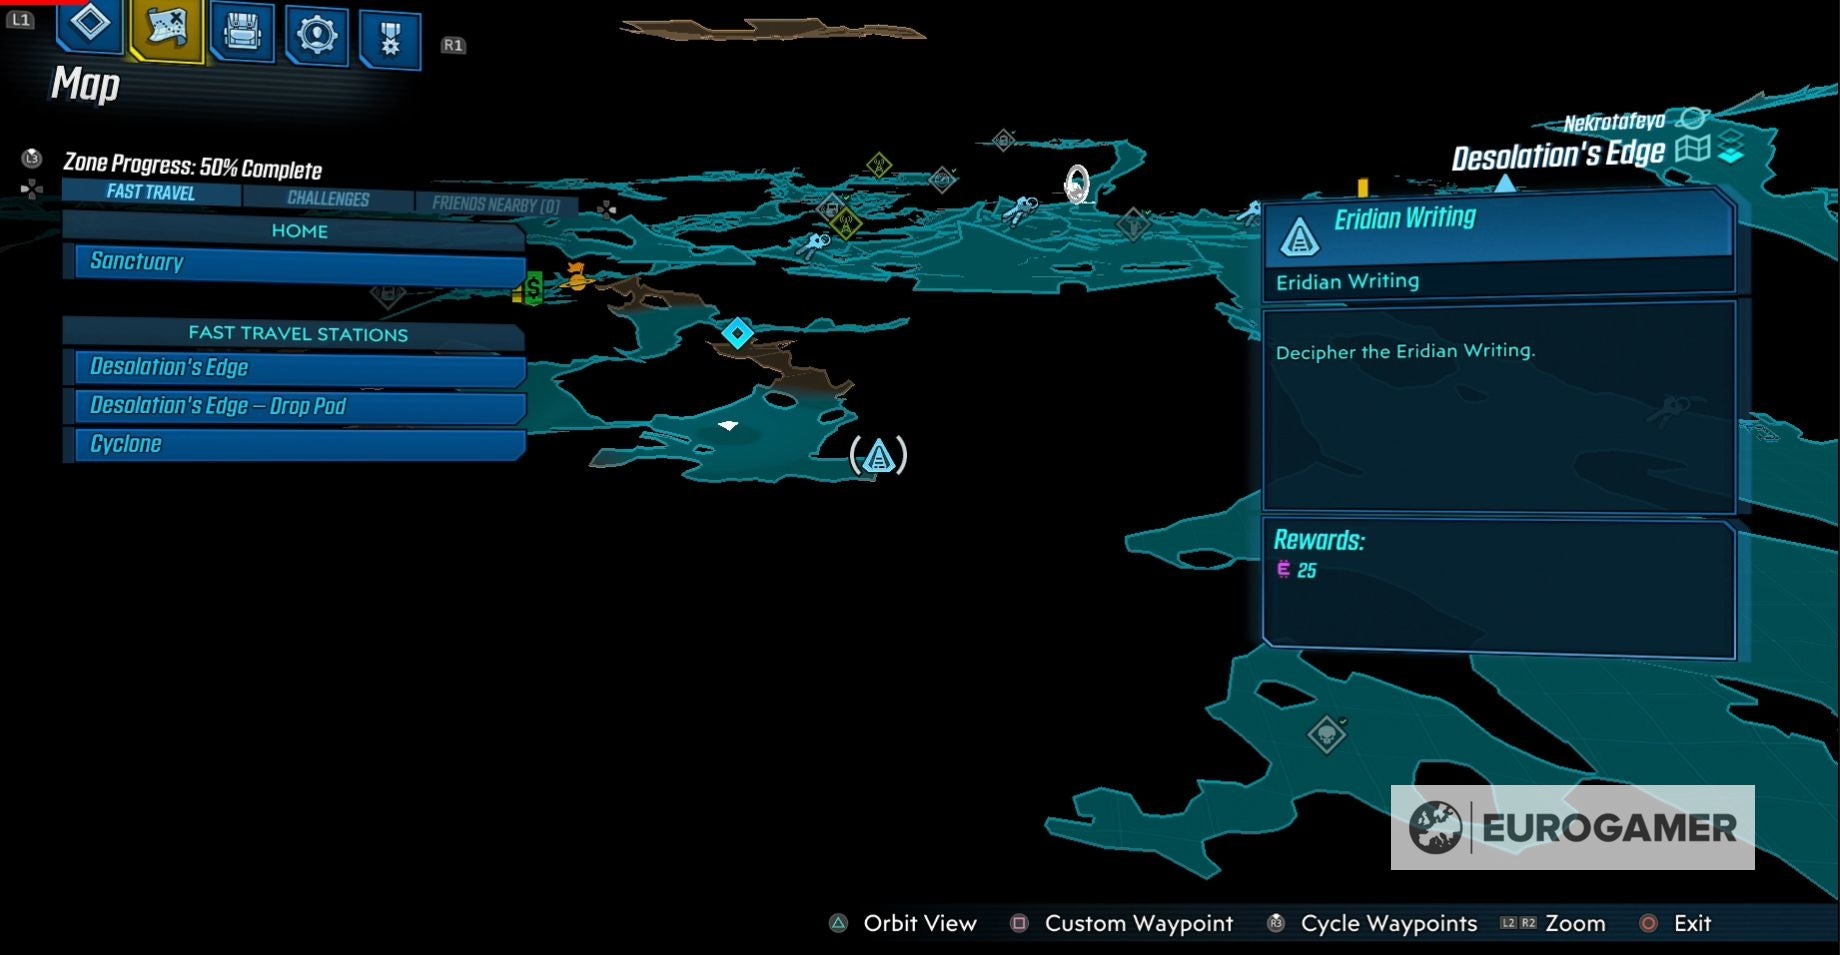
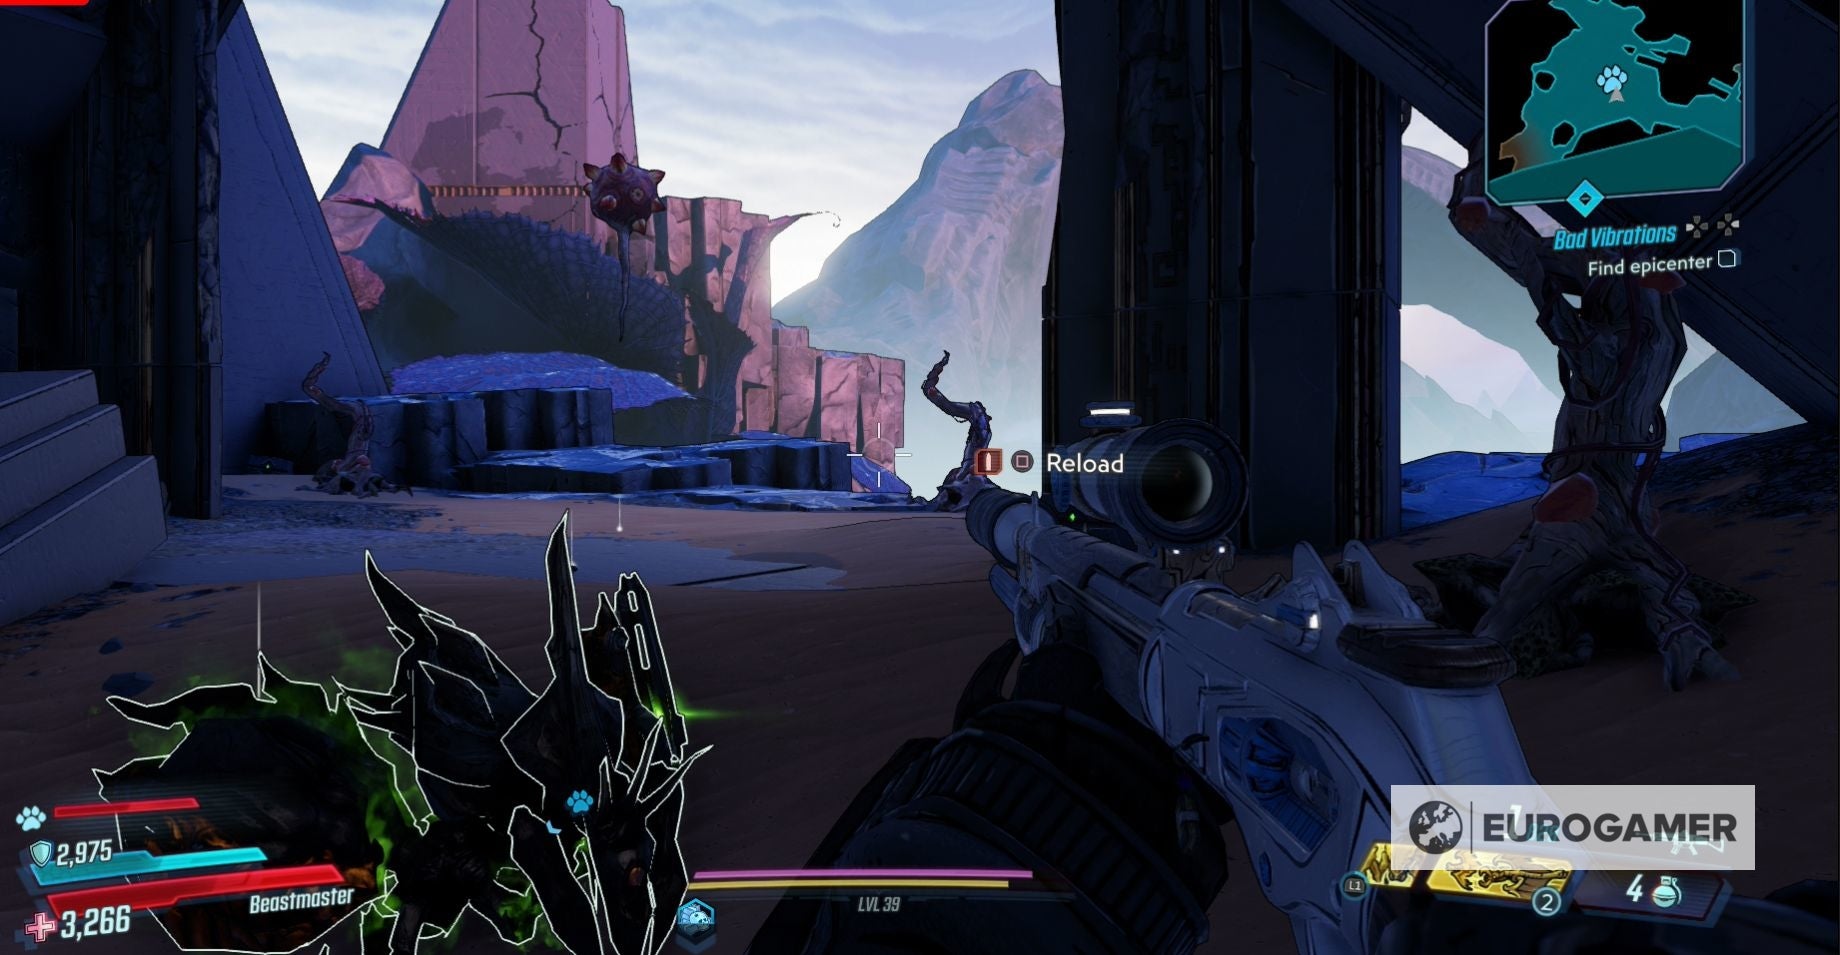
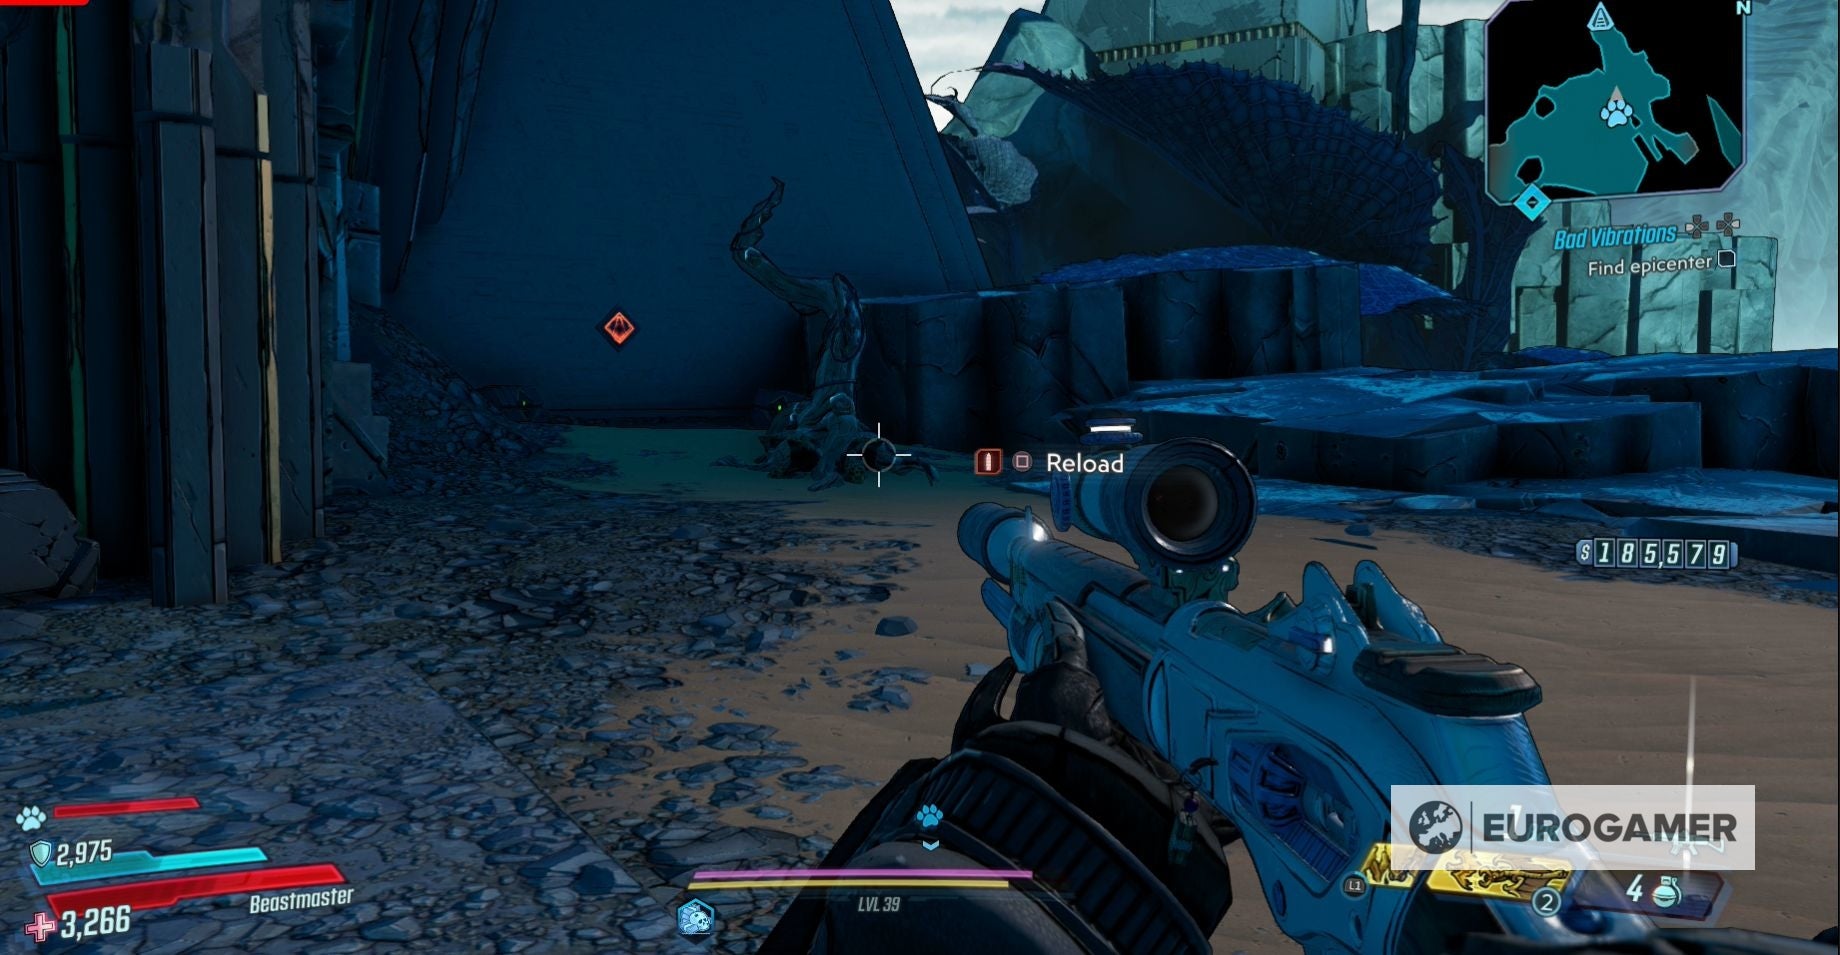
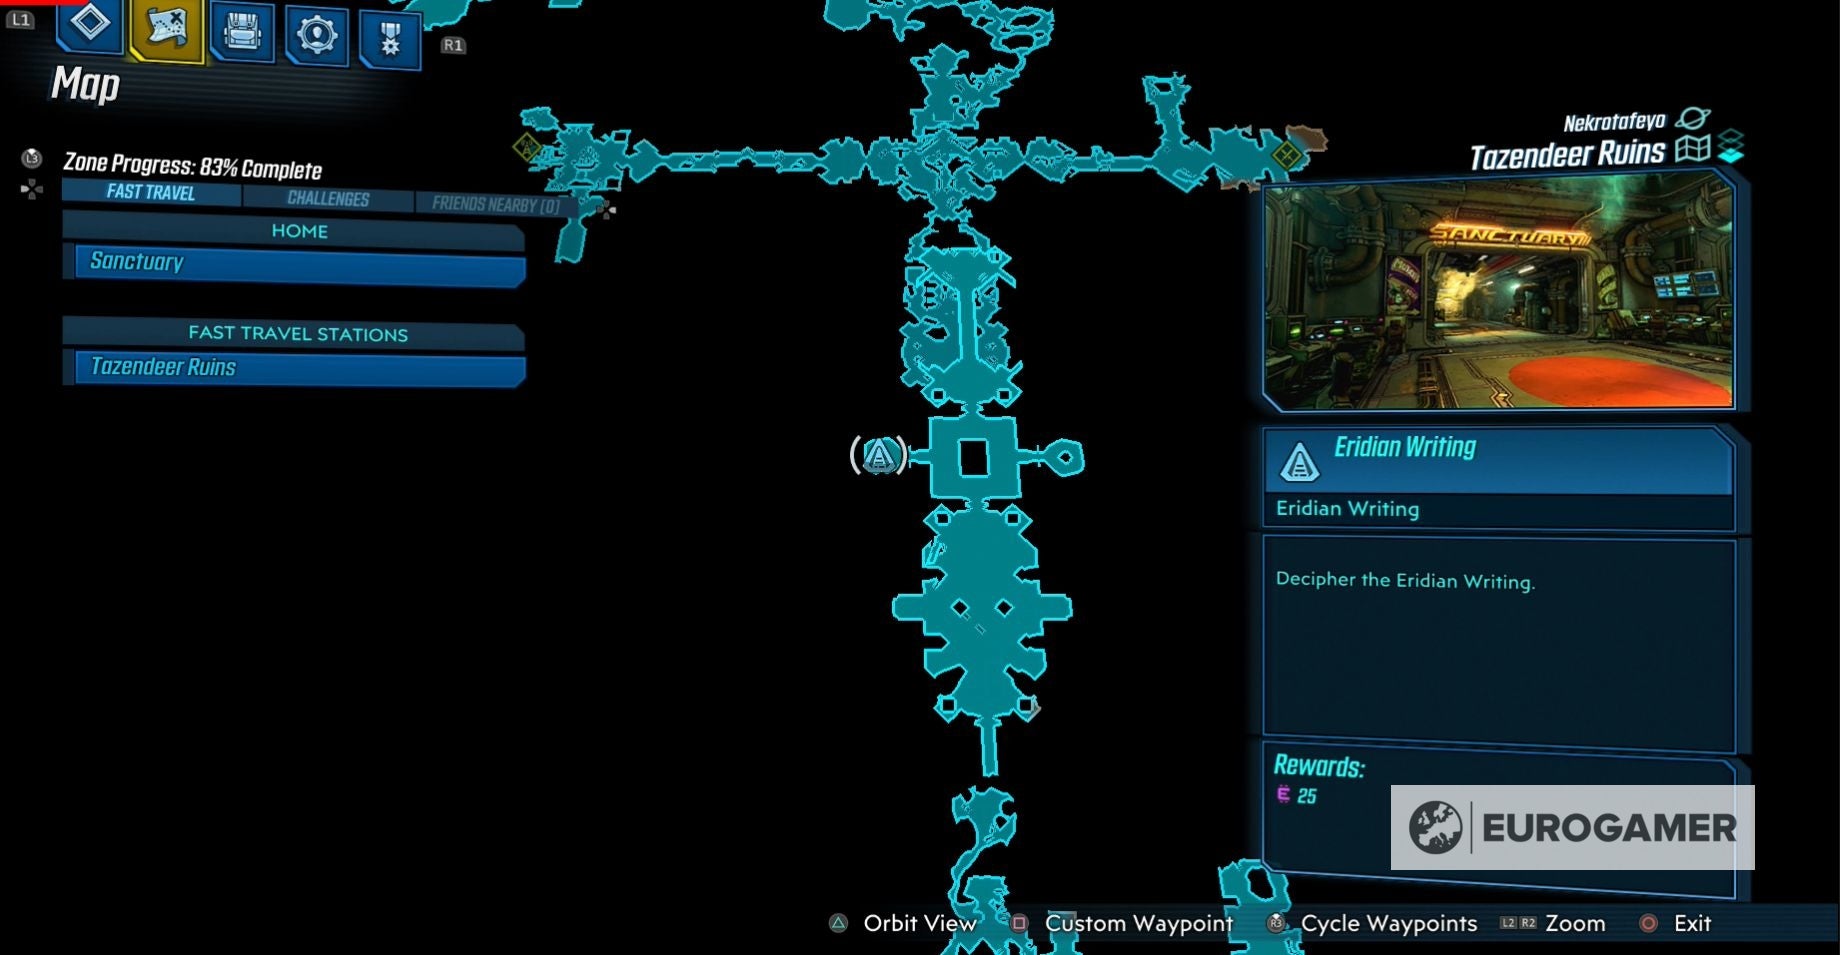
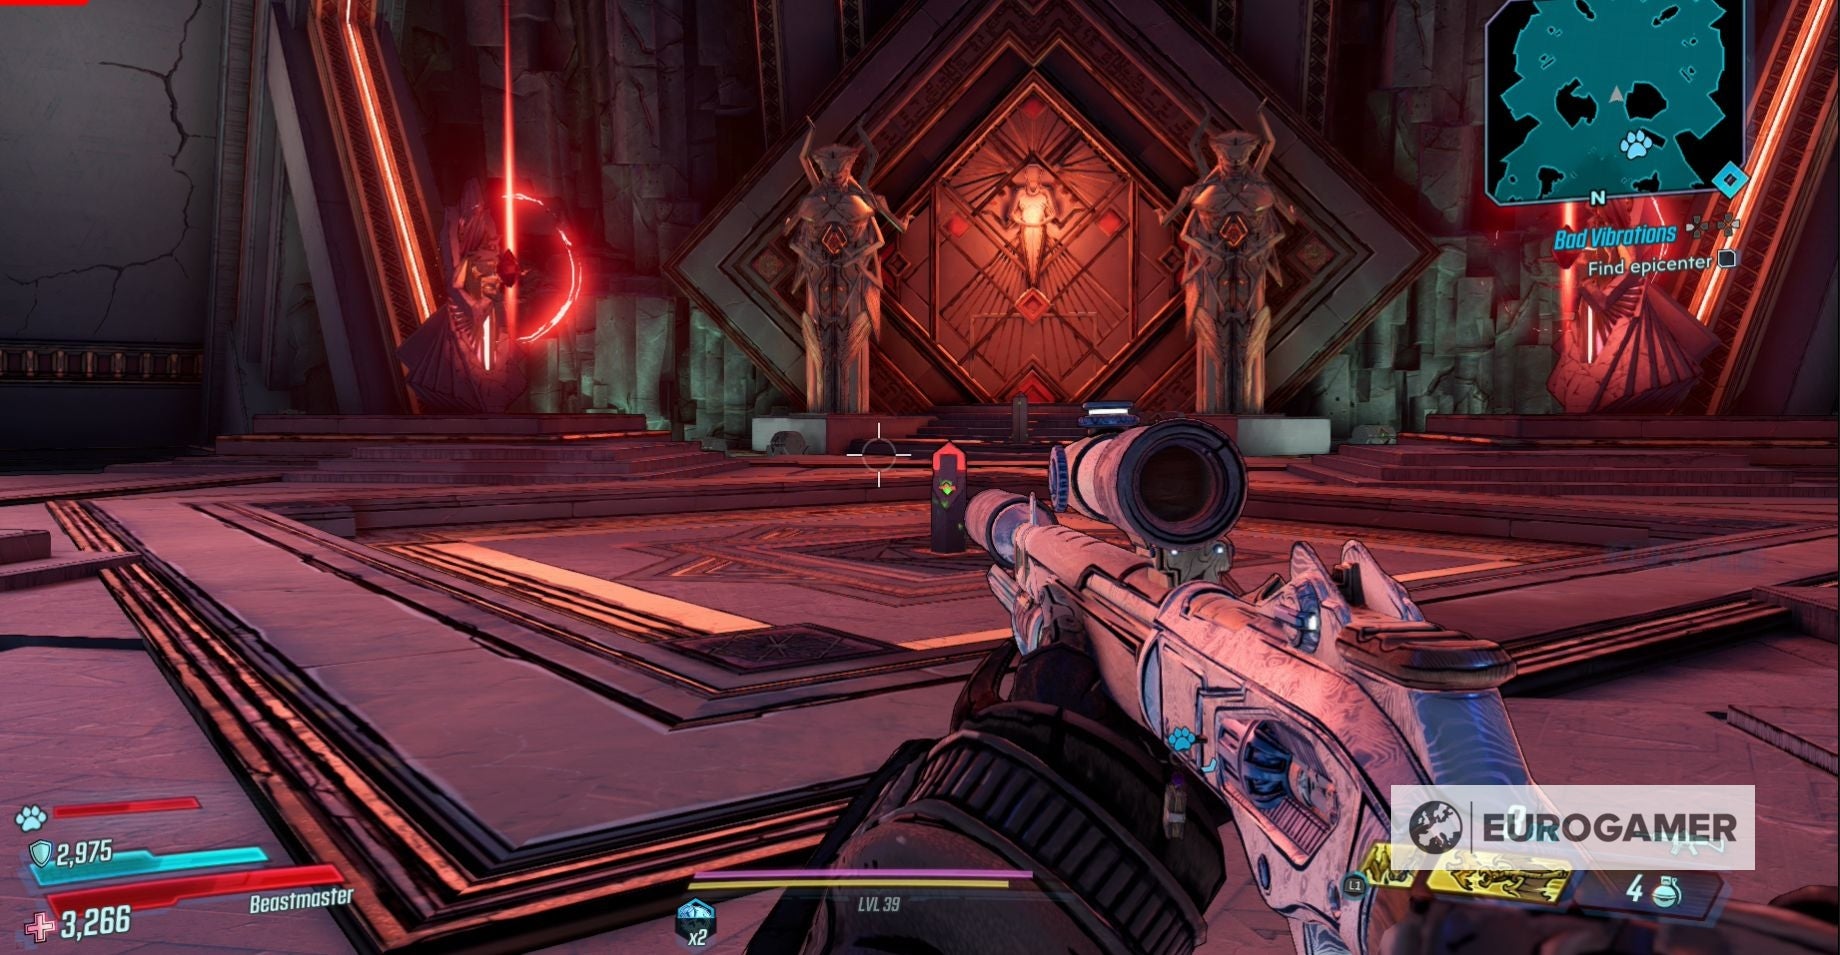
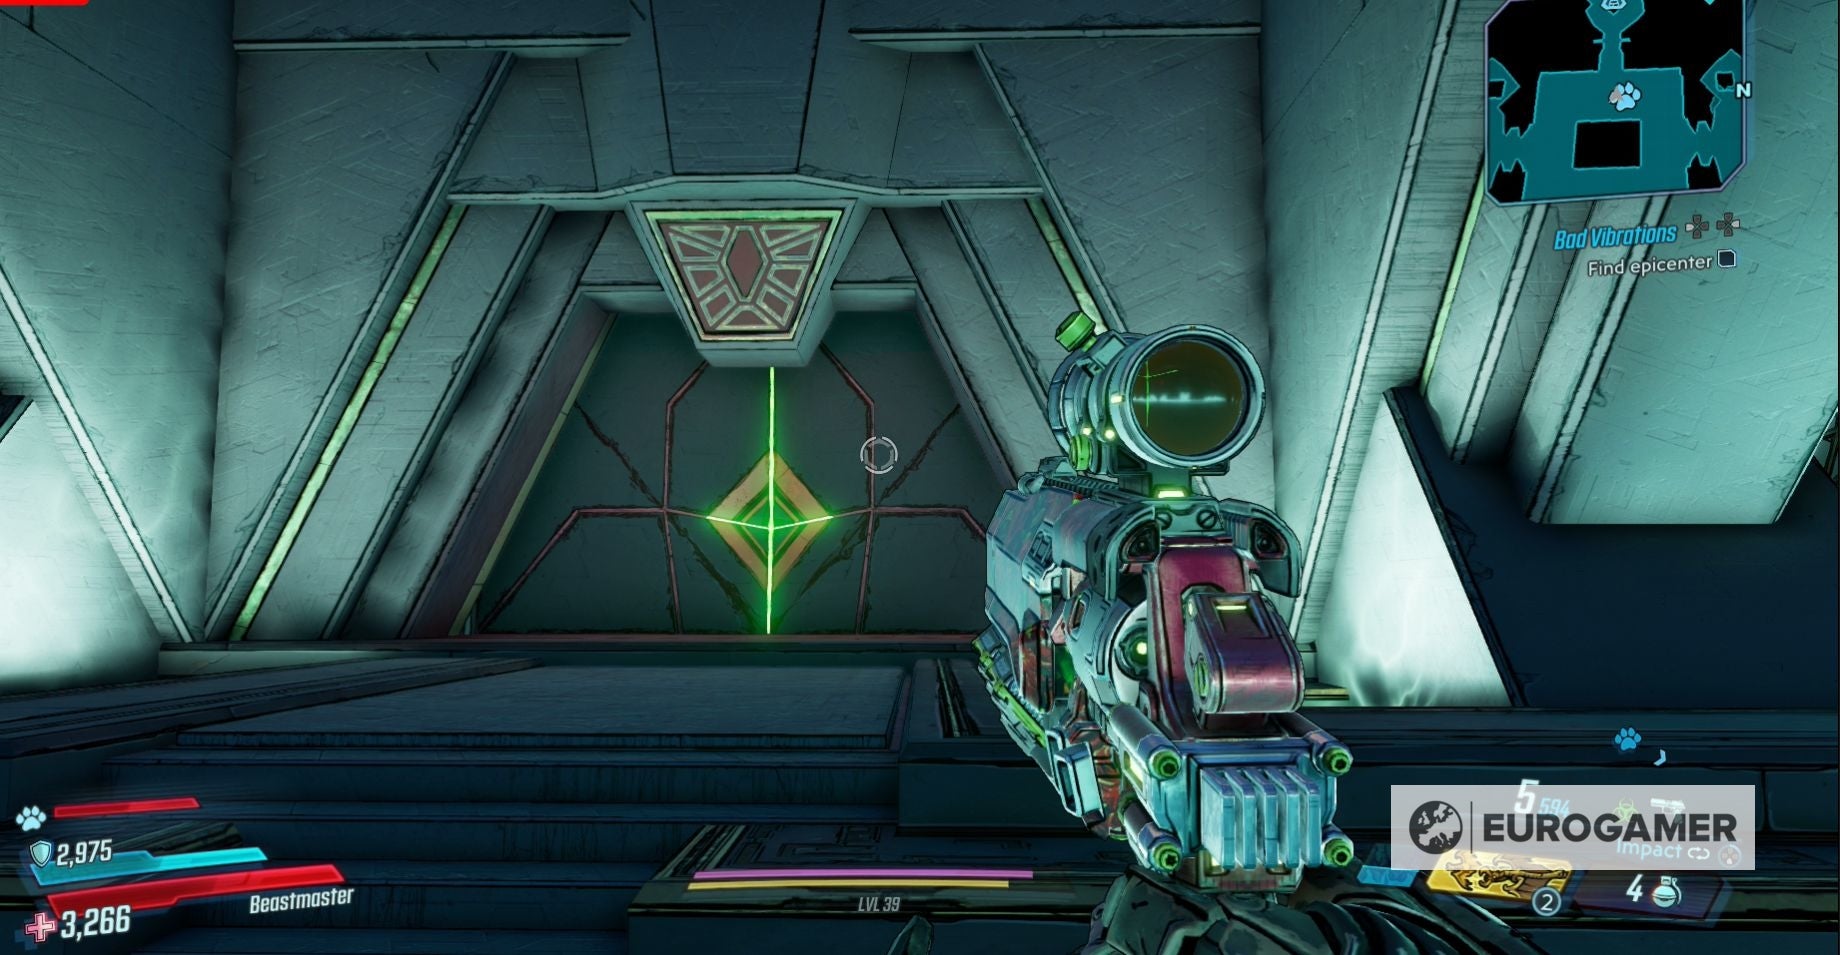
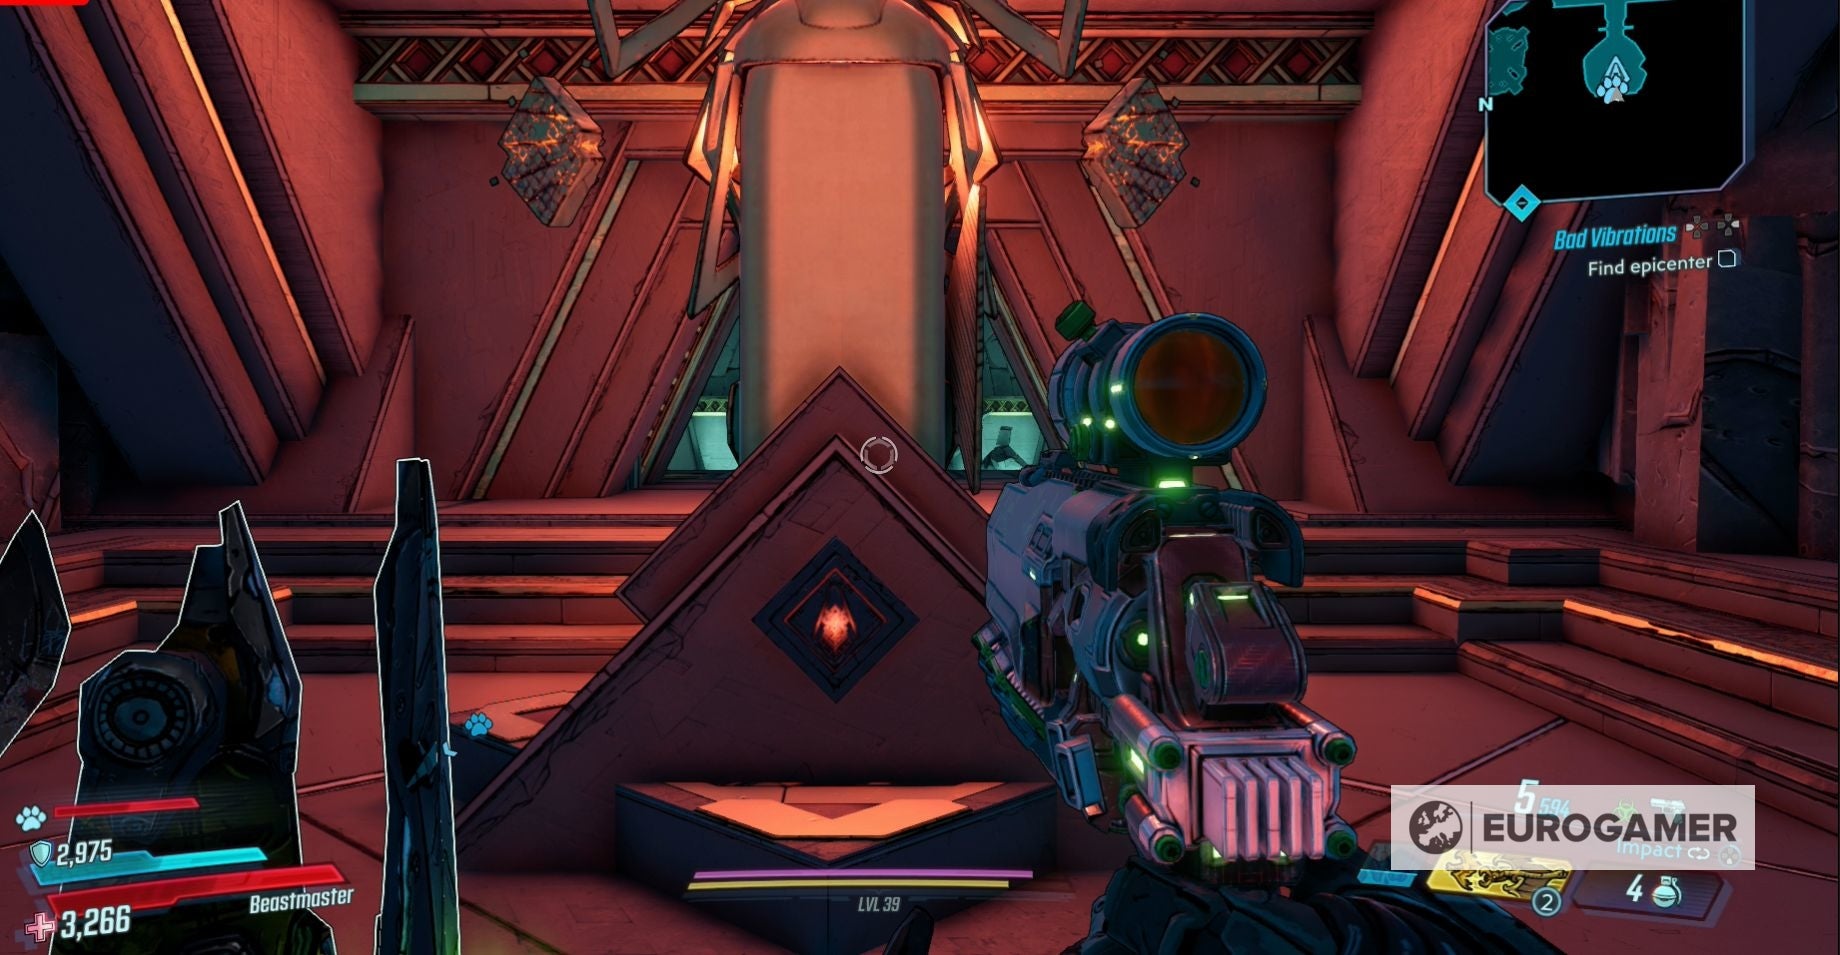
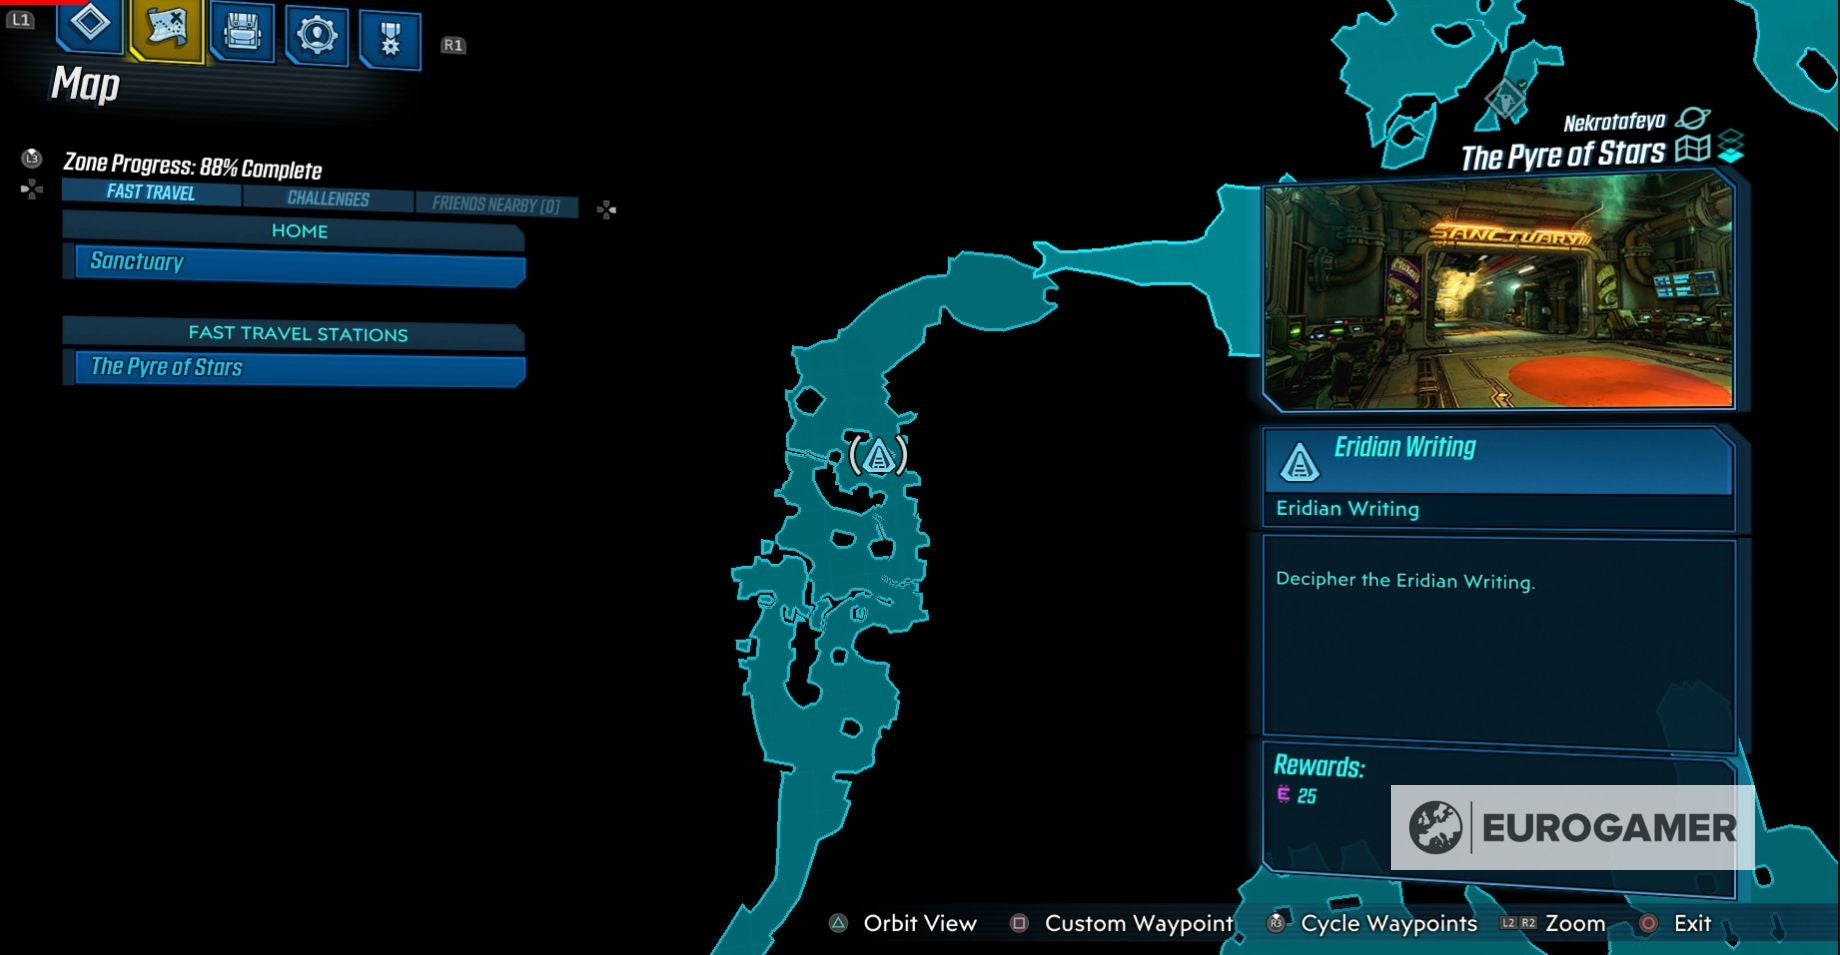
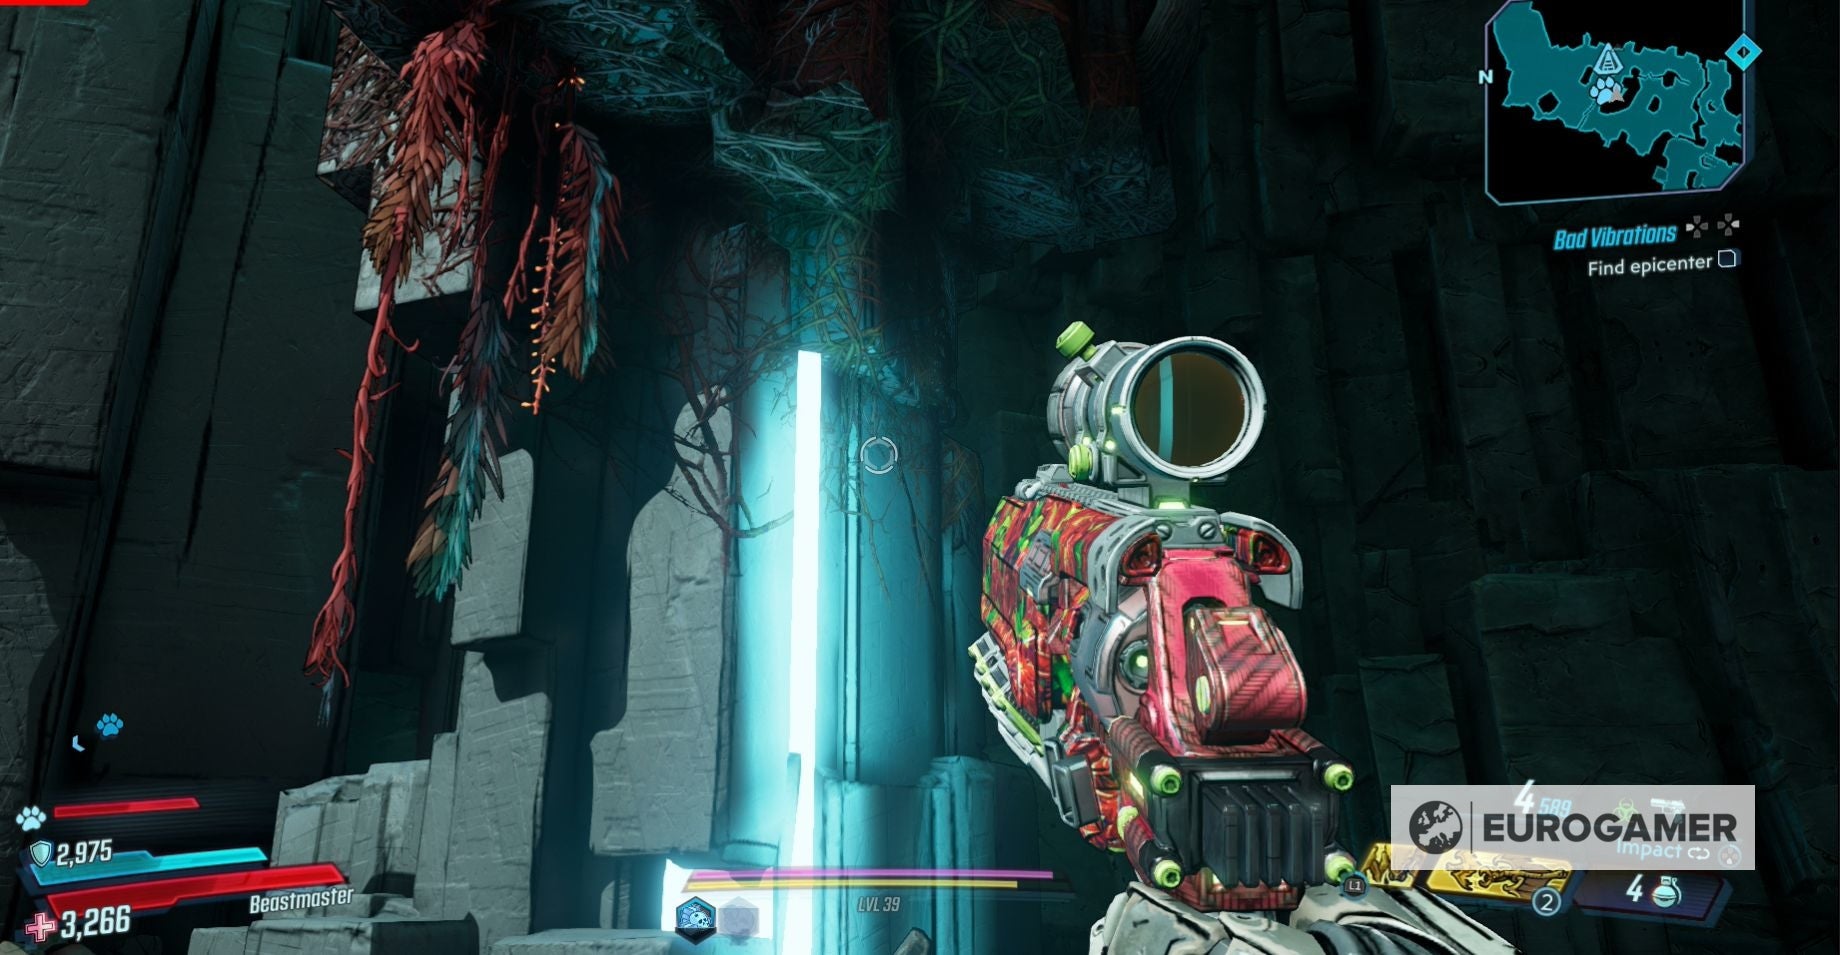
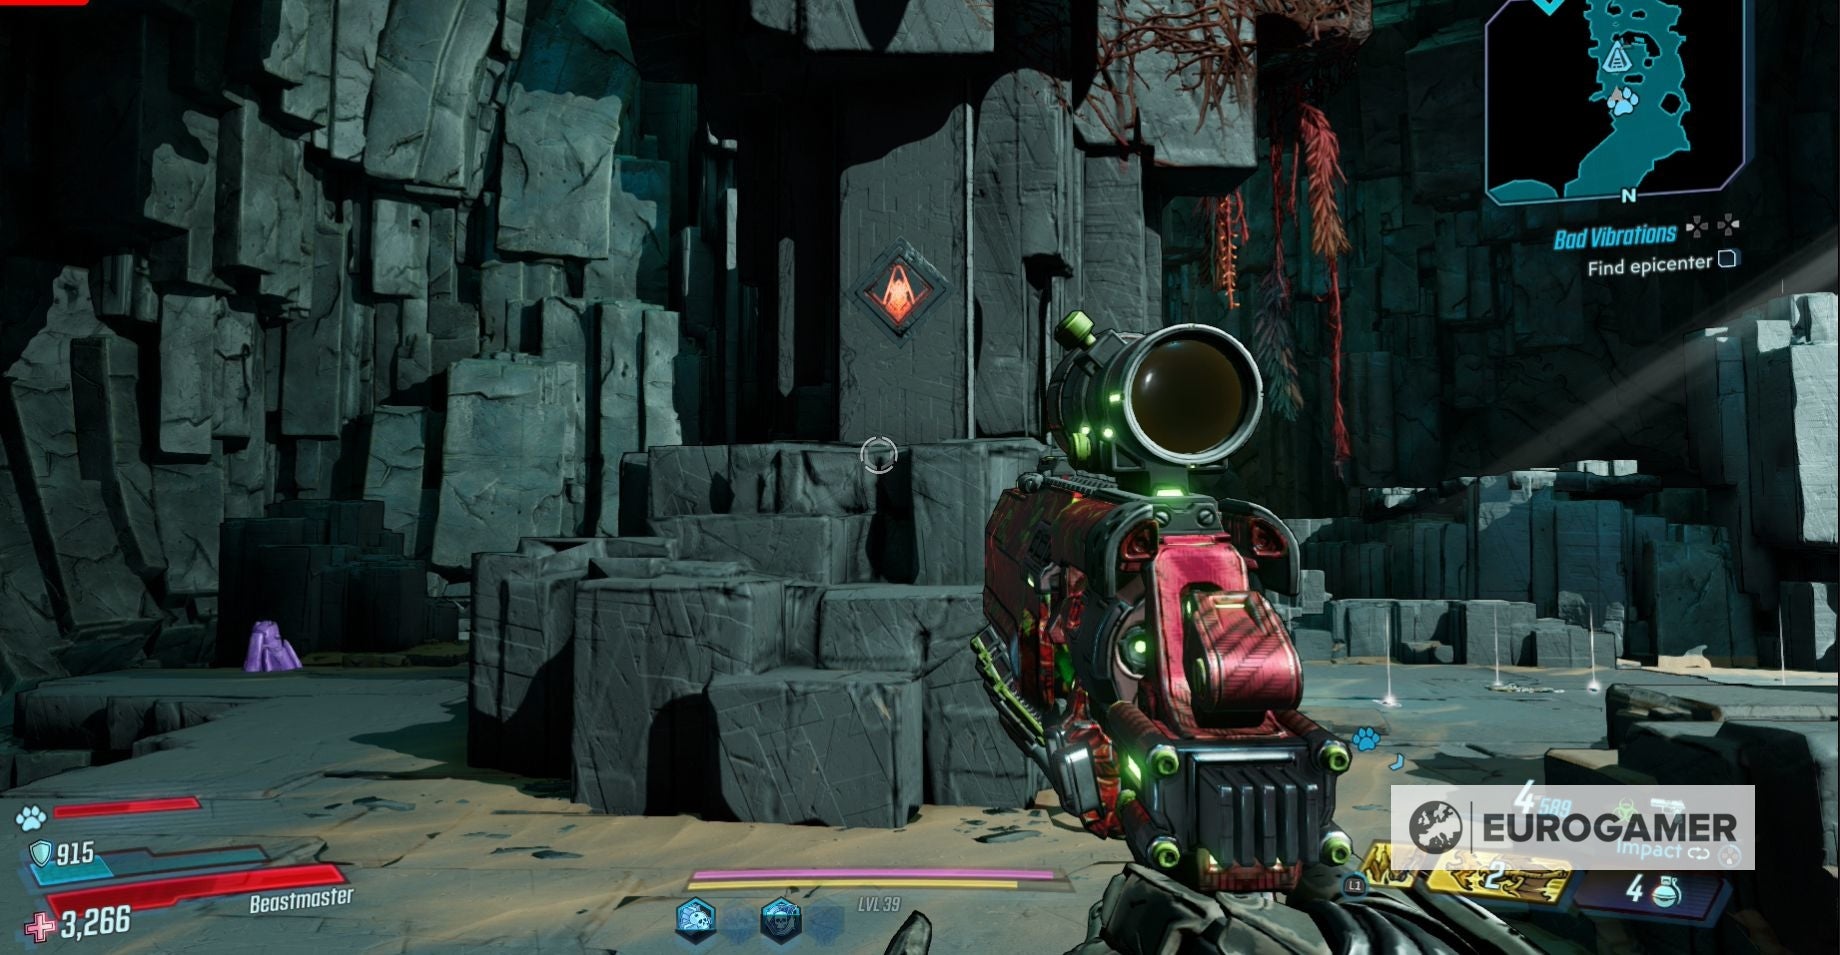
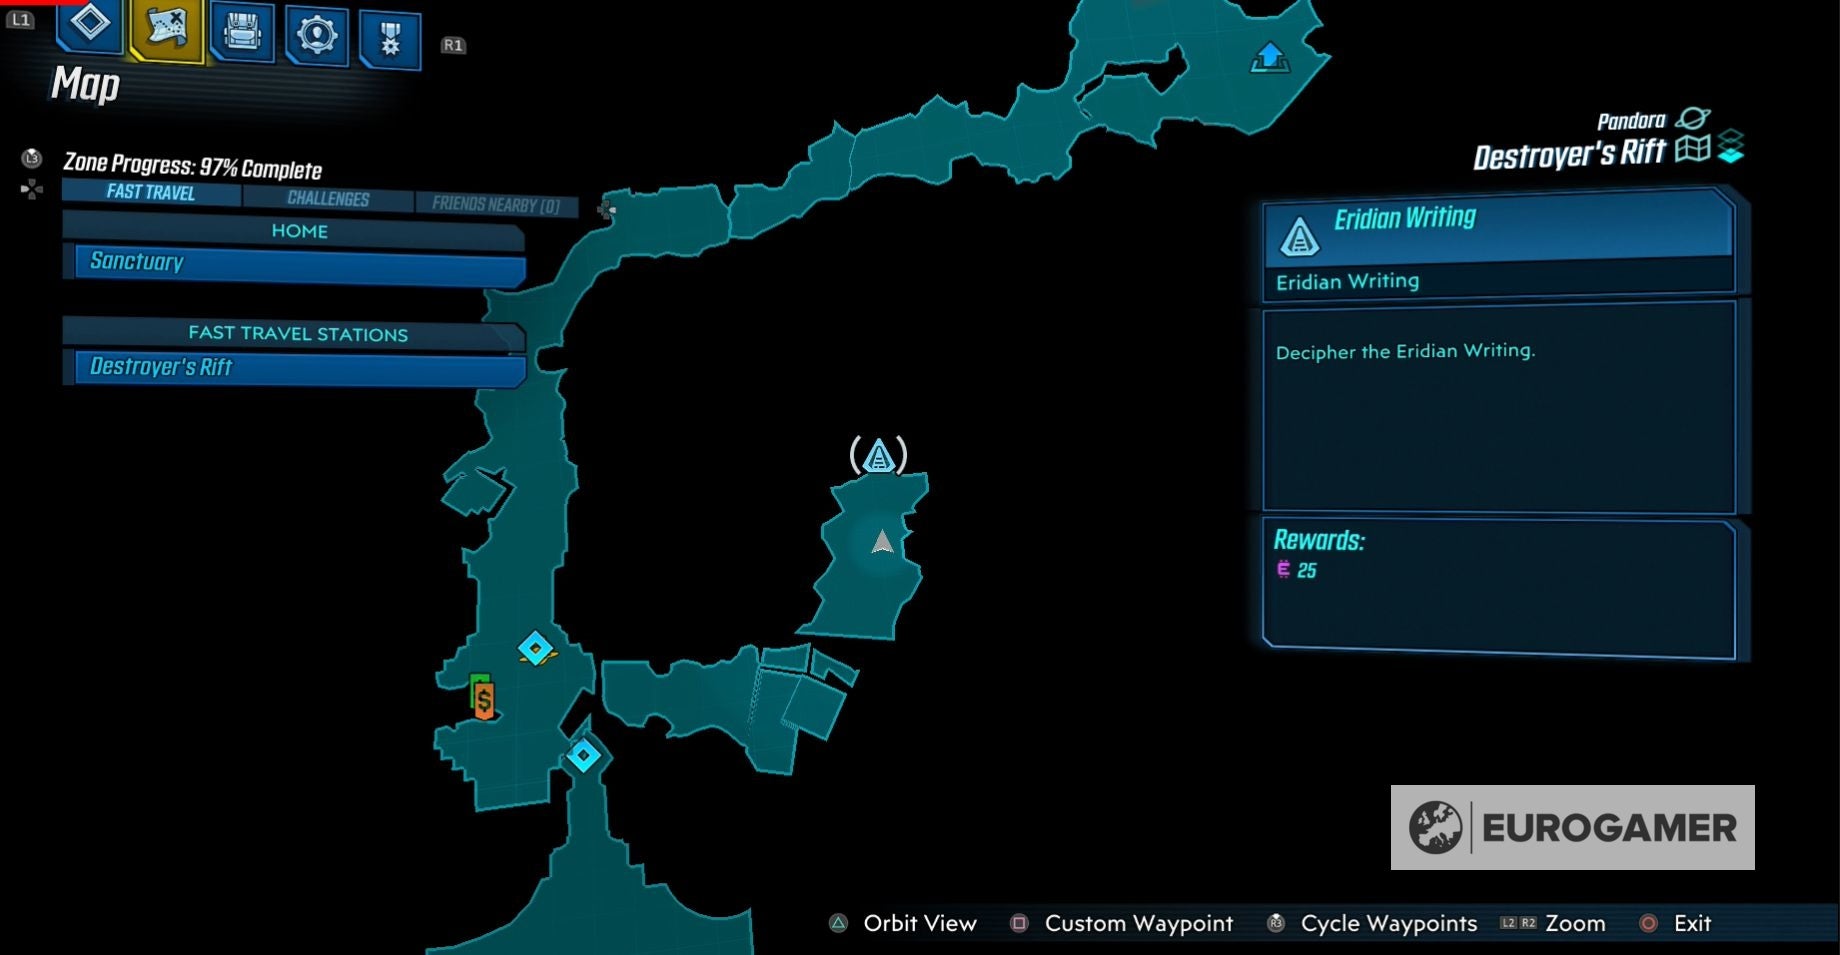
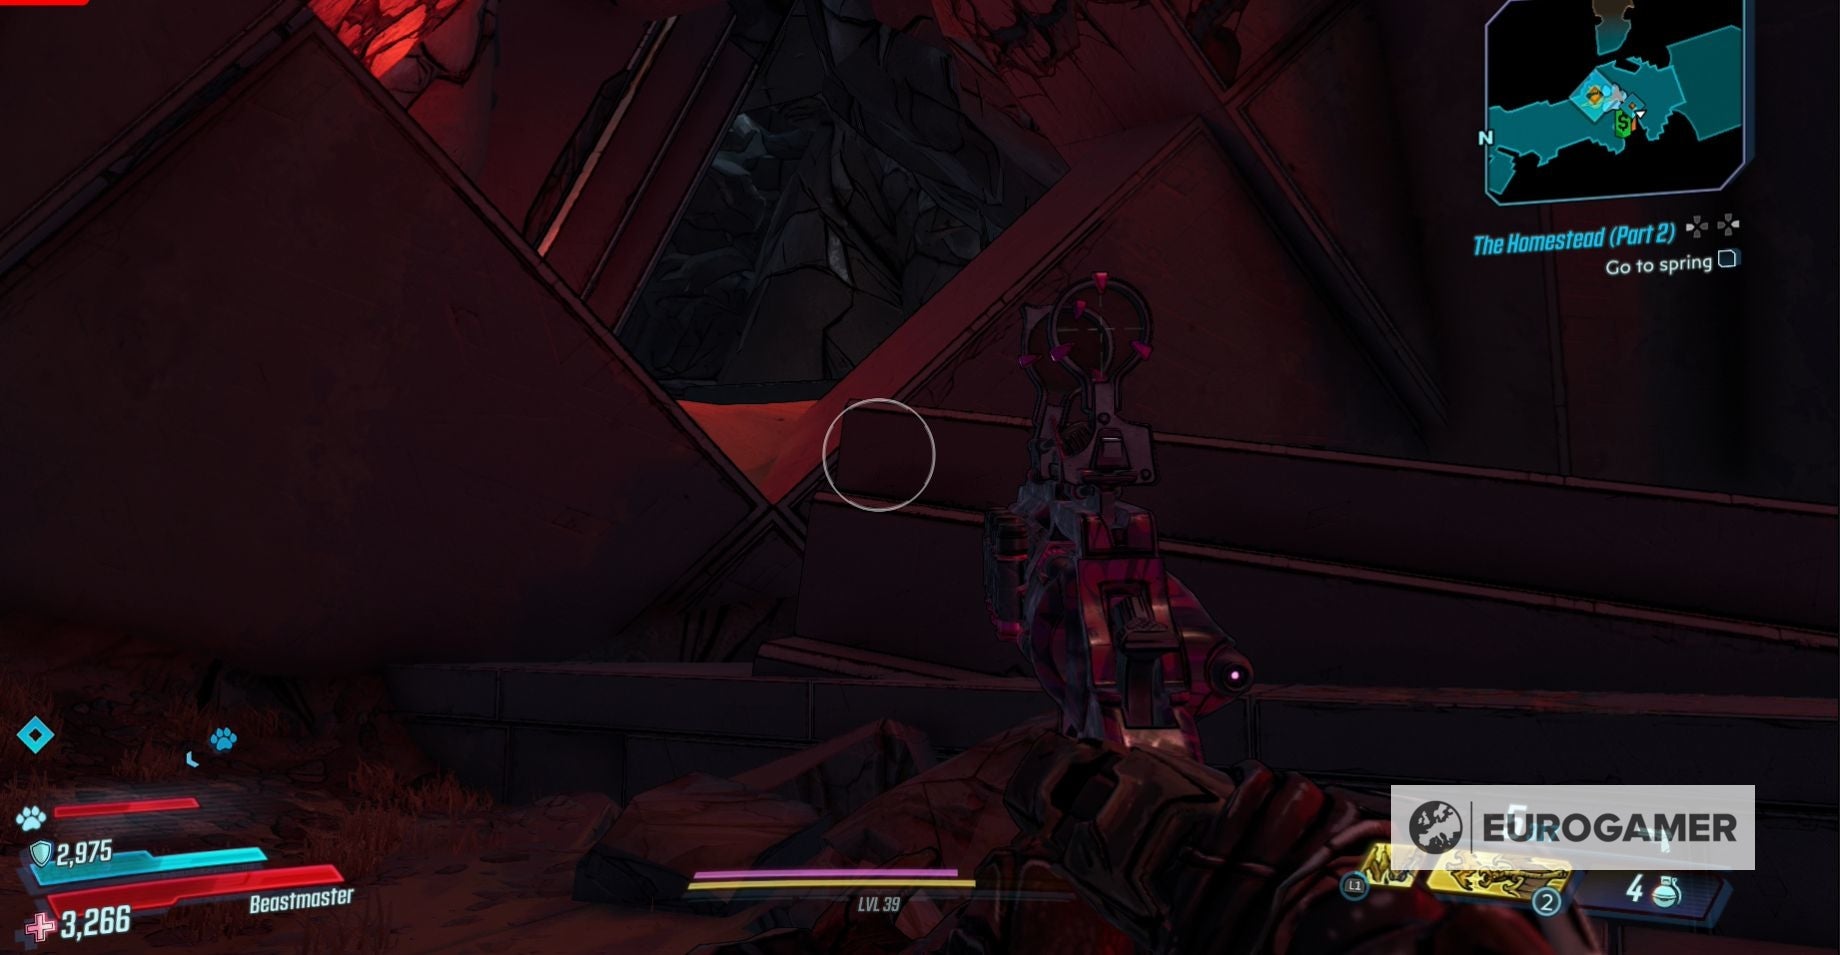
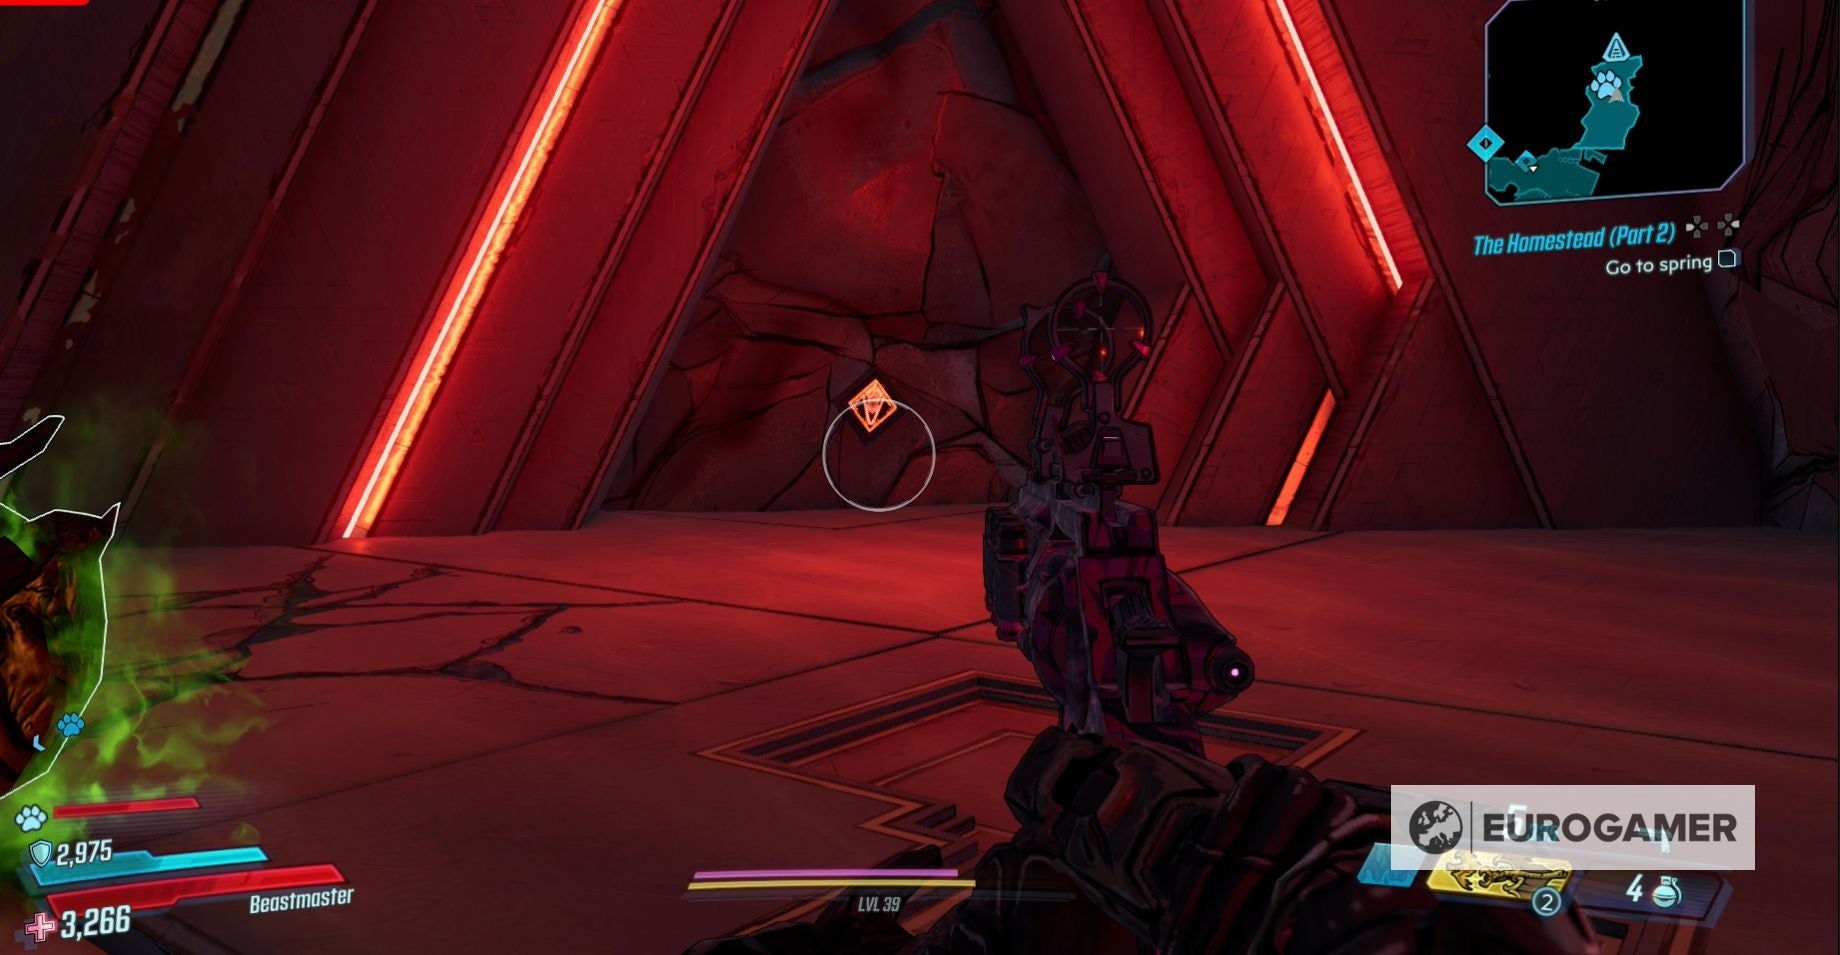
In the Great Vault of Pandora, you’ll find an Eridian Analyzer. This will read the Eridian Writing scattered across the galaxy for you, revealing some secrets about its history. You’ll receive 25 Eridian for every piece of Eridian Writing you read. This Eridian has a variety of uses, including paying new cosmetic items from Earl on Sanctuary III. In this guide, you’ll find out how to decipher and read Eridian Writing As well as including an explanation about how to decipher and read Eridian Writing, we’ve also have the location for the each piece of Eridian Writing in the following area: Pandora: Promethea: Athenas: Eden-6: Nekrotafeyo: These slabs are Eridian Writing, but you won’t be able to do anything with them until you’ve completed the nineteenth story chapter - The Great Vault. Inside the Great Vault, you’ll discover the Eridian Analyzer. This device will decipher the Eridian Writing for you, transforming it into an Echo Log you can listen to whenever you want. To use the Eridian Analyzer, simply walk up to a piece of Eridian Writing and press the promoted button. The Eridian Analyzer will then translate the text for you. For every piece of Eridian Writing you decipher, you’ll receive 25 Eridian. The first is in Varkid Valley, near where you fight Lavender Crawly for the Legendary Hunts. To reach this piece of Eridian Writing head west from The Droughts Fast Travel Station, until you reach the valley. Next, follow the right-hand wall of the valley until you reach a cave. At the back of the cave, you’ll find the Eridian Writing. The second is near Tannis’s camp, which is north from Ellie’s scrap yard. Head down to the lowest level of the camp and you’ll find the Eridian writing in a cave. To reach this writing you must travel to the bandit camp next to the most northerly Catch-A-Ride station. Climb to the top of this camp and you’ll be able to cross over to the other section of the camp by a series of bridges. Once you’re on the other side, make your way around the camp. You want to keep following the road until the camp is behind you and you’re out in the desert again. Keep following this pathway and you’ll eventually come to the Eridian Writing set in the wall. To reach it fast travel to the Meridian Outskirts Fast Travel Station, enter the plain and then travel west until you reach an alcove. Head up the stairwell in this alcove and climb over the medical screens to find the Eridian Writing. Simply Fast Travel to the Meridian Metroplex Fast Travel Station and then look to your right to see the Eridian Writing. Head back to the shrine you visited after defeating Captain Traunt and the Eridian Writing will be in the middle of the walkway. Take the first left path once you exit the Maintenance Corridor and you’ll find a large orange pipe that you can climb up. This will lead you to a small hidden area where, on the right-hand wall, you’ll find the Eridian Writing. Take the elevator in the main room of Atlas HQ to reach his office. Once you’ve passed the fish tanks, you’ll find the Eridian Writing to your right. The quickest way to reach it is to fast travel to Lectra City and then follow the road to the left, until you past the Dockyard. Shortly after passing this area you’ll see a passageway leading down to the underground on your right-hand side. Take these steps and then follow the path to the right. Keep your eyes on the right-hand wall, because that’s where the Eridian Writing will quickly appear. Continue through the tunnels that lie beyond the train station, until you reach the area where you first encounter the Wraiths. Kill all the Wraiths and then look to your right to find the Eridian Writing on the back of the block. To find the first head to the bottom of Knotty Peak. Once you’re there take the right hand pathway, which involves climbing the little ladder. Continue following this path until there is a right hand turn and then walk to the edge of the cliff. When you reach the cliff edge, turn to your left to find the Eridian Writing hidden beneath a tree. The second piece of Eridian Writing is located west of the entrance to The Anvil. Just before the entrance to The Anvil you’ll find a small pathway between two broken down cars. Walk past these cars and continue on past the house in this area and up the hill. Keep going until you see a series of ledges with yellow paint on them - climb up this ledge and head left. You will quickly find a waterfall on your right-hand side and, beneath it, you’ll find the Eridian Writing. After you pass the building that has the first Typhon Log sat upon it, there is a pipe surrounded by broken cars. Head into this pipe and then go into the small room on the left-hand side to find the Eridian Writing. Head into this swamp land, keeping to the right-hand side of this area. Go to the tree that is farthest north out of this clump of trees to find the Eridian Writing hiding at its roots. Head to waterfall and climb up into the caves hidden behind its waters. You’ll find the Eridian Writing fixed to the back wall of the innermost cave. The first is in the large wetland that lies beyond the Rogue’s Hollow. The easiest way to find this piece of Eridian Writing is to head to the nearby Typhon Log. This is the log that is near both the net and the house with party balloons. Once you’re there, head into the roots of the large tree that is directly opposite the Typhon Log. You will find the Eridian Writing sitting within the roots of this tree. The second piece of Eridian Writing in the bandit camp directly east of Rogue’s Hollow. To reach this area take the path nearest to the entrance of Rogue’s Hollow and then continue forward until you reach the bandit camp. Next, you’ll want to kill all the bandits in the area to make your search easier. When all the bandits are dead, continue through the camp until you find a large skull. The Eridian Writing is hidden behind this skull. Head to the gardens beyond the cellars and go through the left-hand gate. Once you pass through the gates, immediately turn left and head towards the waterfall. The waterfall hides a small cavern that you can reach by either sliding or crouching. In this cavern you will find the Eridian Writing. The first piece is located east of Roland’s Rest. To find it head down to the Catch-A-Ride of Roland’s Rest and then wall the valley wall to your left. If you stick to this valley wall, you’ll eventually find the Eridian Writing. Don’t worry - it’s not very far. The second piece of Eridian Writing is located west of Roland’s Rest. You can find it using a similar method to the first piece - head to the Roland’s Rest Catch-A-Ride and follow the valley wall to your right. Keep following this wall, even dropping down the small cliffs, and you will eventually reach a small cave that contains the Eridian Writing. The quickest way to reach this piece of writing is to fast travel to the The Splinterlands - Chop Shop Fast Travel Station. From here, head north towards the billboard. On the hill directly opposite the billboard, you’ll find a small cave. Enter this cave to find the Eridian Writing for The Splinterlands. This piece of writing is out on the eastern edge of the main plain, just a little south from the last Typhon Log of this area. To quickly reach this writing, work your way through the entrance of Carnivora, then, when you reach the main plain, jump in a Catch-A-Ride. You will want to follow the valley wall to the east. Keep your eyes on the valley wall, because the Eridian Writing will be on one of its large rocks. Thankfully it glows orange making it easy to see. The Eridian Writing is located in the room south of where you fight the Agonizer 9000. To reach this piece of writing work your way through the Guts of Carnivora just like you did during your first visit. When you reach the area just before you fight the Agonizer 9000, you will see a small hole with a ladder in it. Drop down this hole. You’ll find yourself in a room full of enemies. Make sure you kill them all before heading to the Eridian Writing. With all the bandits dead, you’ll find the Eridian Writing sitting amongst a set of television screens at the back of this room. The Eridian Writing of Konrad’s Hold is located in an area that is only accessible when you’ve started the side mission The Demon in the Dark. To start this mission, cross the bridge that connects the upper half of Konrad’s Hold to the lower. At the end of the bridge you’ll find a small gully. Jump down into the gully and talk to the abandoned robot head to start The Demon in the Dark. If you’re having trouble shooting through the three rings, make sure you’re standing on the square titles to activate them. Once activated the rings will glow purple. You now have to play through The Demon in the Dark until you reach the room containing the Echo log for this mission. Here the Eridian Writing will be waiting for you on the wall. It’s hidden down a passageway about halfway along your drive to the cathedral. Stop driving when you see a half-open door, which you can either slide or crouch beneath. Once you’re inside this room, go through the hole in the wall and climb up the ledge inside. Finally, head to the back of the cave to find the Eridian Writing. The first can be found in the abandoned temple in the southern part of the main plain of Desolation’s Edge. The Eridian Writing can be found in the room containing a collection of Wraiths. Once the Wraith are dead, you can read the writing that is located on the wall to the right of the doorway. The second piece of Eridian Writing is located in the underground caverns in Desolation’s Edge. To reach this area you must first complete the side mission Cannonization. You can start this side mission by talking to Grouse - one of the robots in Typhon’s camp. Once you’ve finished Cannonization, you’ll be able to start the side mission Bad Vibrations by again talking to Grouse again. Play through this mission until you gain access to the underground caverns. Work your way through the caverns until you reach the second cavern with an opening to the outside world. Head out onto the outside platform of this area to find the Eridian Writing on the wall. To find this writing work your way back to the main temple and then take the elevator to the upper floor. Once you’re on the upper floor, head into the next room and then through the doors on the right-hand side of the room. You’ll find the Eridian Writing on the back of the statue in this room. It’s located in the room just before you reach the pedestal for the Eden-6 Vault Key fragment. Make your way through the ruins, killing anyone who attacks you, until you reach this room. Clear out all the bandits that appear to attack you to make finding the Eridian Writing easier. When all your enemies are dead, head to the pillar nearest the doorway at the end of this room. On the back of this pillar, you’ll find the Eridian Writing. Borderlands 3 has arrived! Check out our skill tree guides for Amara, Fl4k, Moze and Zane. If you’re looking for more challenges to complete, check out our guides on the Dead Claptraps, Broadcast Towers, Eridian Writing,Hijack Targets, Legendary Hunts and Typhon Logs and Typhon Dead Drops. If you want some easy rewards, consult our Borderlands 3 Shift Codes and VIP Codes page. When you’ve finished Borderlands 3, visit our guides on Guardian Rank and Rewards, Mayhem Mode and True Vault Hunter mode to learn more about what you unlock in the post-game. When you’ve finished Borderlands 3, visit our guides on Guardian Rank and Rewards, Mayhem Mode and True Vault Hunter mode to learn more about what you unlock in the post-game. To find this piece of writing, rather than heading down to fight Tyreen, climb through the gap in the wall to your right. Follow this path along and you will find the Eridian Writing at its end.
