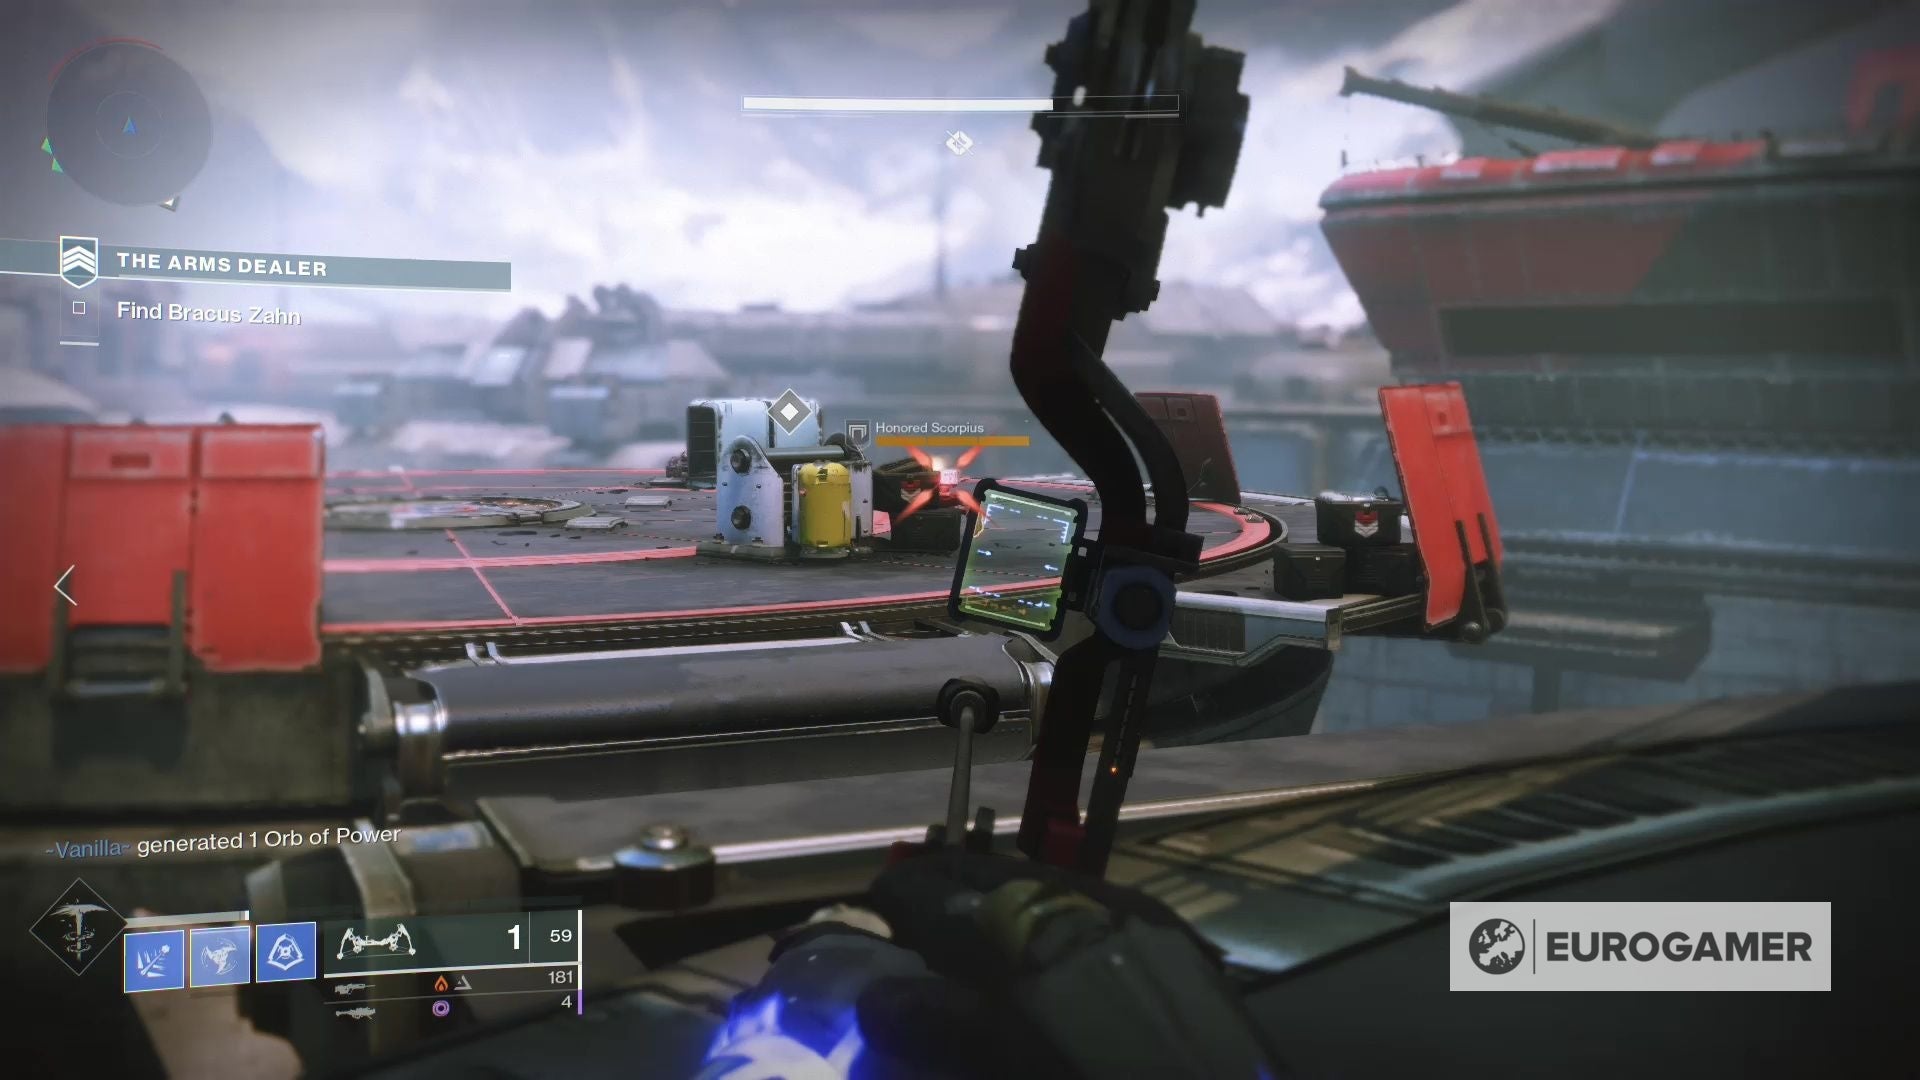
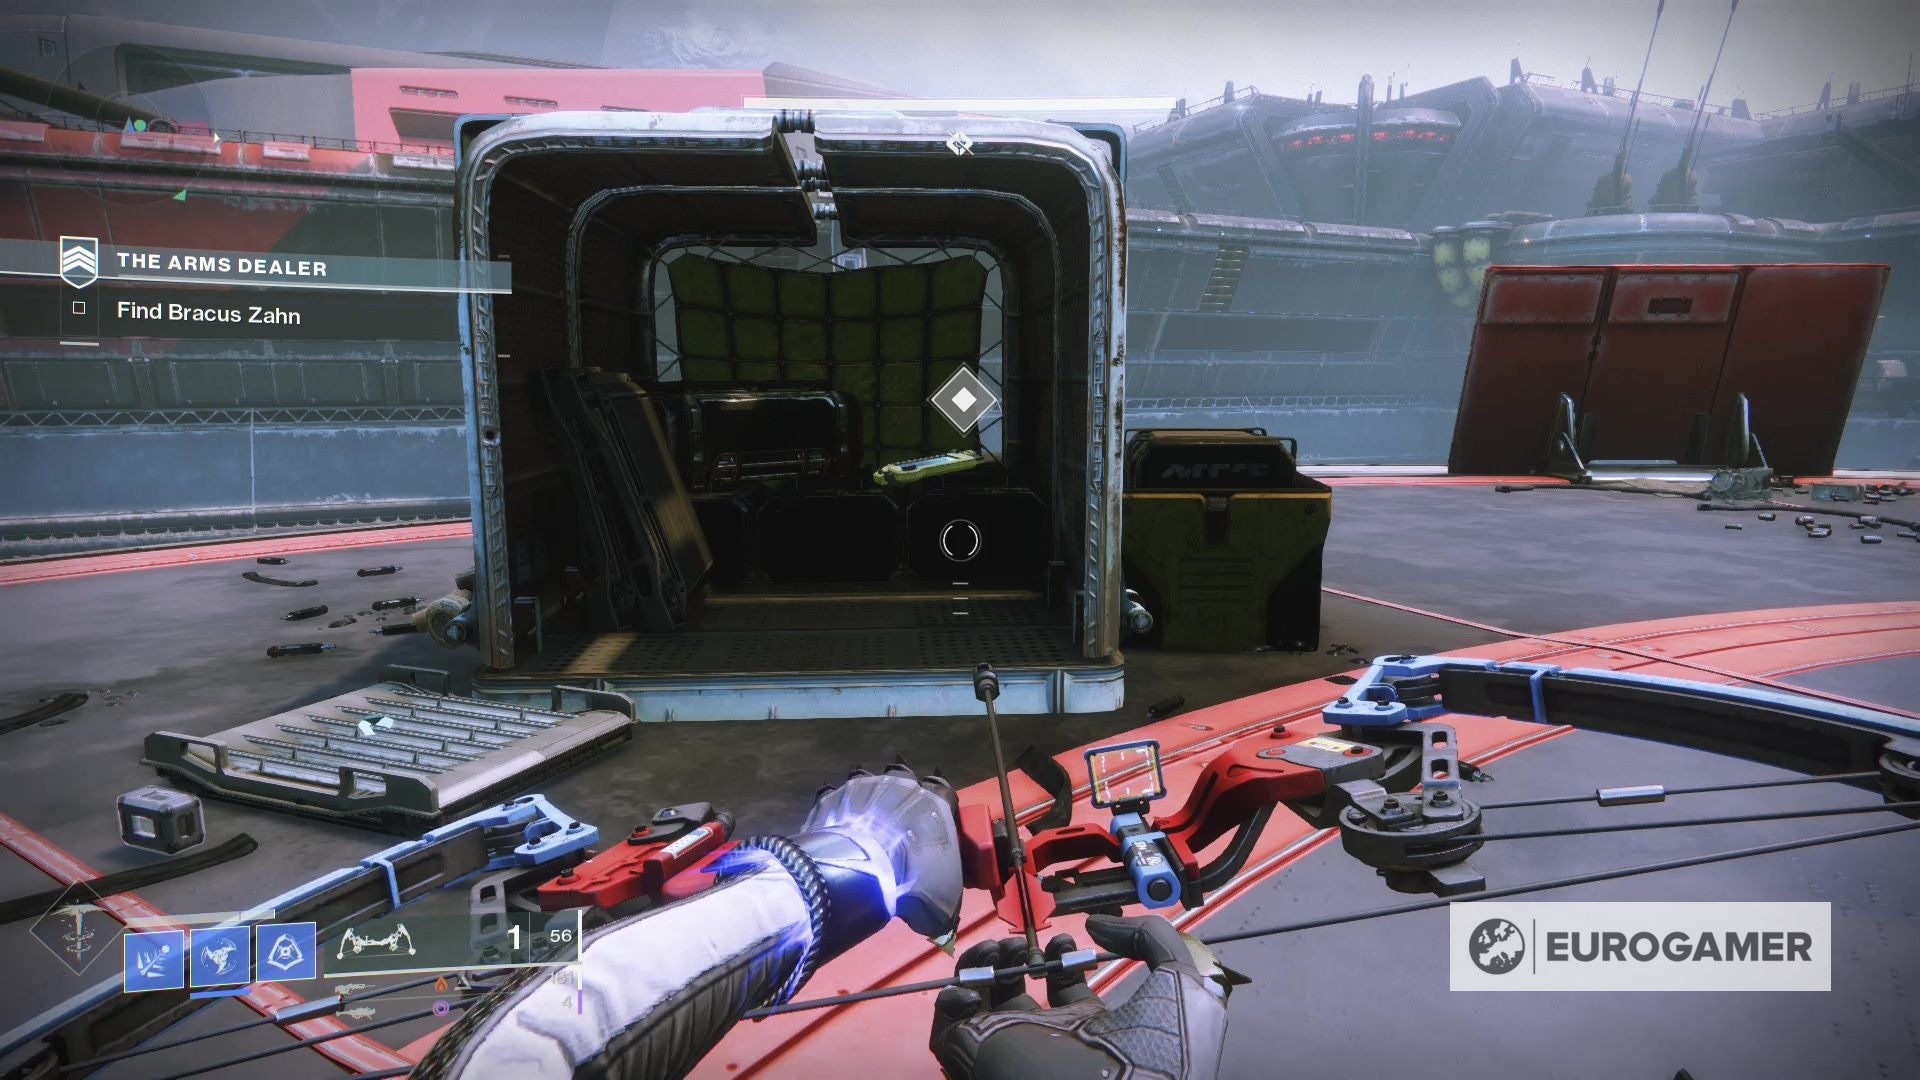
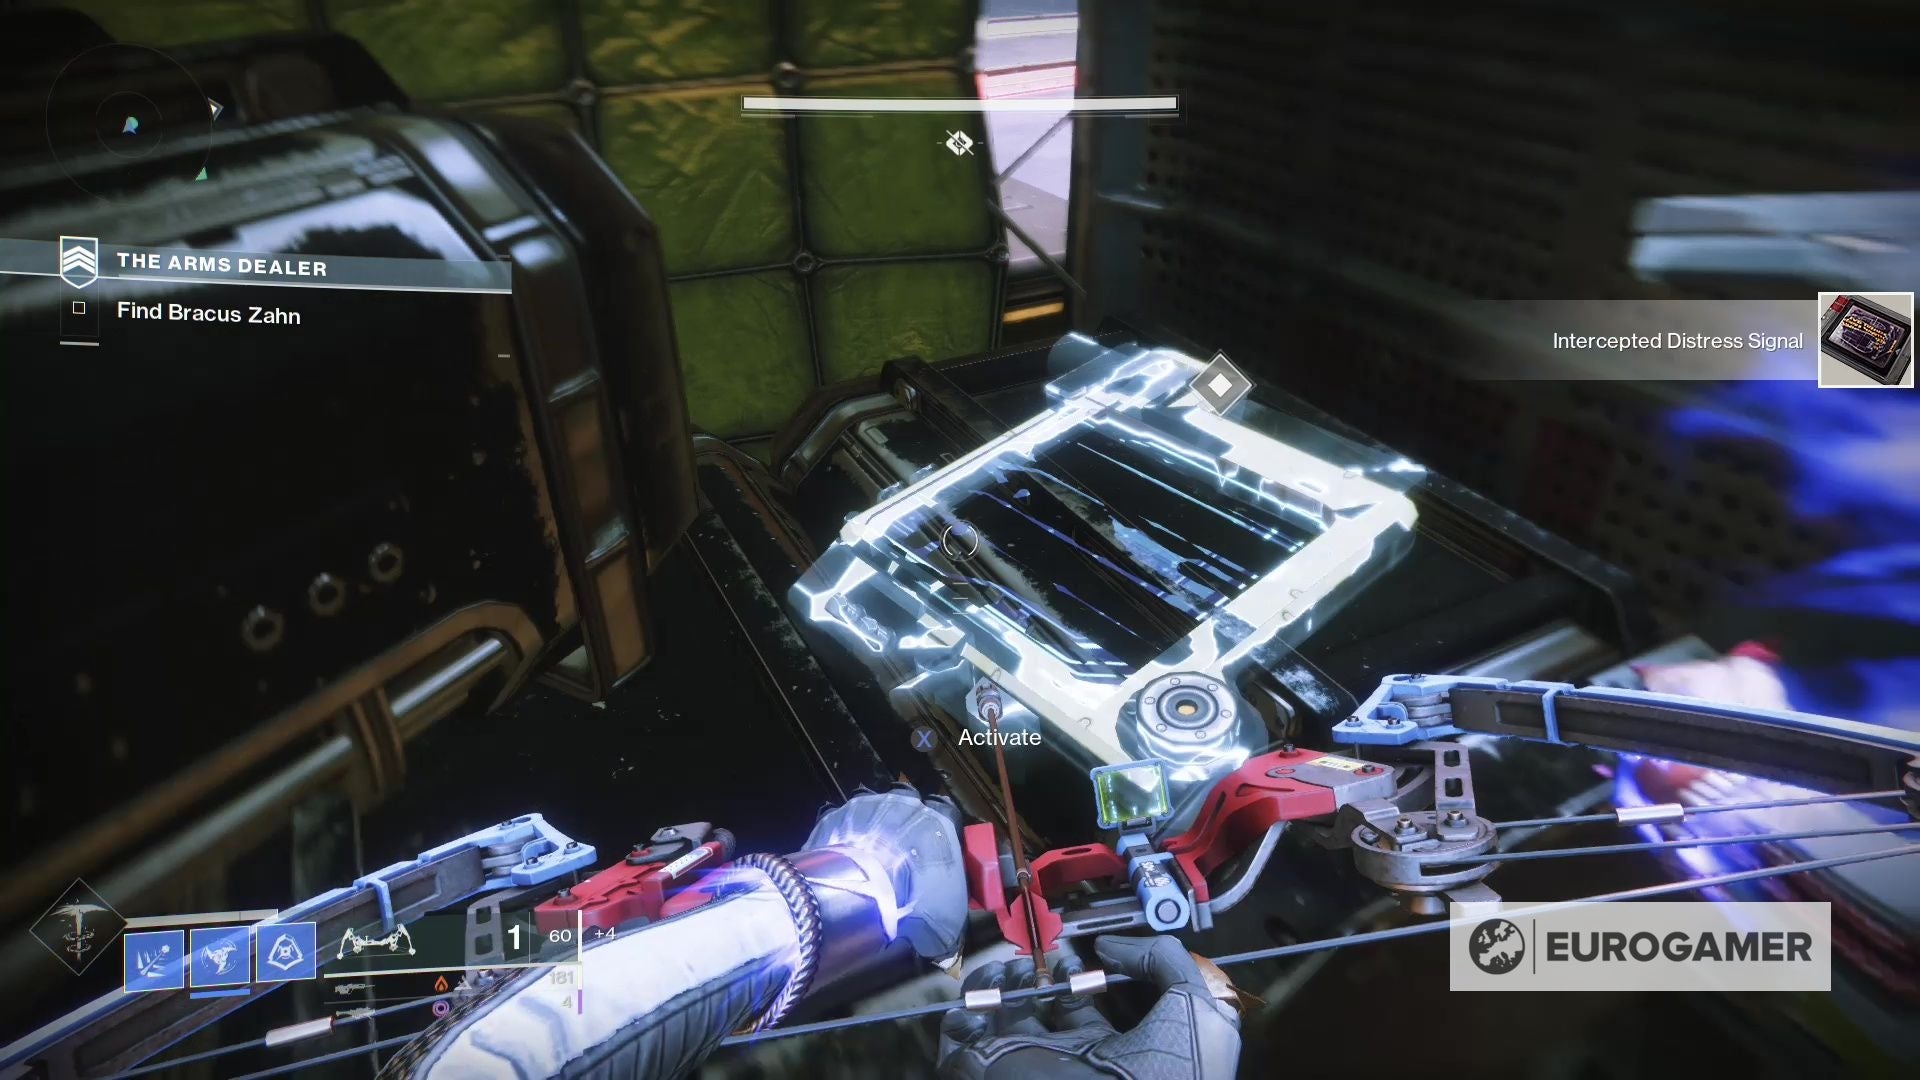
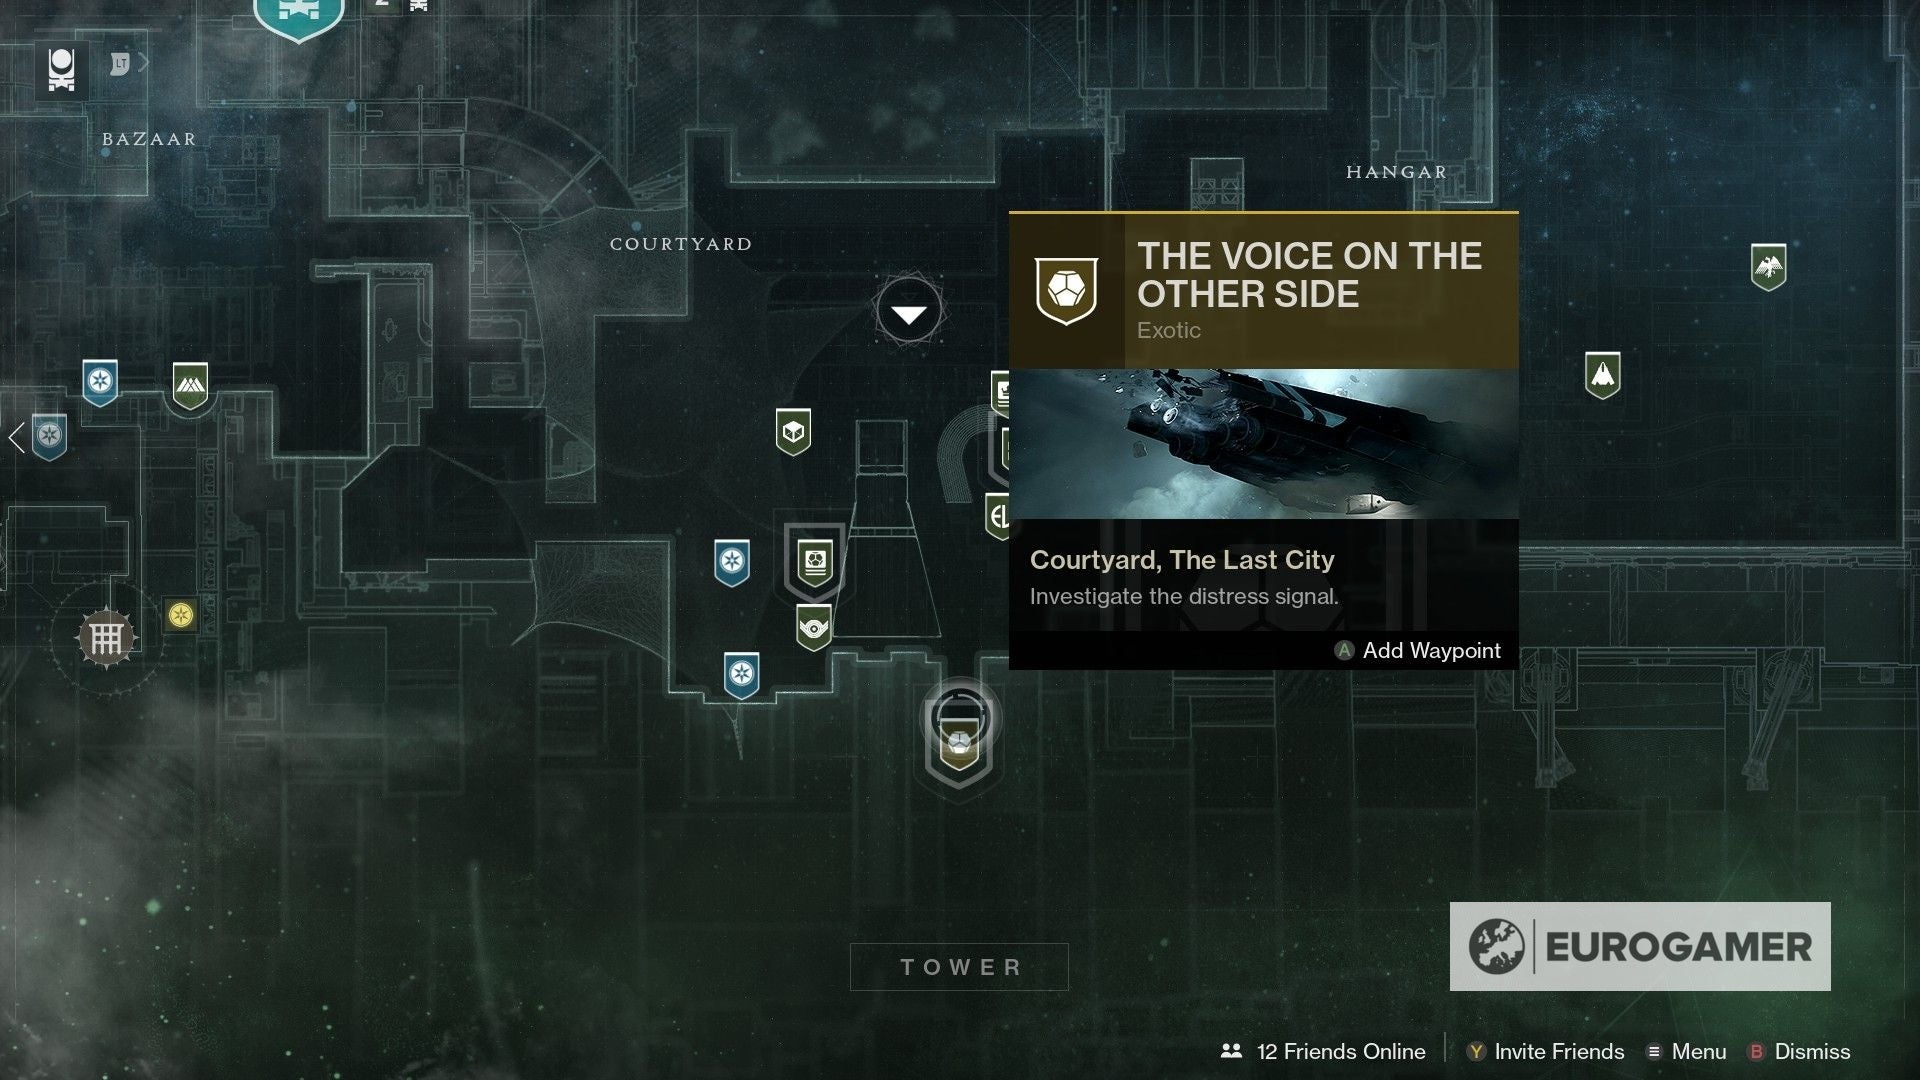
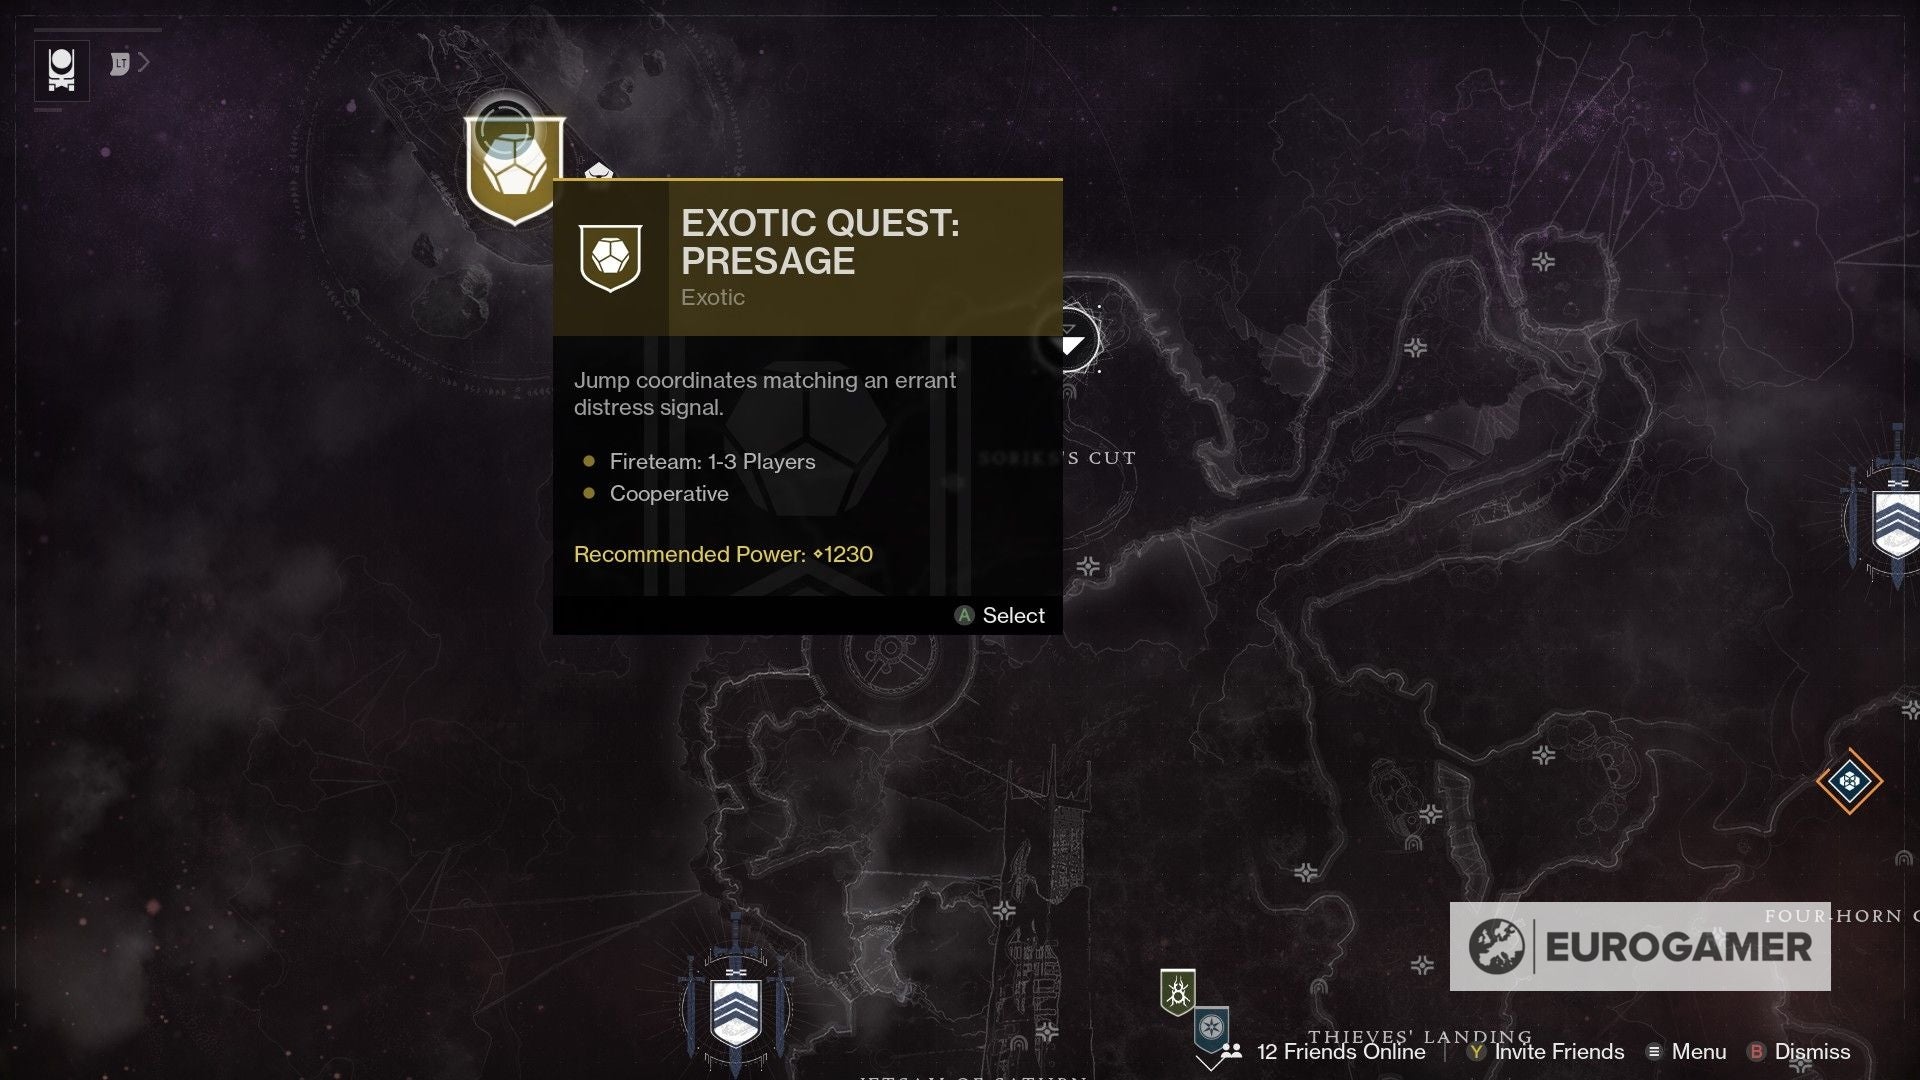
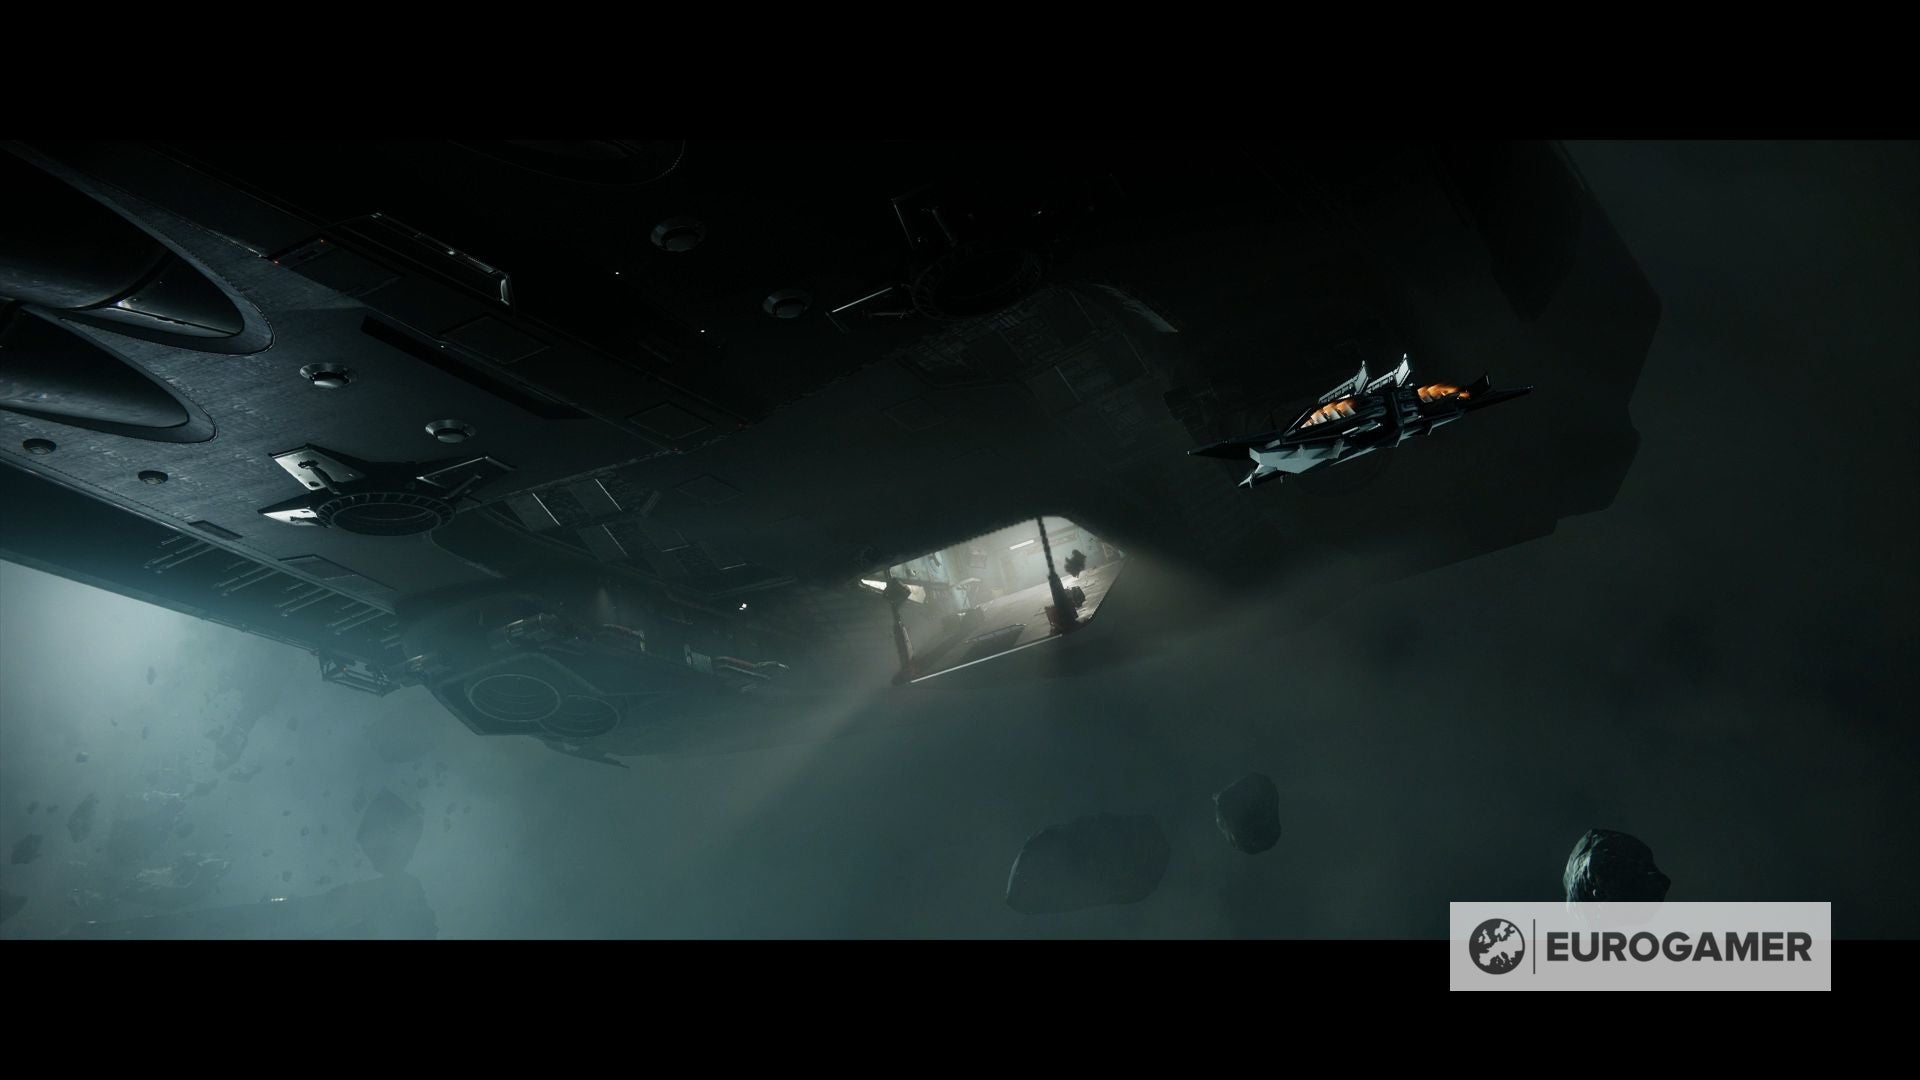
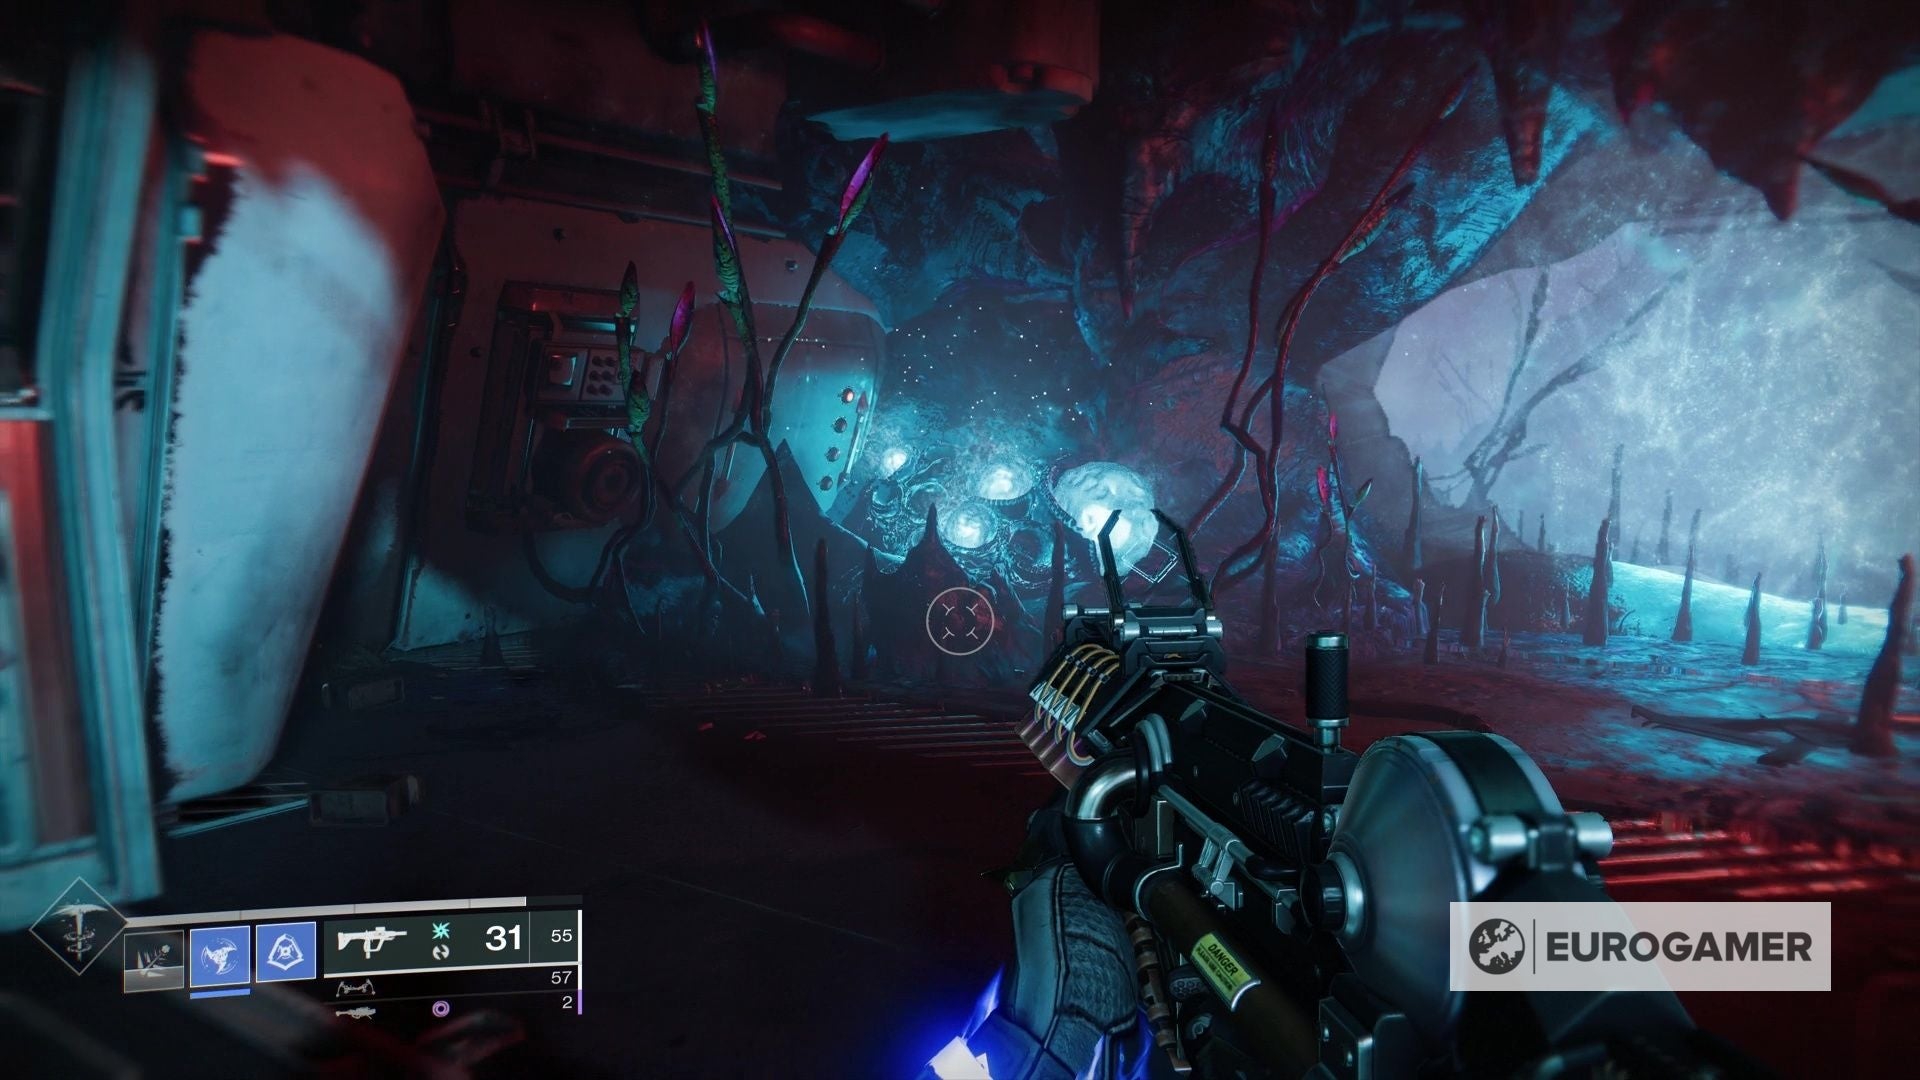
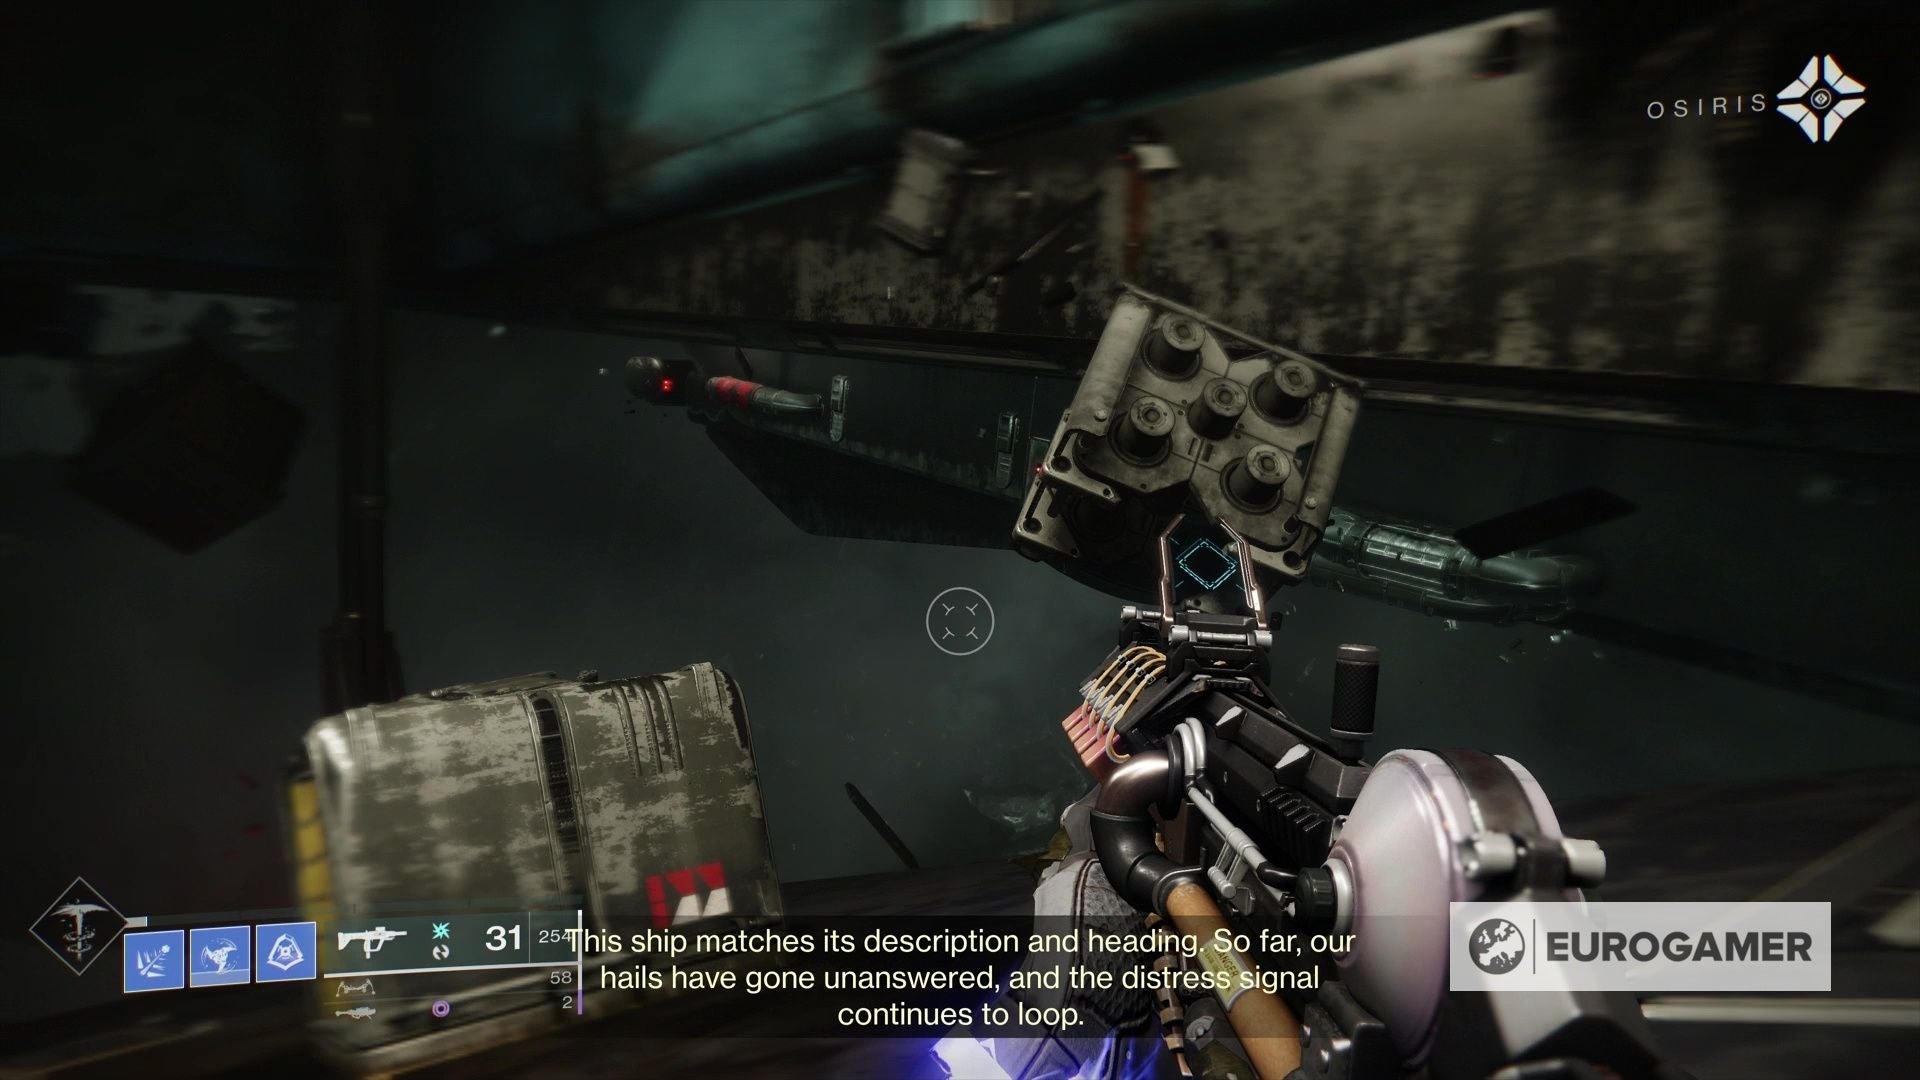
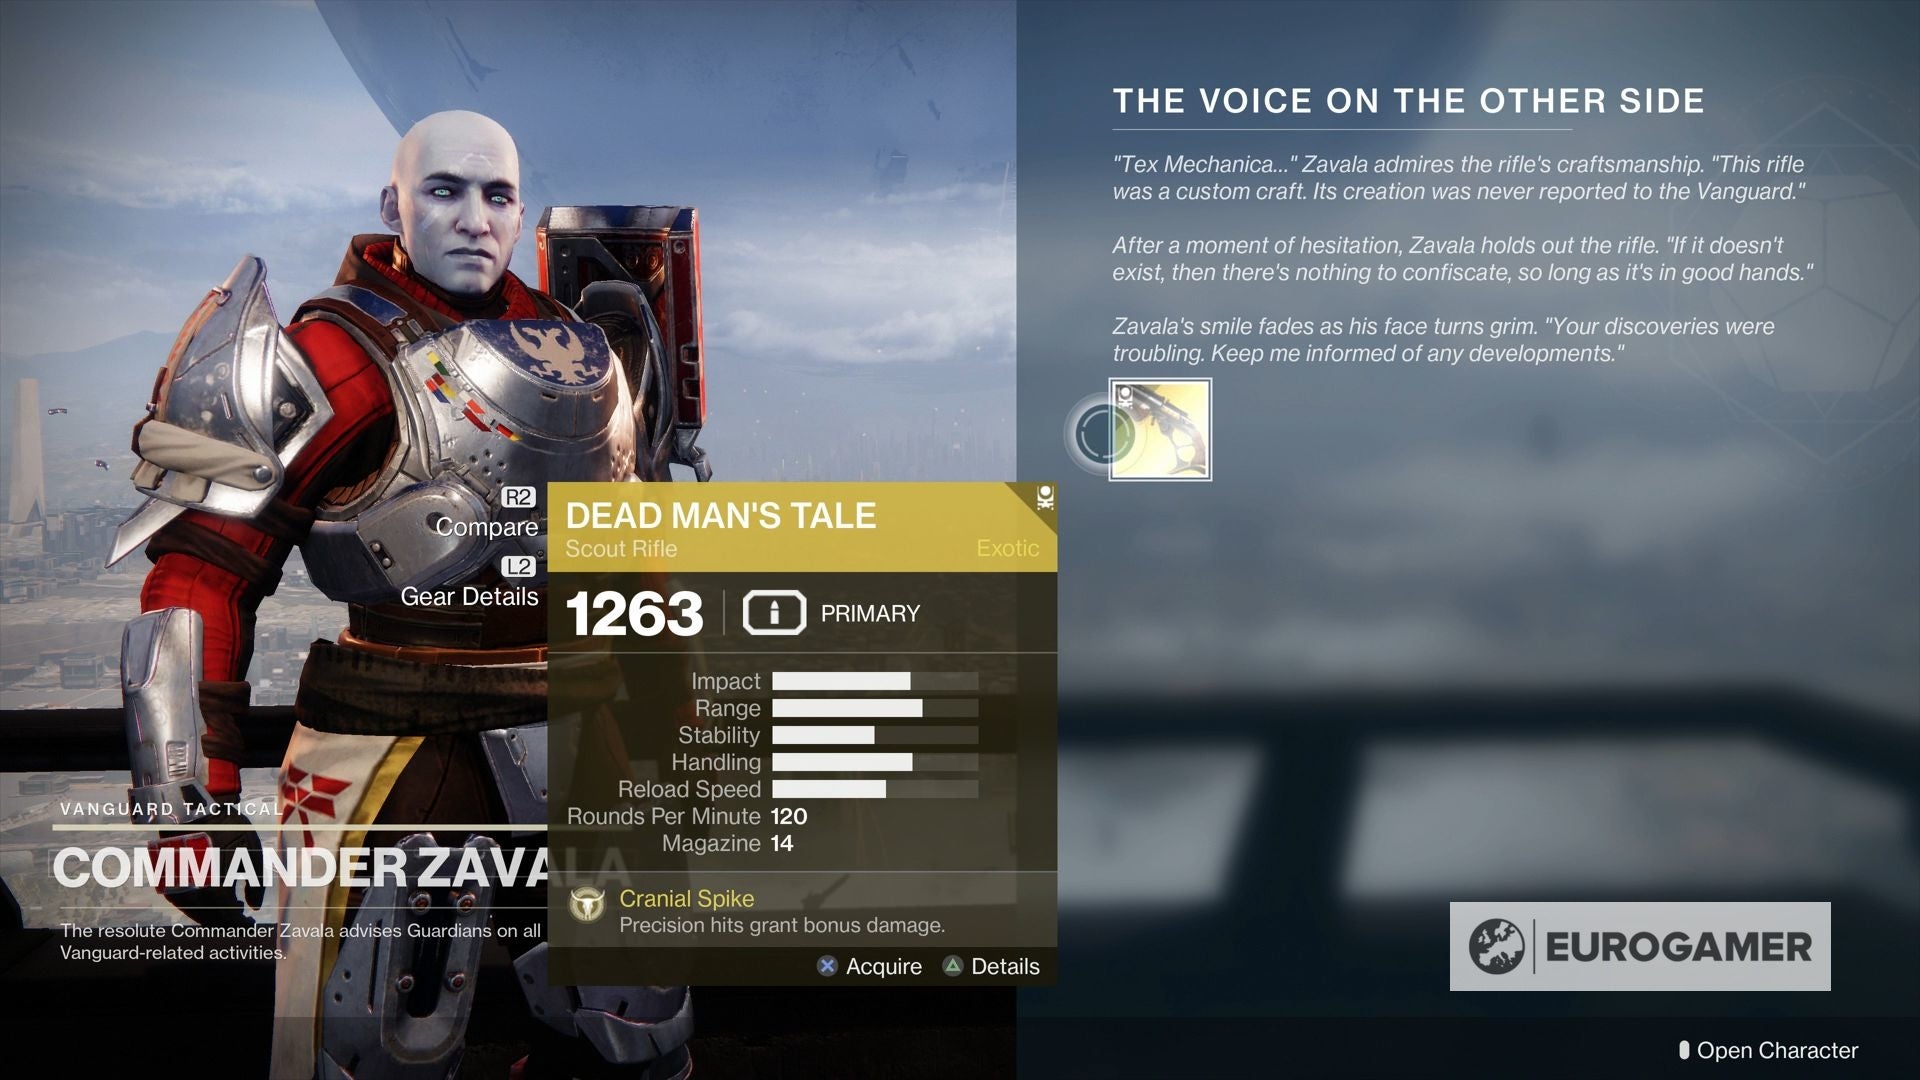
The mission is part of The Voice on the Other Side, a quest which culminates in Dead Man’s Tale, a new Exotic Scout Rifle, as the reward. This mission is not unlike Harbinger, Whisper of the Worm and Outbreak Perfected’s Zero Hour, offering a challenging mission with several difficult combat encounters and puzzles. This page explains how to start The Voice on the Other Side and Presage, as the first step isn’t obvious - as well as what to look out for during the mission itself. On this page: There are far fewer steps than most Exotic missions - including those with cumulate in a unique mission. That said, getting the quest underway is difficult unless you know exactly where to look - while the mission itself will take you some time to complete. It doesn’t matter if you choose it as a Nightfall, or from the director screen in the EDZ - as long as you start right at the beginning of the mission. When you begin, you need to find a new route which has opened up. Usually when you begin, you must go left round the corner. Instead, at this corner, is a doorway straight ahead, newly opened for this Exotic quest. It’s easy to miss if you’re on autopilot after running the strike so many times over the years - but know it’s right at the very beginning, just beyond the first group of enemies. From there, head onwards past the turrets, and you’ll be outside. There are two ‘helipads’ ahead. Take out the enemies here - some of which have names related to Caiatl, so you know you’re on the right track - and go to the right helipad. An on-screen marker will lead you to a container, and inside, an item to collect - the Intercepted Distress Signal. Now visit Zavala in the Tower. He will explain what the Intercepted Distress Signal means, and unlocks a new quest - Presage - on the Tangled Shore. You’ll then find the mission on the director screen in the upper right corner. Jump in when you’re ready. It’s December, which means the return of The Dawning and Moments of Triumph 2022! Elsewhere, the Season of the Seraph is here alongside More than a Weapon, Seraph Key Codes and Resonate Stems and the addition of Rose in Crucible. We’ve also seen a new dungeon, Spire of the Watcher, with has a chance of Hierarchy of Needs dropping upon completion. Earliear this year we had the arrival of King’s Fall and King’s Fall challenges, plus weapons including Doom of Chelchis and Touch of Malice. For The Witch Queen, learn how to get Dead Messenger and Parasite. Though it has a 1230 power level recommendation, it will be a challenge solo - so group up if possible. We ran it in a Fireteam of two and aside from a few boss wipes it felt doable, and took around 90 minutes to complete. The Presage mission has you explore an abandoned ship. Central mechanics include shooting vents to find new routes, shooting fuses and throwing switches to open panels and doors, and shooting blue spore structures to receive a Egregore Link buff to make it through walls which ‘burn’ you. There is a Presage walkthrough below, but some tips to help you through are:
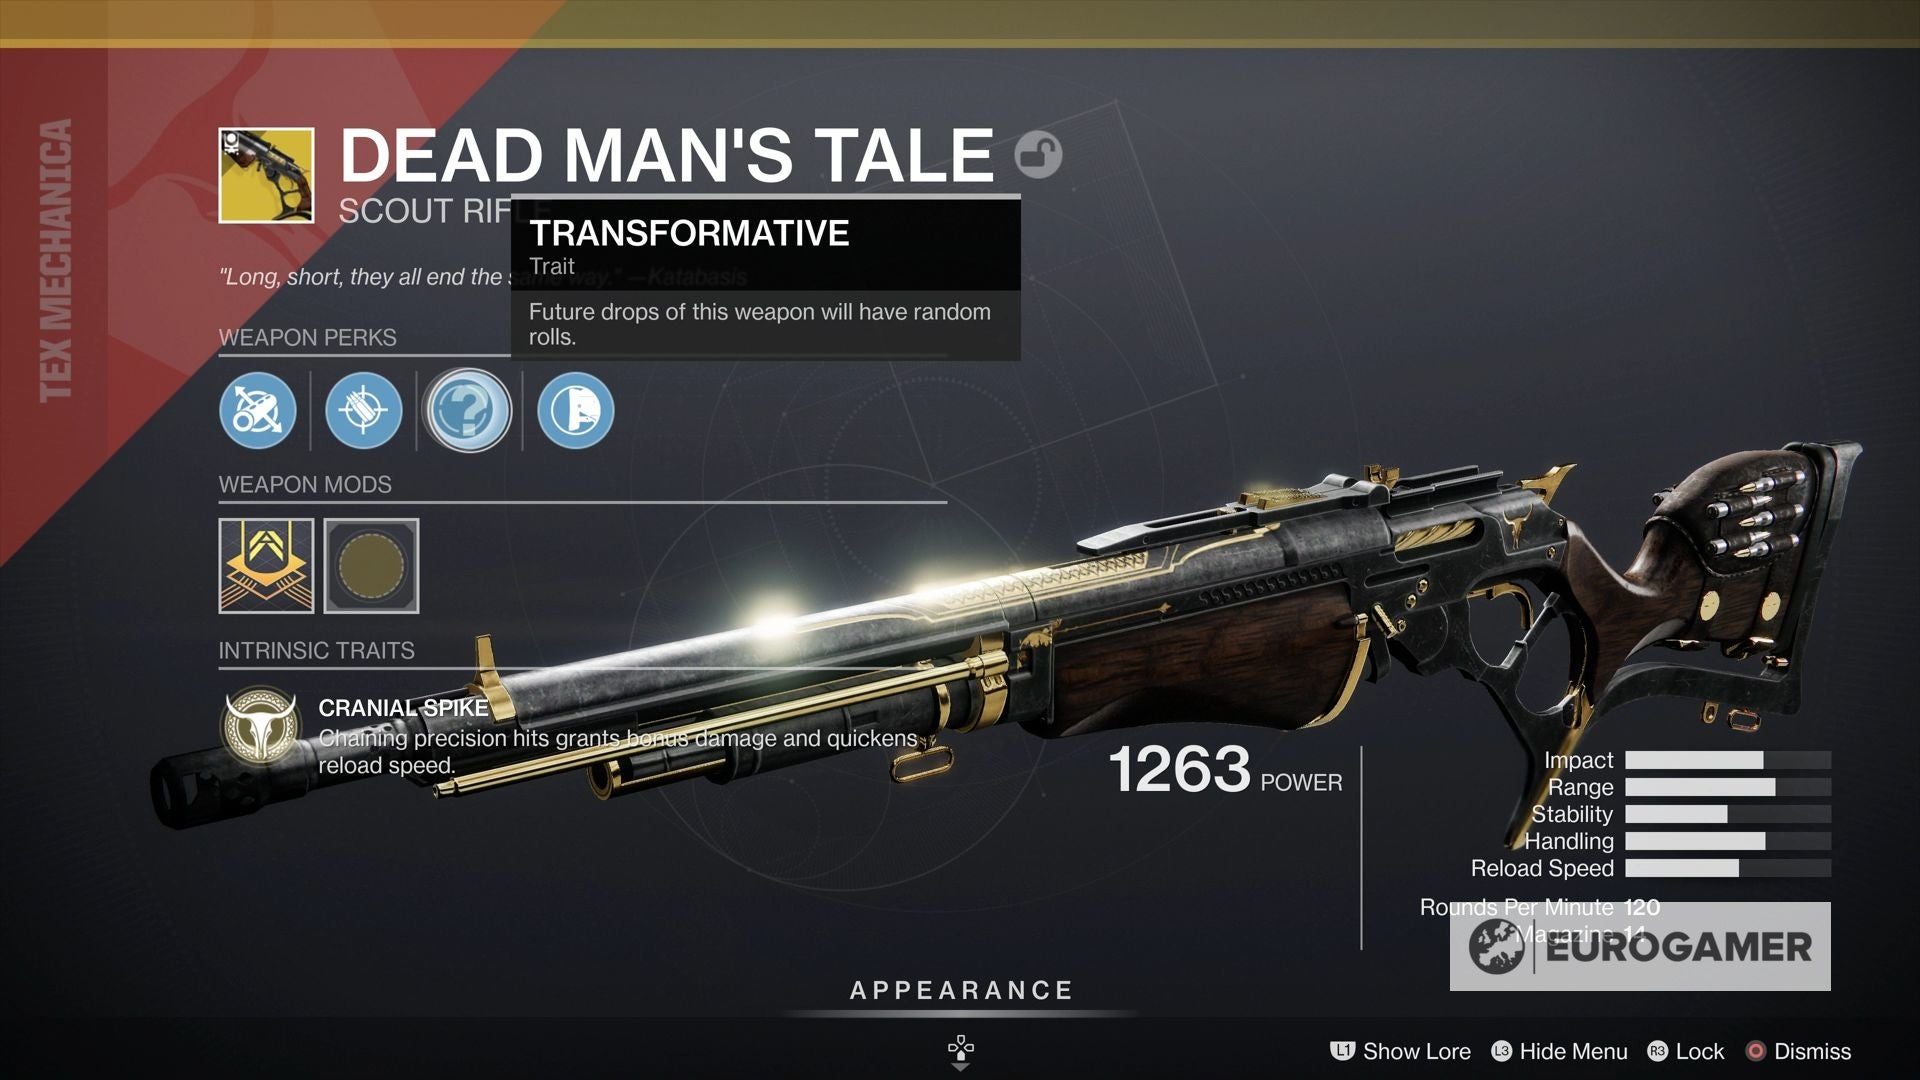
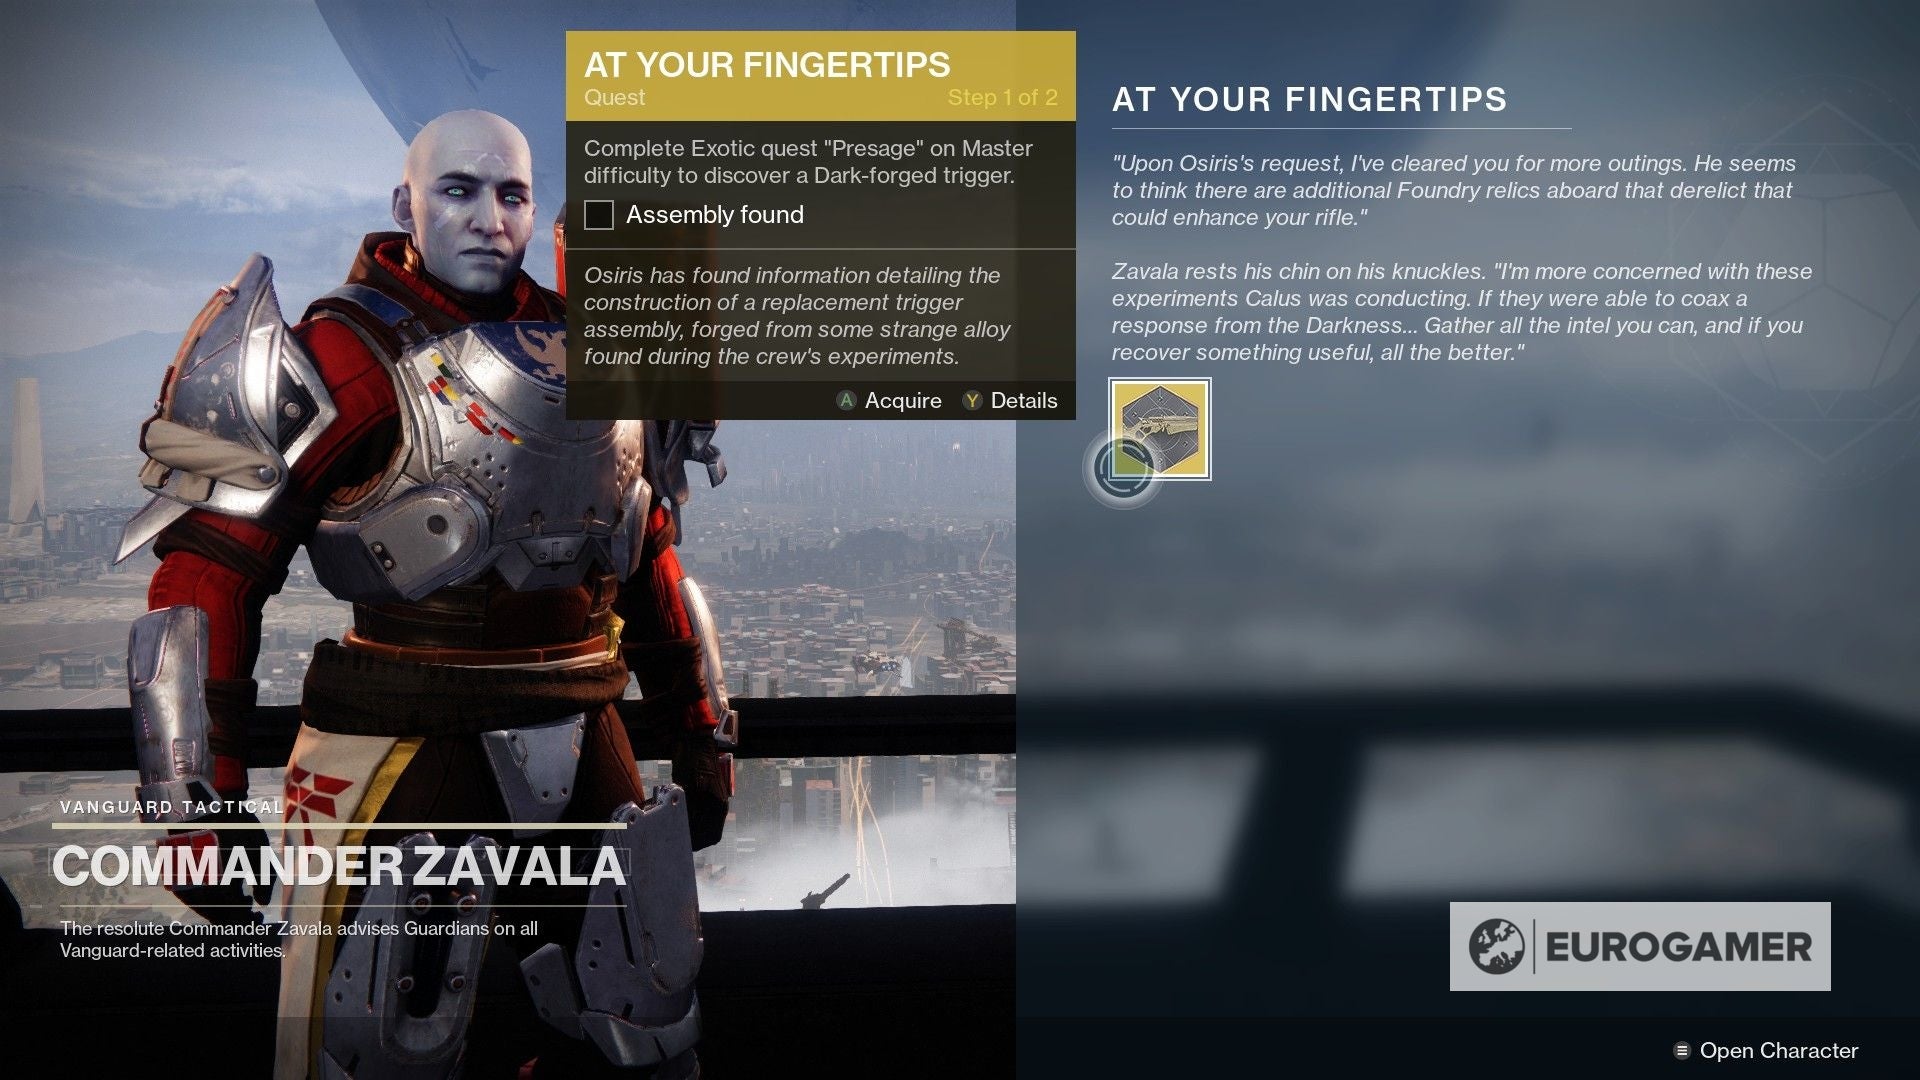
If you are in a room or vent with seemingly no way out, look up - chances are there is a ledge or doorway which takes you onward. With the Egregore Link buff from the spores, all Guardians need to be within a close proximity when shot. If it’s green, you have to wait until it turns blue again before you can shoot again and receive the buff. Several switches you need to throw for puzzles are in plain sight - look closely at the walls around you if there’s no way onward. Keep a mental note of all the closed doors you come across. If you throw a switch and the route ahead isn’t clear, chances are it has opened one of those doors. Some fuses, meanwhile, open something on a timer - so if nothing has seemingly happened, shoot again and keep looking. For the first time through it should take between 90 minutes and two hours, depending on how much you know about it ahead of time. Know there are no checkpoints, so be sure to clear enough time for a full playthrough if you want to see it to the end.
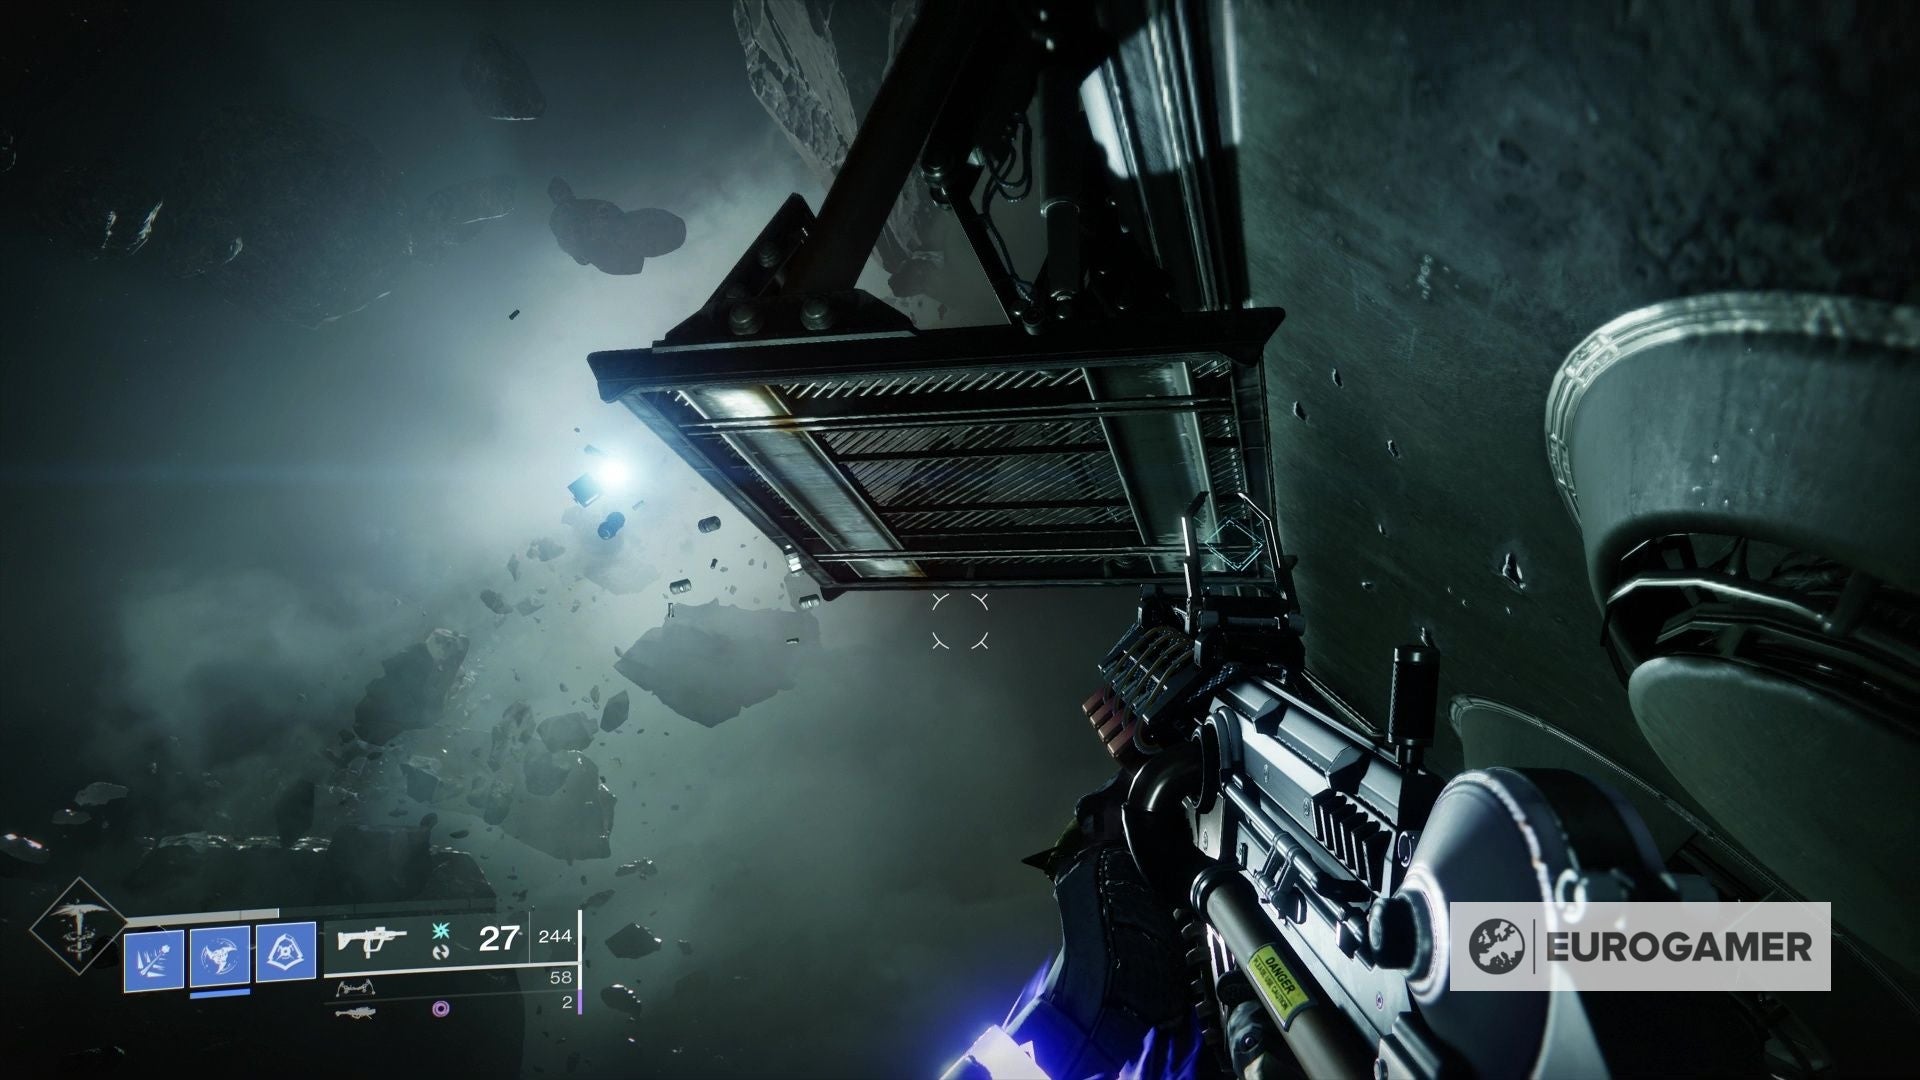
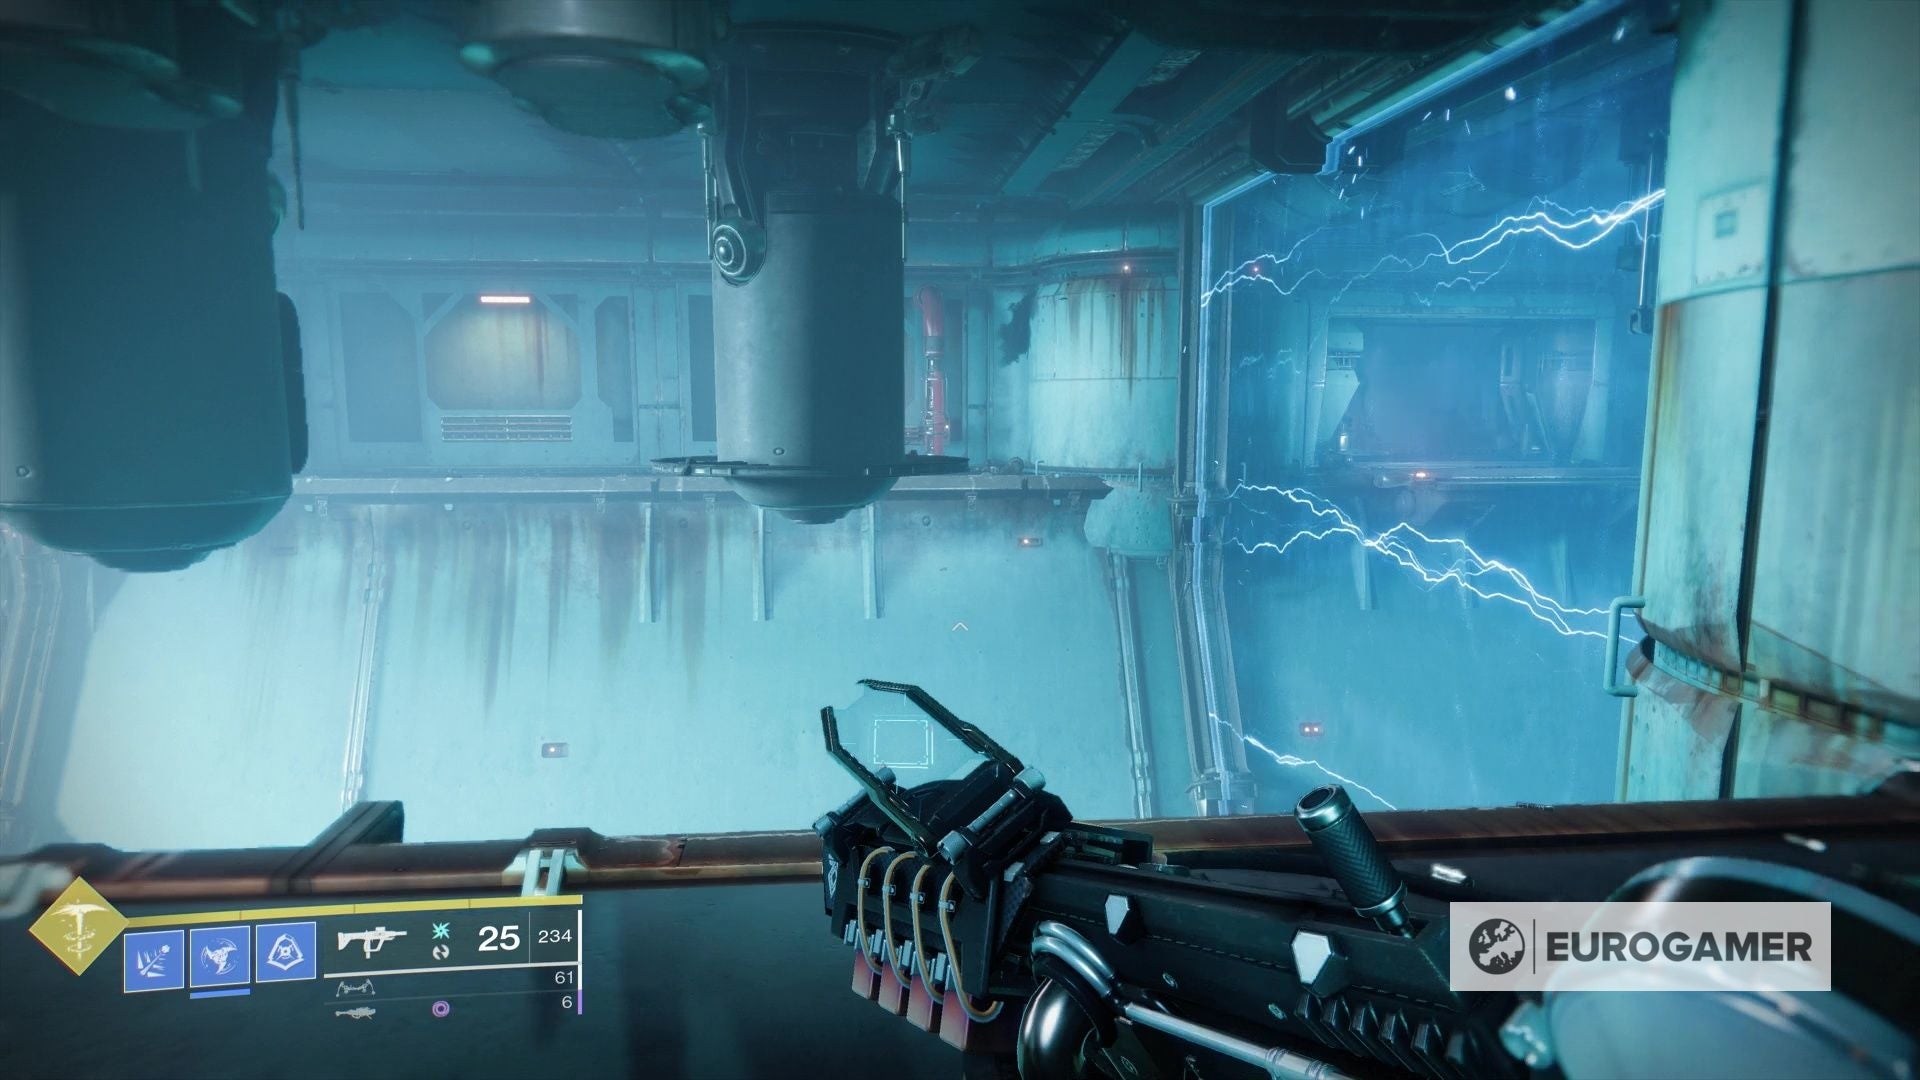
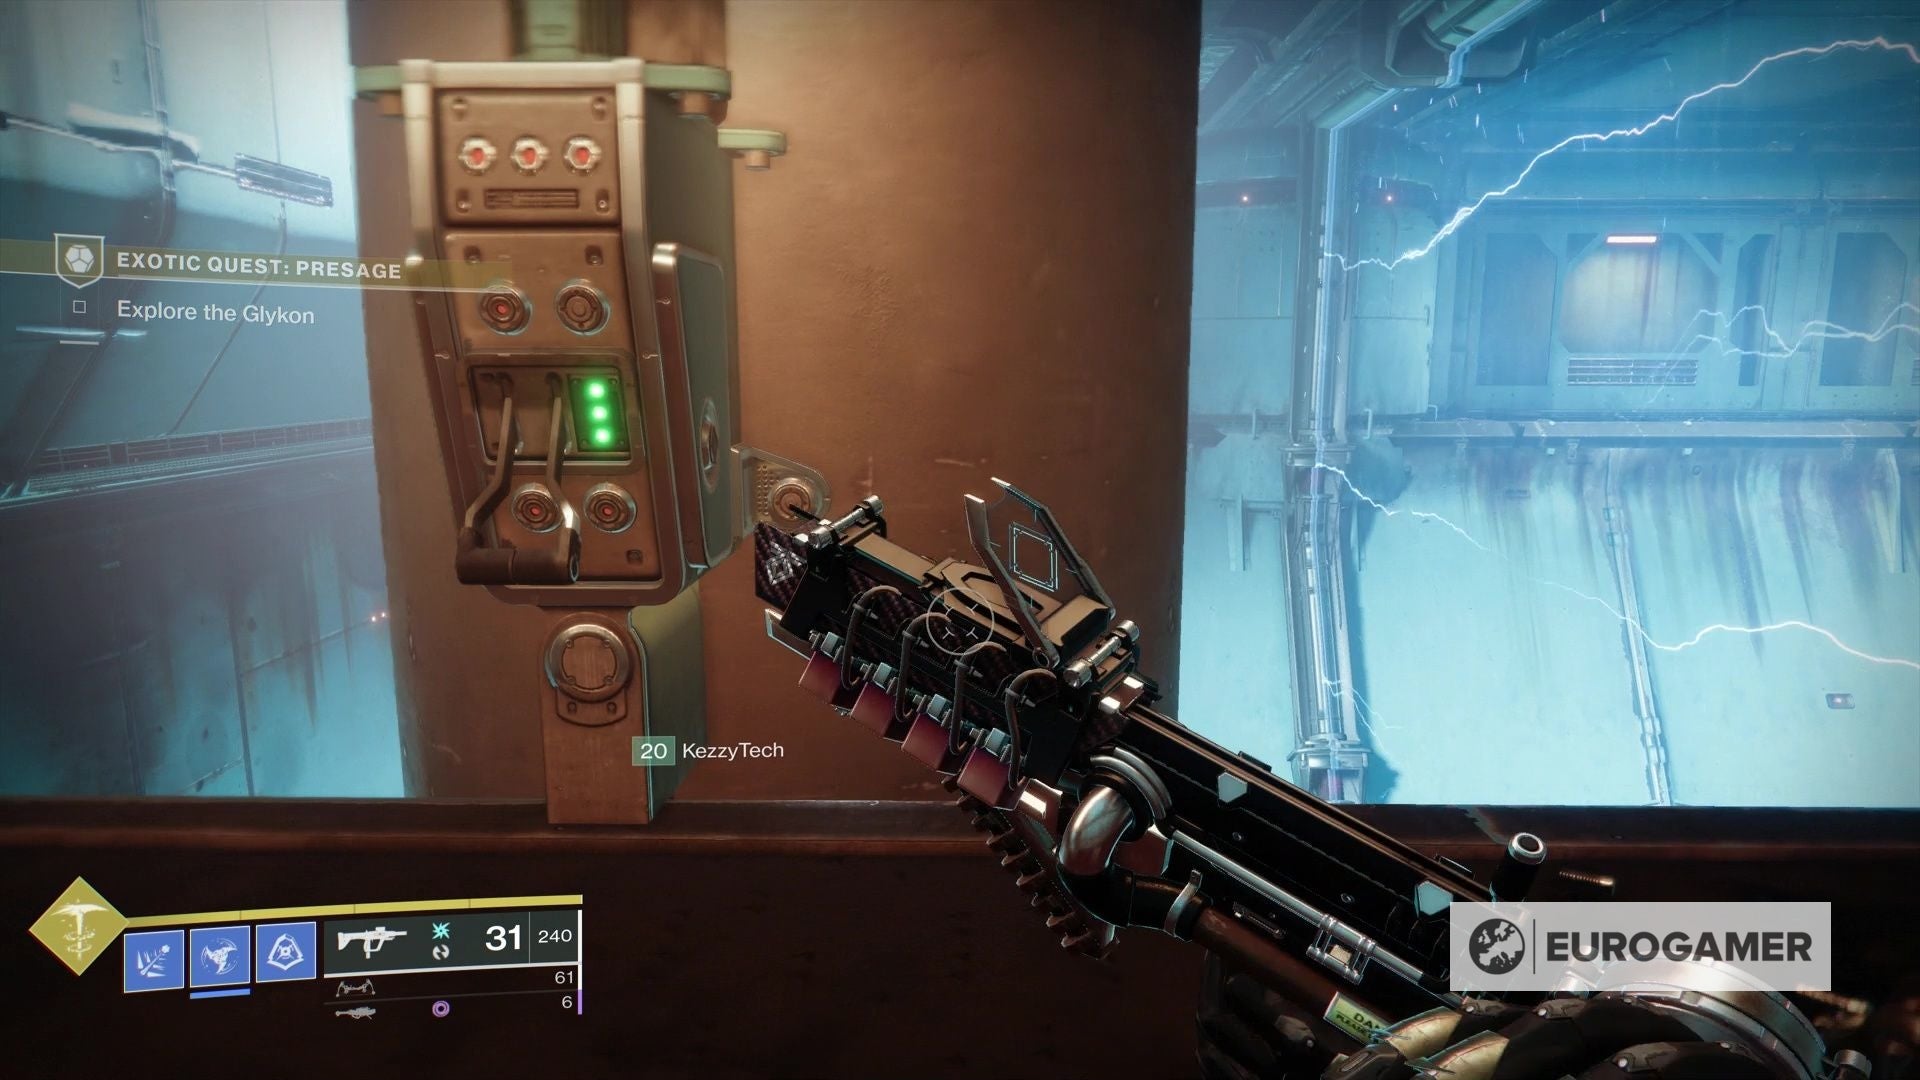
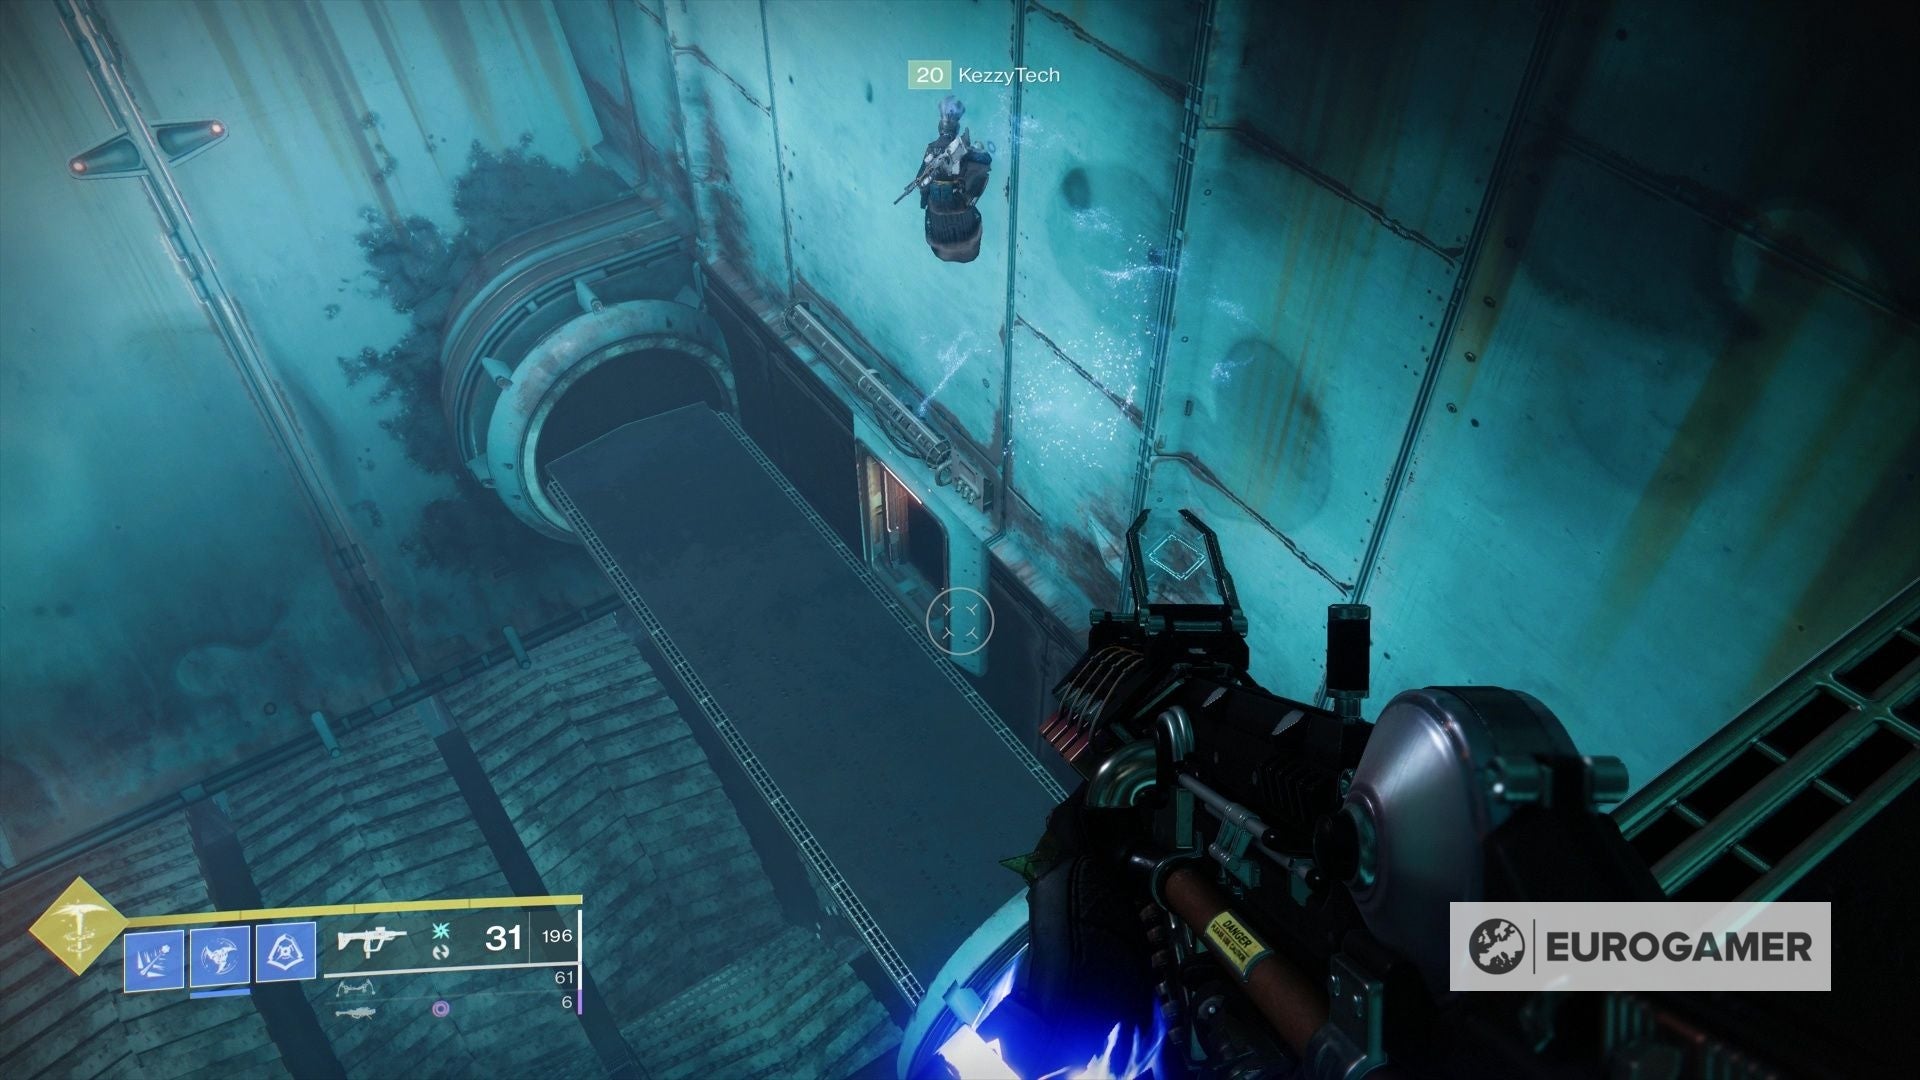
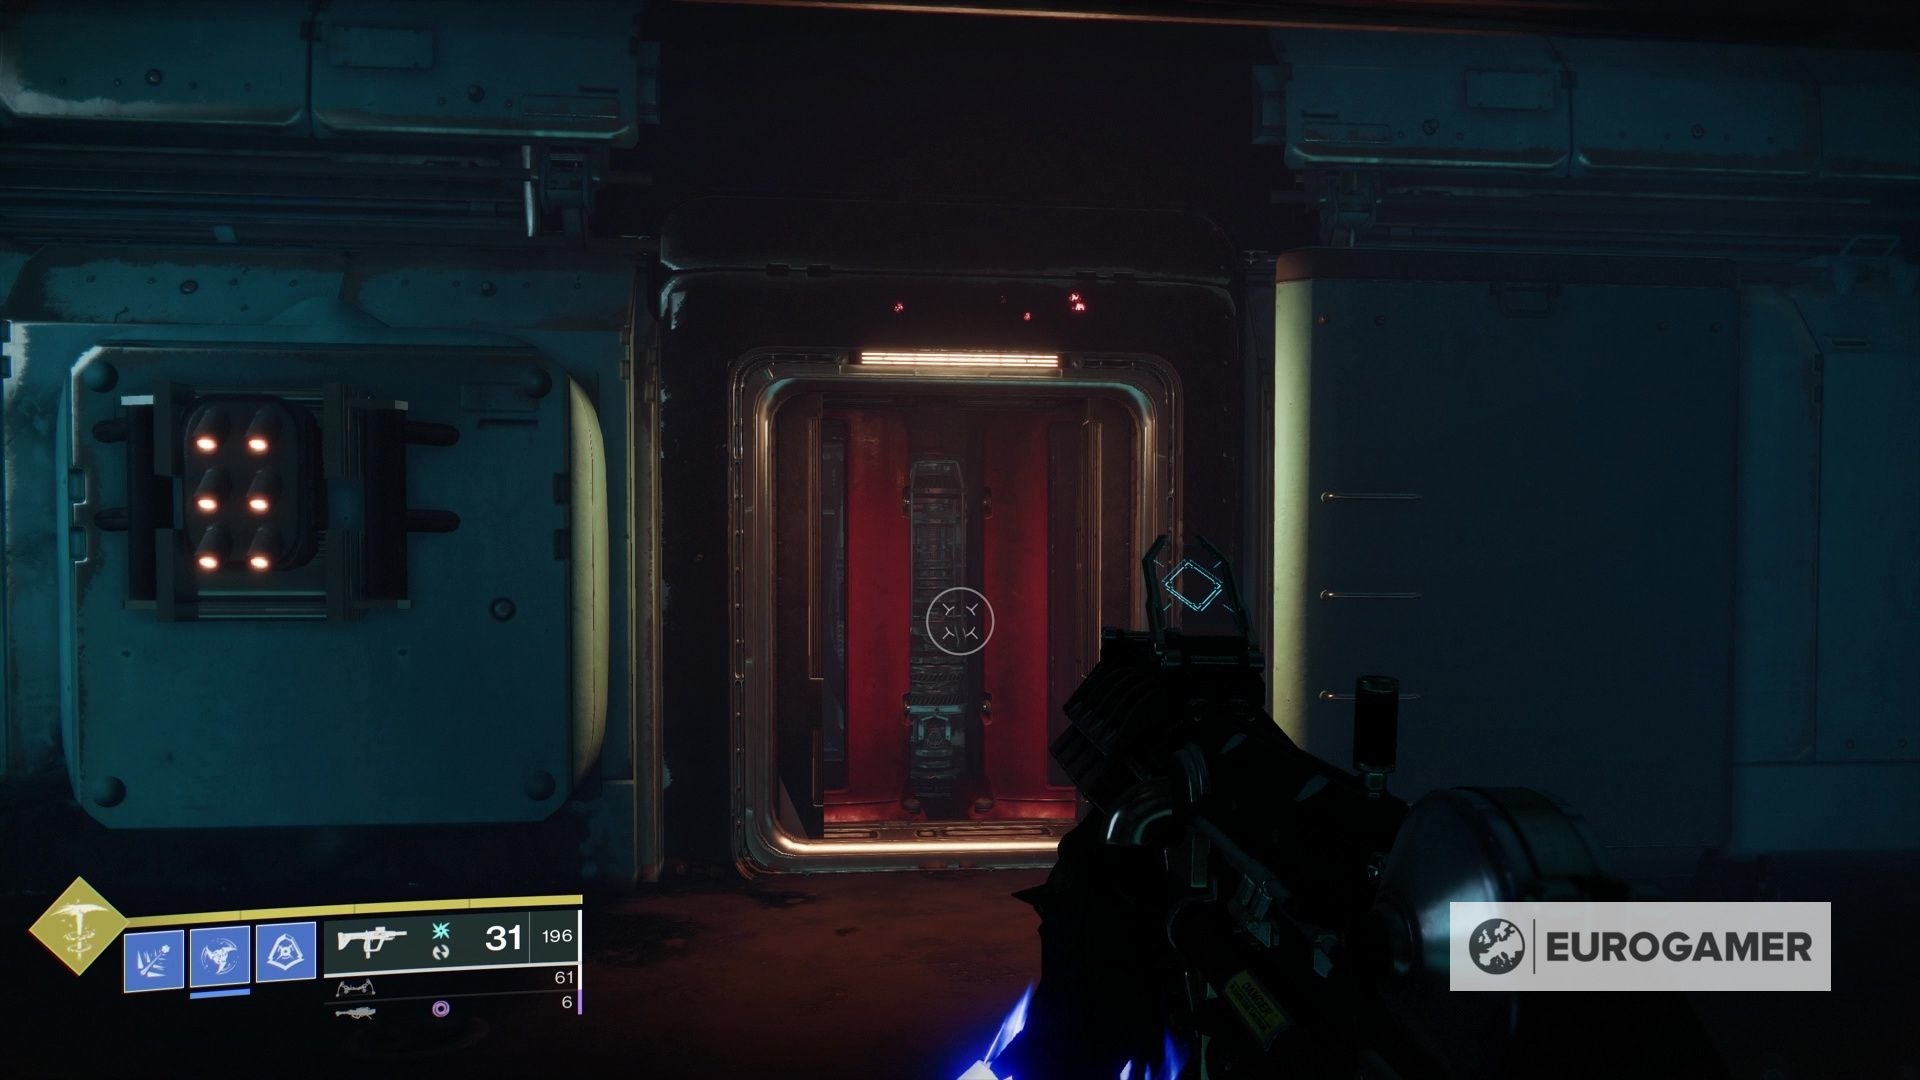
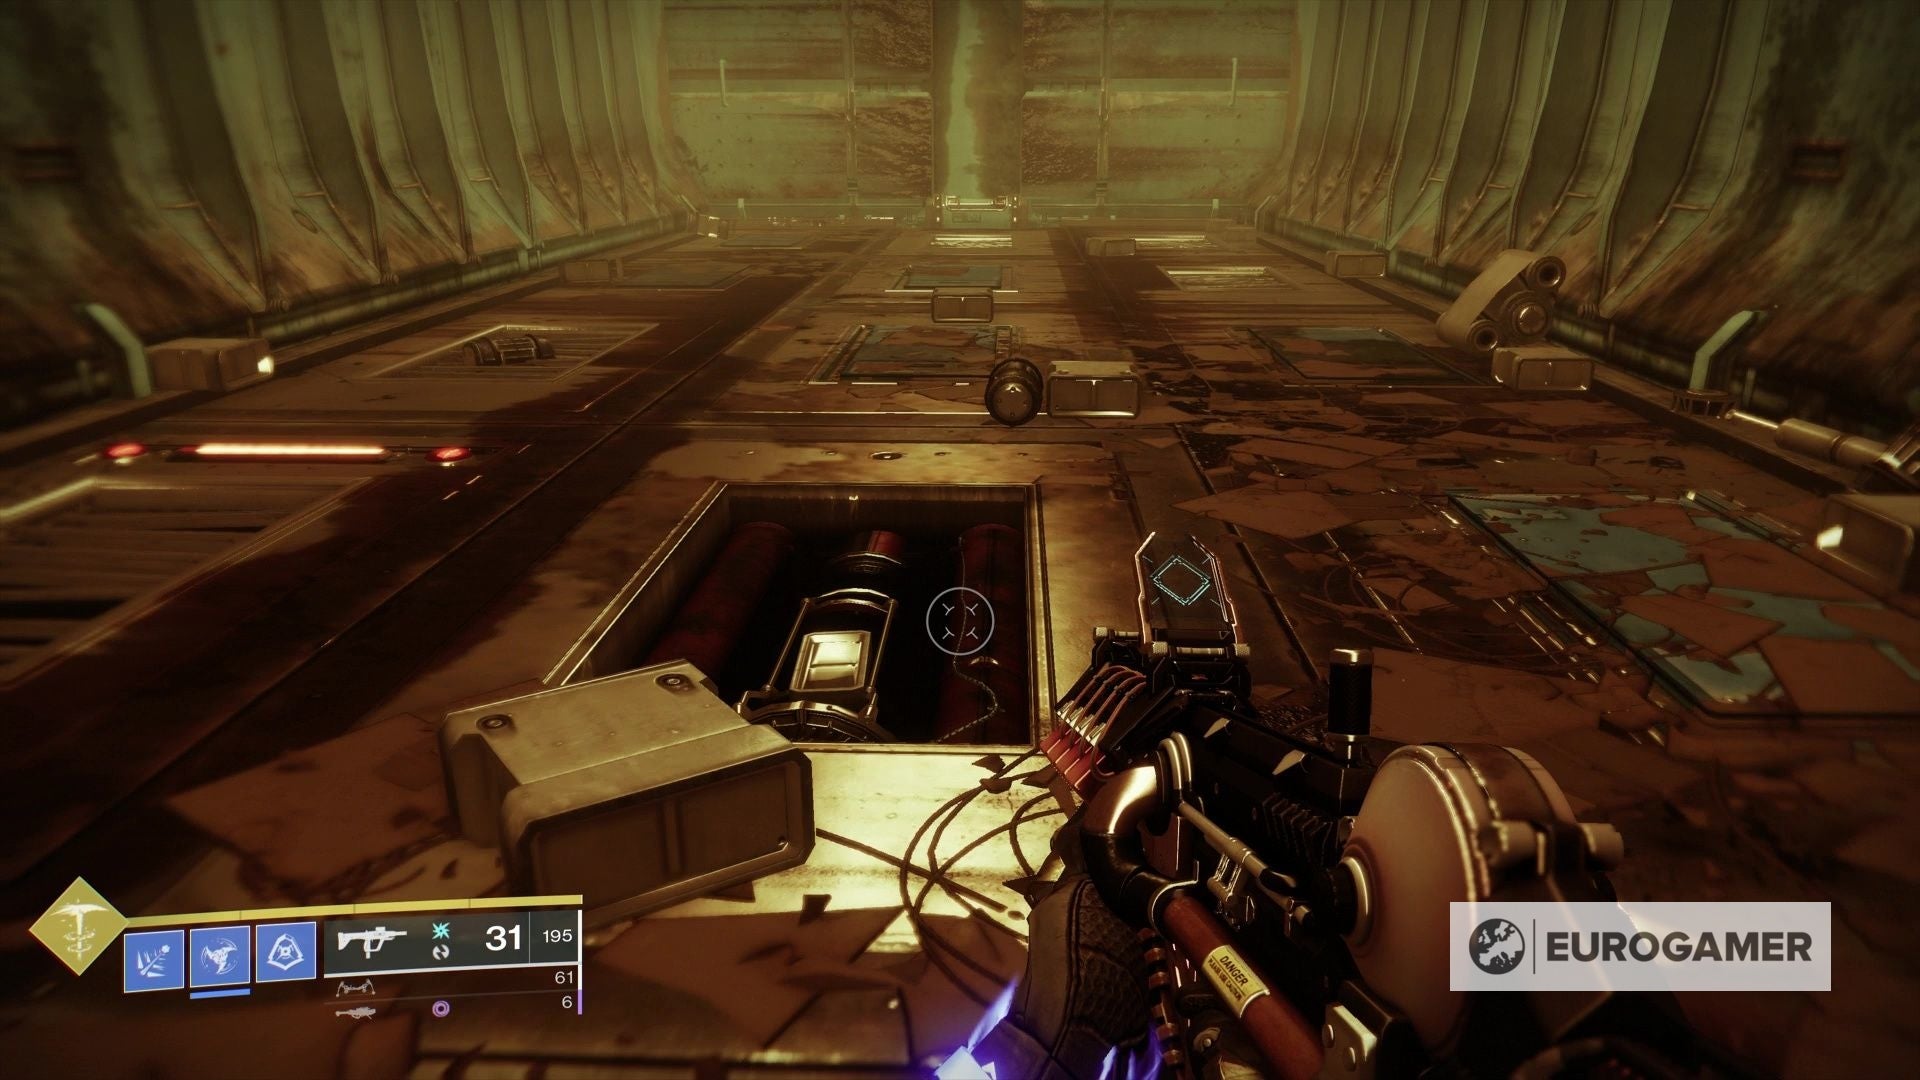
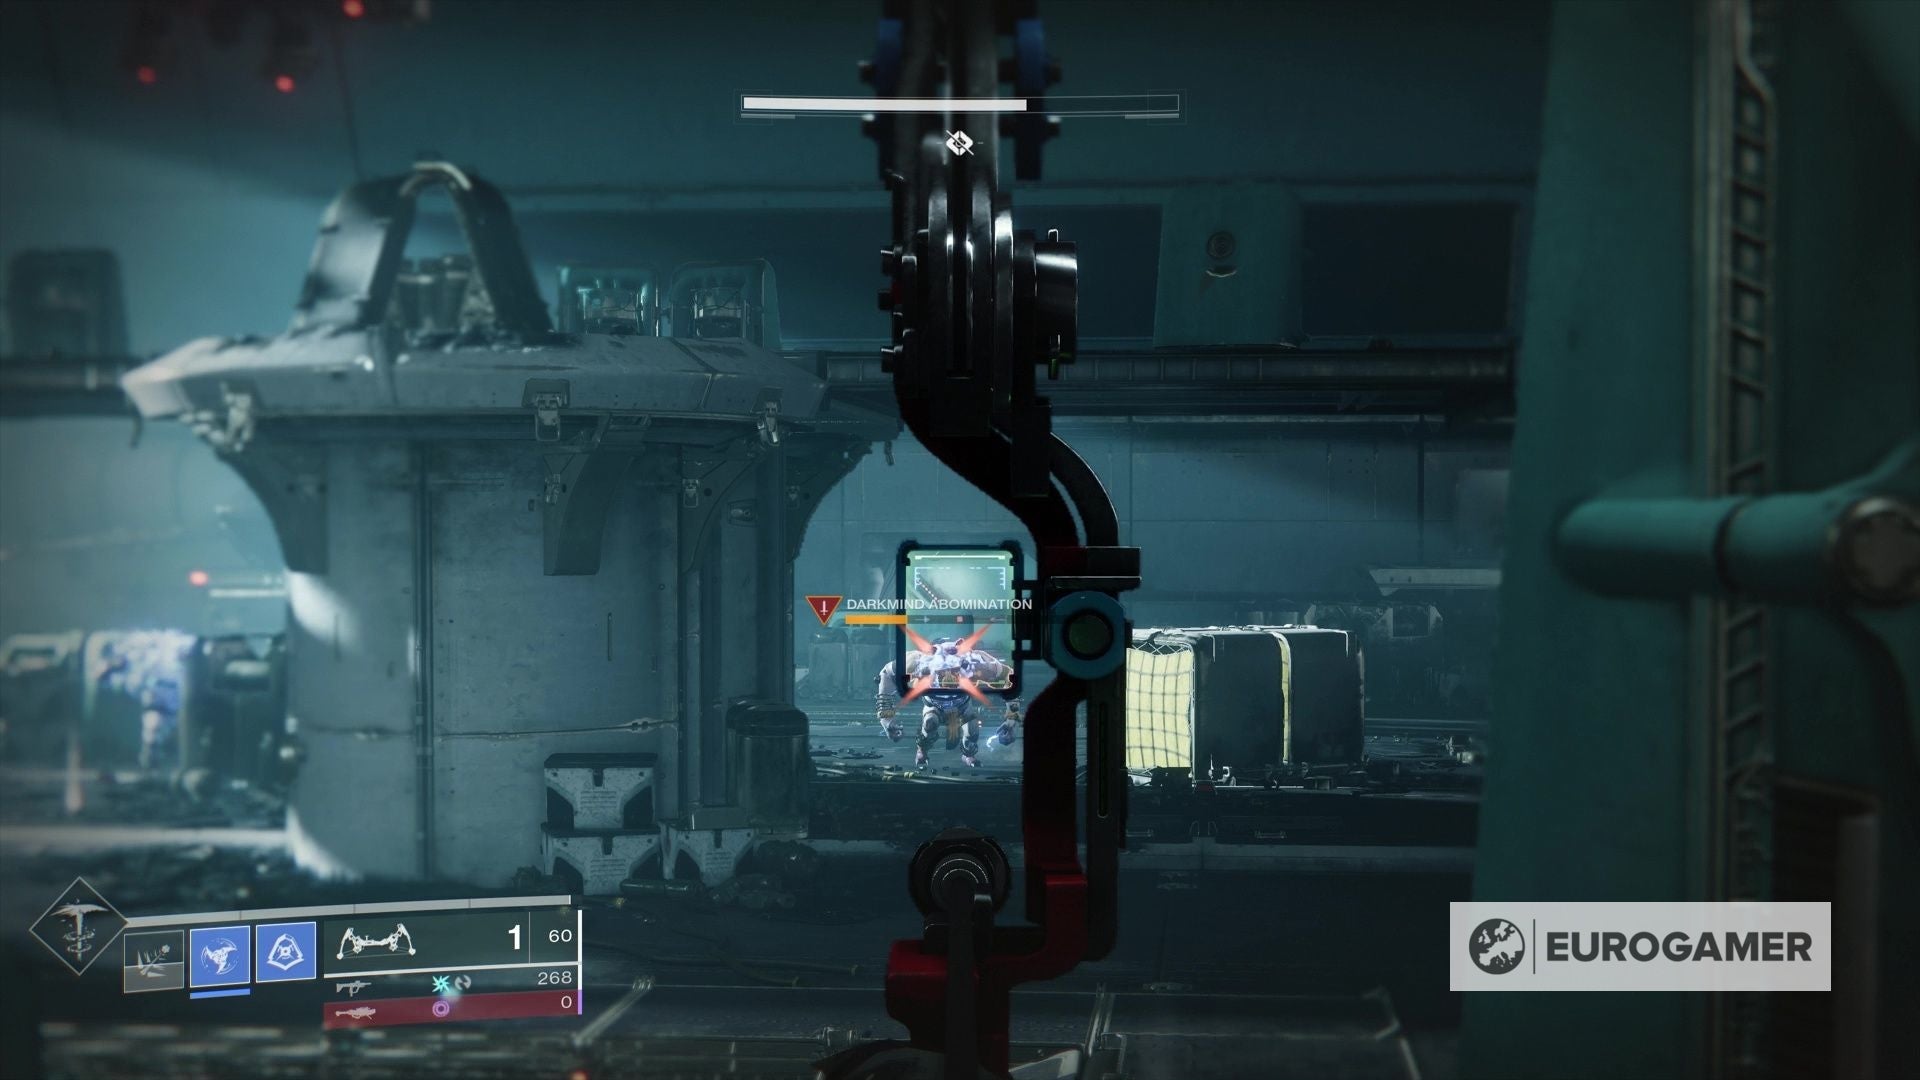
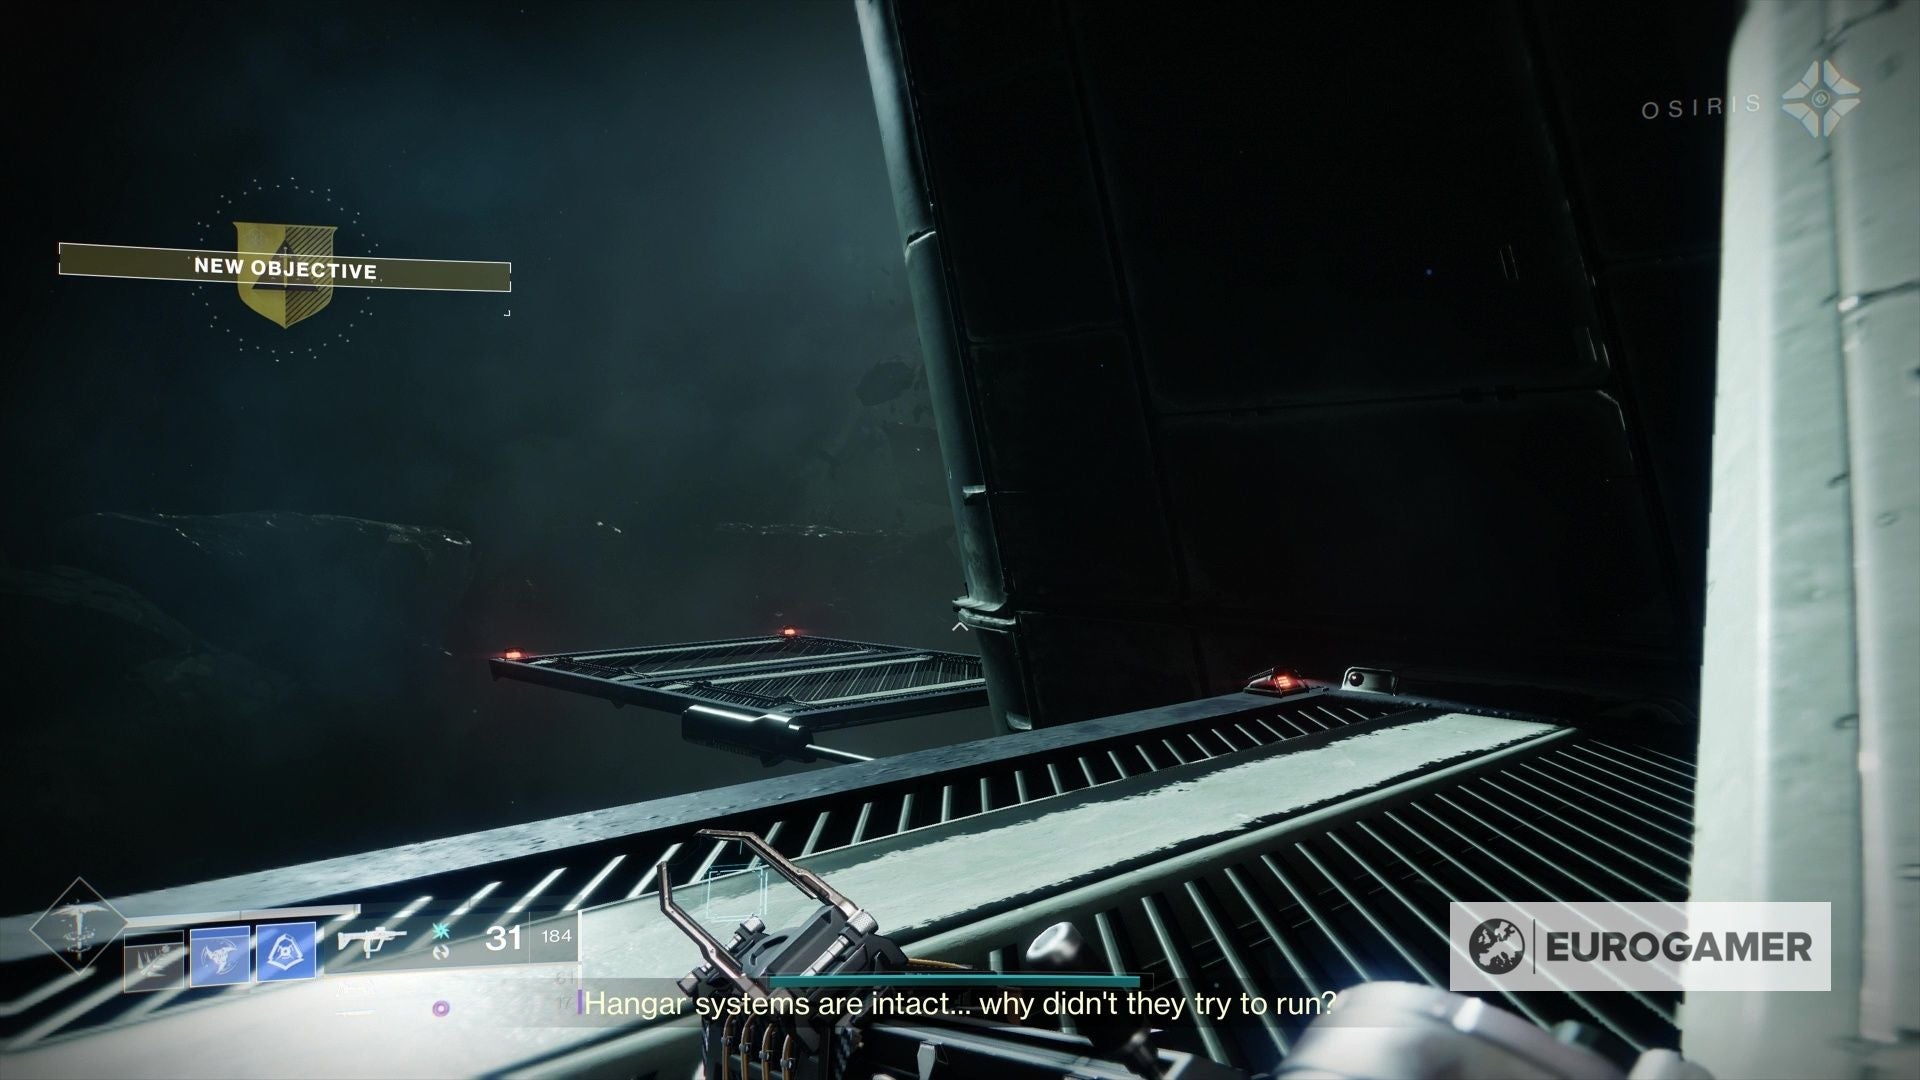
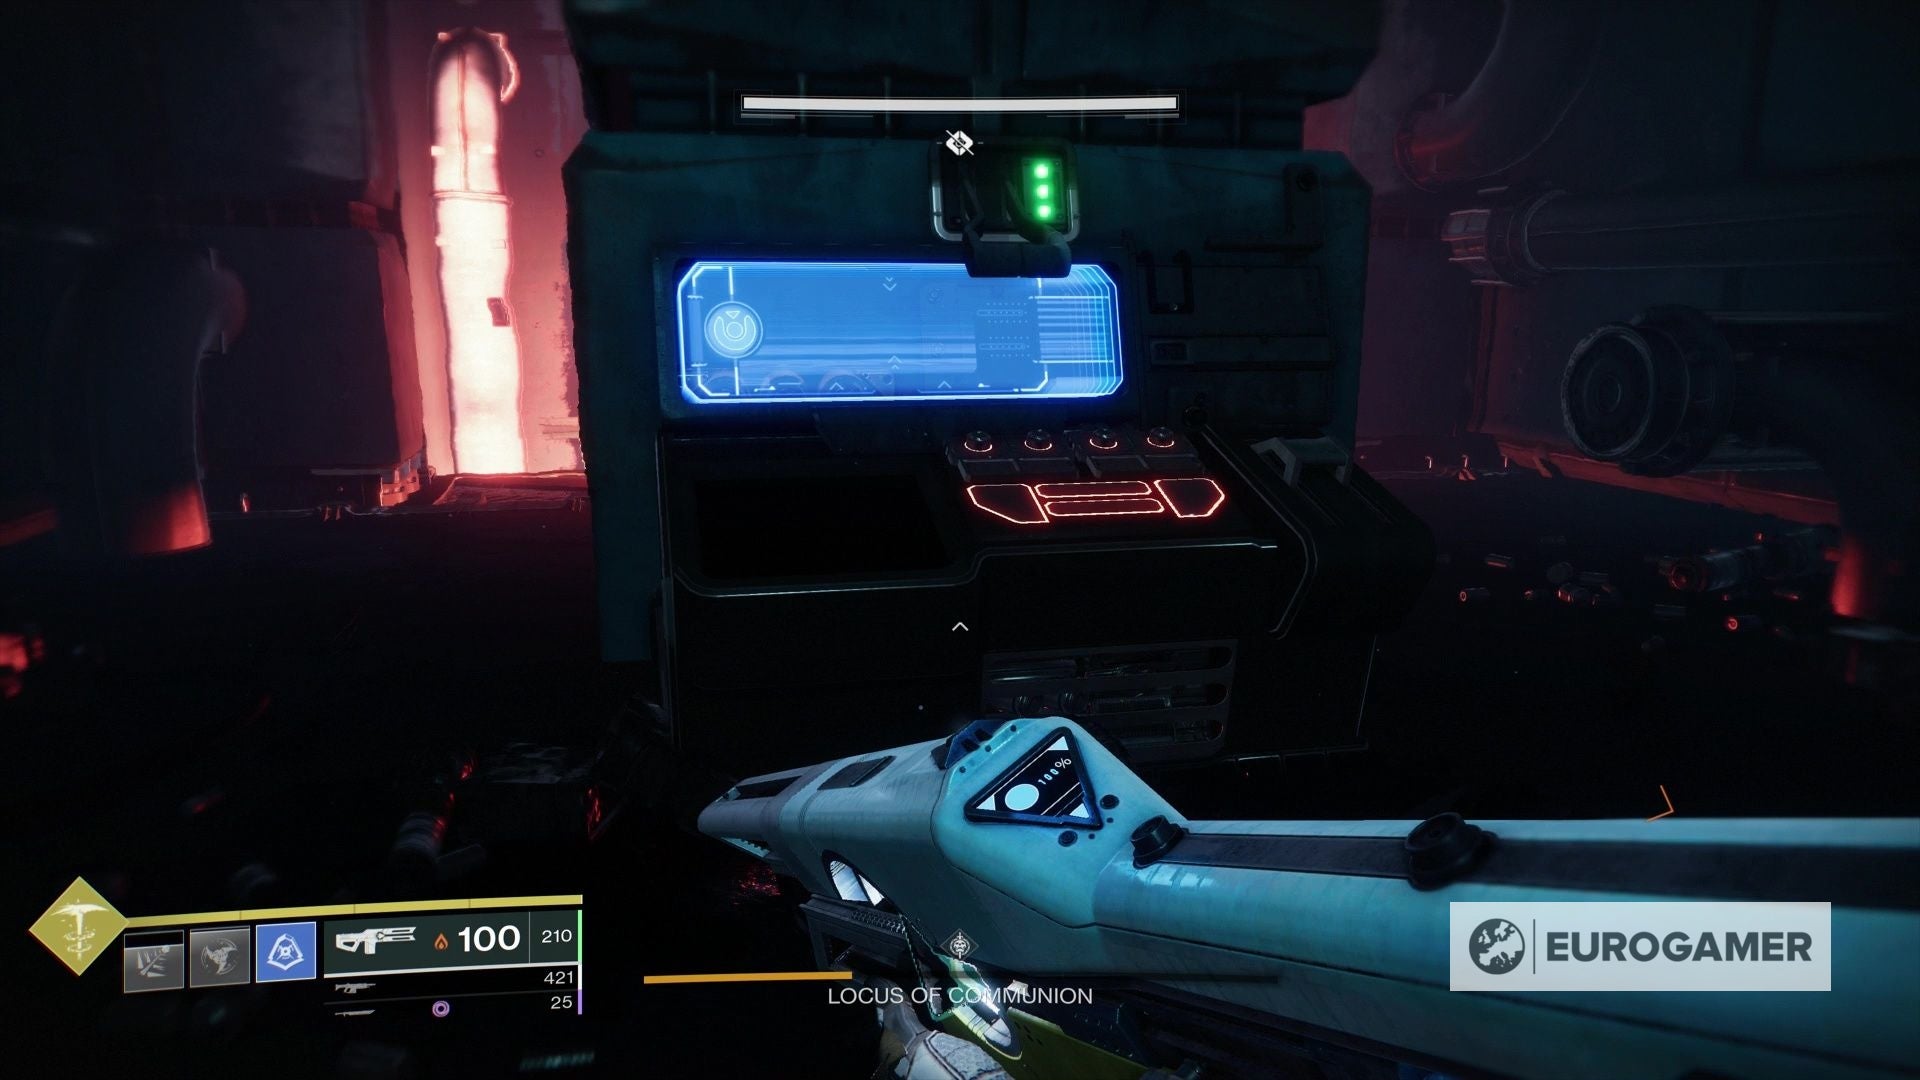
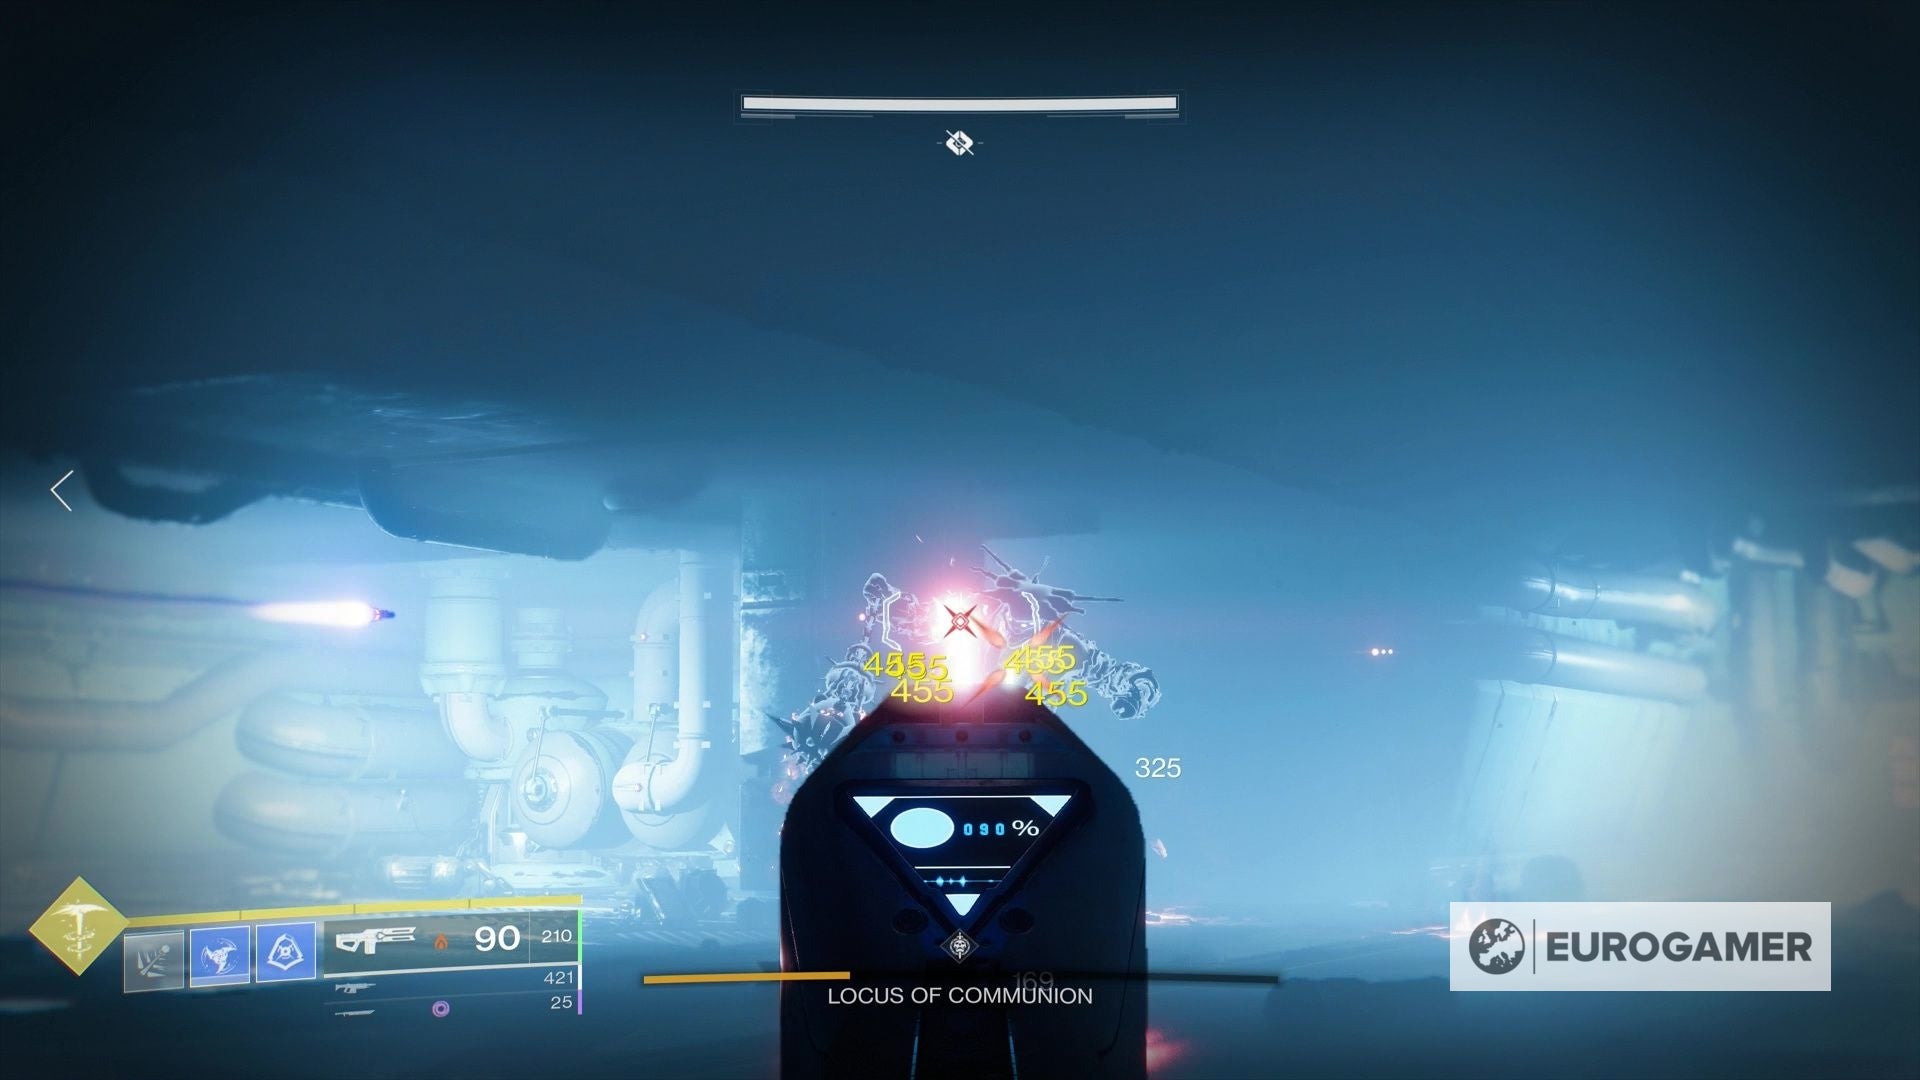
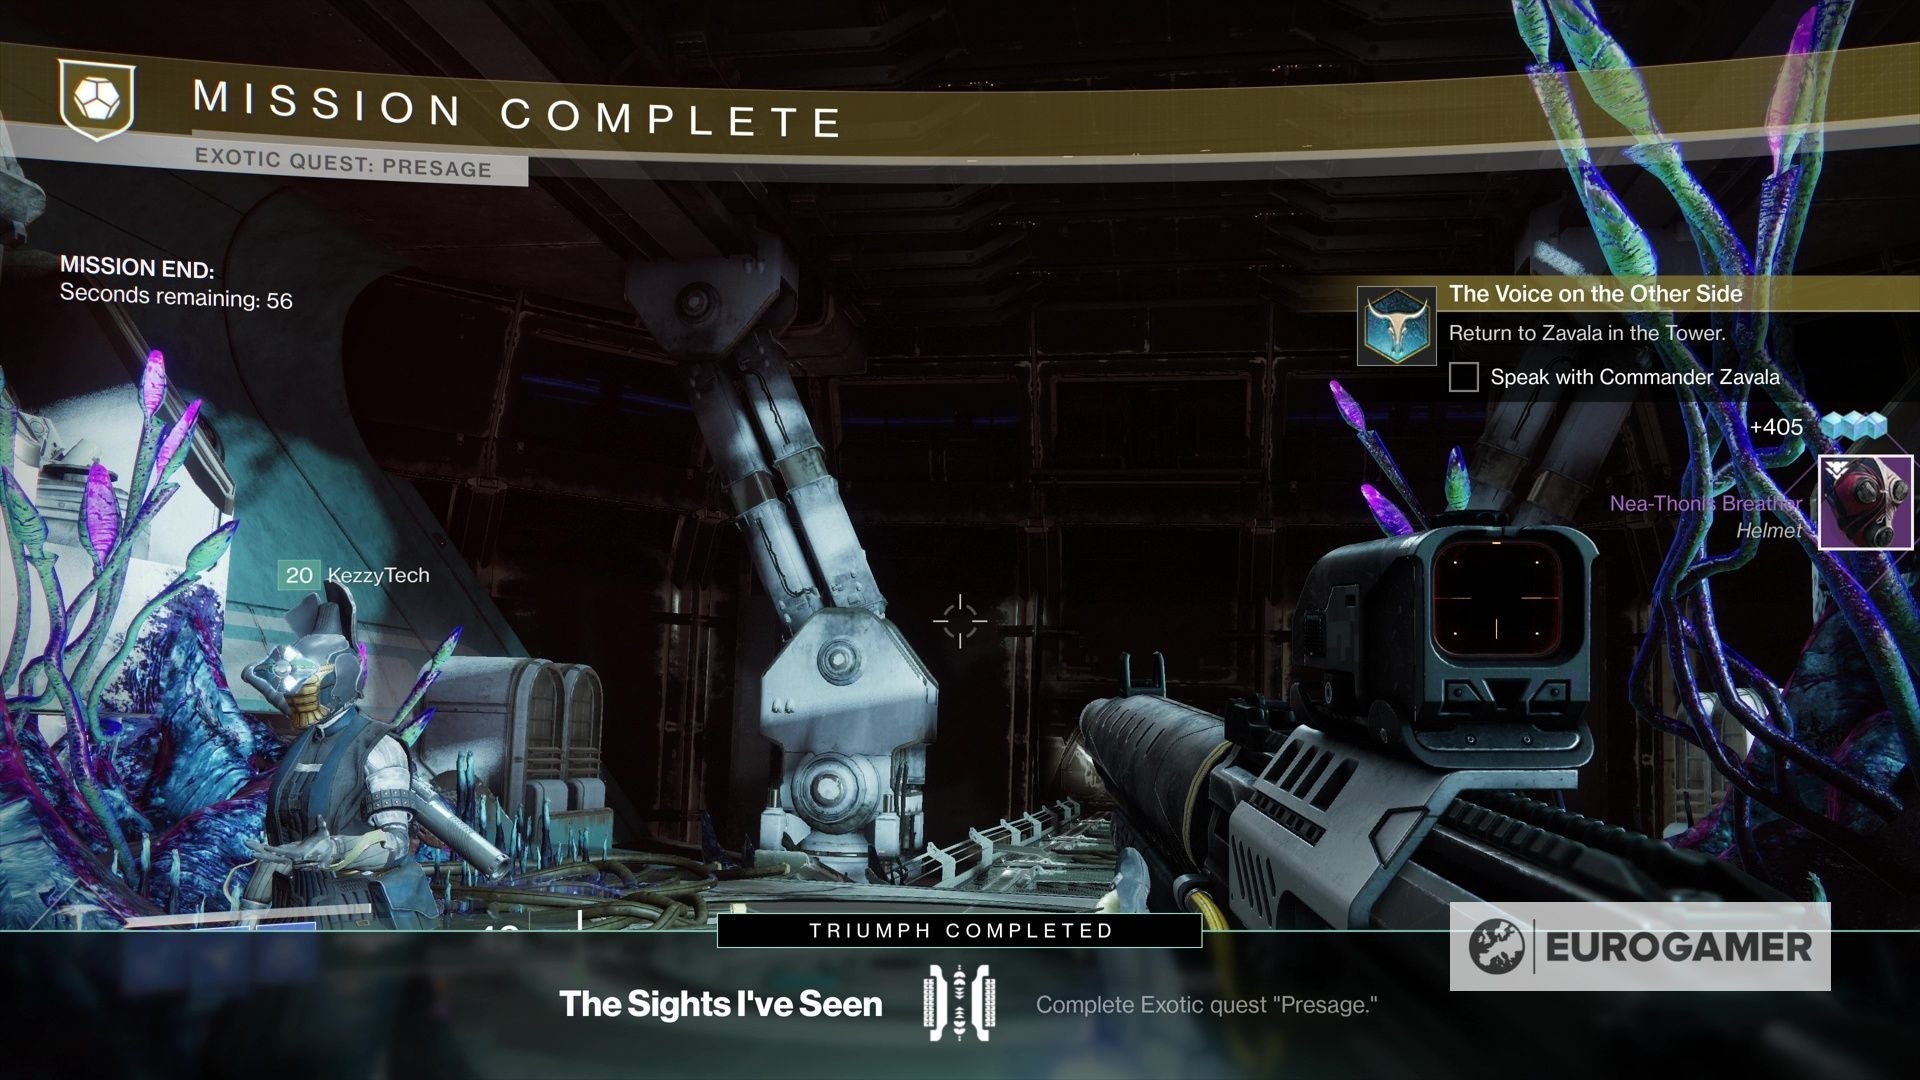
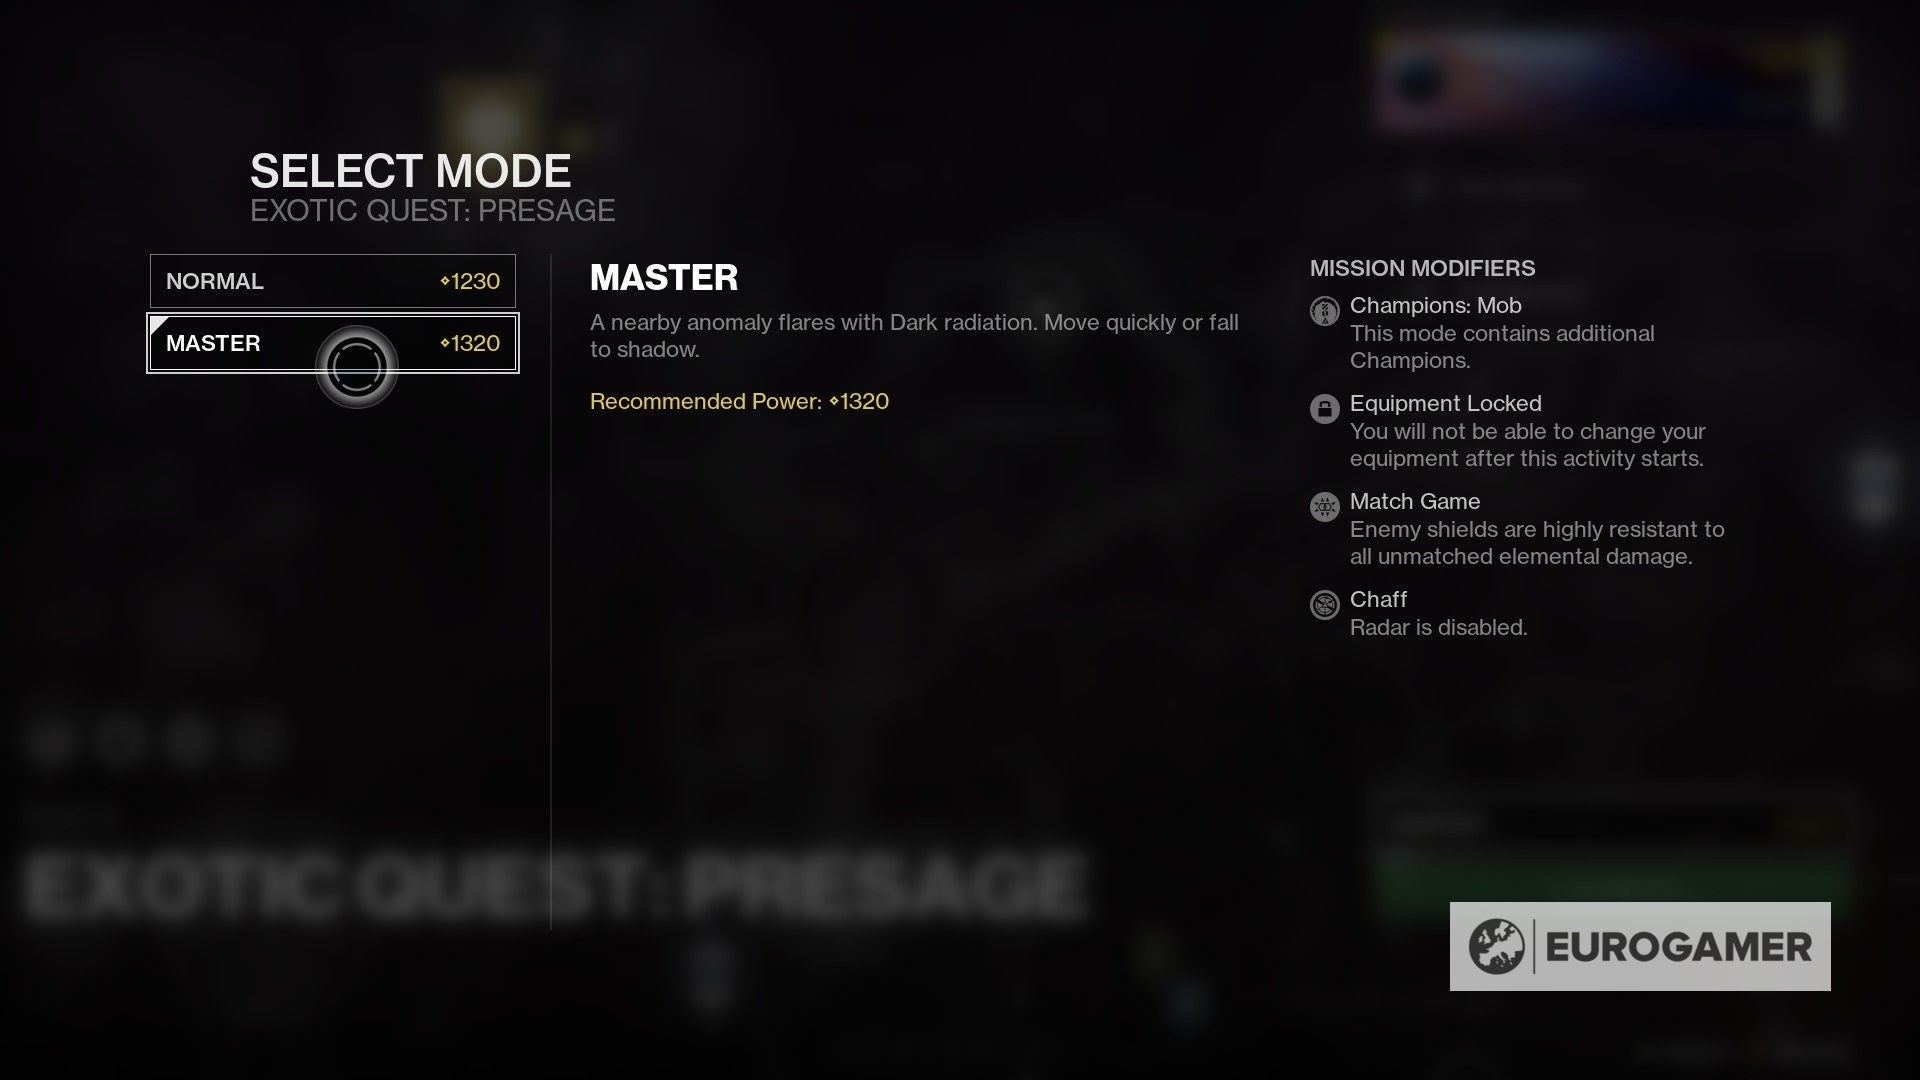
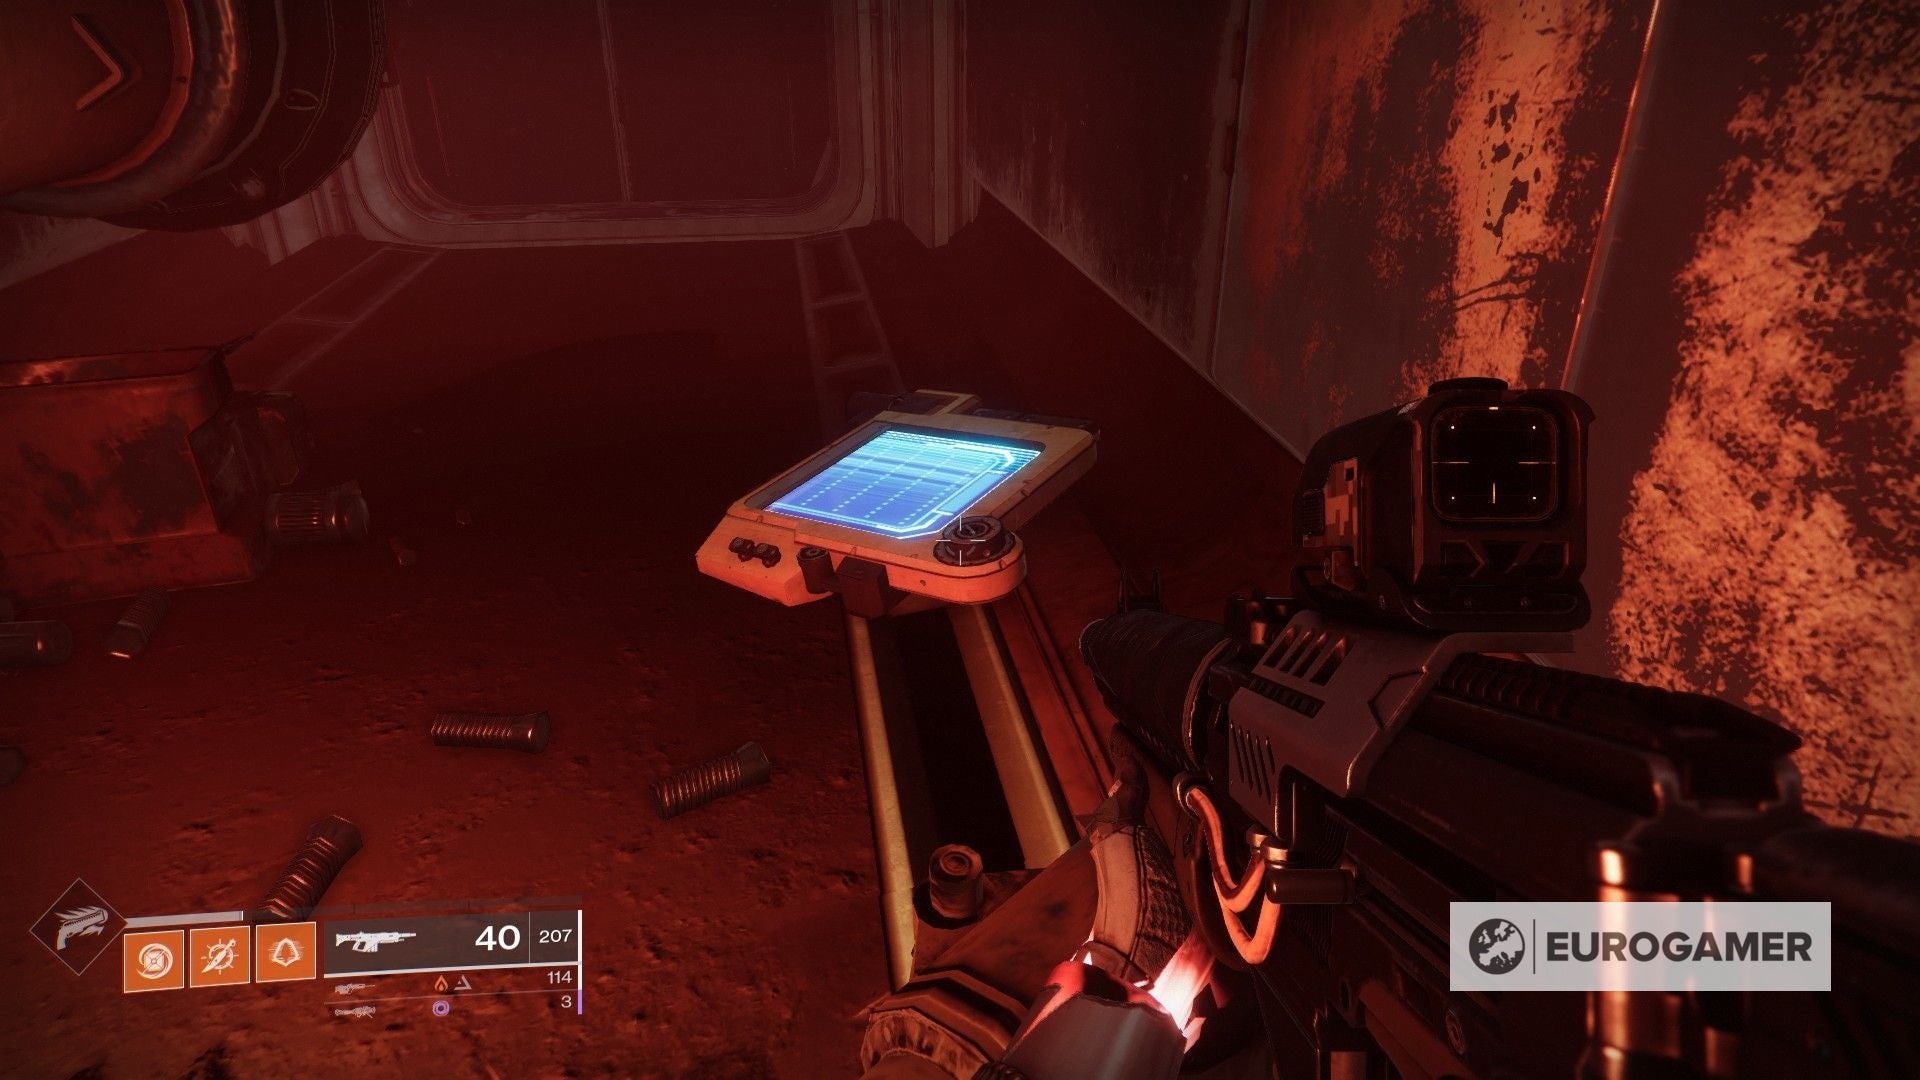
First, we need to find a way into the ship. Use the platforms on the outside to do so - turn left from where you begin and jump to the pipes, and work your way round. From there, go through the small passages - if you get stuck, remember to look up. Shortly after using the Egregore Link buff to get through the wall for the first time is a section with electrified walls with doorways in-between you have to leap across. You have to throw three switches as you go - one near where you drop down, one in the penultimate room, and one at the very end. From there, go back to the same room as the second switch, and drop down below the ledge as soon as you enter. On the wall is a panel which has opened, and looking at it face on, is a fuse you can shoot to open a door below the third switch. To escape the trash compactor-like room, shoot the vents on the floor to reveal fuses (you can see these without shooting by looking from above - jumping around the room and looking down can help). Find all three, and the walls will stop moving, allowing you to find a vent to the route below. A combat section follows, ending in a hangar. To progress, you must use the platforms outside in space. The next series of puzzles is quite complicated, but know some switches are in plain sight, and that the first fuse will deactivate the electric field above on a timer. After you find the buff to leave this room is another puzzle room, and then a red-tinted ventilation shaft. A full video walkthrough in this entire section - essentially between the hangar combat enounter, and the short fight against the two Abominations - is below: After facing against two Abominations is a long room where you must jump across ledges while facing enemies. To go through the burning wall at the end, throw the switch that’s just round the corner which reveals a turret behind you, then backtrack to a door with a burning wall which has opened halfway down the room. This has a burning wall of its own. To progress, you need to go back to the start of this area to get the buff, go in this room to top it up, then travel through to the end. After this is a boss fight against the Locus of Communion. After dealing enough damage and clearing the enemies, there are three coolants to activate on an upper level - two on blue screens at either end, and one in a burning room to the side. Drop down to the level below behind either end screen which activated the coolants, and damage the boss until a third of health is gone. It’s worth saving Supers here until the enemies spawn as things can get hectic, and remember you can go back to the upper level if you need a breather. Try and remain close to this upper level when a third of the health is almost up, as this lower level will begin to heat up when you reach it. Now repeat this step - activating the coolants above and damaging the boss’s health by a third - until you’re done. Investigate the scene in the final room to finish the mission, but make sure you wait until the actual prompt appears on screen before you leave - for us it took 20 seconds or so after the dialogue to appear - which will give you the last quest step to return to Zavala at the Tower. Doing so completes the quest. Congrats - Exotic Scout Rifle Dead Man’s Tale is yours. Similar to Hawkmoon, each subsequent completion will give you a new roll of Dead Man’s Tale, giving you new perks for different playstyles. The mission is also a Pinnacle reward source, which is useful if you need something to take you to the hard level cap. For the Dead Man’s Tale Catalyst, this is available by visiting Zavala after completing Presage once, giving you another quest named At Your Fingertips, which rewards you with the Catalyst upon completion. The quest objective itself is simple - complete Presage on Master difficulty. Not only does it bump up the difficulty and add modifiers, but it reintroduces the timer of Exotic missions of old. Go in as high a level as possible, with a full fireteam, and memorise the route and puzzle solutions, and you should have a decent chance of beating the mission within the 25 minute goal. Beyond that, there are also collectables to find, such as Captain’s Logs and smuggling compartments.